**I always hear people blaming their camera as the reason for bad pictures or see a real good mask with the detail and colors washed out. Get to know your camera well. Experiment with different camera settings and lighting and your mask will look like a million bucks! I’ve seen people take cool pics with a cell phone so take time to know your camera well. ![]()
BTW these pics were taken with an old Panasonic DMC-TZI from 4-5 years ago. Nothing fancy.
Keep in mind, there is no correct way. Some pics may appeal to others, some won’t. This is just how I do mine since I have friends asking how it’s done.lol
Things to remember when starting…
Never use flash. It will flush out the details.
Use a tripod to avoid shaky cam. If you prefer hand held, be sure to set your camera correctly which helps avoid this.
Set your camera to auto-focus.
So you’re all set and place your mask under bright lighting and press the shutter…**
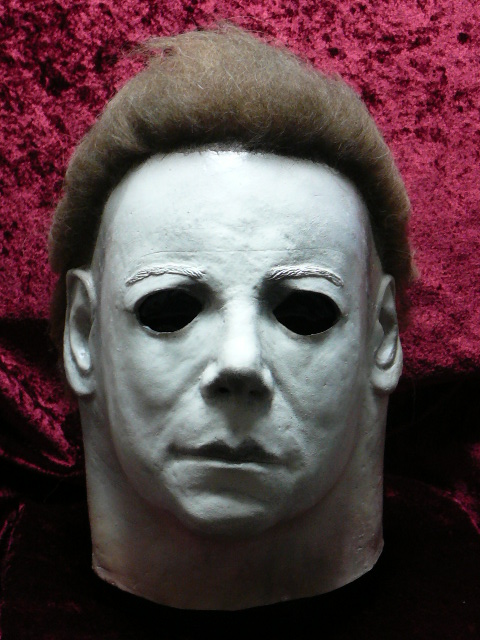
**Looks Ok but something doesn’t seem right. Looks slightly blur due to the camera being handheld. The light is extremely bright…a little too bright. The mask looks bloated and looks plain.The camera is set at “Normal Picture”.
Since most of us can’t control the brightness in a room, look for the camera setting that says “Exposure”.This can control the brightness/darkness. So if the pic looks too bright, adjust the “Exposure” and darken the image seen thru the camera.
Masks will look bloated if taken from a far distance. I usually place my tripod; depending on the concept, 1-3 feet away from the mask.
To bring out the details, I usually set the camera to “Macro” to make them pop out.
Where you place your mask under the room light will make a huge difference. Place it right under and it will cause too much shadows so make sure some of the light hits the facial area.
My room lights are all florescent. Fluorescent will make white/blue hues. Bulbs will make a orange/red hue. Keep this in mind. Once you get that overhead lighting placed where you want, now hit the mask with a different light source from a different angle and it will add depth to your mask.
Here’s what you get…**
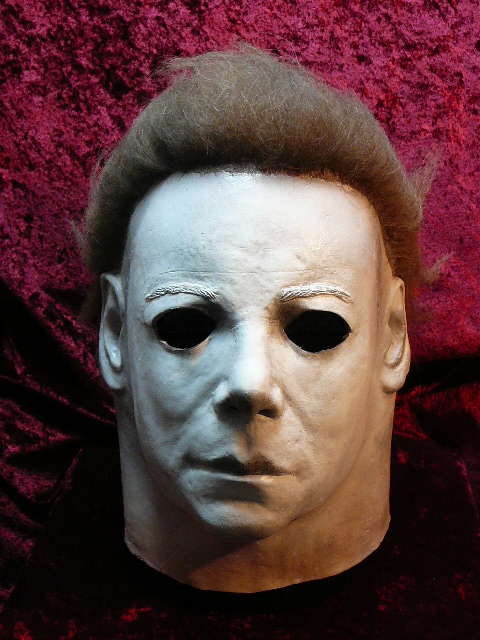
**In this pic, the room is lit by a standard fluorescent lamp which causes the nice ghostly blue. I hit the mask with a bulb desk lamp from the top right to give out the reddish hue on the right side.
Camera is set at “Macro”.
The “Color effect” on the camera is off.
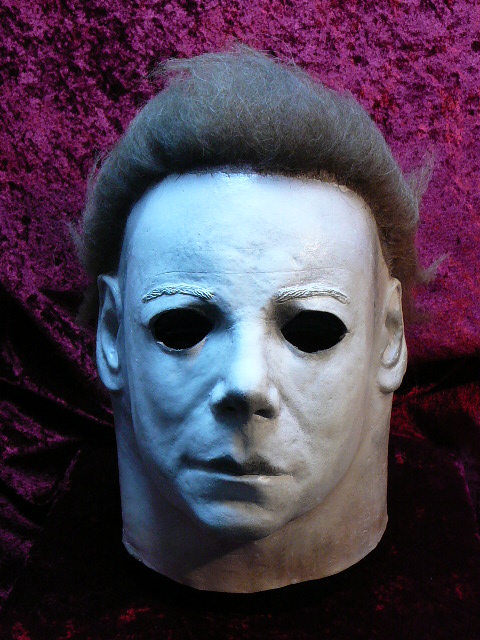
Now go to the “Color effect” and set the color to “Cool”. This will make the hue a strong ghostly H1 look. It will make the natural blue from the fluorescent light stronger.**
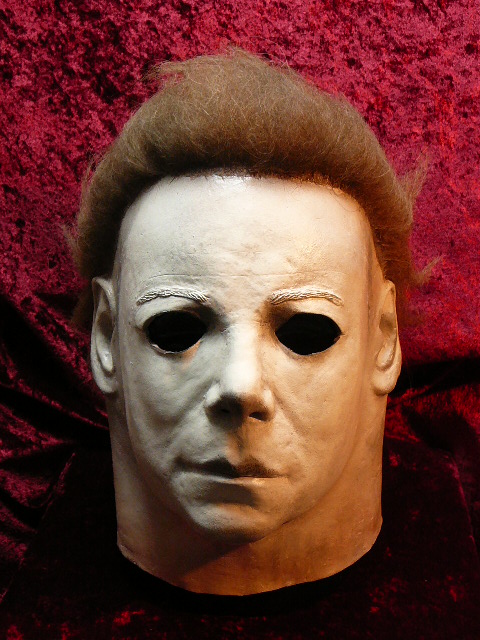
Now try setting the color to “Warm” which will give it that reddish H2 look. You can tell from the pic that the light from the bulb; from the right, is creating a strong reddish hue.
Keep in mind, depending on what camera used, where the lighting is placed will differ. Also masks with different paintjobs will need different settings and lighting. Remember to experiment, that’s part of the fun of taking Myers pics. If it doesn’t look right, keep adjusting the settings on your camera and play with the lights. I use desk lights so I can freely control where I want the light to hit the mask.
Have fun! ![]()
