My Boogeyman H1 mask + questions about making it more screen accurate.

Hey how’s it going, I’m new here, I’m a big fan of Halloween and Scream and while I have a few Ghostface masks, this is the first time for me owning a Myers mask, very exciting!

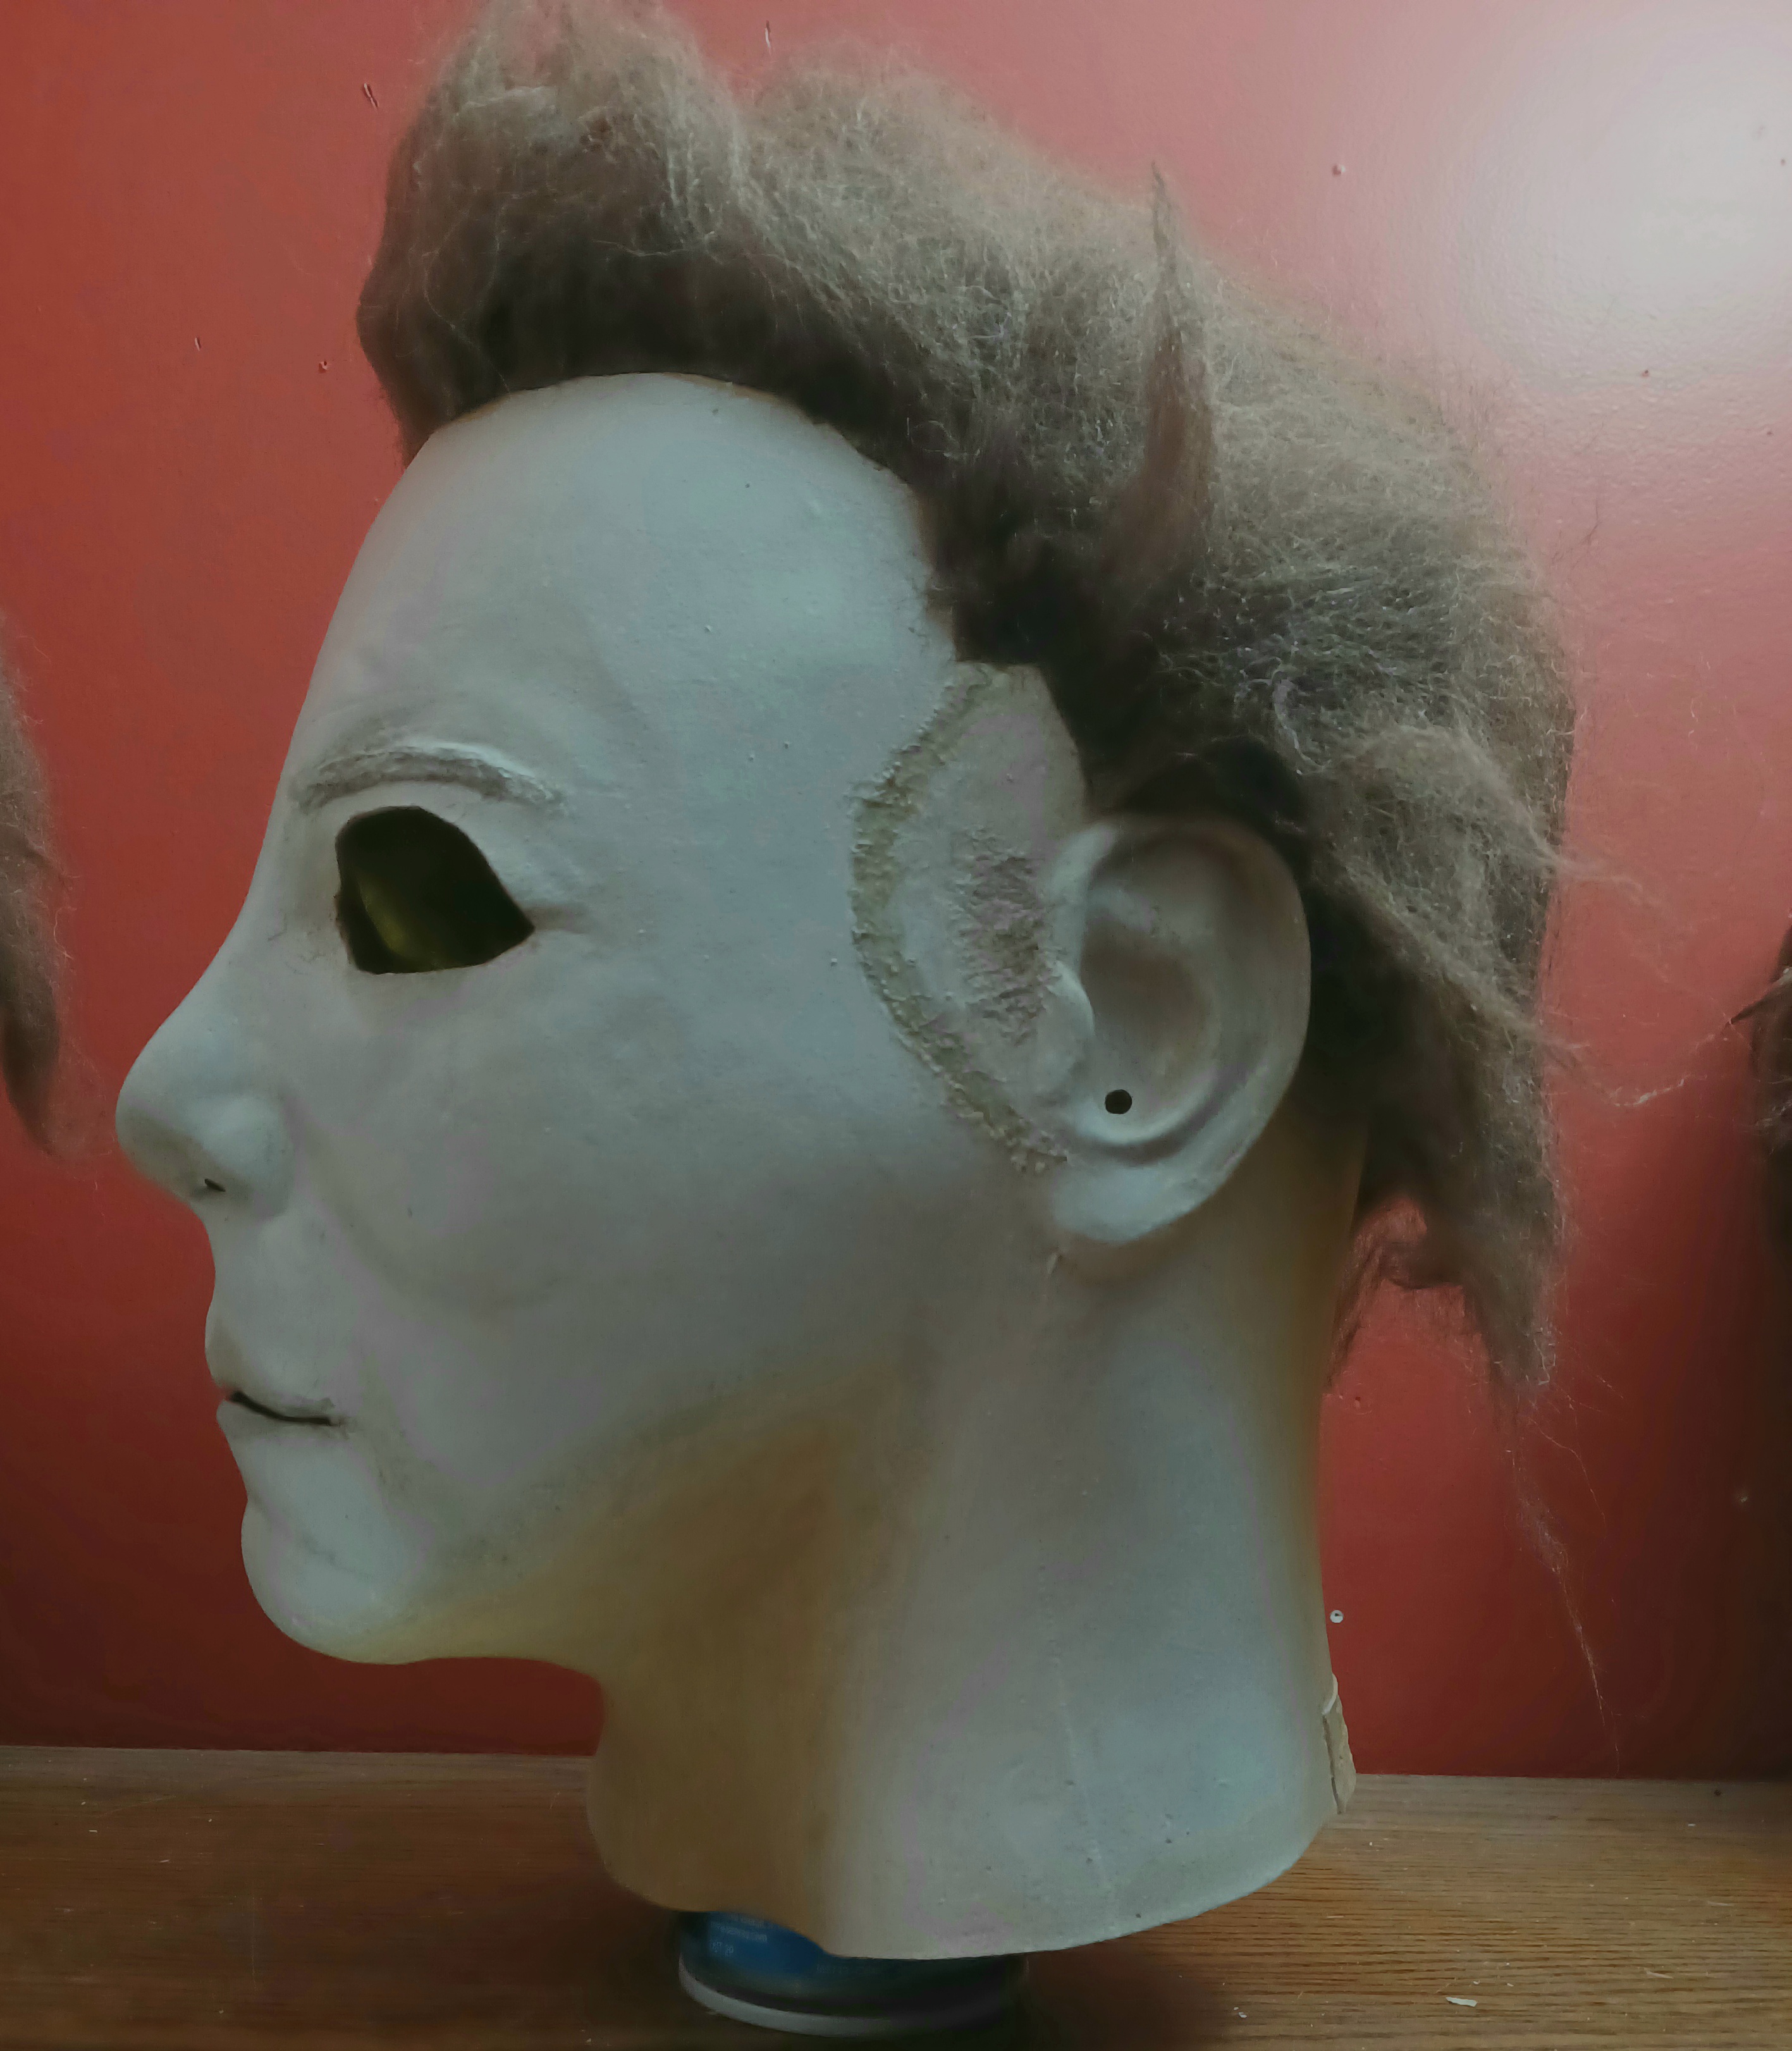
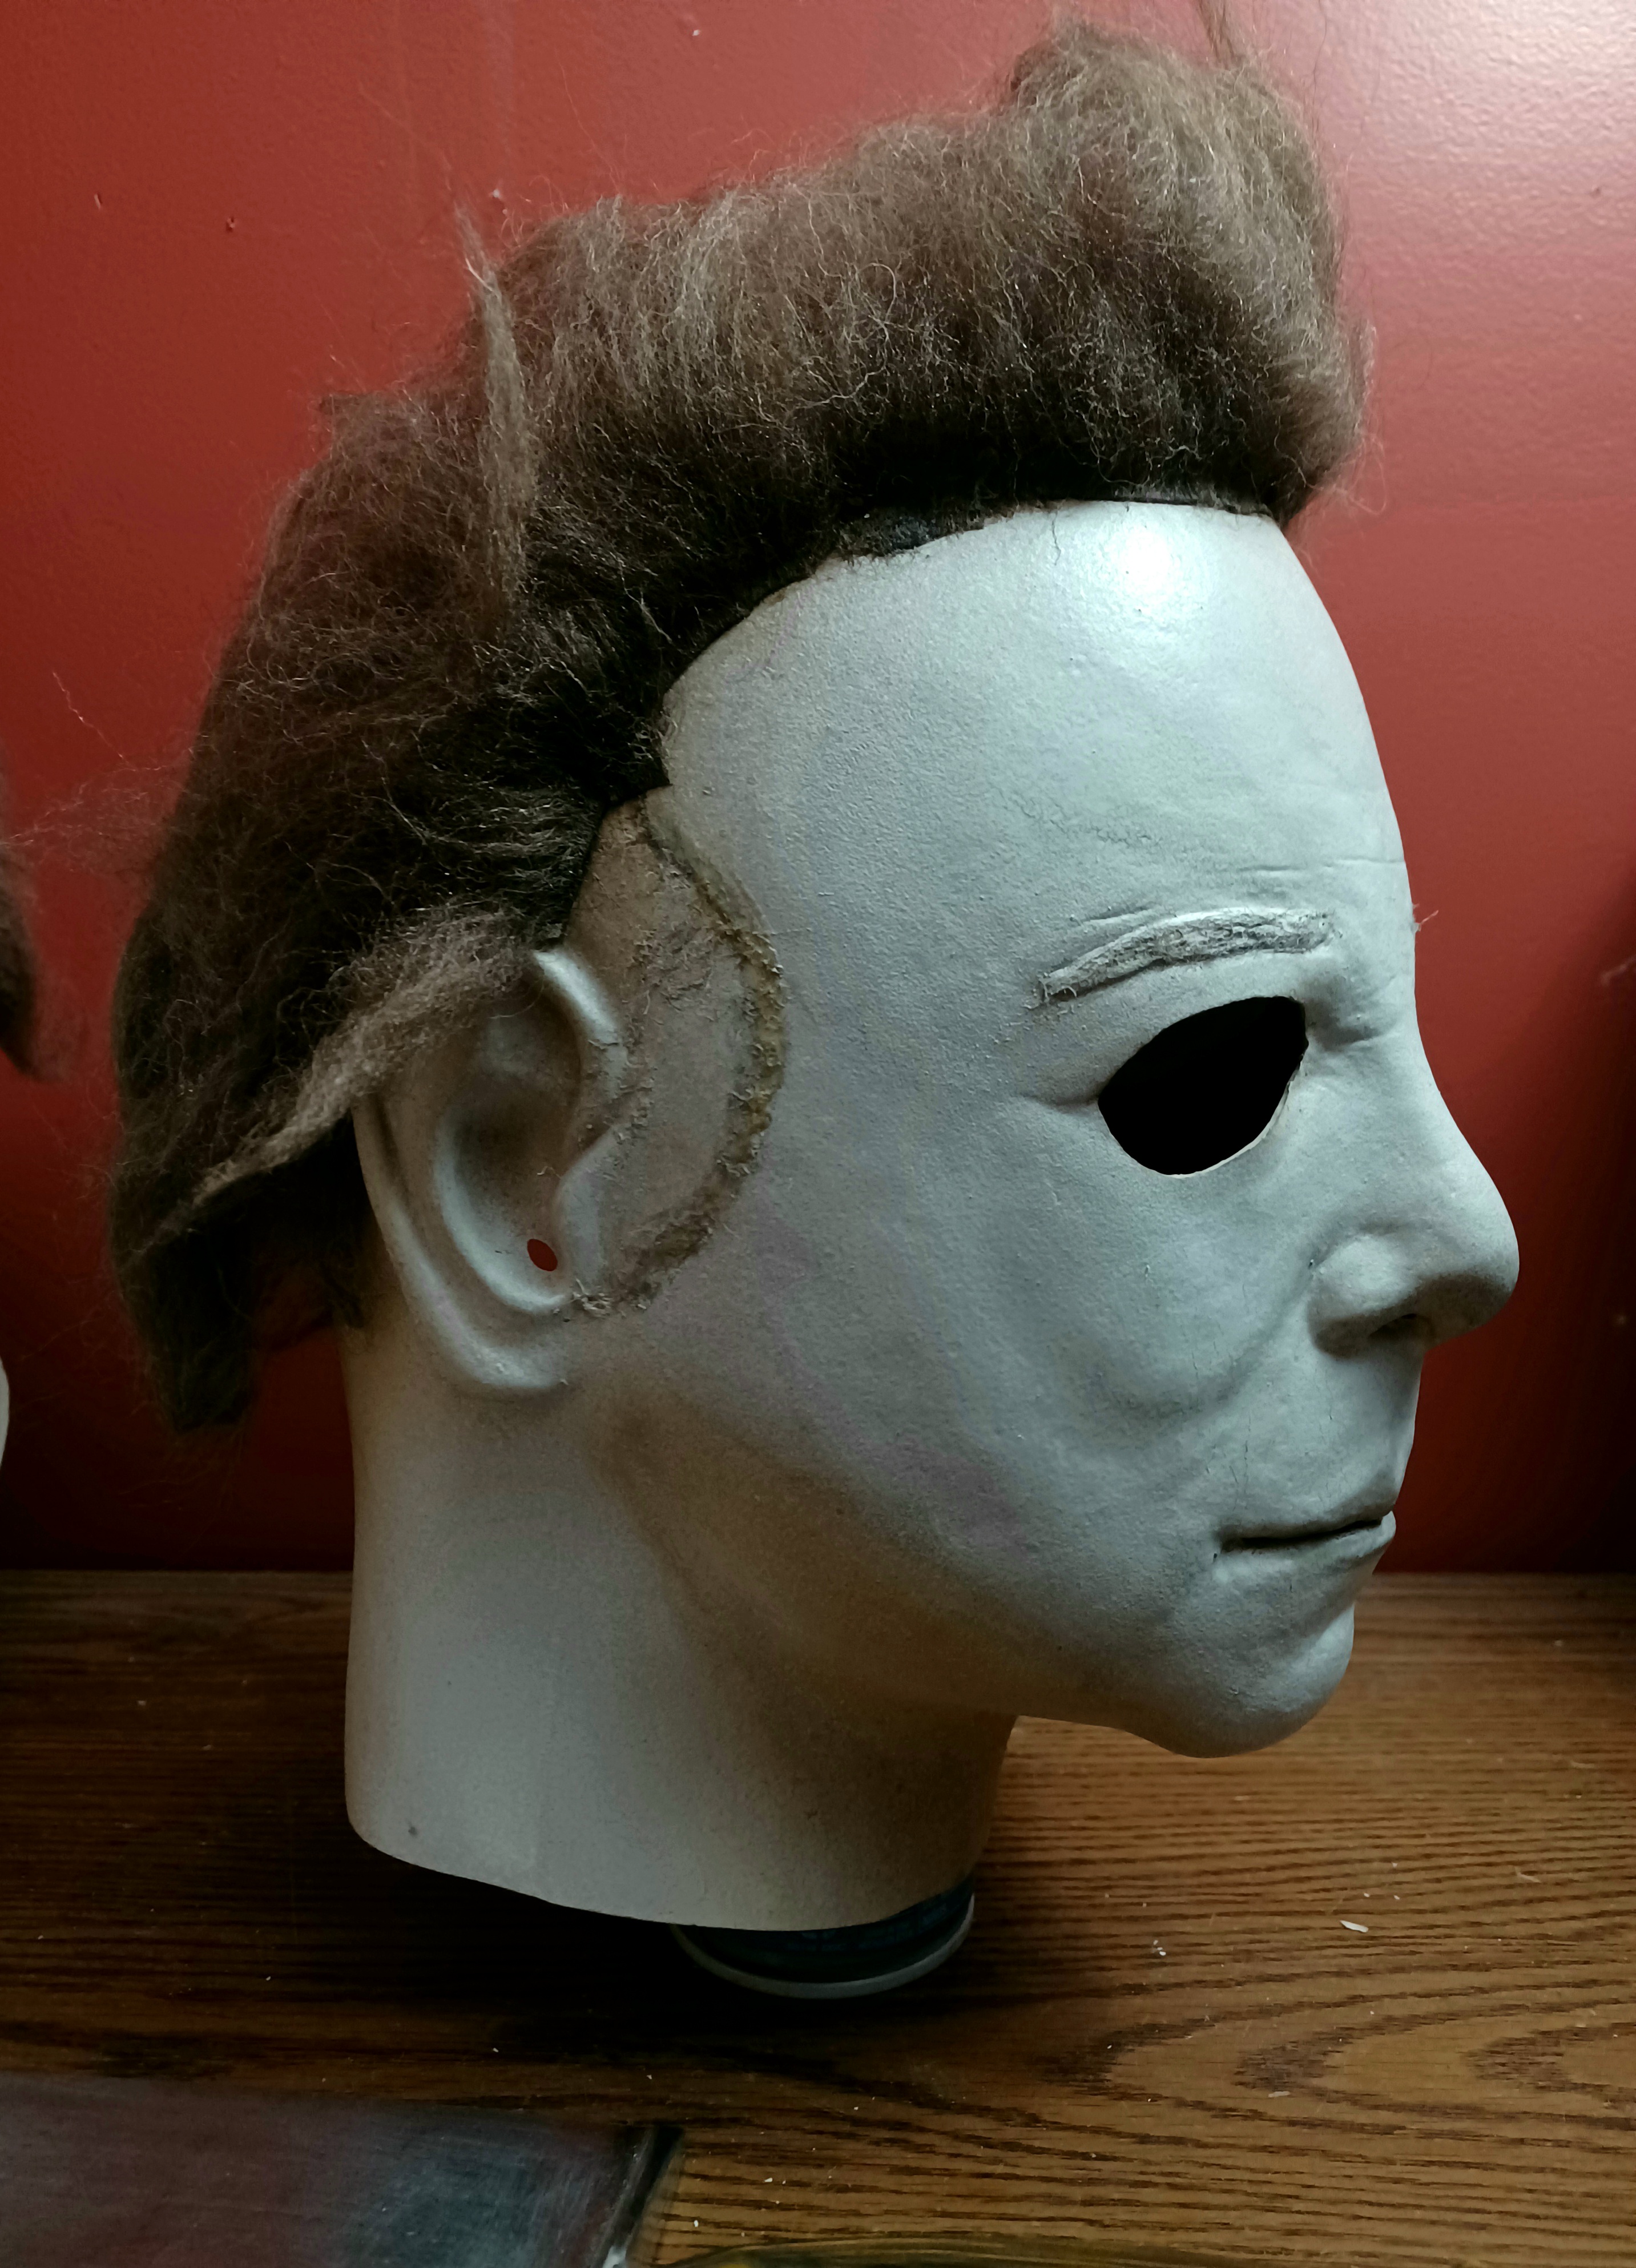
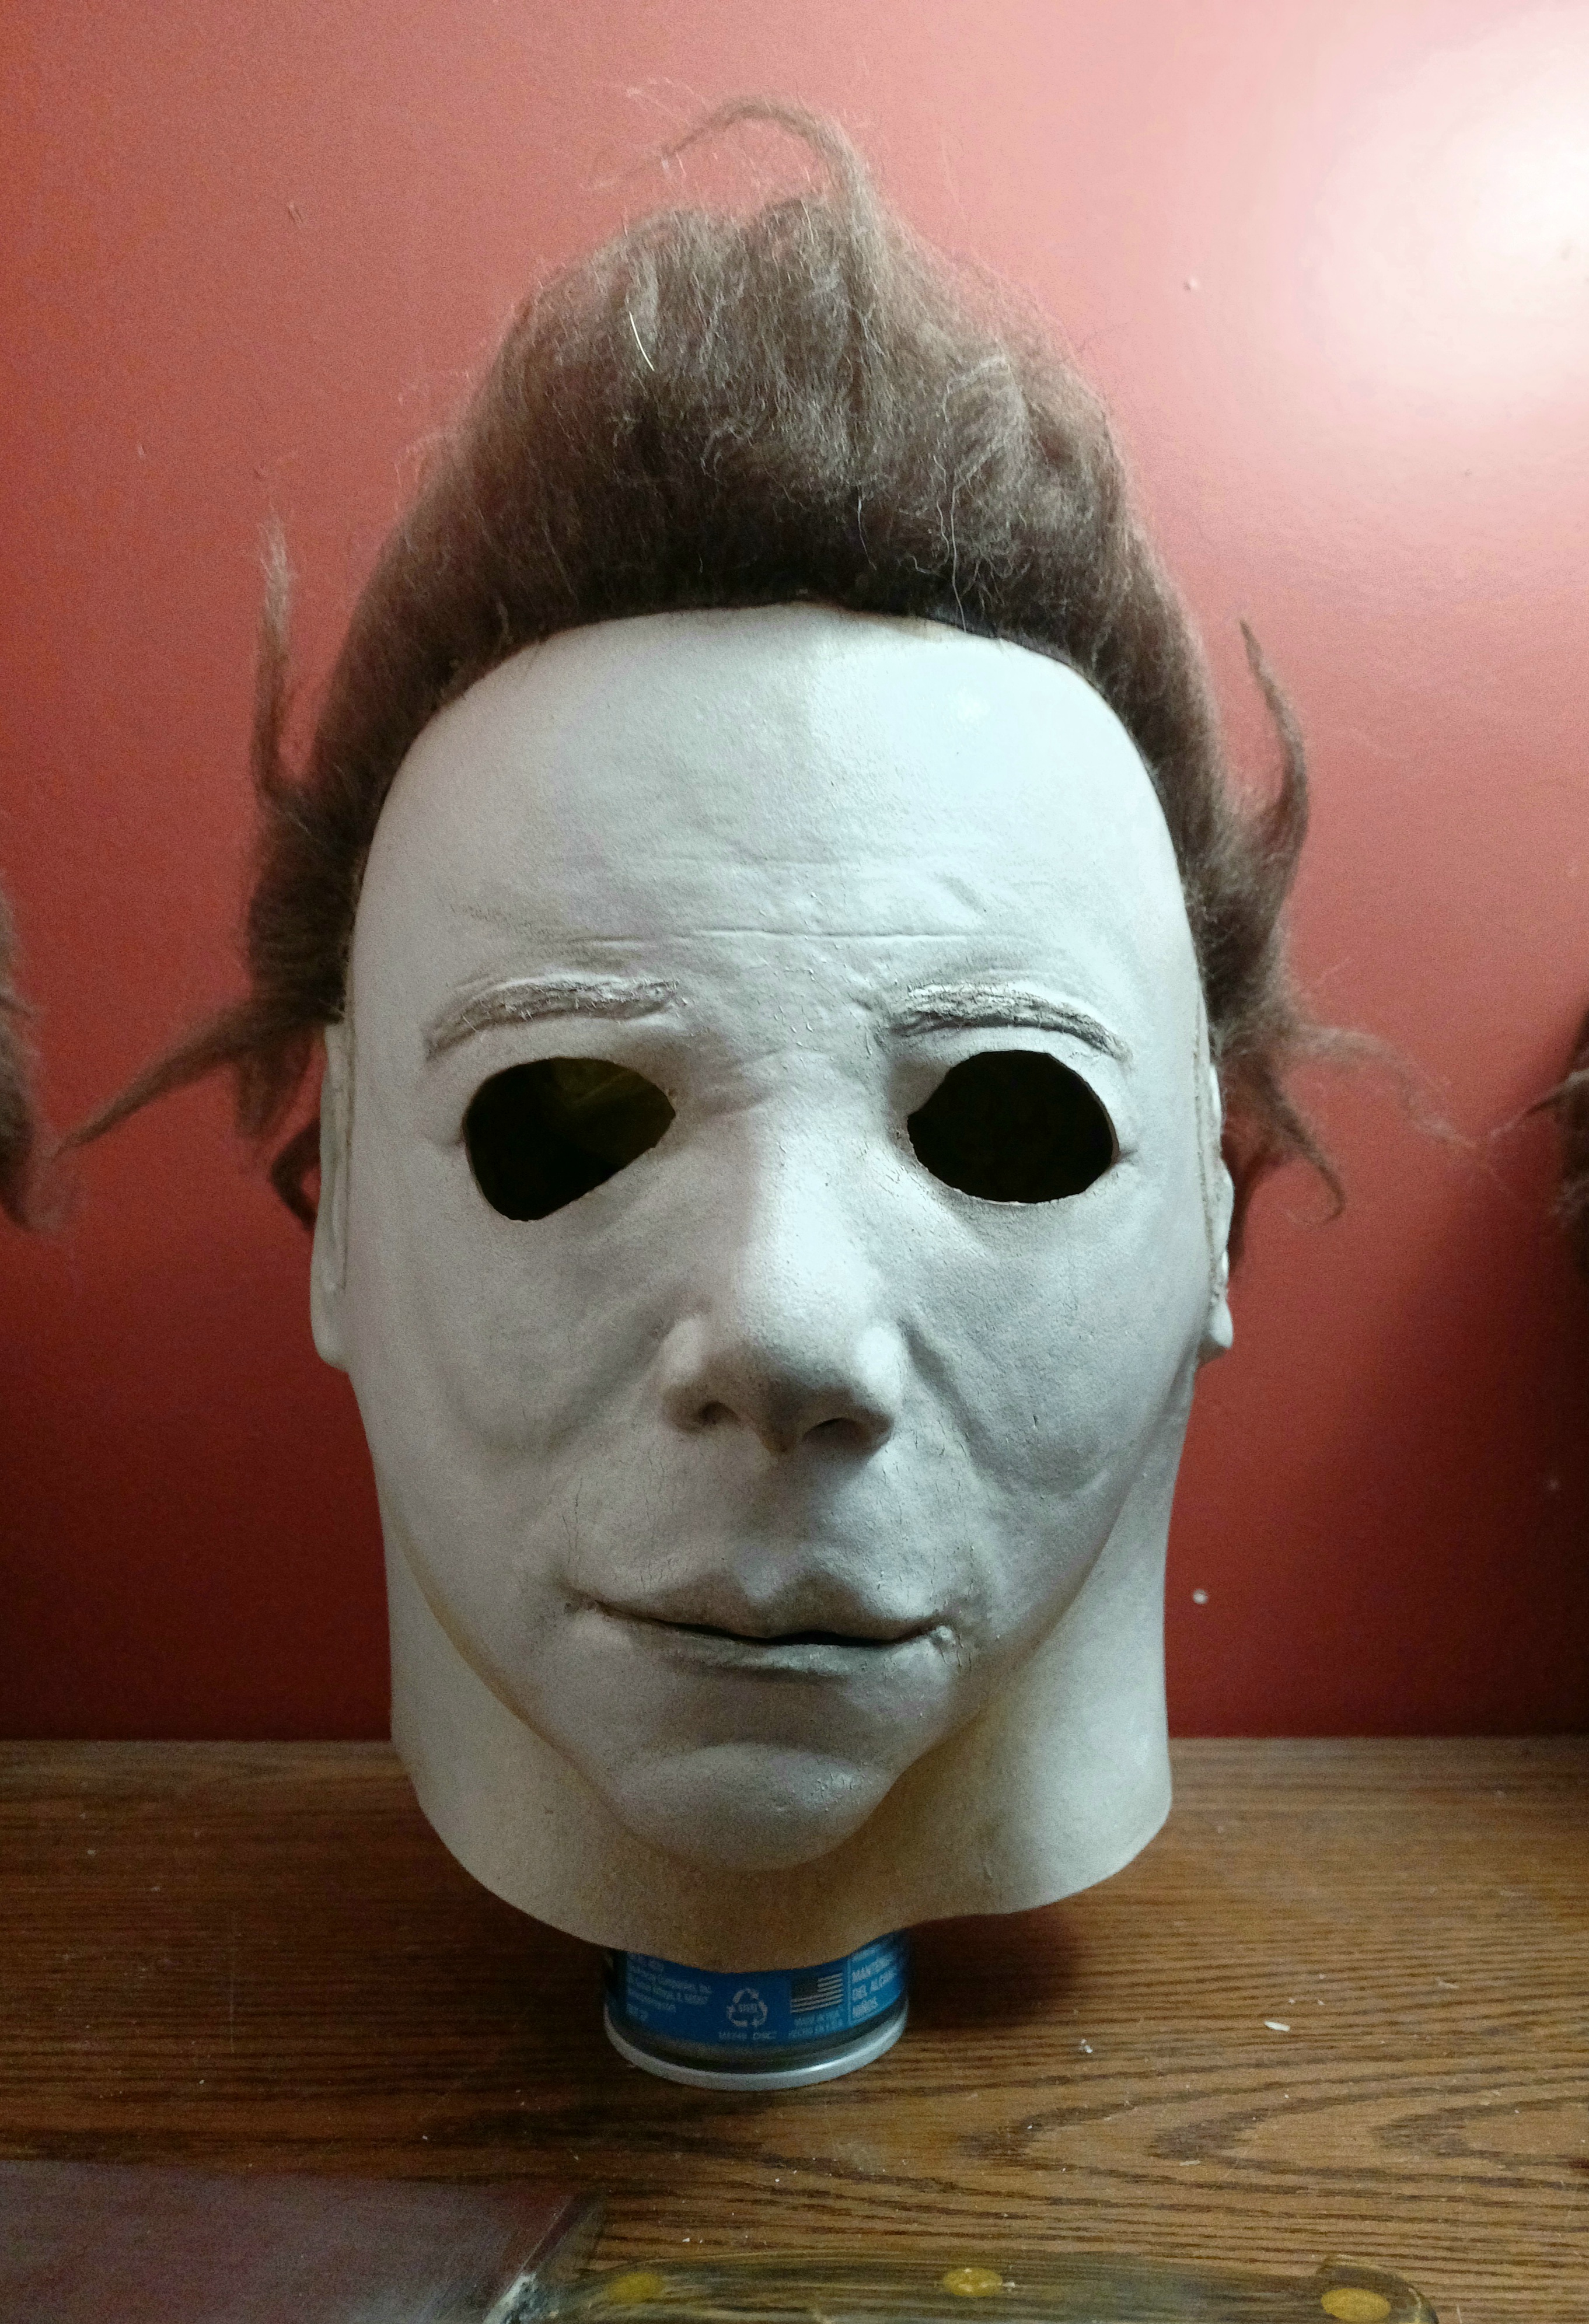
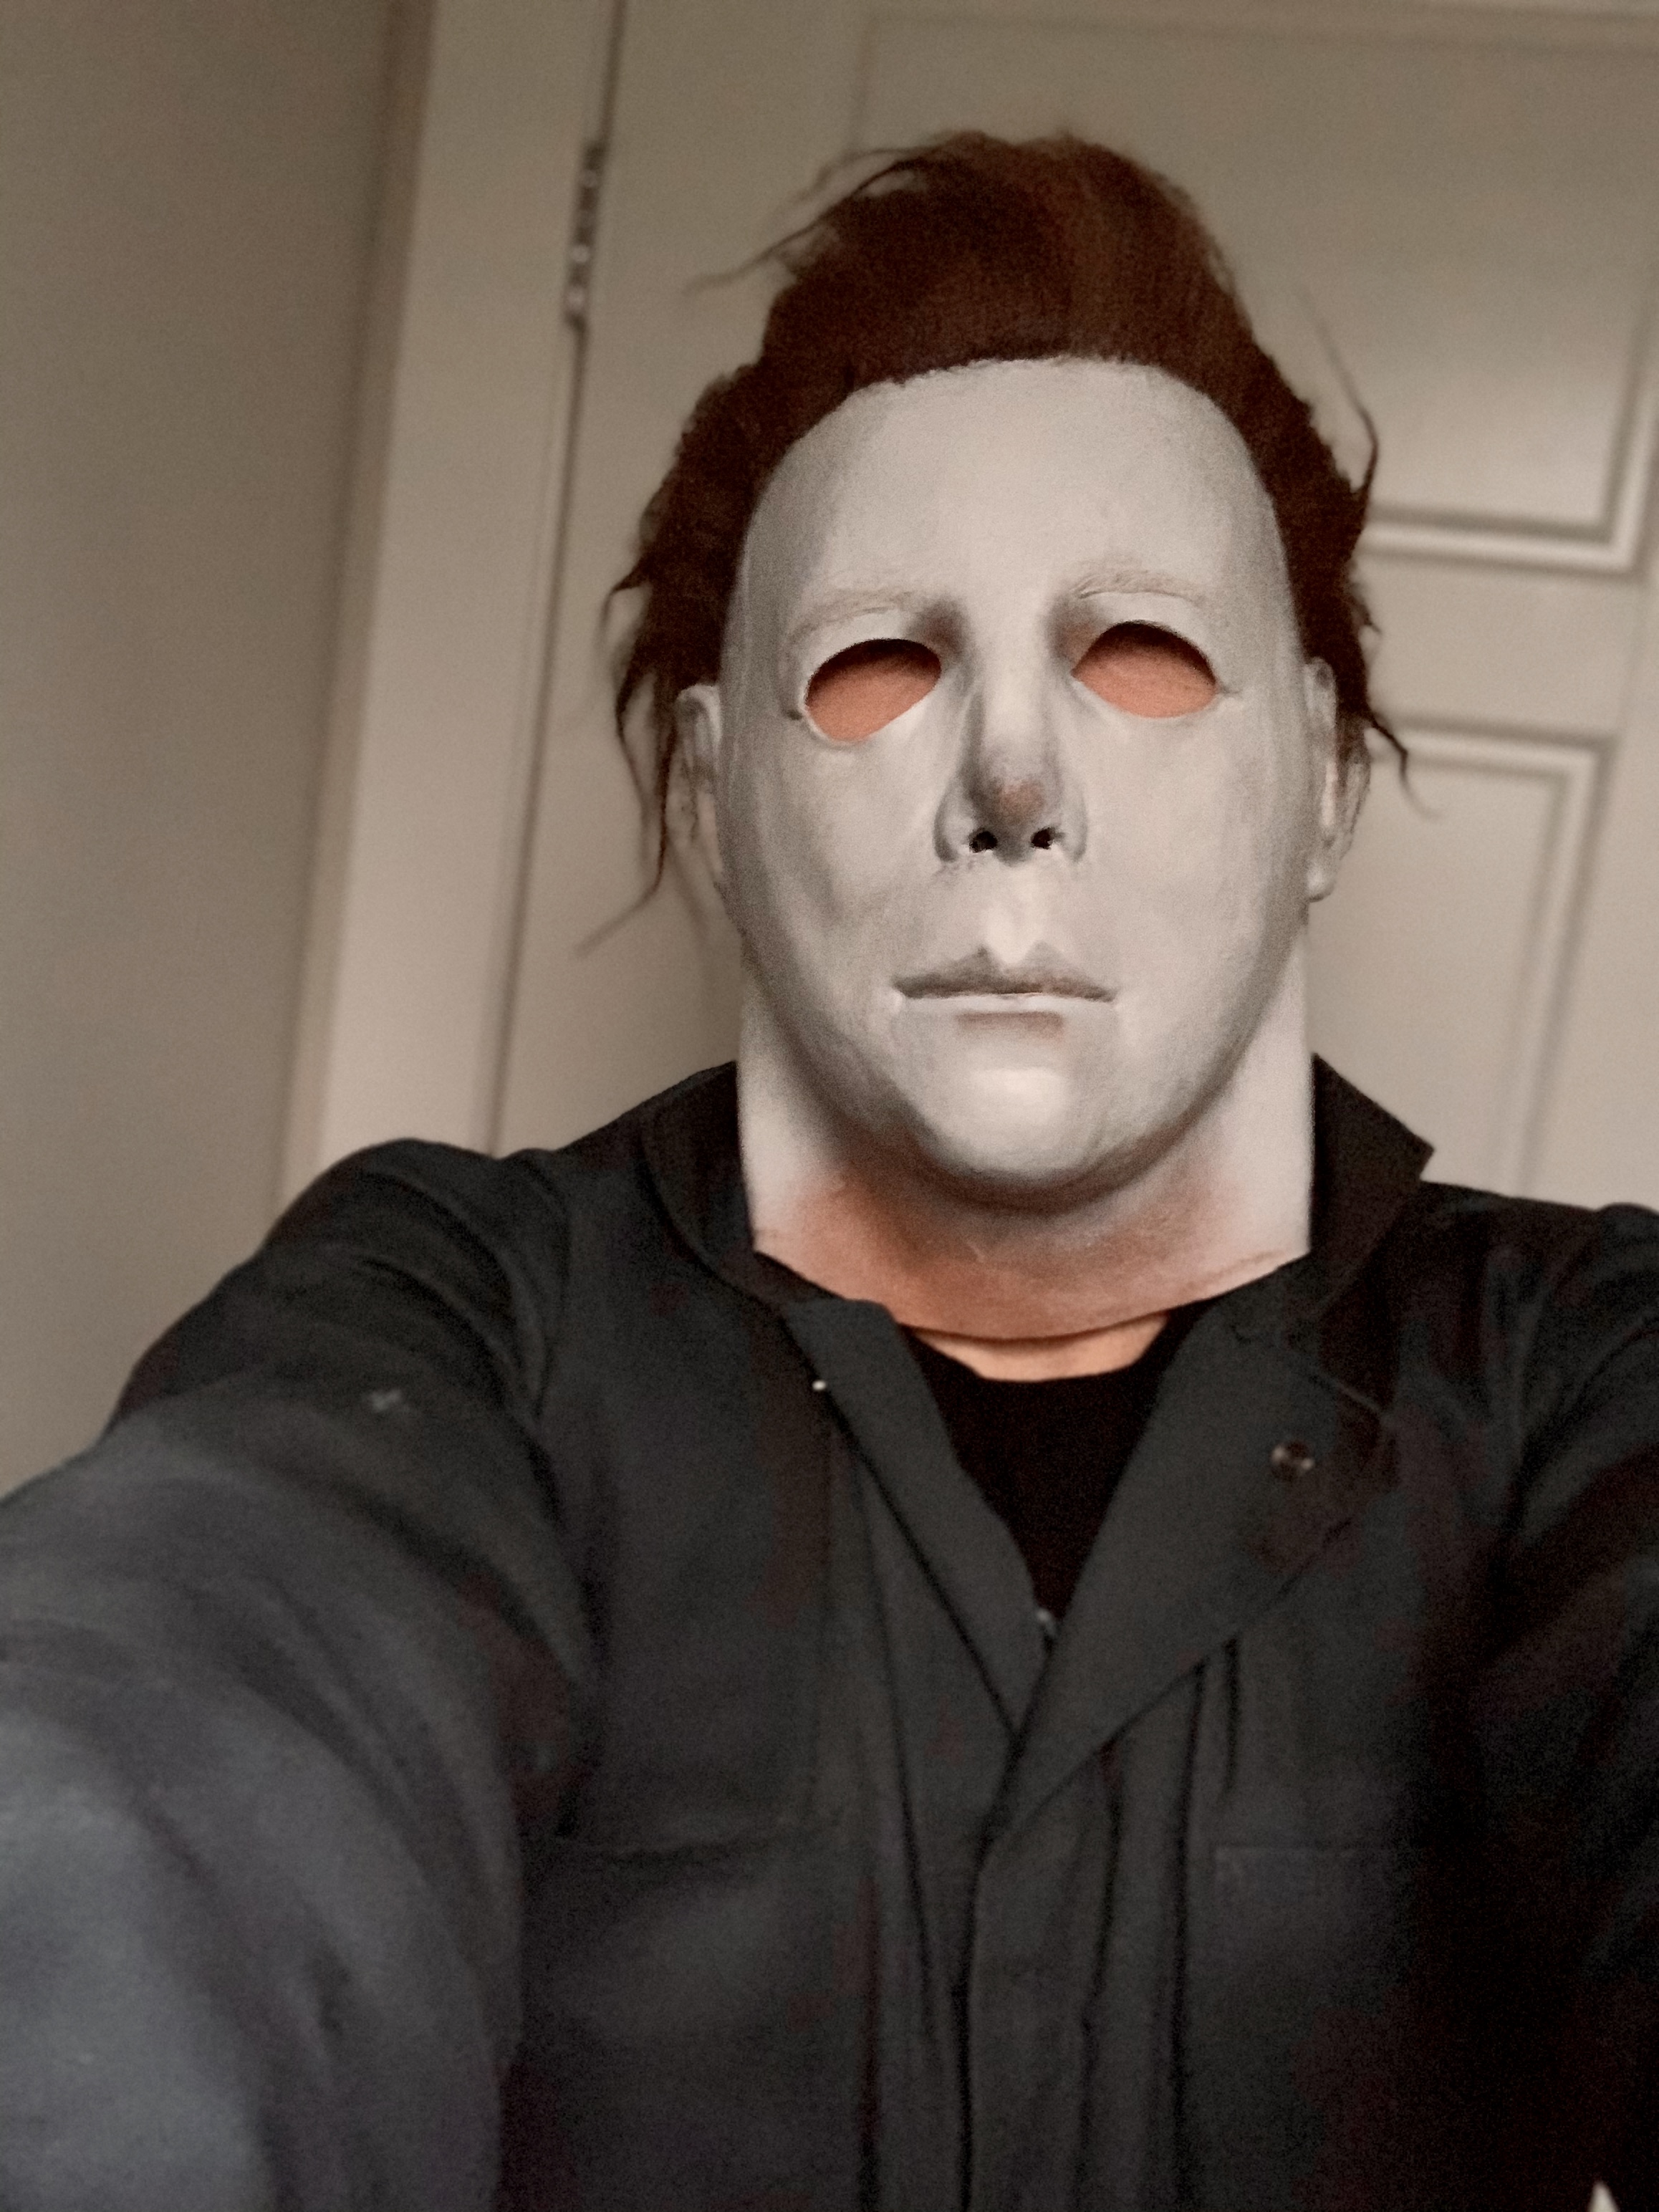
I have read countless of reviews online about H1 TOTS masks, and decided to opt for a Boogeyman which seems to be a community favorite regarding H1 masks, I was really happy when it arrived, it really looks like a pristine Kirk converted Myers mask without any specific stretch.

First I tried to style the hair a bit, it ain’t exactly like the movie but it’s way better than how it was when it arrived

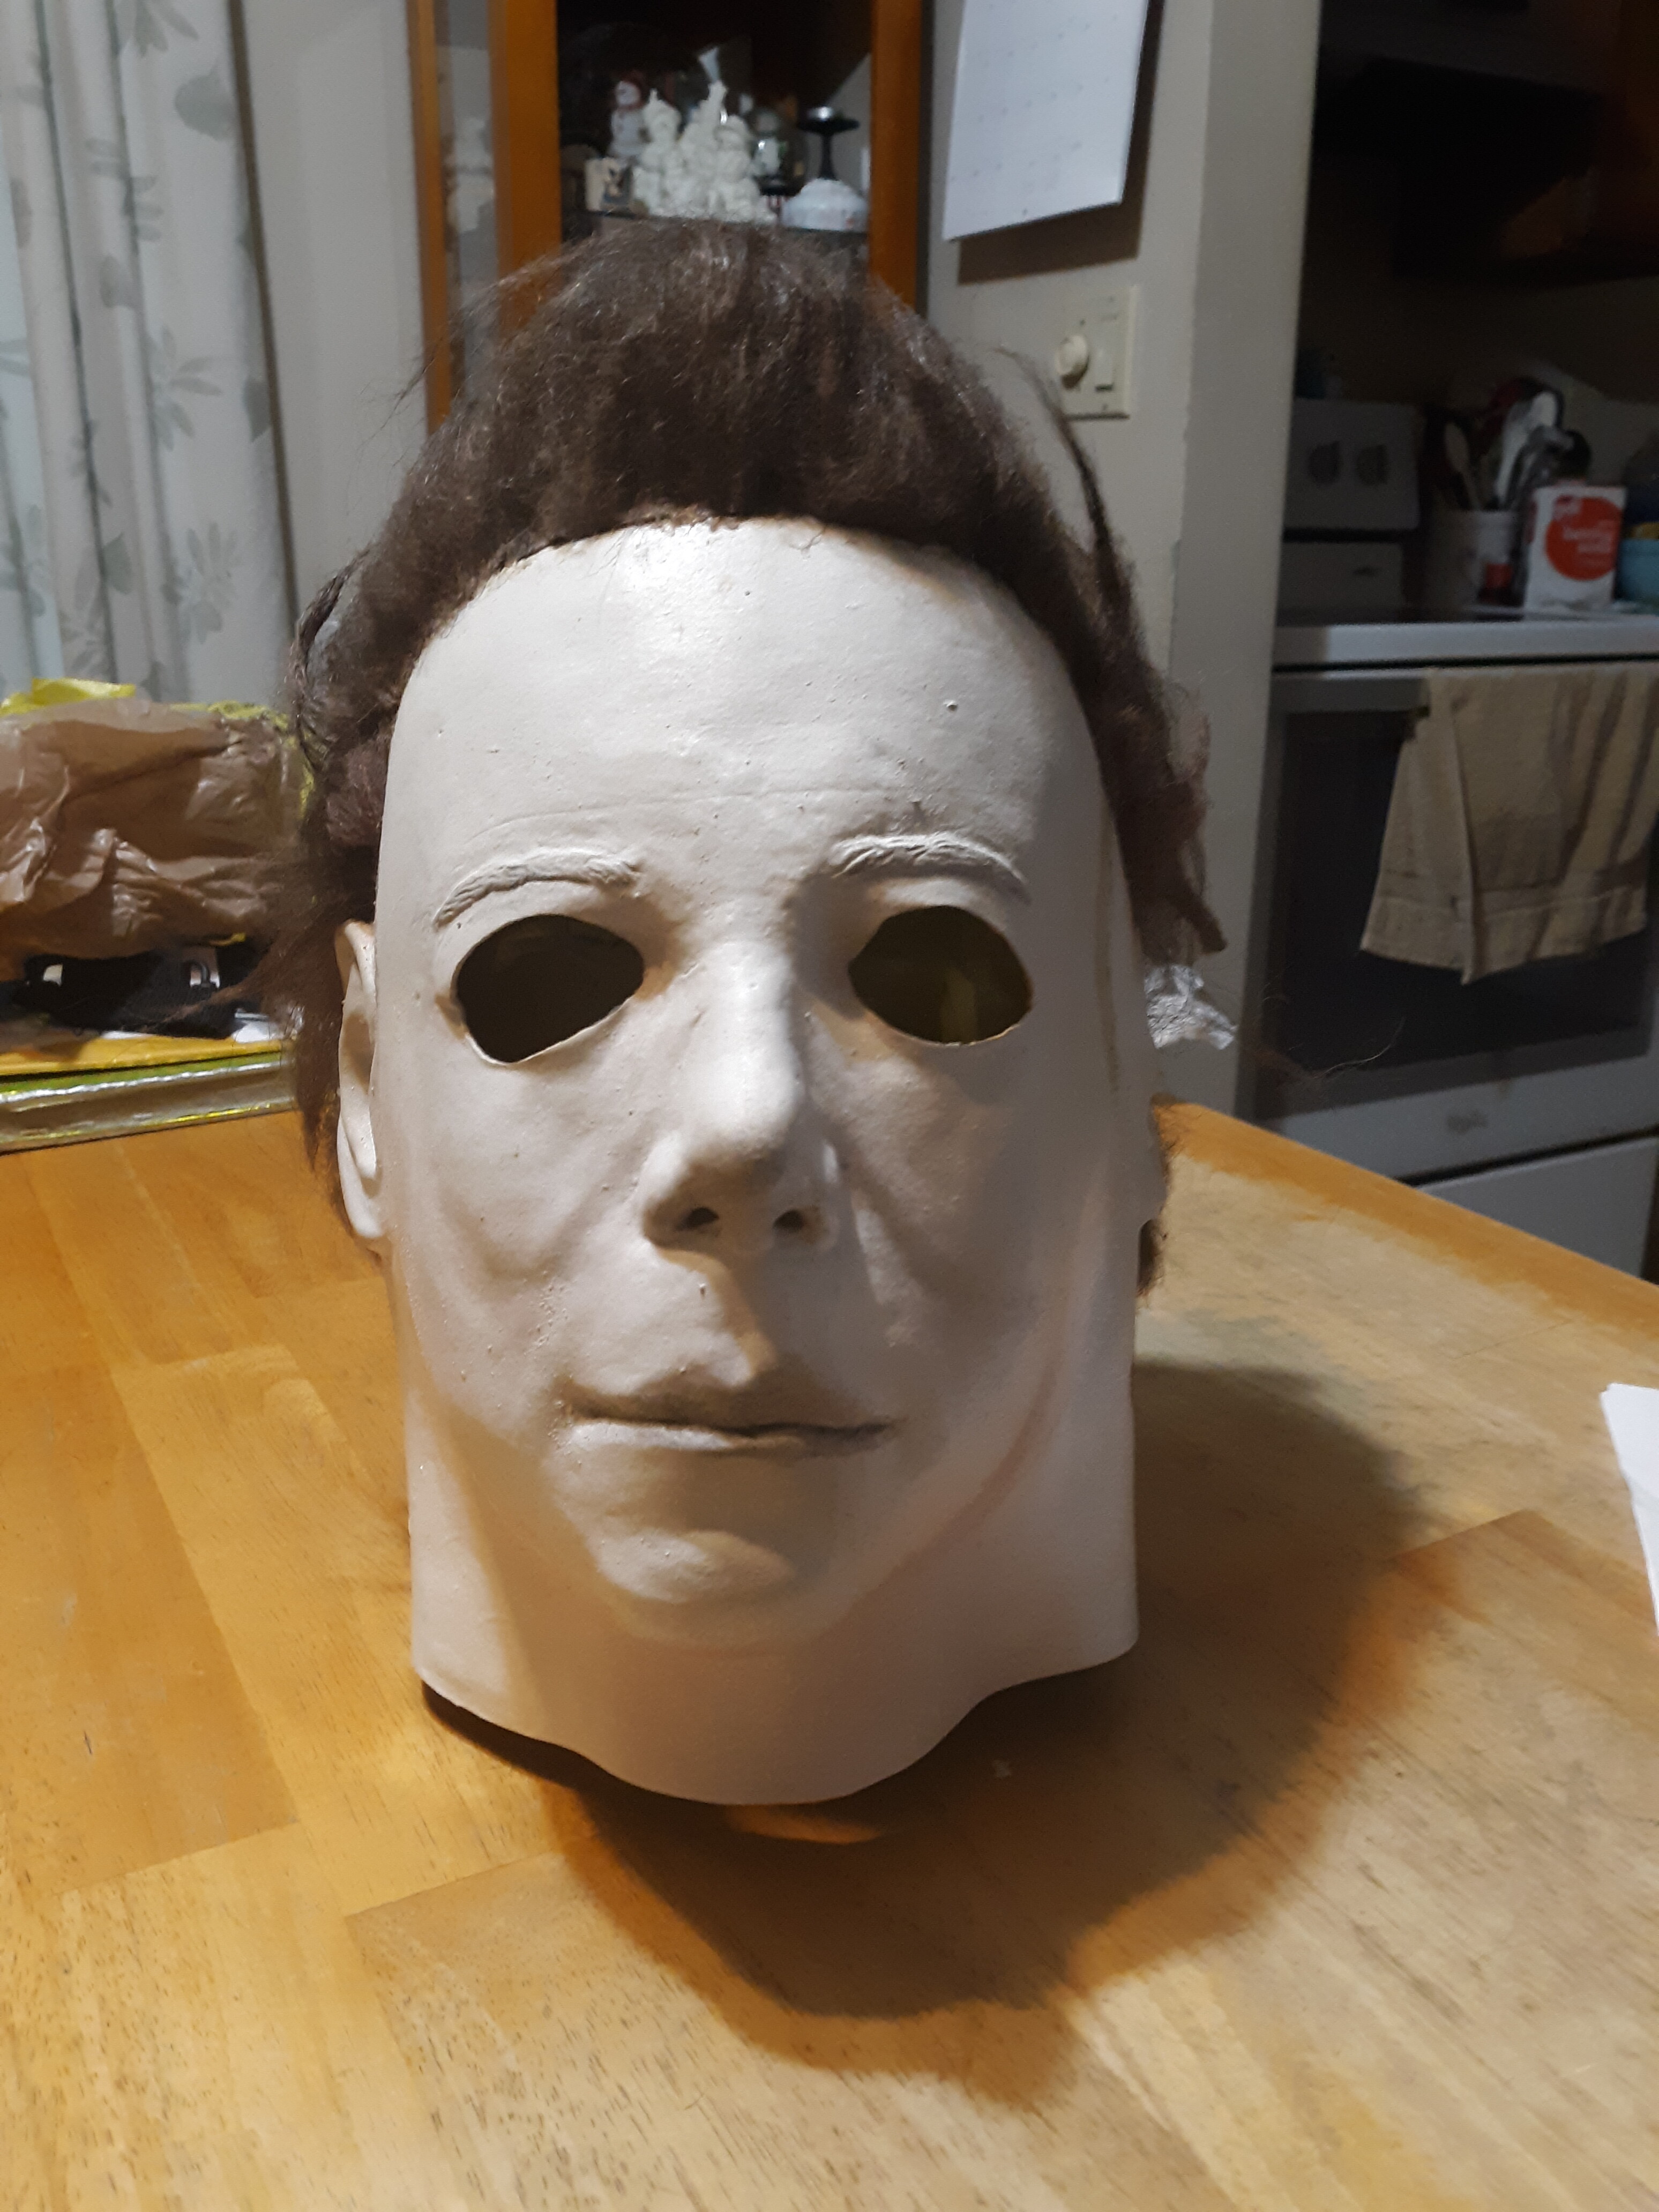
After this it still seemed too much, especially on the neck, so I tore some of it apart at the base of the neck till the ear lobe

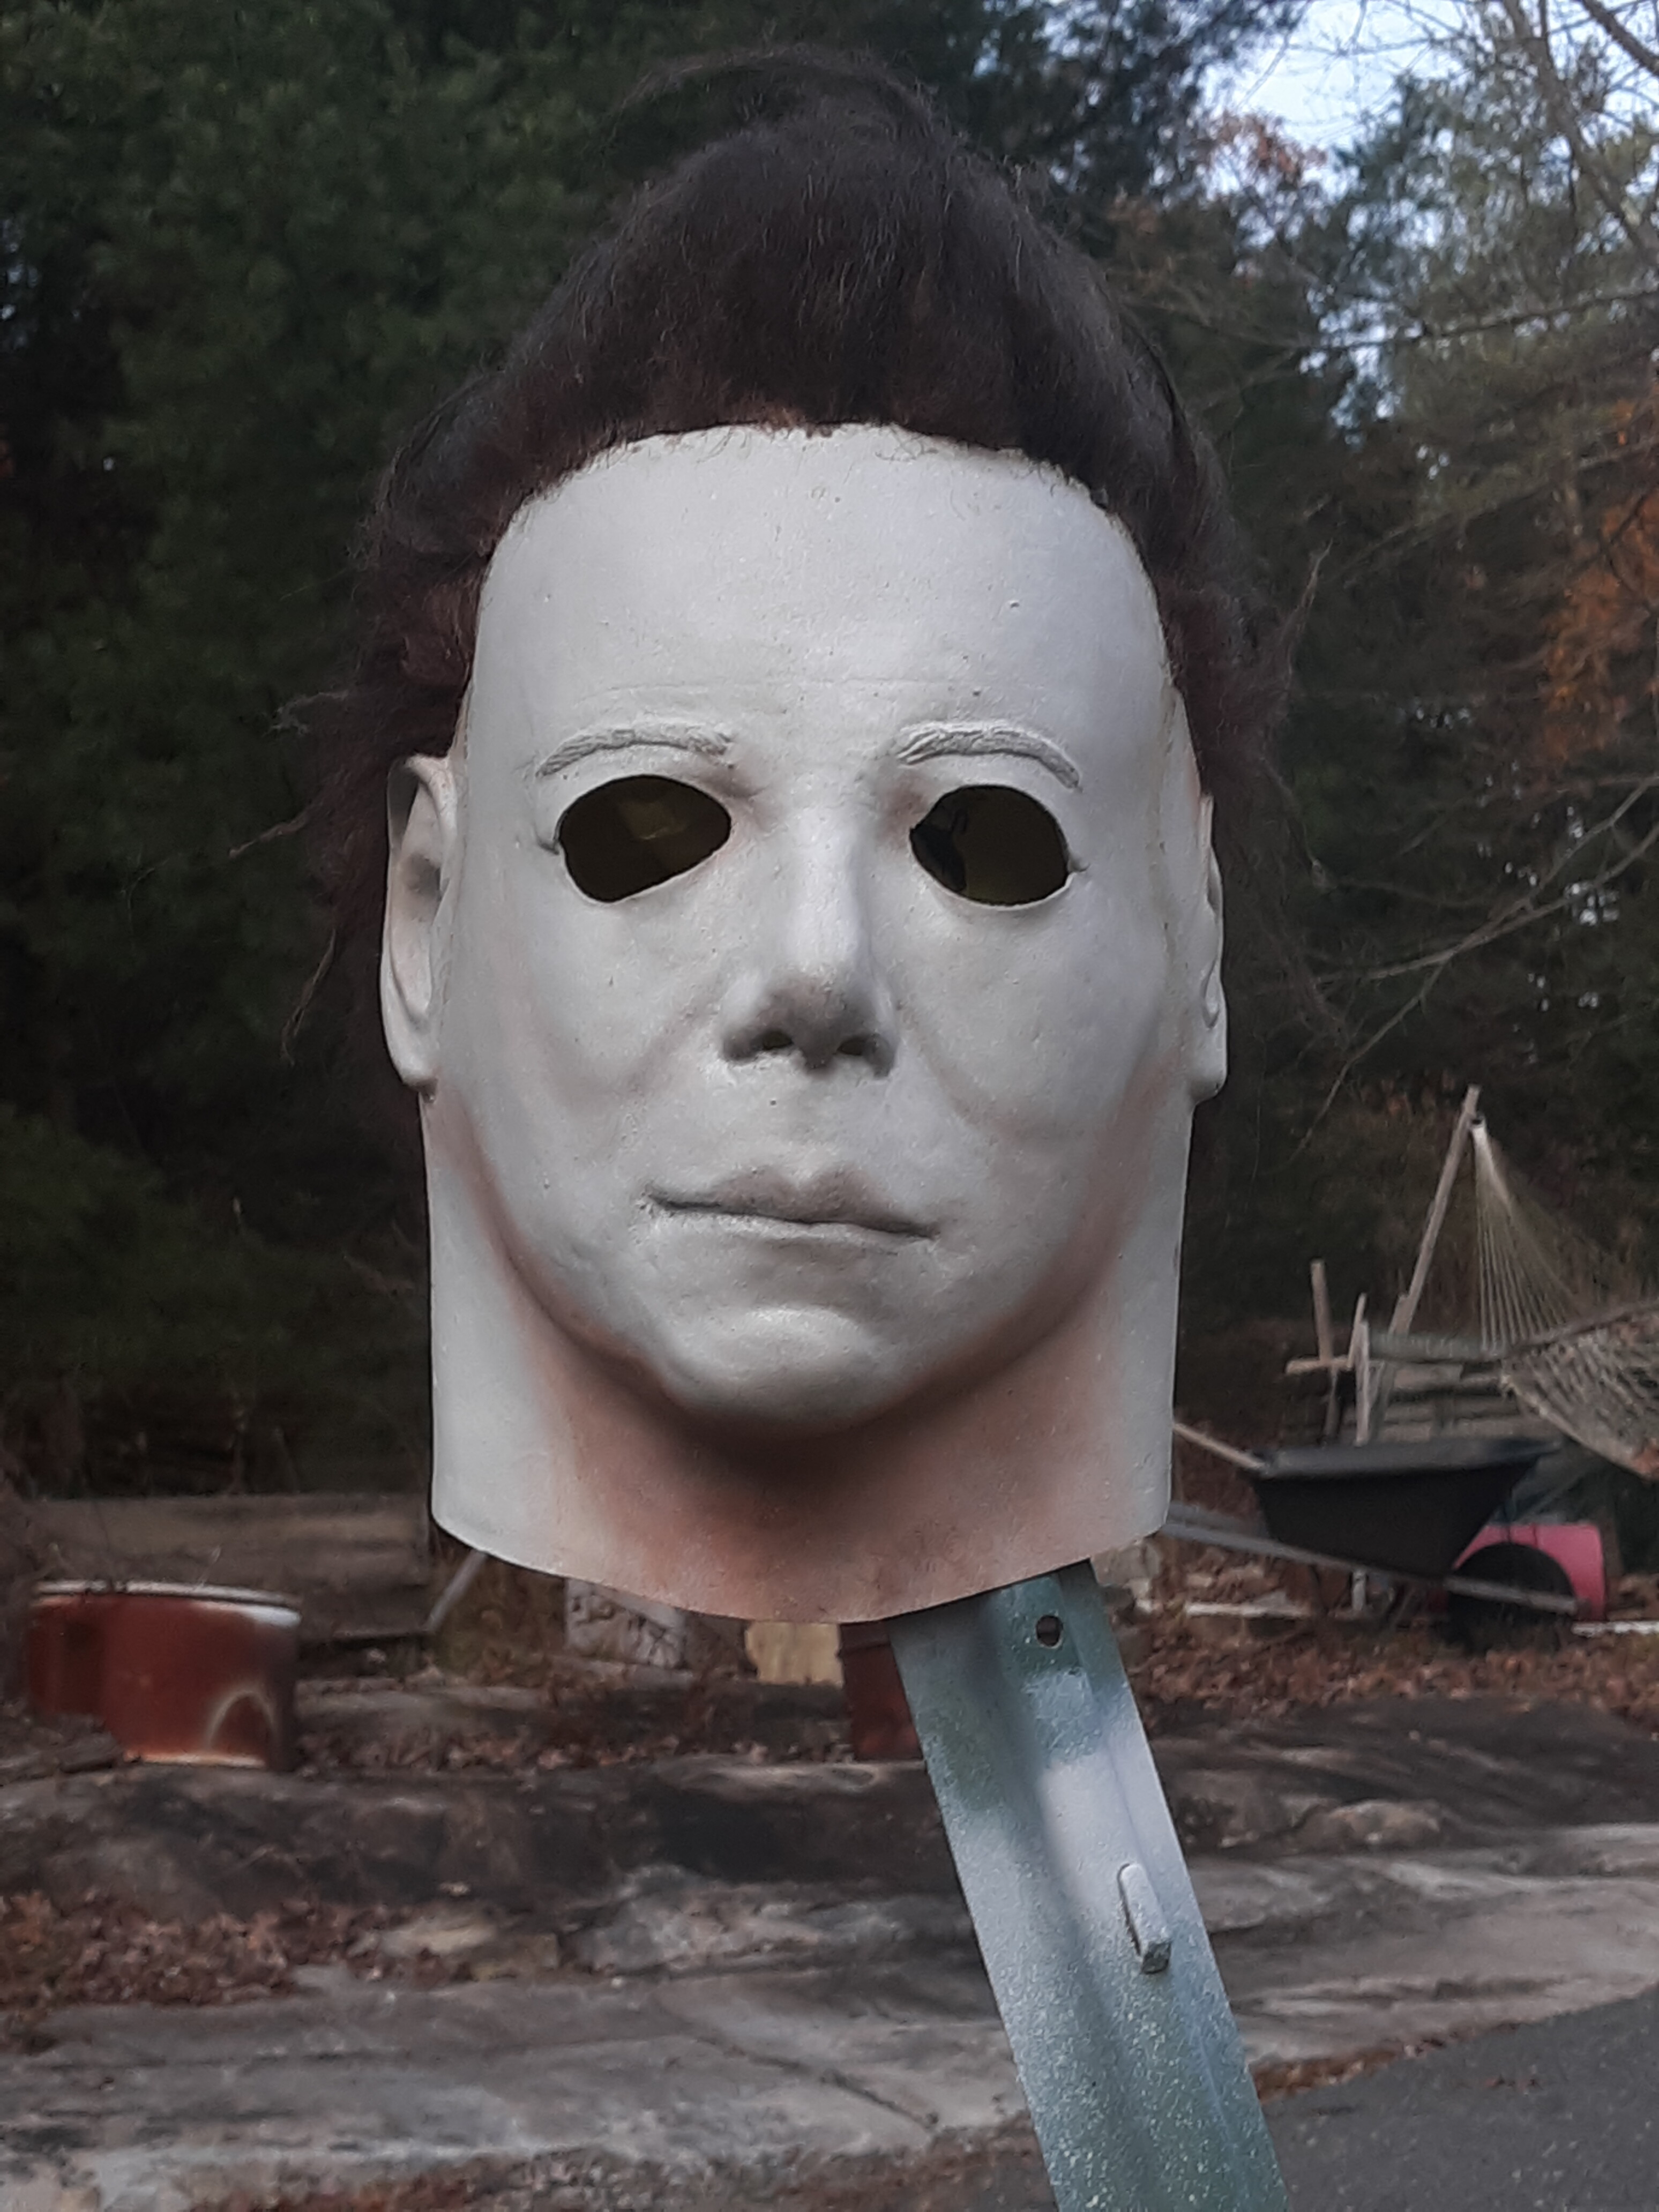
It’s still too much hair compared to the movie, but I decided to stop here and not overdo it since I was a bit scared of cutting too much, still, big improvement.

My question is now, what could I do to make it as screen accurate as possible?
I know about the missing glue lines and the mouth slit, how would I go to add those? Do you simply cut the slit with a cutter? Is there any risk of the latex tearing up once done?

About the glue lines, what kind of glue could be used to do that?

Lastly, in order to add a bit more shading on the mouth, jawline and eyebrows, can i just rub a bit of acrylic grey paint thinned with water or do i need to mix it with latex paint as well?

Oh yeah and let’s say that i’d want it to optionally have a castle stretch when wearing it, do i need to add padding, if so, where?

Thank you!

I own the TOTS 78 mask, and what I did was a “wash”, which is where you mix water with a dark acrylic paint, (I used gray), and you rub it all over the mask, then use a paper towel to rub it off. You basically do this over and over until you’re satisfied with how it looks. When doing so, try to really focus on the detailed areas, such as the cheeks, lips, forehead, and corners of the eyes, to really bring them out. After this, I just brushed straight up acrylic paint (gray) on those same areas. One of the most common mistakes people make when weathering/painting a Myers mask is they simply use way too much dark paint on those detailed areas, which makes the mask look more like it’s wearing make up than anything else, in other words, it looks tacky.
So, this is why I suggest using a lighter color, like gray, to still bring out those details, but not make them too overly dark either. Lastly, you might consider lowering the hairline, and don’t worry, it’s easier than it sounds. All I did was start on one side of the hair line, pull down a pinch of hair lower on the forehead, then glued it down with tacky glue. Keep doing this until the entire hairline is glued down.

Oh cool! So the acrylic paint isn’t latex mixed and doesn’t crack?

I have one of these, would the color be ok for this process?

I’m no expert lol, but in my experience, I did not mix my acrylic paint with latex, and so far, I haven’t had any issues with cracking or anything of that nature. As for the color, personally, I would go with a lighter shade of gray. If I recall correctly, I went to Walmart and bought a small bottle of acrylic paint whose color was called “elephant gray” or something along those lines. Another tip: when you do paint the detailed areas, don’t use too much paint, and go back over it to remove the excess. Also, try to rub it in, almost like smearing it, to help create a more natural, shadow effect.
The point is you don’t want the detailed areas like the cheeks to be so dark and painted on that it stands out from a mile away…it needs to be subtle, just enough to lightly highlight the features and that’s all. Of course, you can paint your mask however you want, but that is what I recommend for the best results.

Yeah the number one thing to do to brand new TOTS masks is to give it a bit of weathering. They usually come very bright white with a lot of shine to them. Focus on the cheekbones, lips and nose. Use a grayish paint mixed with water for the best results. Be very subtle with it. Do as little as possible and keep building until you’re satisfied. It’s best to do too little than too much. would also open up the mouth so it can make a castle stretch when worn and just to look more accurate in general. For hair I usually realign the front hairline first. It should peel off simple enough. Then trim the hairline (the part with glue) till its short enough to not be noticeable. Then I re-apply it with liquid latex but you could use tacky glue as well. I also try to leave a little sticking out right above where the gluelines are to make it seem like the sideburns were just removed. You can use some extra hair you may have lying around for this. I included a picture so you know what I mean. For styling I seperate the strands a bit as they kinda come all uniform and together. You want it to look messy and matted. Spray the hair with water and swirl it around a bit to make it more “uneven”. Then push it back down on the sides and not so much on the top. You can use hairgel for the signature Myers curls on the sides. Heres a few pics of my kirk I converted. They are different masks but you’ll be able to see what I’m talking about. Good luck man, looking forward to see what you do.
20220216_141353.jpg
20220129_164545.jpg
20220129_164523.jpg
20220129_164444.jpg

Jimmy falco does an amazing rehaul on that sculpt

Forgot you mentioned how to get a Castle stretch. The way I do it is stuff cotton balls into the chin and neck area, so that they are under my chin when wearing the mask. I’m sure there are other ways that might be better, but that’s how I do it.

Be very careful of doing too much. You have a nice copy of the mask already. Look at pictures in the gallery here of the hero mask in the movie for reference. Take your time.

Thank you all for your answers, they’re very helpful.

About cutting the lip, how would I go and do that? Would a simple cutter knife do it?

I just use simple small hand scissors. Use some reference pictures though to see how much is opened u0 though here’s one I usually use.
20210131_123247.jpg

I haven’t done any repaints or changes yet (I’m actually a bit afraid of doing the mouth slit thing so I don’t know if I’ll actually do it) so this is pretty much still the stock mask with a bit of hair restyle, but in the meantime I tried adding a bit of volume to my head by wearing a beanie under the mask, and I think I got a shape closer to Castle’s now, what do you think?

even with a slit, the latex is way too stiff to stretch out properly, at least it was for me

Looking good. Lighting is pretty important too so keep that in mind. The original hero wasn’t all too impressive in direct light, so some weathering would help it pop without a proper movie set lighting crew. As for the hair I think it could probably be flattened down more to the head. In the photo I uploaded above you can see it doesn’t stick out too much. I would also get some hair gel and apply if to thin strands to get the curl affect as well. Proper curls can really bring the whole thing together. The mouth slit isn’t all too important especially on the boogeyman. You can get a decent castle stretch without it. In my experience the kirk would usually need it though to get the stretch.

I agree with swoosh and wouldn’t worry about slitting the mouth. Mine is a bit thick to get a proper stretch, but it’s not terrible. The hair just takes some styling as well. Here is mine as a reference.
C9C95B15-5C63-4F41-8A5C-338F143C3F36.jpeg

1 Like

So uh, sorry for bumping this thread, I just can’t help but feel like my Boogeyman is missing something, I mean, looking at it every day over my dask it basically looks… off.

It mostly has to do with the fact that I noticed that my nose is missing a shading spot (there’s a small white patch right on the tip) and that the lips look awful if not lit by proper light, by that I mean that I only see basically a giant grey patch of airbrushed paint with no detail whatsoever.

That and the gloss are kinda making me hate looking at it, to let you guys know what I mean here’s the mask from my usual POV at my desk

So, I’ve been thinking, other than your advice to shade it a bit, you think I could perhaps smudge a bit of white paint on top of the whole mask to cover the ugly factory shading and also remove the gloss, then proceed to do my own shading? In that case, if it’s paint getting brushed and smudged on top, would I still need to buy latex to mix it?

Lastly, if I end up doing that, you think it would be ok to add the sideburn lines with glue? I got some strong transparent glue that’s ok for stretchy materials that I use to glue the eyemeshes for ghostface masks, I would then smudge white paint on top of that as well.

Dunno if it would be ok to use that glue to fill that little hole on the chin which is a factory defect (and apparently an entire batch got out like that I’m reading?)

Oh, one thing I also forgot, If I were to mix black paint with water to thin it and brushed it with a wet brush over the hair, would it actually work and give the hair that trademark brown and black or would it make it feel “tacky”? I don’t have a spray can to do it

I’ve only done that in some areas that may have caught a bit of overspray from the white paint. It seems to work fine. Doesn’t feel tacky but I usually just mist my hair with black spray paint very lightly. I don’t mind if its a little tacky if it means the hair styling will remain the same. Having to restyle the hair everytime I wear can get pretty annoying. As for shading I’d mix 50/50 water and black acrylic. Dab some of the brush off on a paper towel so it’s still damp but not dripping. Get under the nose and on the lips to help it pop a bit more. Get the cheekbones as well but very lightly making sure the brush is almost completely dry. Apply with very little pressure as the cheekbones should look natural and not overly shaded. You could also lightly shade any areas that would normally cast a shadow like in the corners of the eyes, and underneath the chin. You can also attempt a bit more of flesh tone but I usually do this before the white paint. Just mix an orange/pink color with water like 75/25 and cover the areas under the chin and jawline, behind the ears and back of the neck. I think the shading of the lips and nose is the biggest thing you’d want to do. Without it the mask looks too blank almost like the h4 mask. I wouldn’t worry about brushing white paint over top the whole thing but you can do some minor highlighting in some areas. If you do multiple passovers with water you can get away without using liquid latex. Anything light is fine without it.

Alright, good to know then, I will darken the hair with a wet brush once I decide what to do with the actual mask.

I am very tempted to just buy some liquid latex and white acrylic and repaint it completely, the more I look at it, the more I don’t like the stock paintjob, I noticed a few spots where there’s a build up of the gloss varnish they used and it’s slightly transparent yellowy, I feel like I could probably shade the whole thing better if I went and just started fresh with a completely white coat of paint.

Well, that and also I could do the thing I wanted with bostik superglue and add those glue lines on the sides for accuracy

In the meantime, I’ve roughened up my TOTS knife a bit by wiping it with an abrasive kitchen sponge

It’s great cause now it’s not as reflective as a mirror and it could definitely pass up as the real thing imho

I usually just use white spray paint to repaint my kirks and boogeymans just like they did in 78. If you use very little it shouldn’t crack. Always cover the hair to prevent overspray and maintain a good distance to help not apply too much. However doing this method is not the best if you’re not experienced in it. It can be easy to apply too much and cause cracking. The best way to do it is with an airbrush but those can be expensive and a hassle to maintain. Here’s some pics of my boogeyman that I just misted over with spray paint. The flesh tone is some acrylic I just mixed together. That’s what I do but do whatever you feel is best. There’s many ways to rehaul a mask.
20211111_160926.jpg
20211111_153332.jpg

I would probably use a brush or a towel since I don’t have an airbrush or even the proper space and equipment to use spray cans, technically this way it shouldn’t crack since it’s easy to just lay down a tiny veil of white but just to be safe if I end up doing this I will buy some liquid latex and mix a bit of it with white paint.

I feel like even just painting it white without any shading would make it way better than the stock paint, I really don’t get why they went out of their way to add spotty grey shading when it probably would’be been fine without it, their shading on the mouth looks like a moustache and there’s two weird spots on the side of the next for no reason.

Also your mask looks amazing, it’s just how I like it, not overly shaded, white with a bit of grime, and a bit of pink under the chin, I hope to be able to turn mine into something like that