Every year I tell myself that I’m going to go as someone else.
I was Michael Myers last year, I can’t be him again! This repeats every year, but I thought this time I’d spice it up:
I took a stroll over to Spirit Halloween and picked up this bad boy.
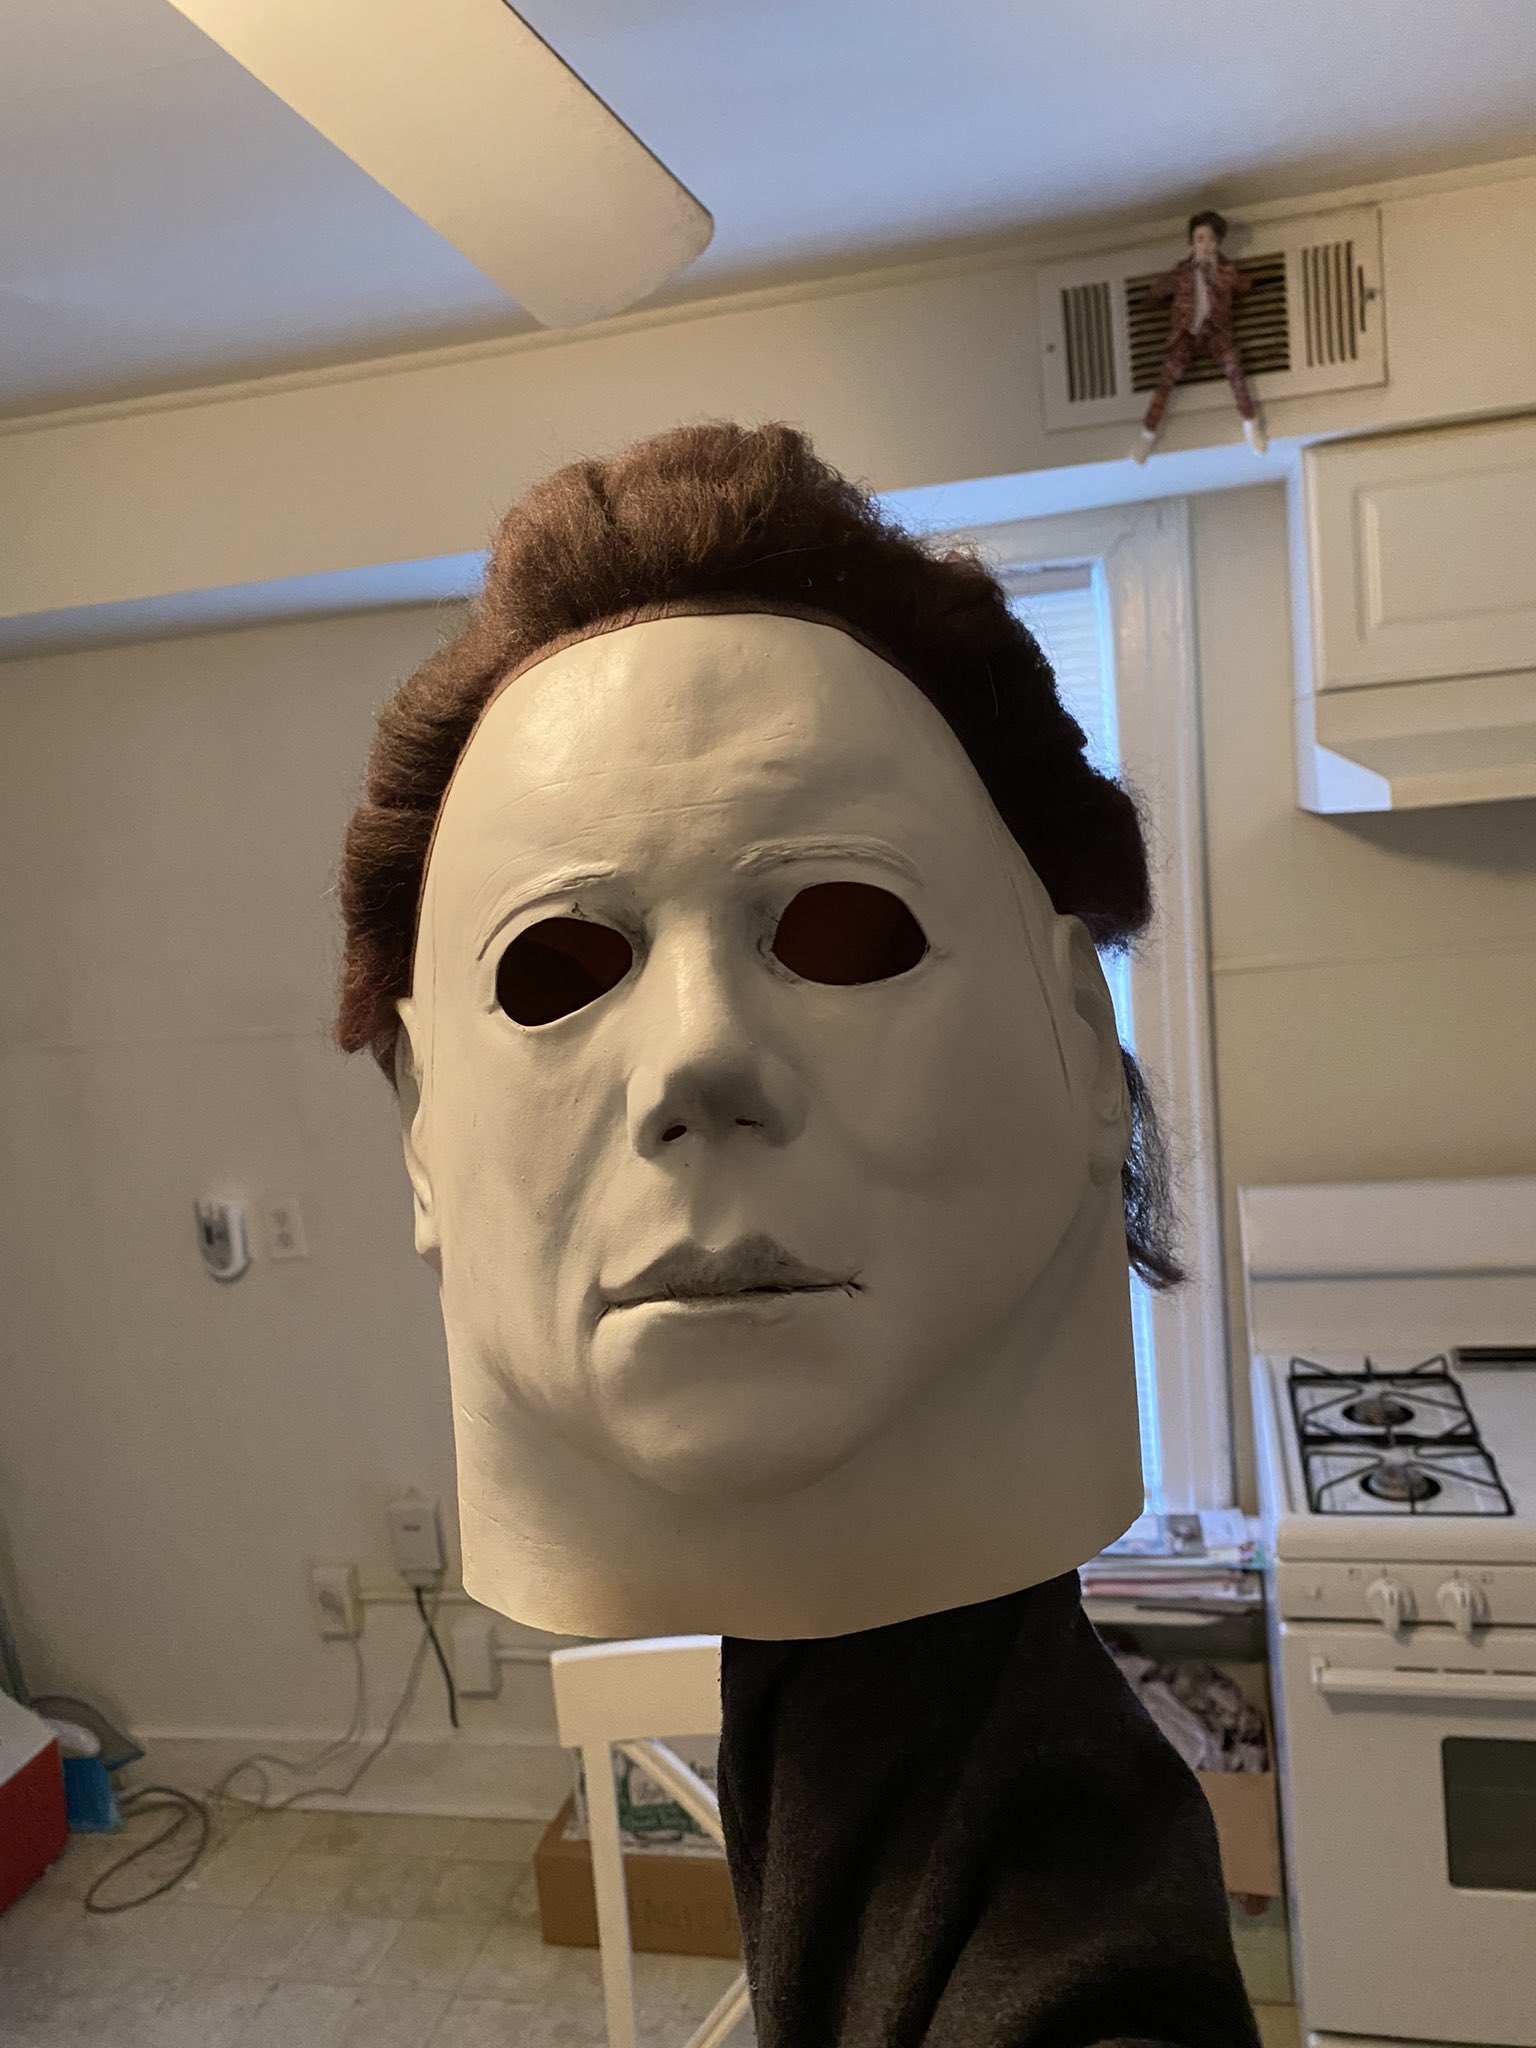
A brand new, probably been in storage for a year, Trick or Treat Studios 78 Myers Mask, and man was he imperfect.
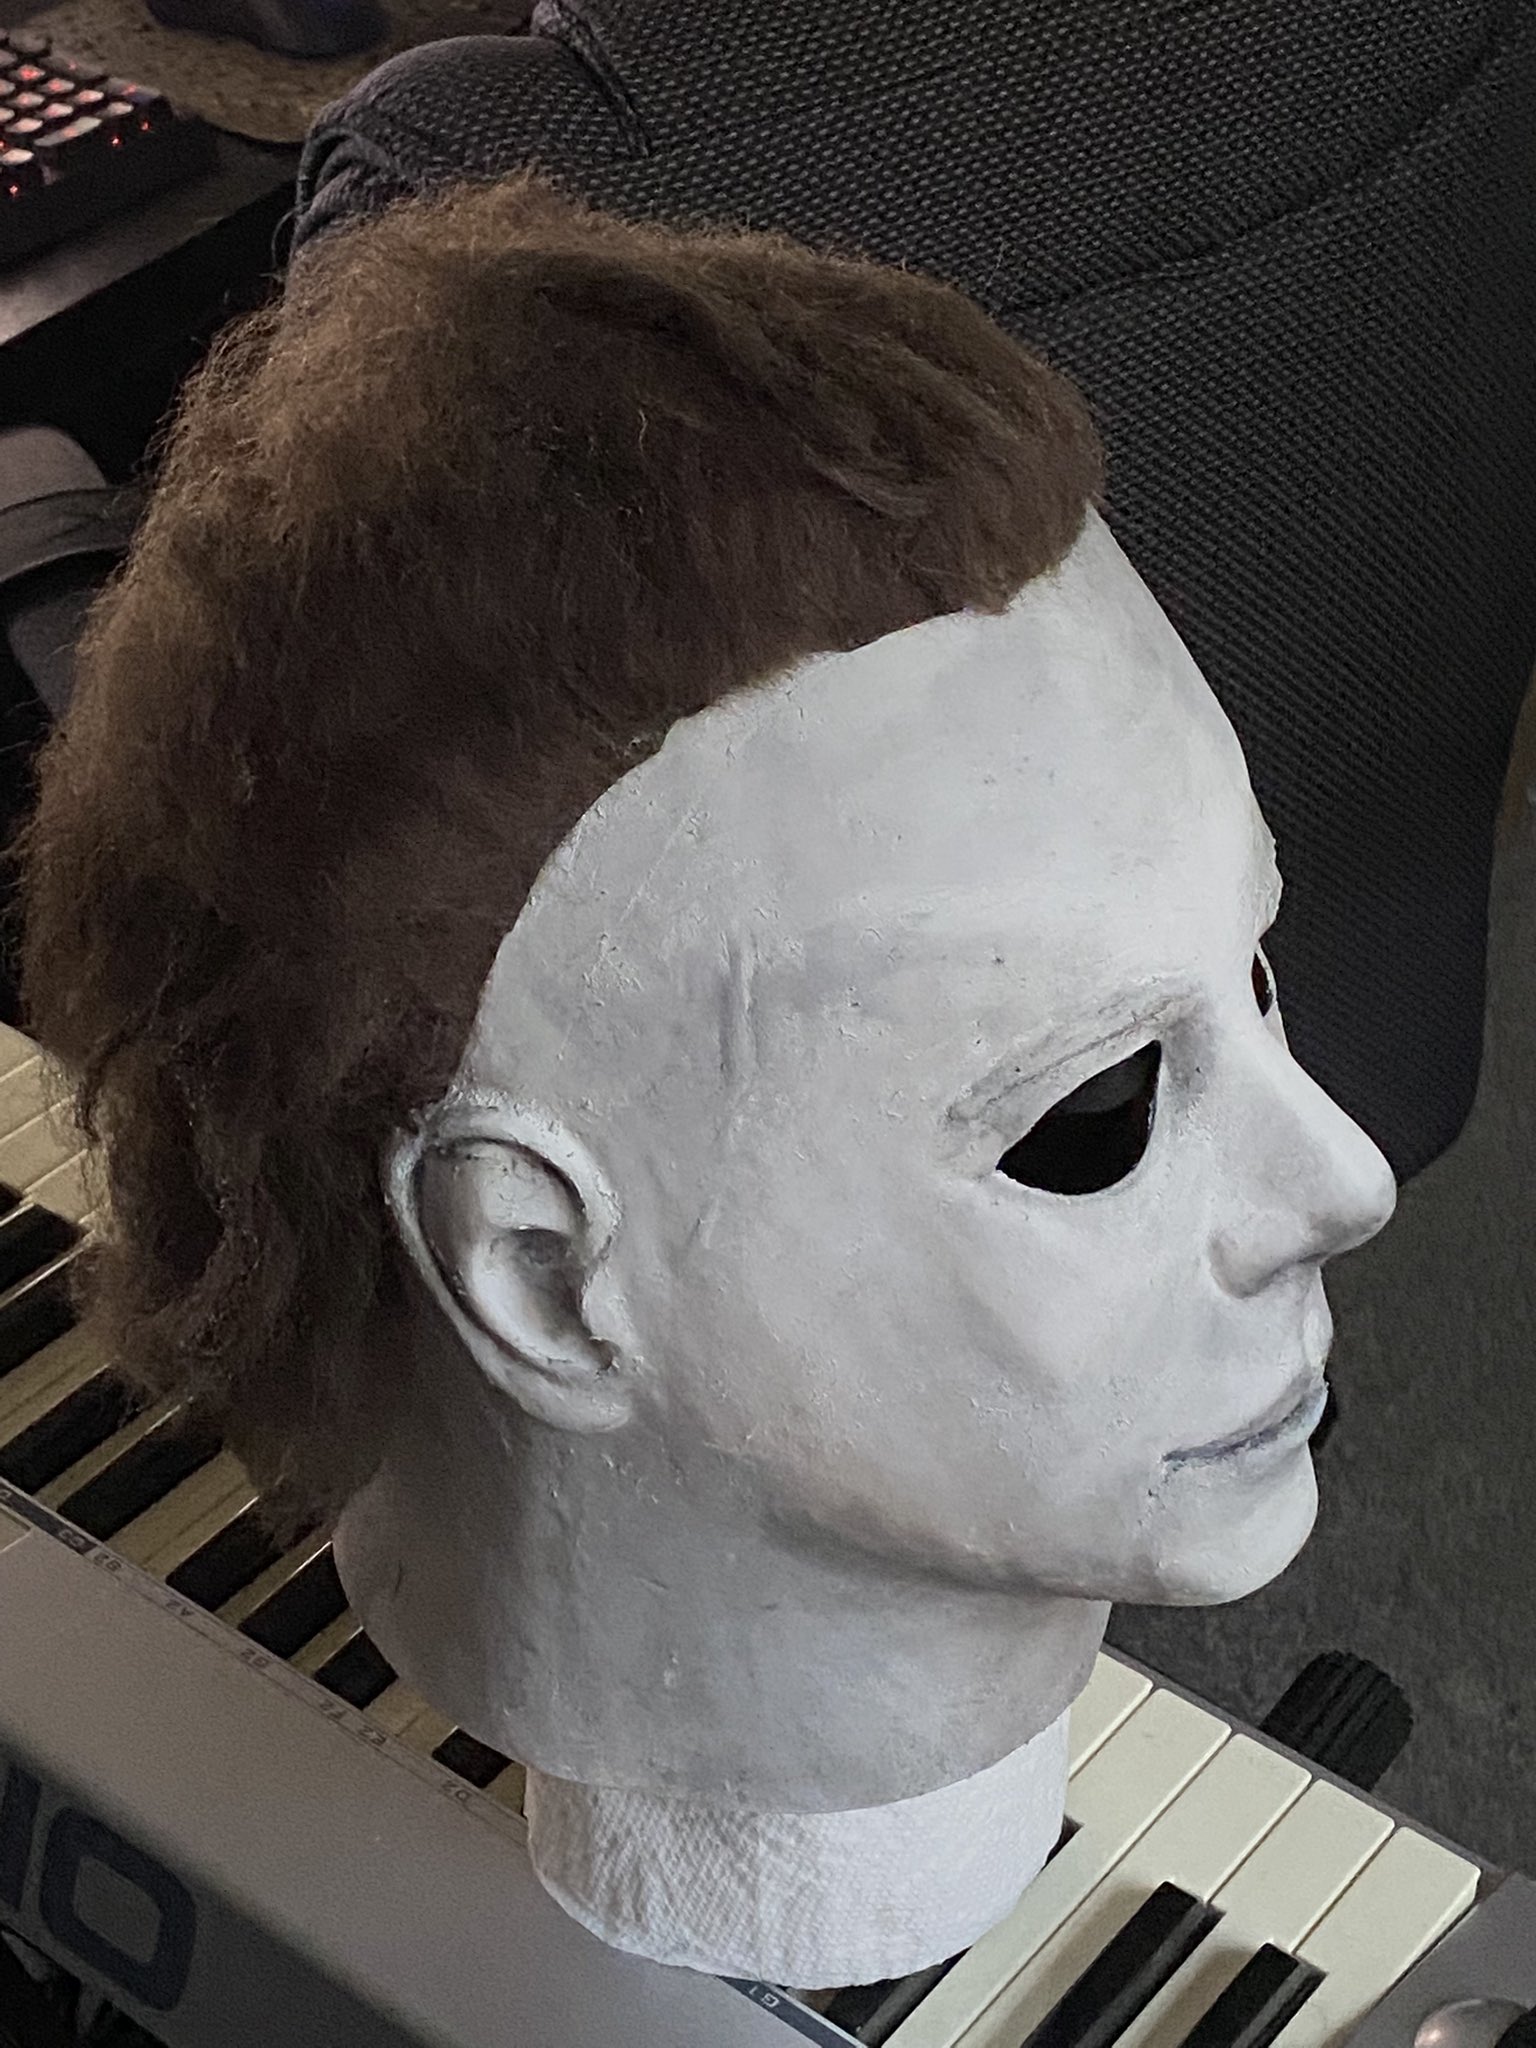
So what did I do first? The scariest part, the eye cuts. I used a pair of those small, curved, cosmetic scissors and tried my best to match the H1 Hero Mask’s unique eye holes. Realistically I just slowly sliced away each small layer by small layer until I was happy, and then ending with the notch in his left eye. I ended up extremely happy with how they turned out and it was a huge relief considering how hard weird eye cuts can throw off a mask.
There was also a small part of the mouth on his left side that was opened. Considering the only other TOTS 78 mask I’ve “rehauled” had his completely opened I realized I liked the look with his mouth closed. I know there are better methods, but I just painted some super glue on the part of the lips where the latex was cut and squeezed them shut for a couple of minutes from the inside. It’s worked fine so far so only time will tell.
It’s hard to see from that angle but his hair was completely bunched up. You could fully see each glue line, it was as if somebody had used a hair curler and twisted each layer inwards. So I ripped it all out, and saved it in a plastic bag that was on my kitchen table for half a month.
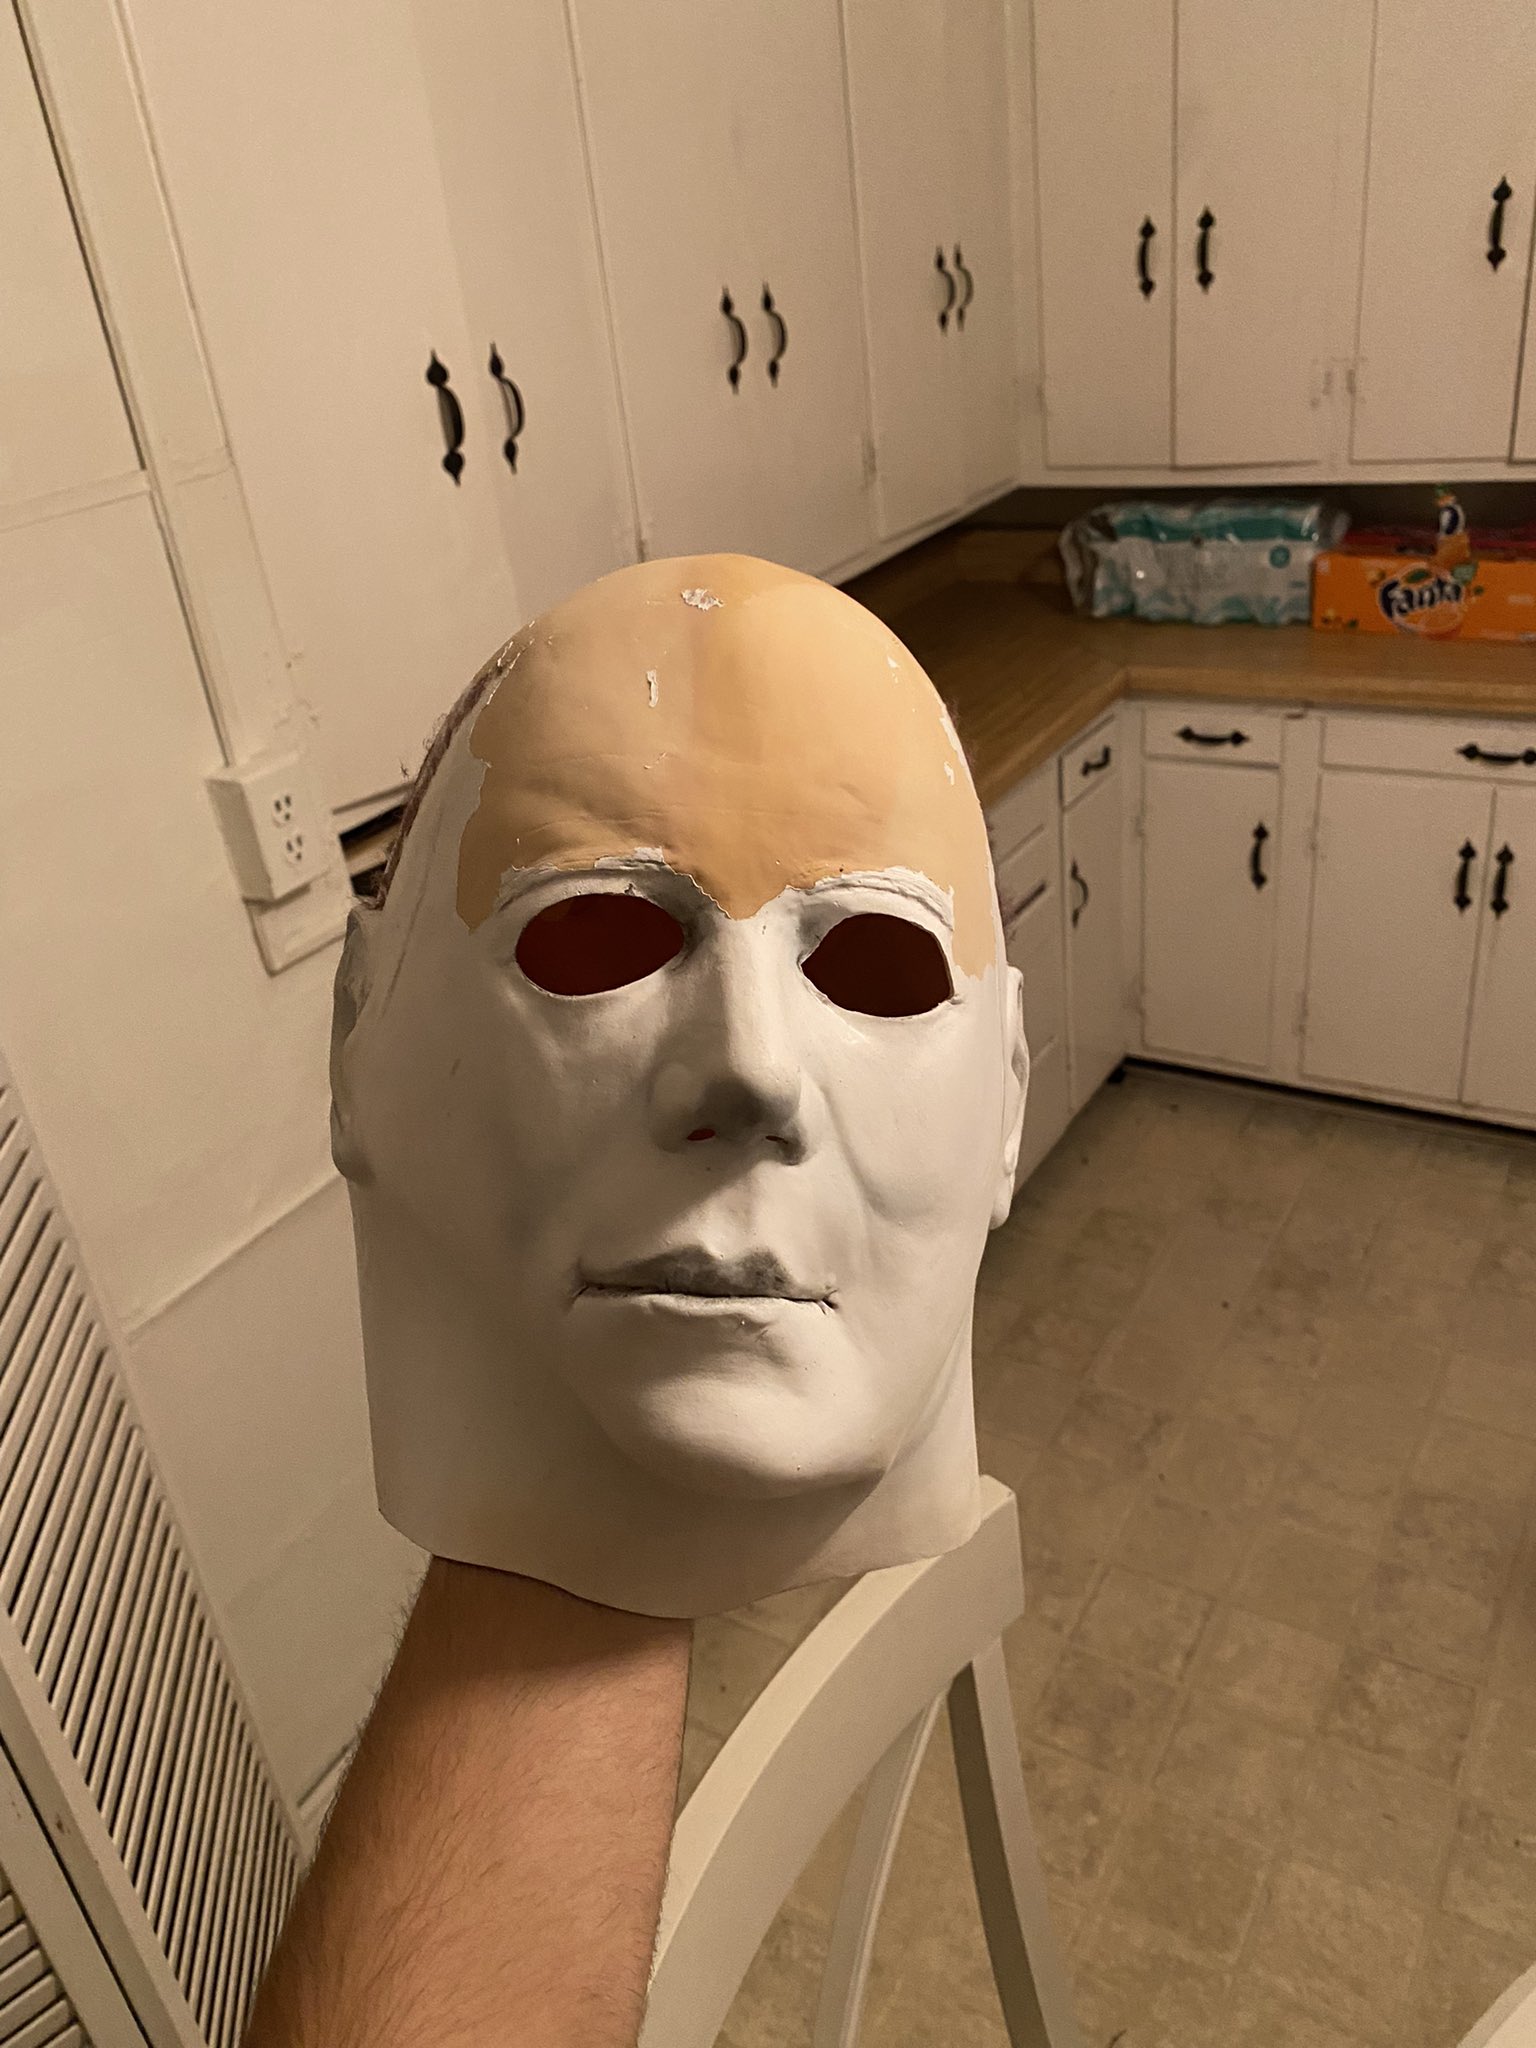
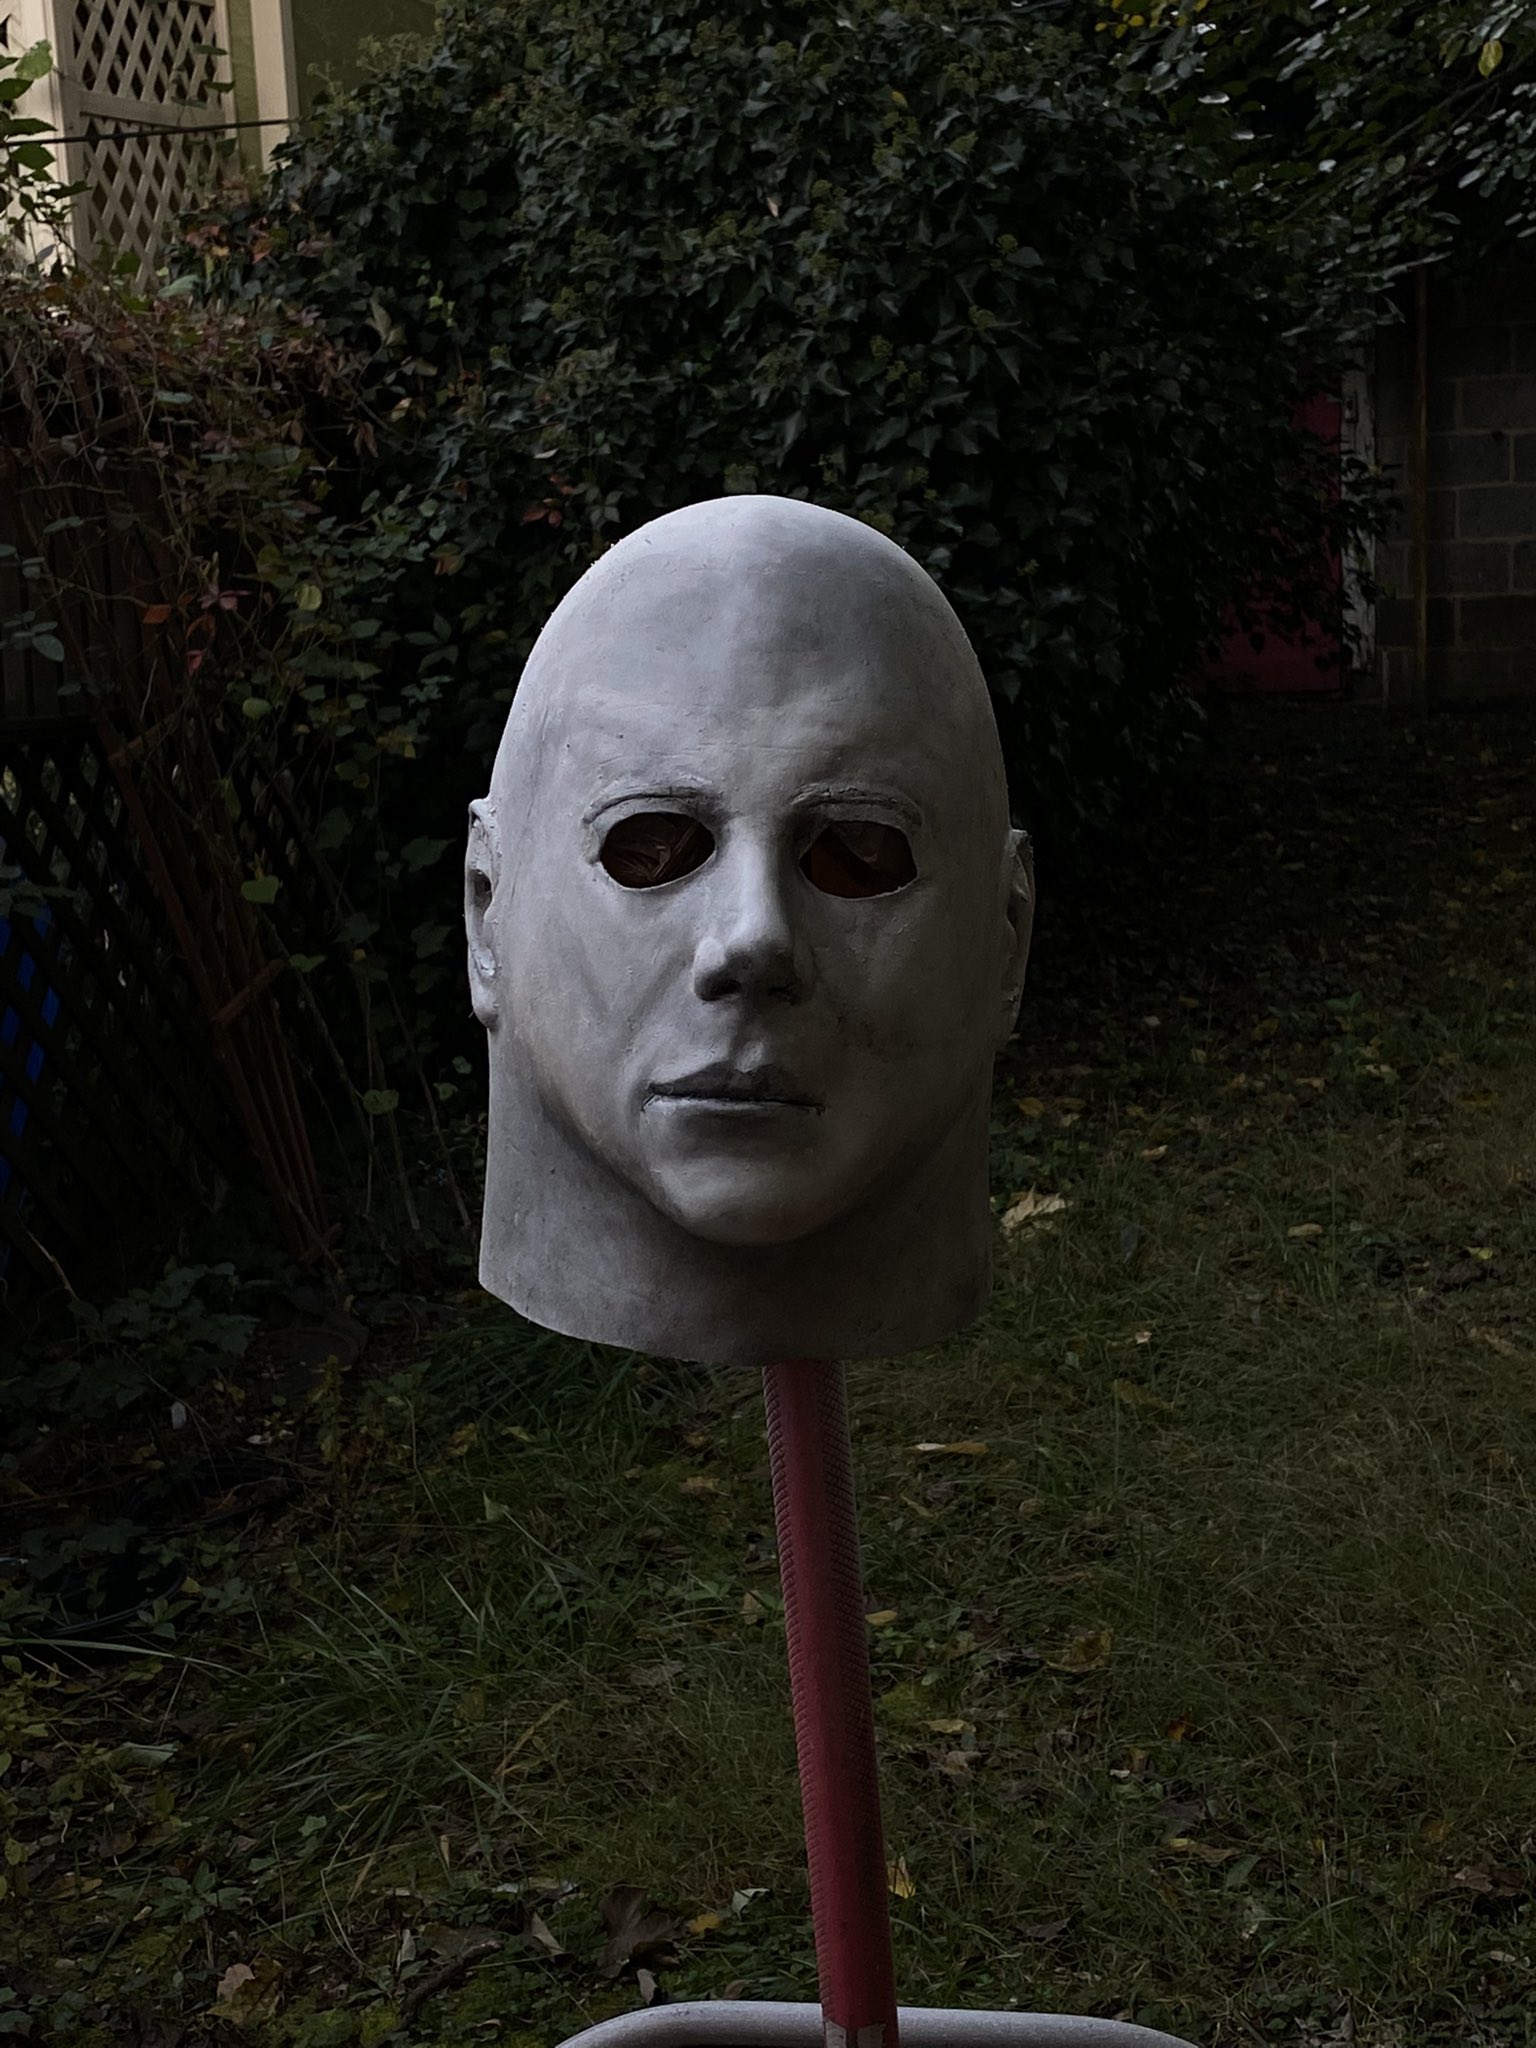
As I got to the top of his head I noticed an issue that would only get bigger as time went on. For some reason the glue near the top was twice as strong as everywhere else, so I pulled twice as hard as I did everywhere else. This ended up tearing some paint off in pretty huge chunks. Since that paint had already been lifted by the time I got to the hairline it only made it worse. So I said screw it, I’m getting all of this off. After a couple hours of painstakingly peeling, this is what I was left with:
“How hard could it be to get the rest off?” I thought. 3 weeks and $50 spent on a Dremel later, I found out.
It’s now October 29th, and I realize I procrastinated so long that it is 100% going to bite me.
But whatever! I have the Dremel don’t I? All I have to do is use the felt tip attachment(which was only included with one Dremel that I found at Lowes) to lightly grind of the layer of paint, this’ll be a piece of cake.
I was wrong.
I learned this method from Nightmare Toys’ Shelly Moth and his video where he rehauled a TOTS 78 mask, he STRONGLY ARGUED AGAINST THIS METHOD, and boy I do too.
This SUCKED. It started off great, I wore a respirator so I wouldn’t inhale the paint and started chipping away, with little chunks of paint and latex getting everywhere. But as I continued I realized that the Dremel was heating the latex up so much that it would melt the small chunks and they would dry somewhere else on the mask.
This created a brand new PizzaFace Myers look with all of these little bits of latex melded to his mug.
Believe it or not, this was a pretty big problem. It took hours of scrubbing with the green side of a sponge and water, going back and dremeling with a lighter touch, scrubbing again, dremeling again, until I got it to a place I was happy with:
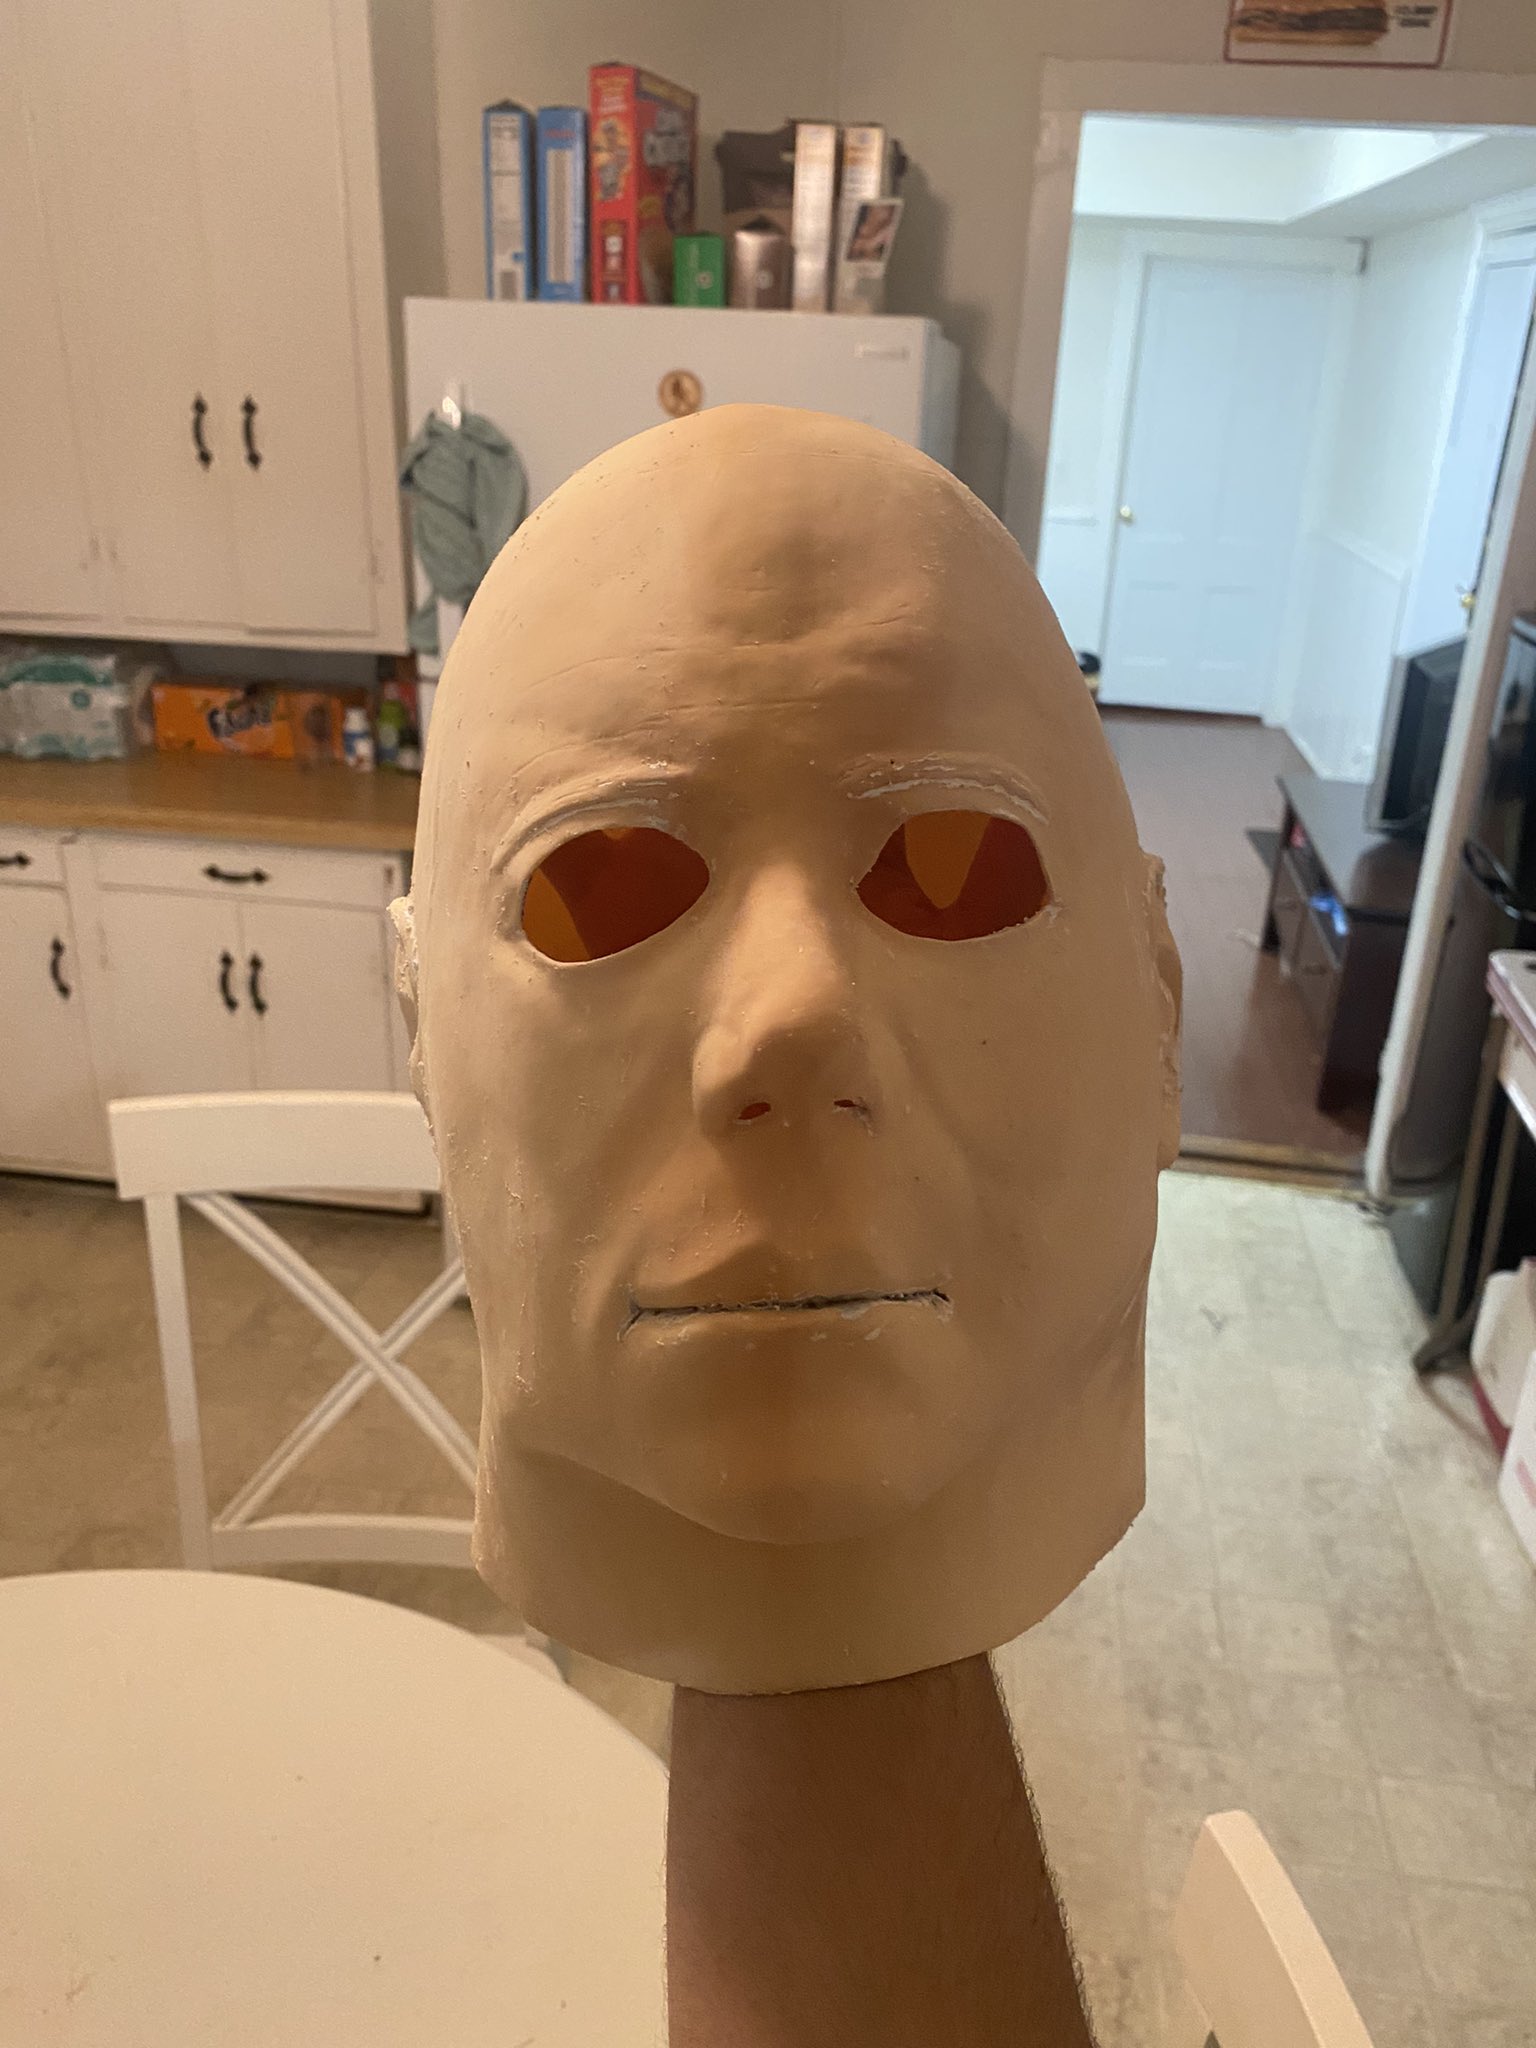
Now to be honest with you, I’m not 100% sure what a better option would have been. I saw some people on here recommending Lacquer Thinner but I personally have no idea if that would work. This seemed to be the more straight forward option, and with a day till Halloween I took it.
I figured that most of the little bits would get masked with a few layers of paint so I almost immediately started that process.
The base coat of paint was a breeze. I used Krylon Fusion All-In-One Paint+Primer Matte White, and(this is very important) I sprayed downward at a very steep angle so places like the bottom of his nose, lips, neck and in between his eyes would naturally not get painted. I did 3 or 4 coats of this, letting it dry for about 30 minutes in between until I was happy. It was night by the time I finished so it gave this cool effect, as if it had already been weathered. I sadly forgot to take a picture of the mask with just the base coat.
It’s now the early morning of October 31st, 2021 and I need to weather, seal and hair the mask all before trick or treaters start showing up.
Here’s the second scariest part, weathering.
It’s incredibly easy to end up going overboard and ruin the mask when weathering it, and I was extra cautious this time.
I did the tried and true method of spraying the mask with water, taking some acrylic paint and lathering it on so it gets in all those nooks and crannies, and then wiping the excess off with a paper towel. Last time I went for gray paint but I chose black this time and I like the outcome a lot more. It may have to do with the technique rather than the paint color but I felt it looked much better than my previous mask. I made sure to go heavier on the more defined places like the cheekbones and around the eyes. I straight up let some of the paint dry(and then lightly stippled it off) on the nose and lips to get them darker than the rest of the mask. I went heavy on the neck and it helped me realize how much having less white paint there helped. The black really tied the two colors together and made the whole mask look so much more natural.
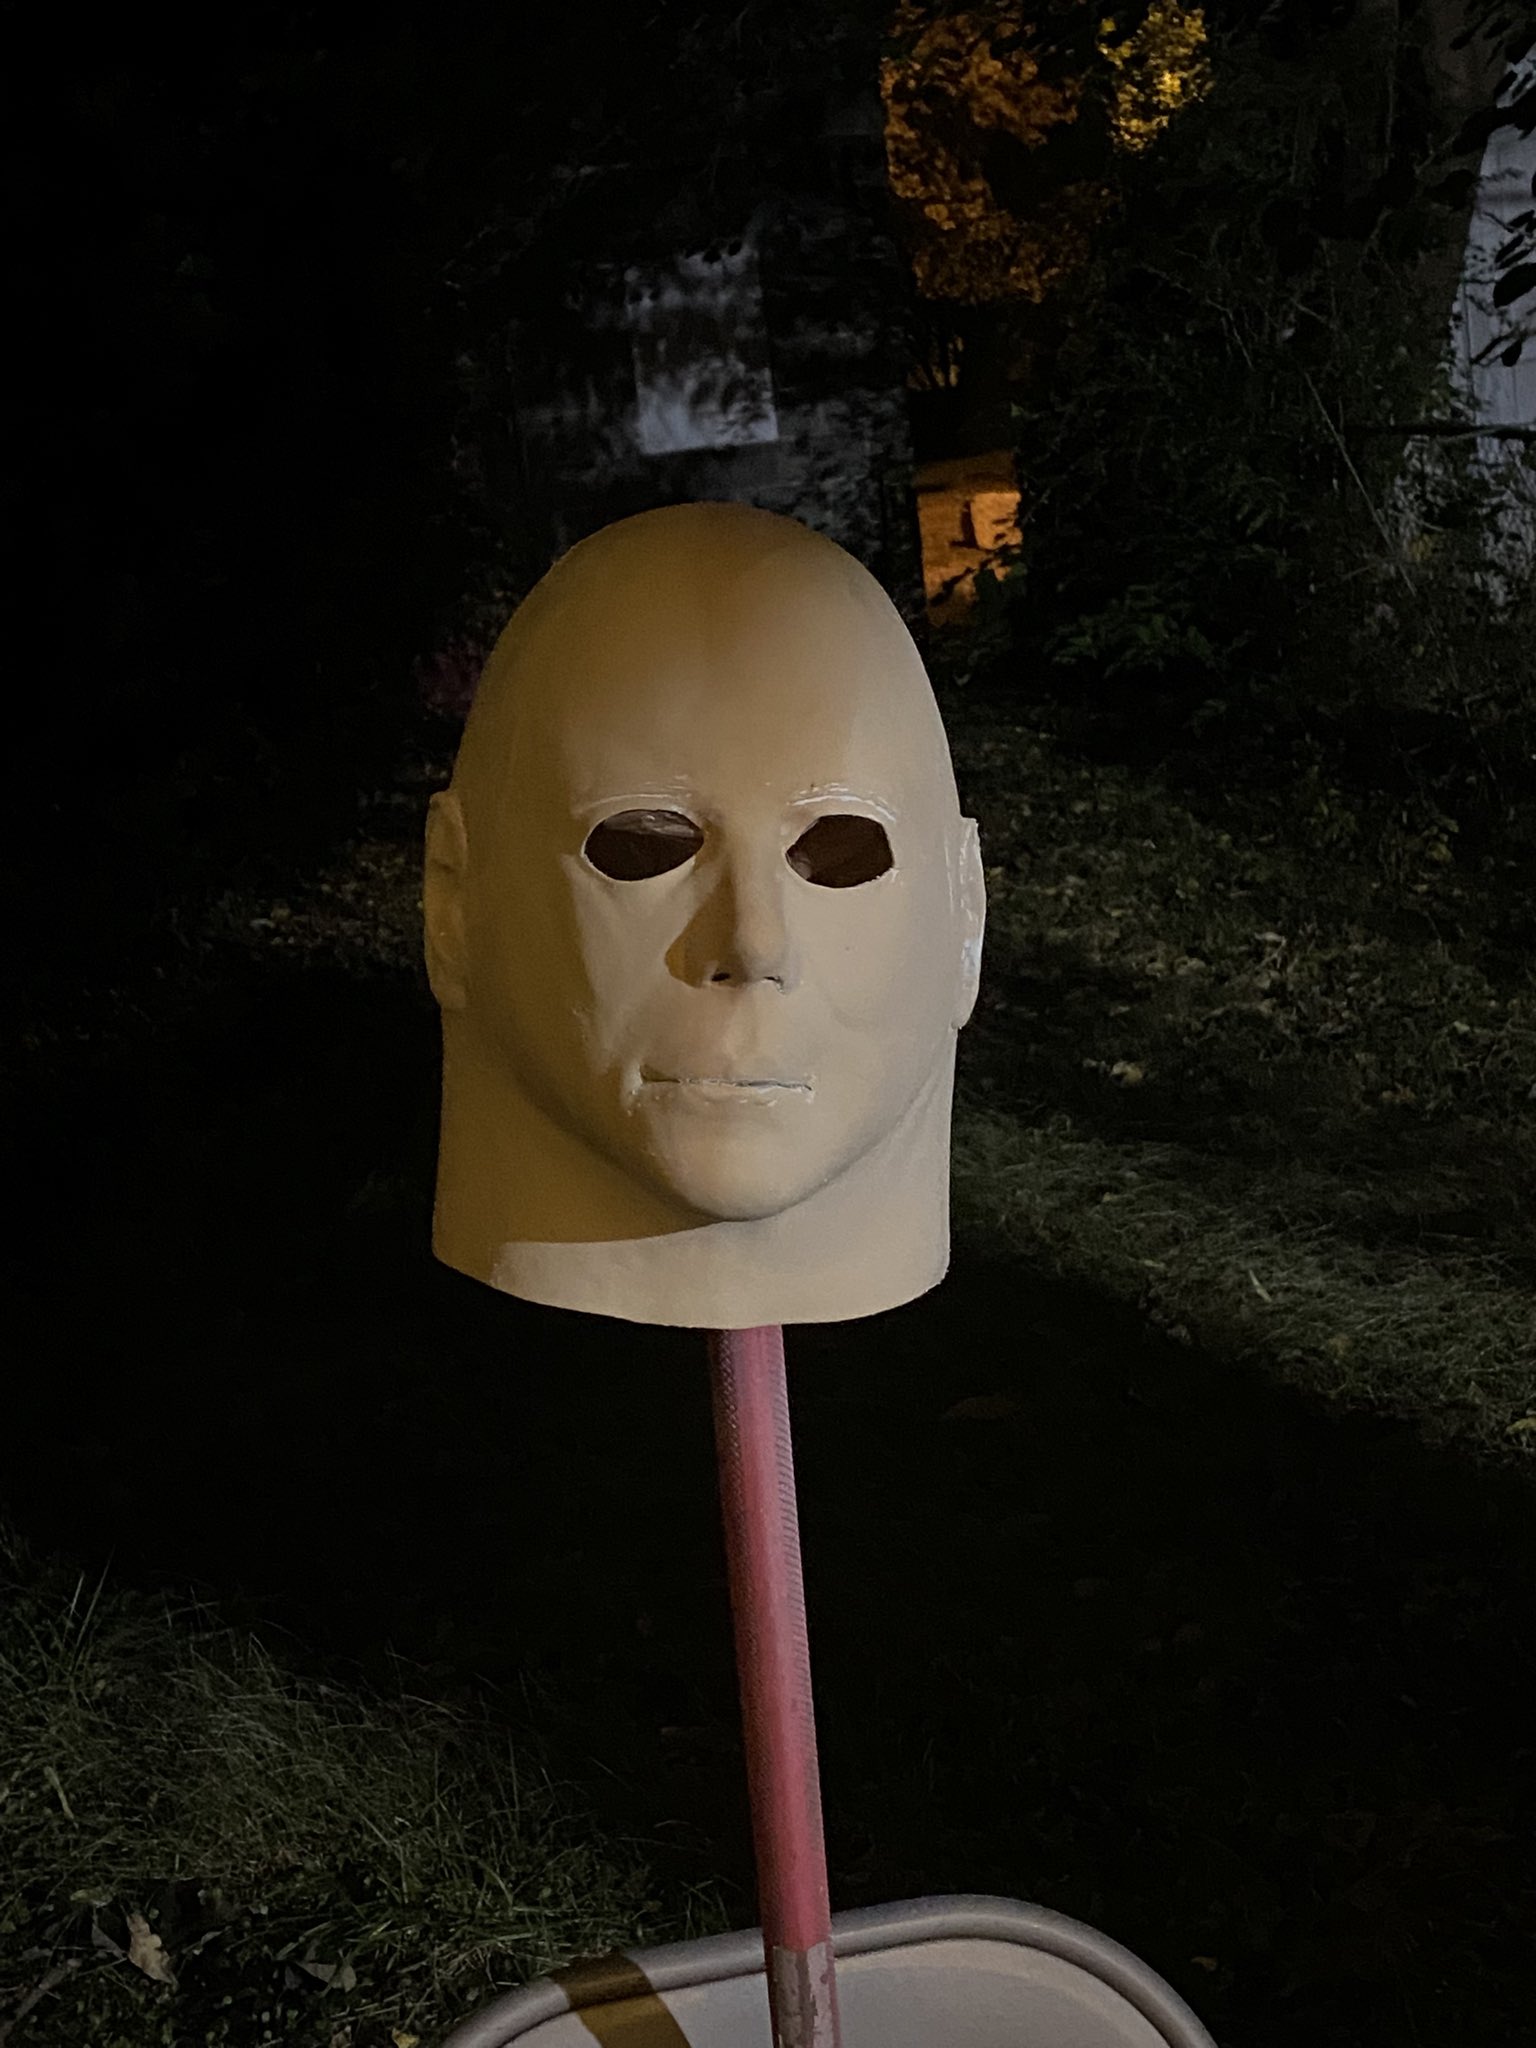
It’s a very good idea to notice which parts of the mask are the highlights, and which get shadows cast on them. Weathering with those spots in mind makes it a lot easier. After maybe an hour, and then time to let it dry, there he was:
This was the point where I thought “Holy shit, there he is.”
I gave him 3 or 4 coats of Rust-Oleum Universal Clear Durable Topcoat because forgetting to do that the last time caused a lot of the paint to crack on that mask. I patiently waited for him to dry and at this point I was getting dangerously close to not having time to finish.
It was around 4 PM and at the time I didn’t know hairing the mask would take around two hours, but the second that Topcoat wasn’t sticking I rushed it inside to hair.
Now here’s a disclaimer. Everybody and their mother will tell you to use thick Mask Making Latex to adhere the mask. USE MASK MAKING LATEX.
I did not use Mask Making Latex.
Due to time constraints and me not planning ahead I ended up using E-6000. I can’t say for how long it will stay adhered but it’s been almost two weeks and I’ve barely touched it, so I still don’t know. Realistically I’m not gonna be using this for stunts, it’ll most likely just sit on my dresser until next year so the hair should be fine, but that isn’t a 100% guarantee, so use mask making latex.
100% of the hair on this mask is the default it comes with, I didn’t mess with the color or anything because frankly it was already pretty good.
For better or for worse TOTS puts a lot of hair on their Myers masks. So what I ended up doing to cut down on the amount of hair is I took each little chunk and swiped at it with this very very tiny comb that came with the curved scissors. This got rid of enough excess that I was a little worried that I had gotten rid of too much. In some visible spots and especially the hairline I cut off the stock TOTS glueline with some normal scissors. This strategy also helped straighten out the hair which fixed that problem at the beginning.
As I’m glueing I’m staring at the clock, 4:30, 5:00, 5:30. just flying by.
I’m terrified, I think I messed it all up, I’m not gonna have enough hair, all of this was for nothing.
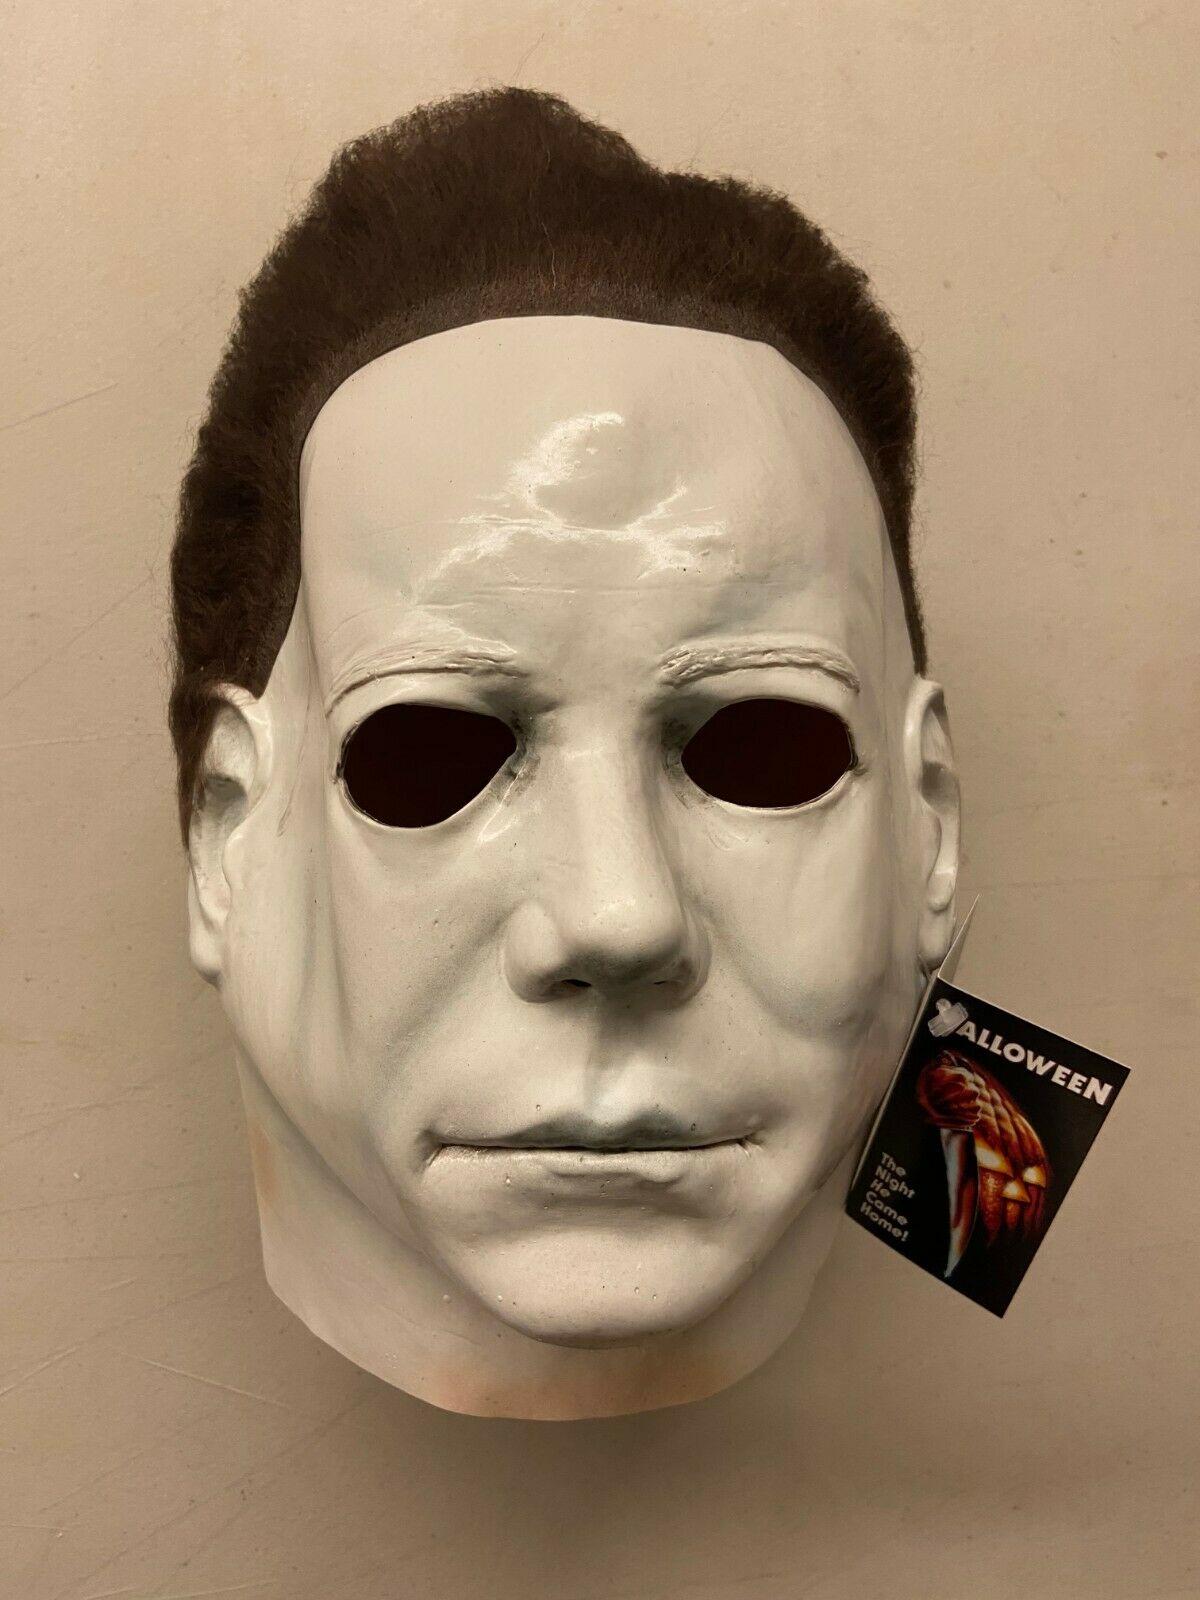
And it’s done.
And it looks better than I could’ve dreamed.
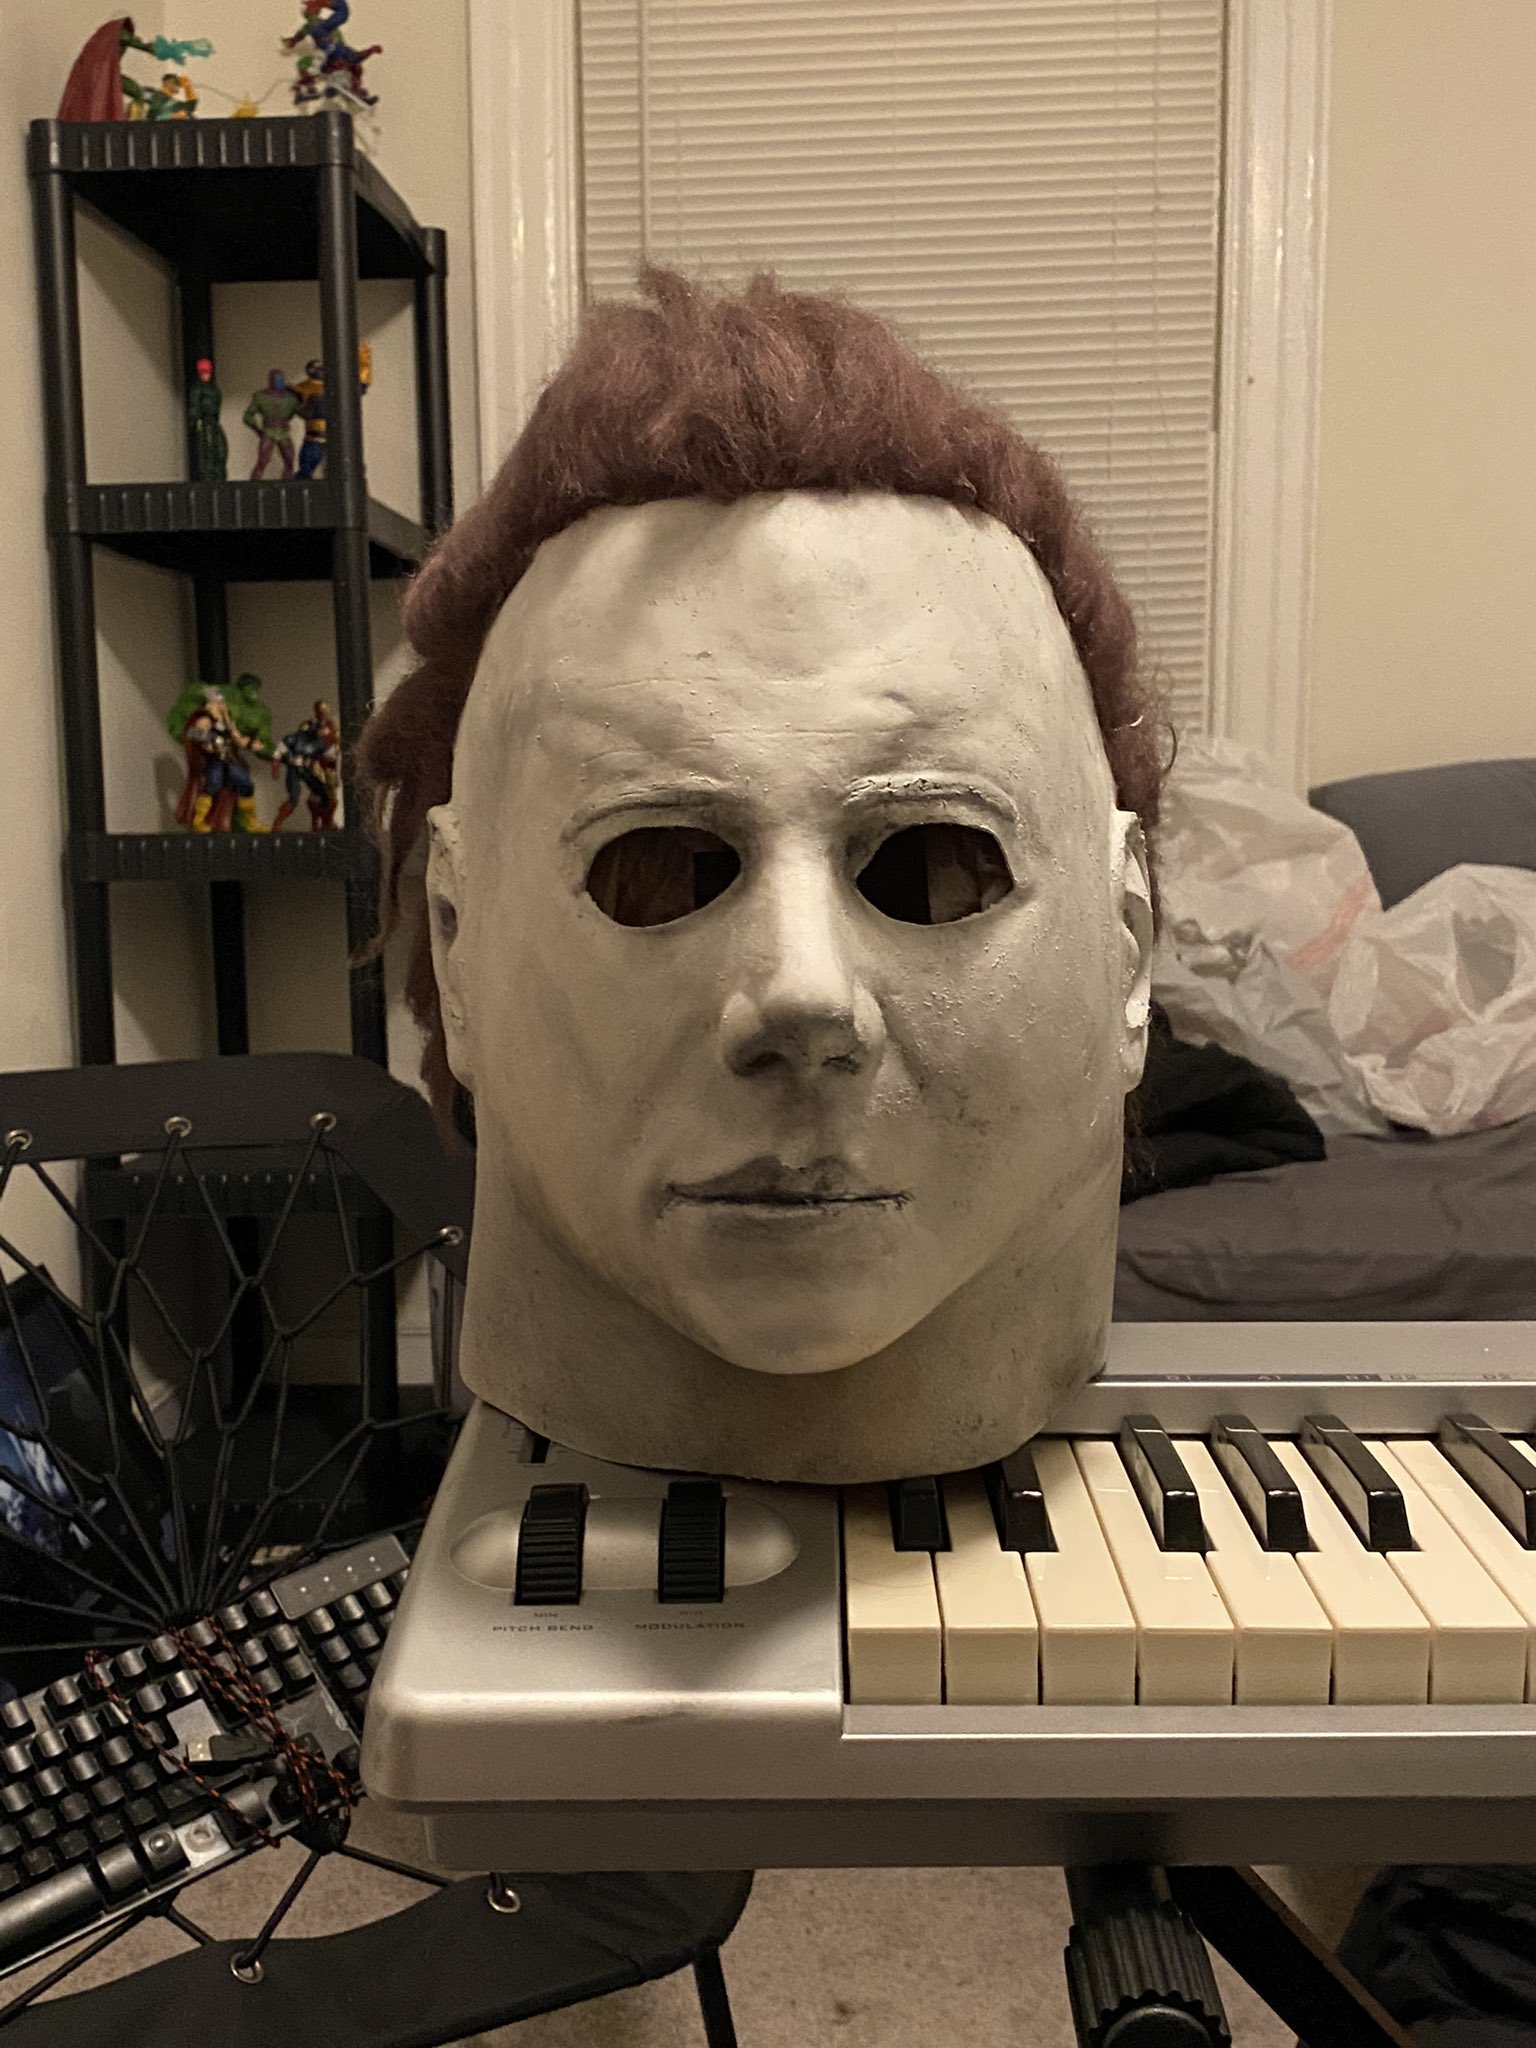
Now don’t get me wrong, it isn’t perfect and the hair could definitely use some more styling, but I never thought it’d look that good.
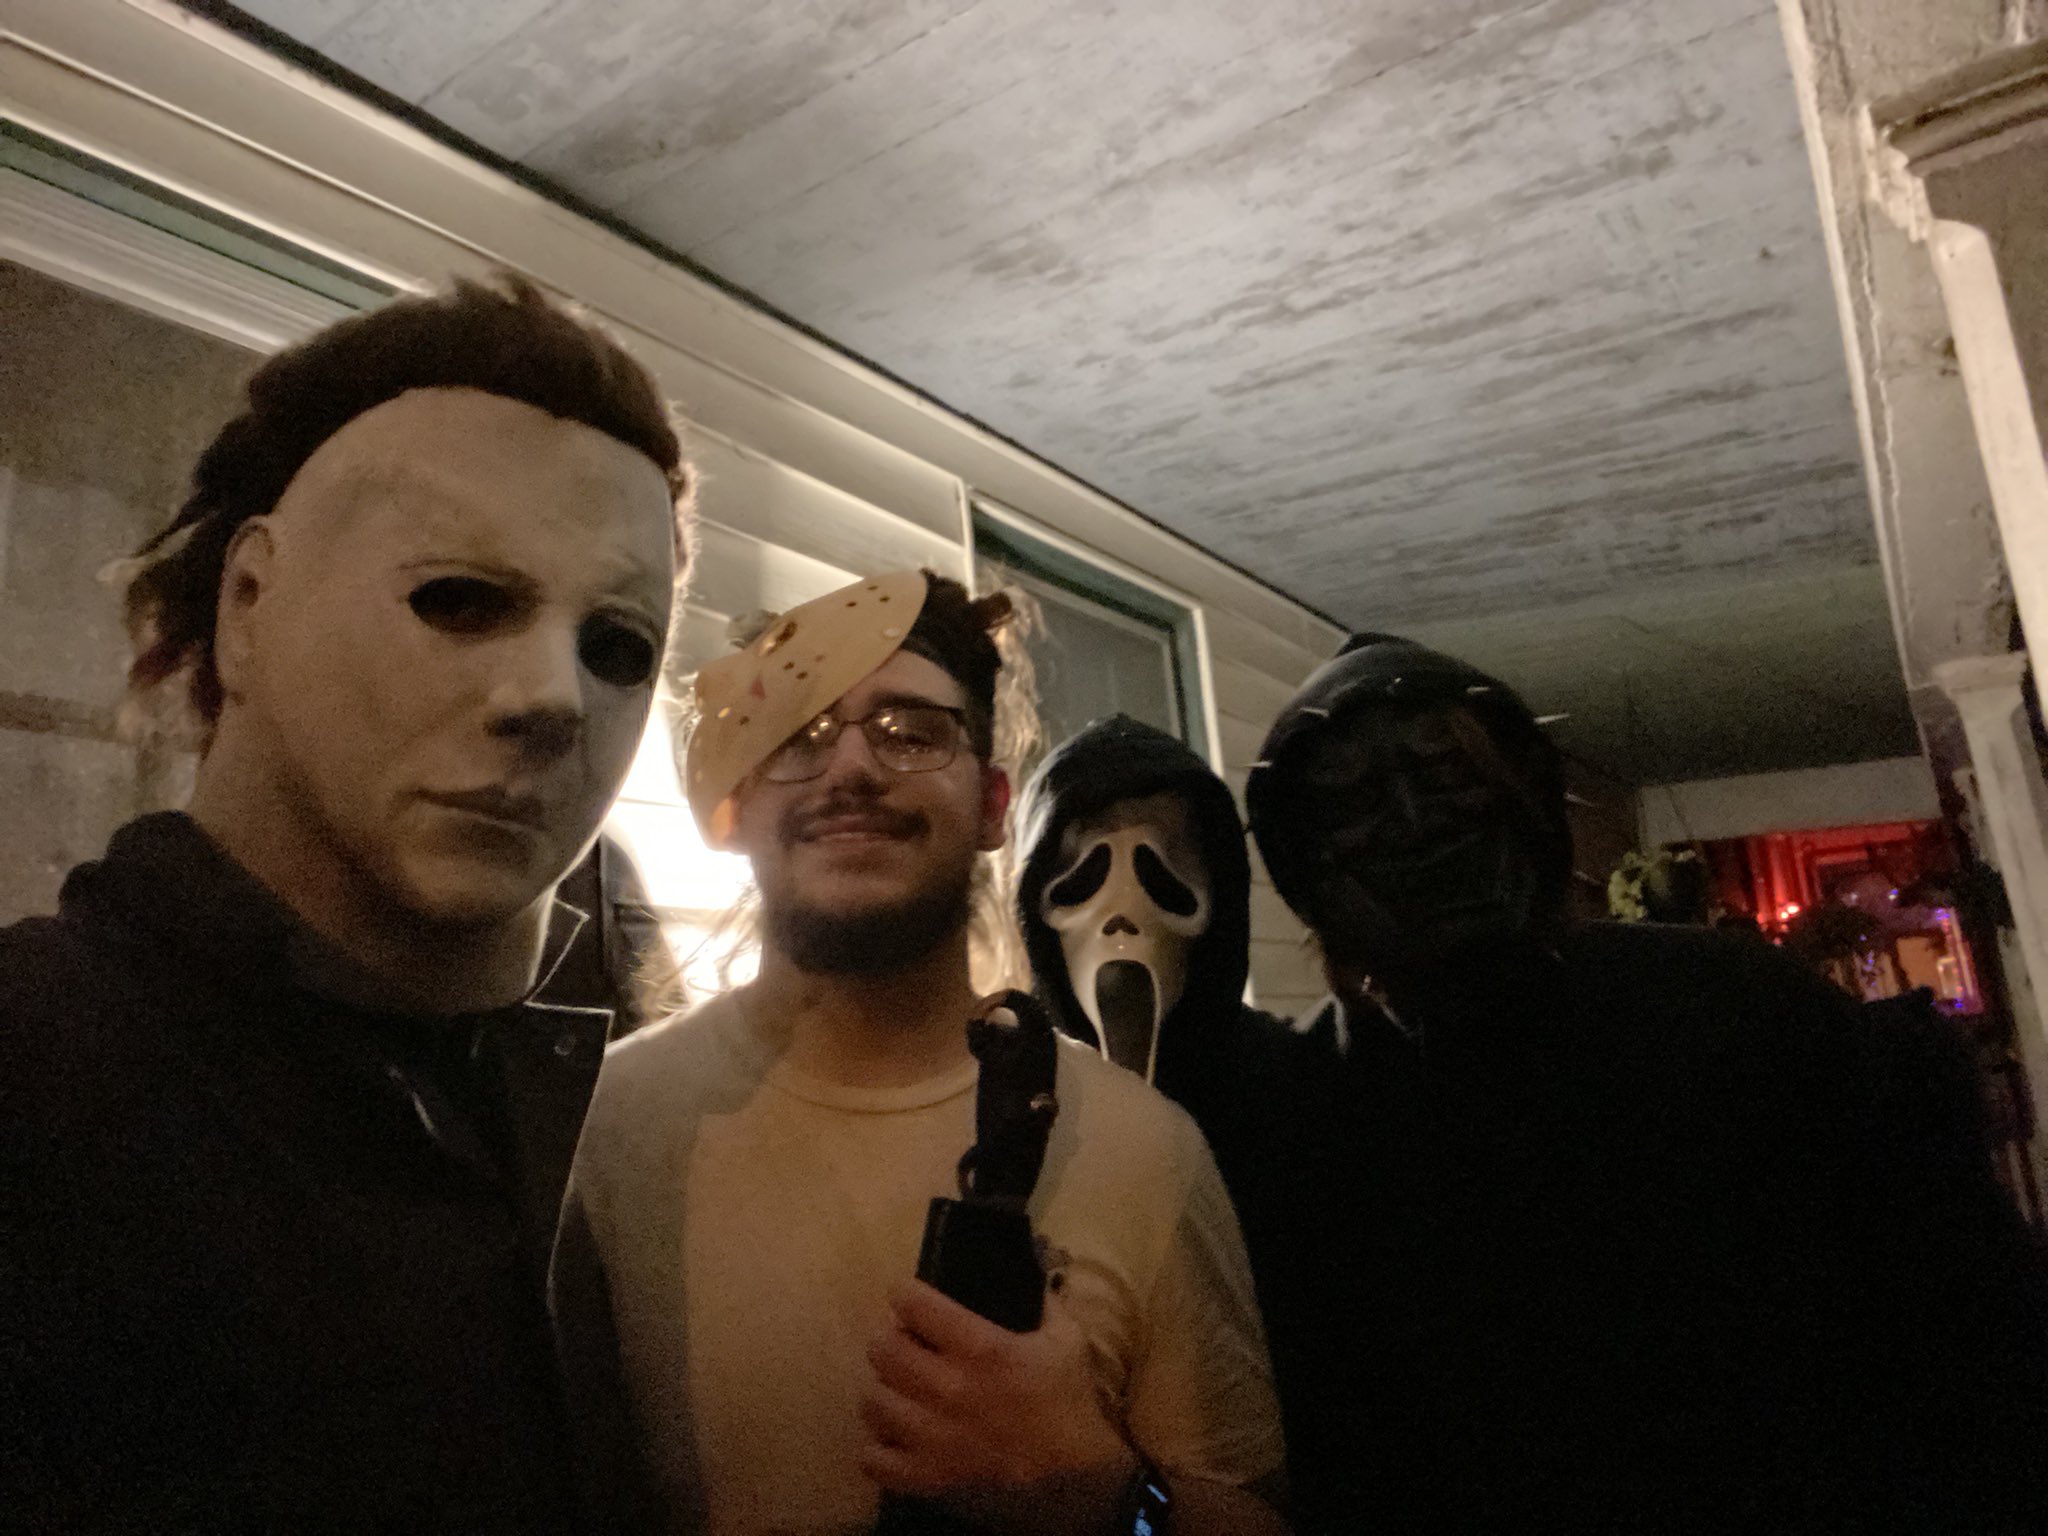
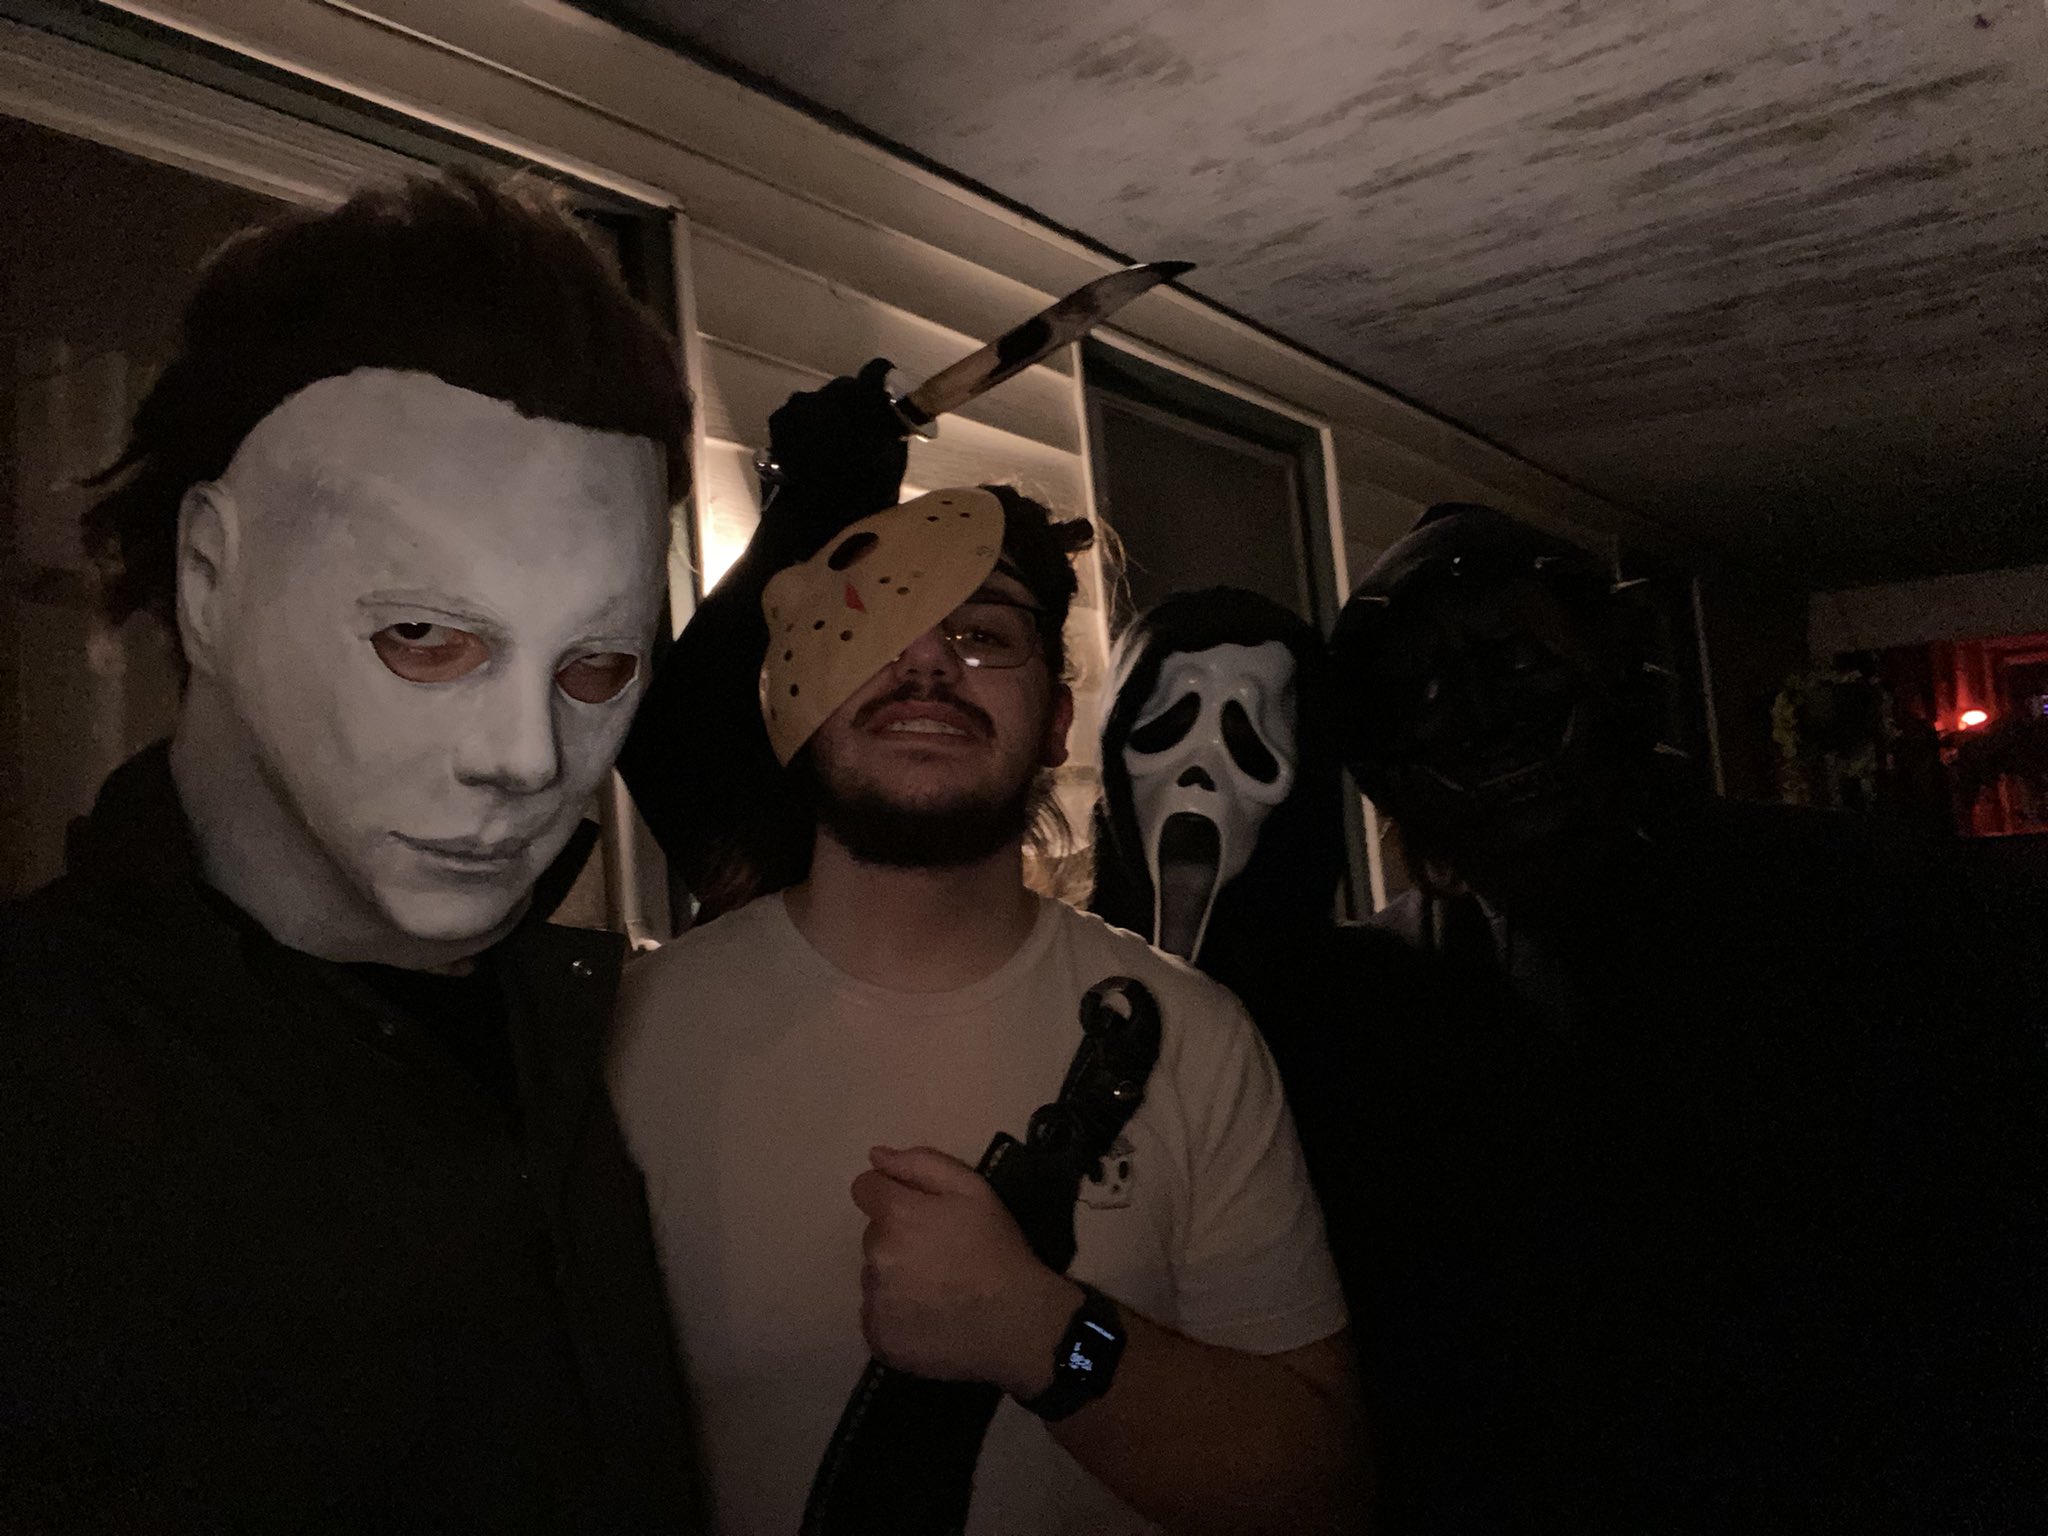
My hope for the night was instantly restored when I turned it around.
I scared trick or treaters, and went out to a party and it was a wonderful night.
I learned 90% of what made this work not just from experience, but from this forum so thanks everyone that’s ever posted any guides or questions. I promise every single one helps at least somebody.
I’m just so glad that I have a mask I’m happy to look at and not see 100 things I could’ve done better, those feelings come next year.
Here’s some extra pics I took:
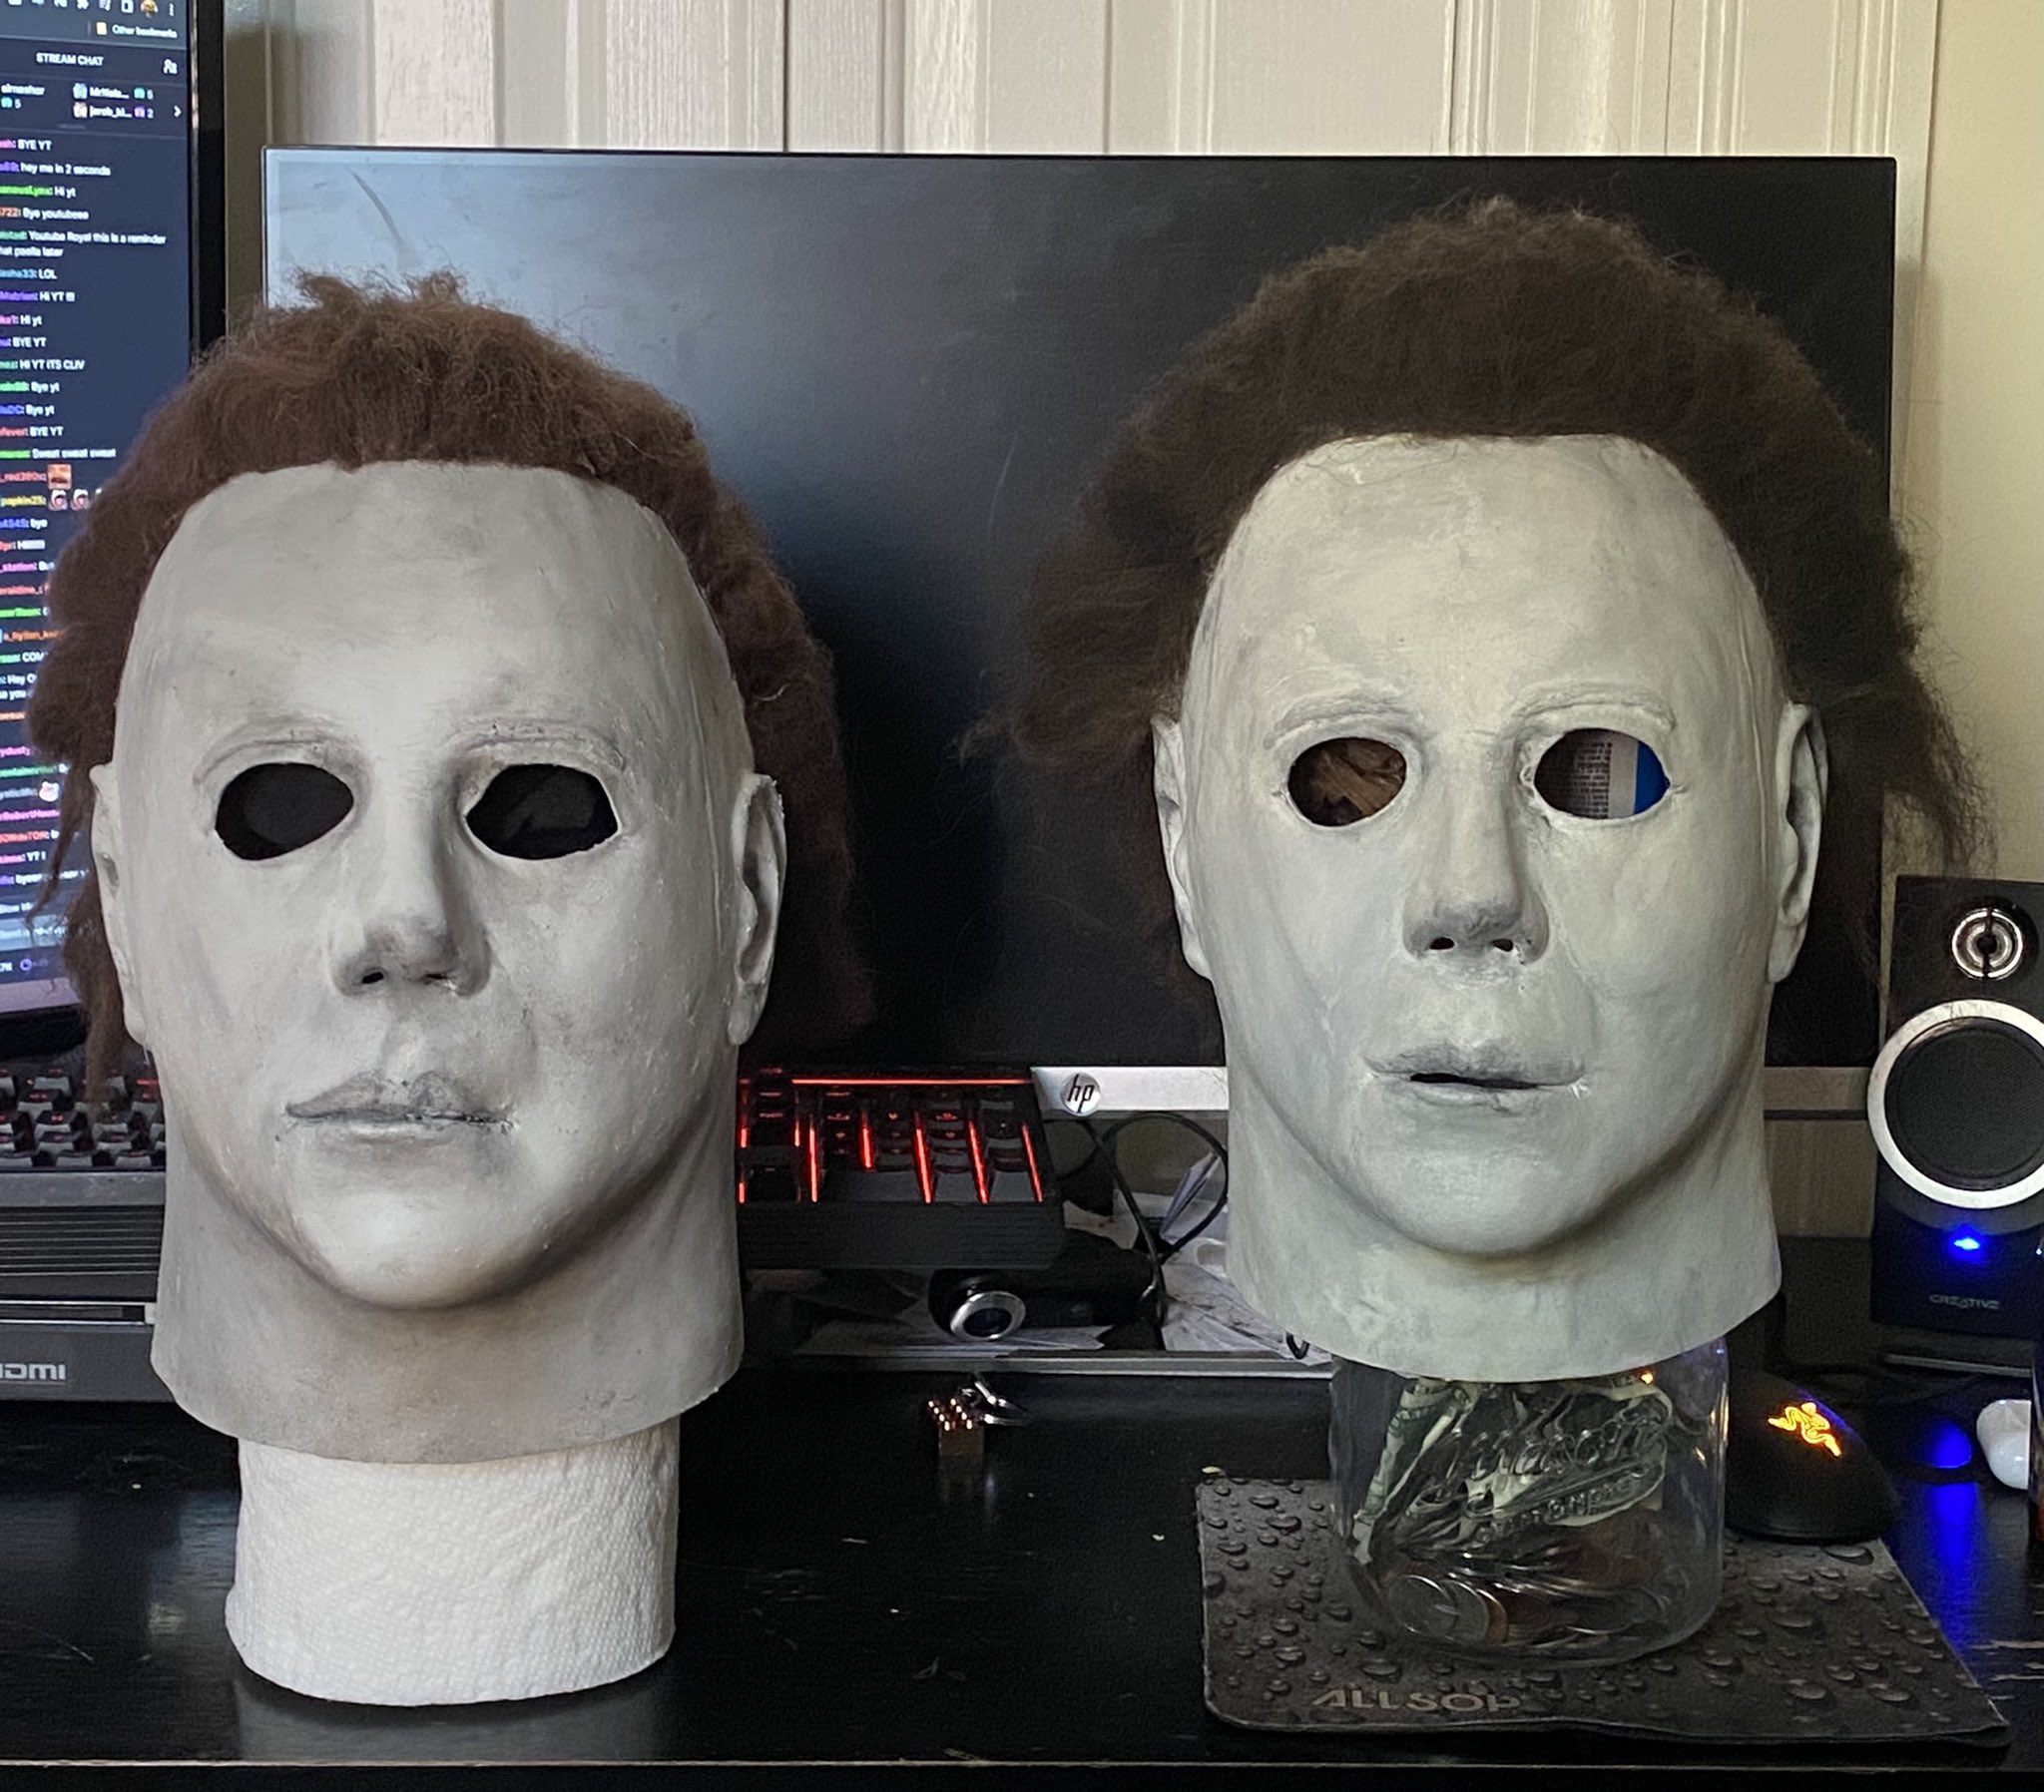
New Mask(left) compared to old Mask(right)