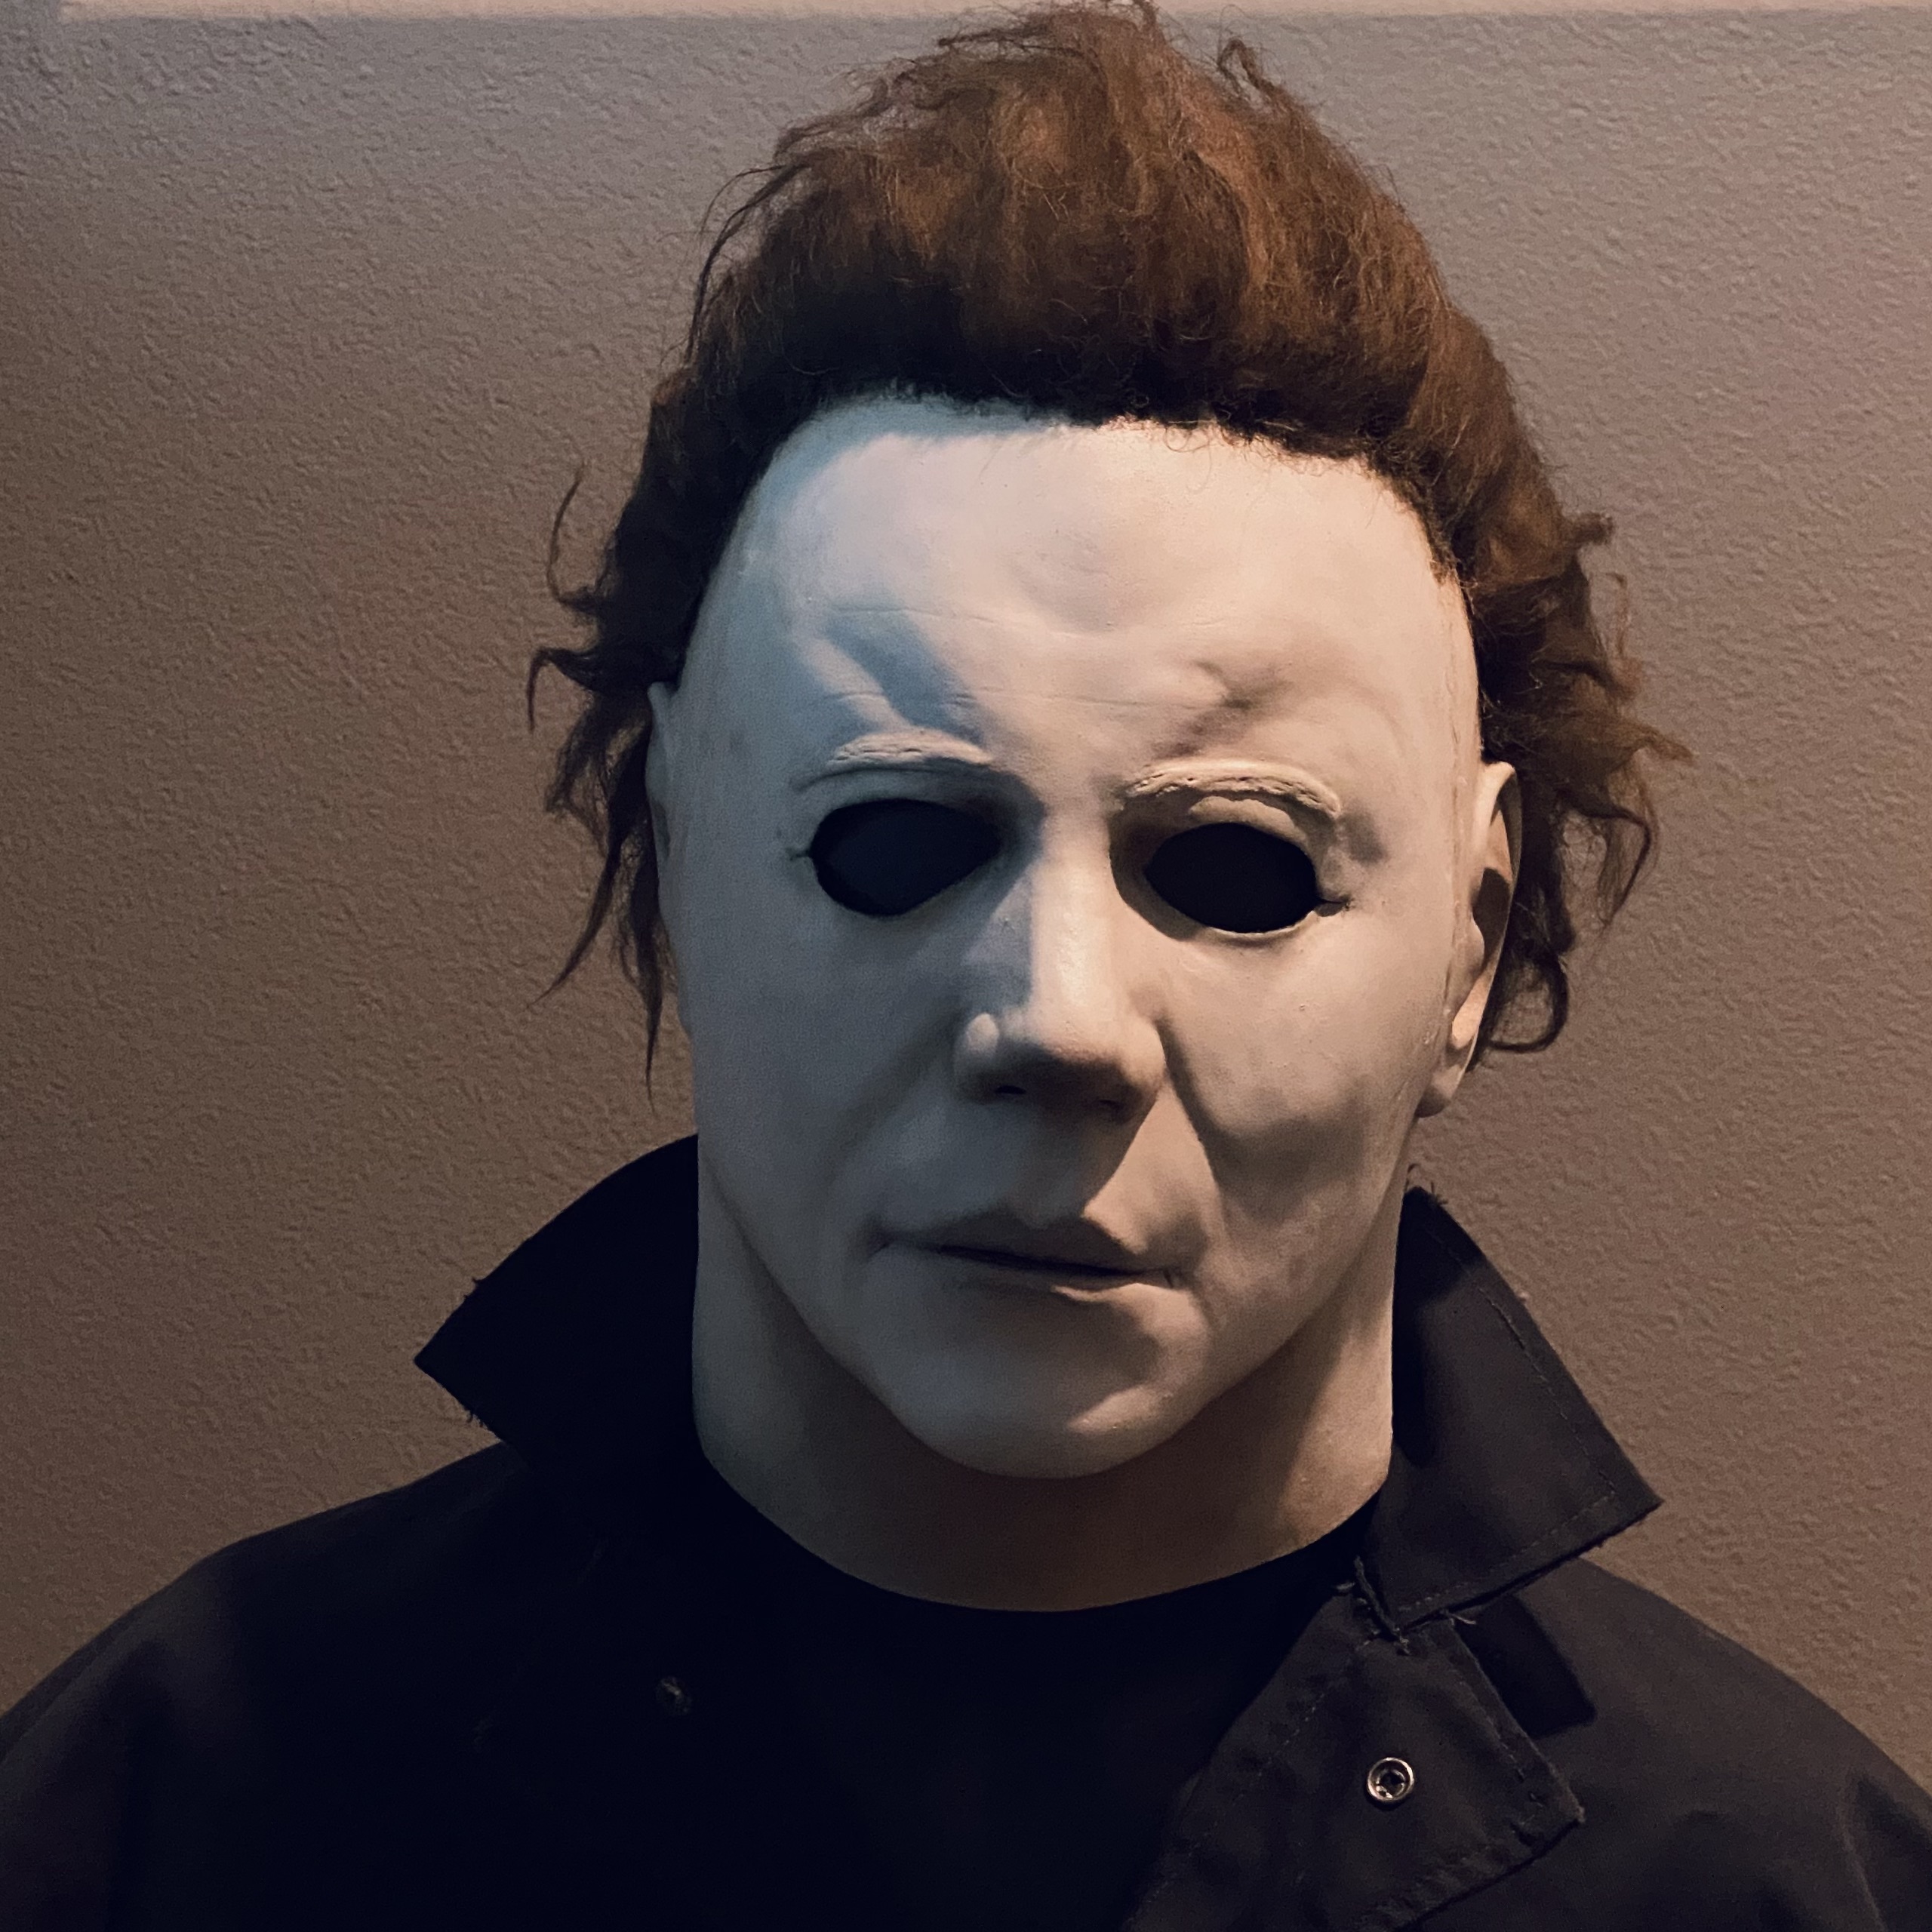
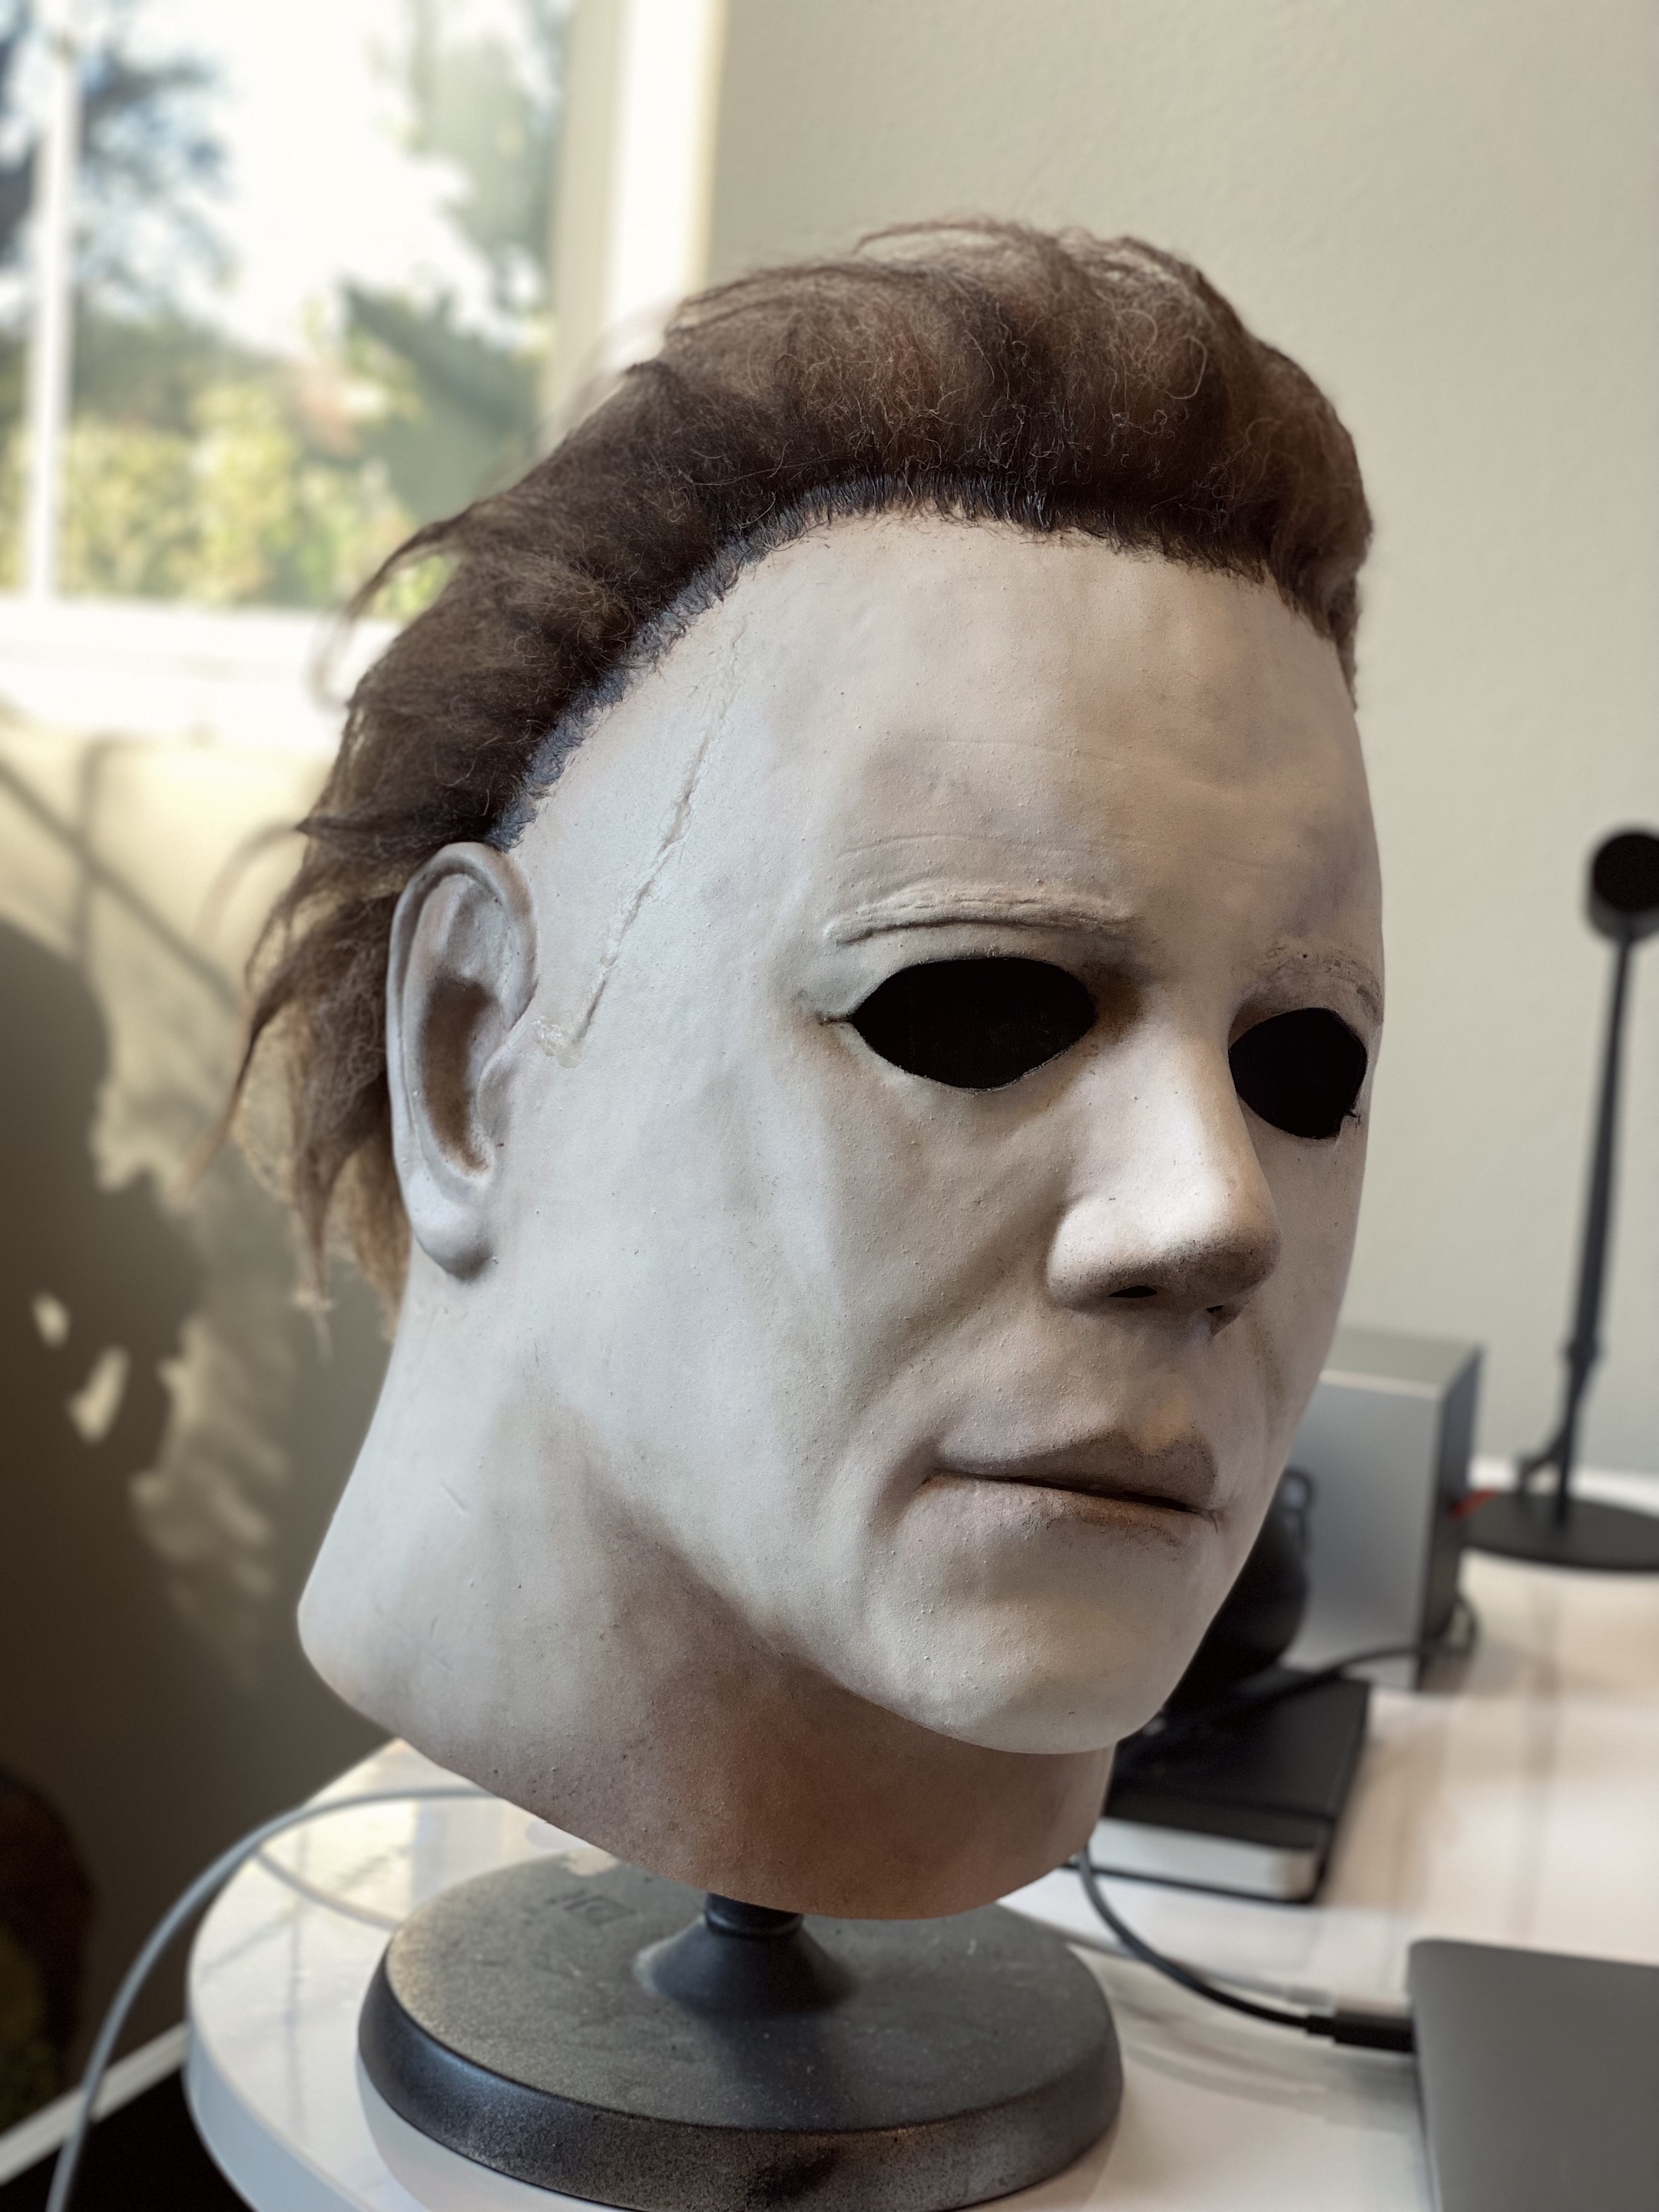
It’s October again, and I thought I’d share a progress photo of my second Myers mask project. I was pretty happy with my first attempt a few years ago, but I also recognized some areas for improvement. Also, I knew I would eventually attempt another rehaul using a different mask as the base and I have had this TOTS 78 mask sitting around since it was released. I only just got around to working on it now.
This time around, I really wanted to dial back how dirty and noisy I made the last mask (I went a little overboard and ended up with something more H2 and honestly really grainy looking in person). I also wanted to improve the flesh tone color from the last mask. I felt it turned out too orange-yellow. I still put fine details and subtleties in the paint/weathering on this new mask that you can really only appreciate in-person, but I think it’s more nuanced and the overall feel is more like what we see in the first film.
I’m not quite done. The paint is like 98% done, and I’m working on the hair now but I felt like posting some photos at this stage was worth while.
Feel free to ask any questions. I always aim to help point people in the right direction if/when I can.
Looks awesome!!! PLEASE!!! Tips on styling my TOTS 78 hair!!! I’ve heard everything from wet it down, to gel and/or hairspray. Comb, brush, pick. And especially the best way to tackle the wings. I beg of you!!!
If you want a really in depth explanation of how to re-work the hair on this mask, I would recommend watching the rehaul videos made by Nick Mulpagano before you start (his channel is called SINGwithNICK on youtube). In fact, he sells a video for the TOTS 78 which goes into great detail on how to work with the hair. I bought it myself.
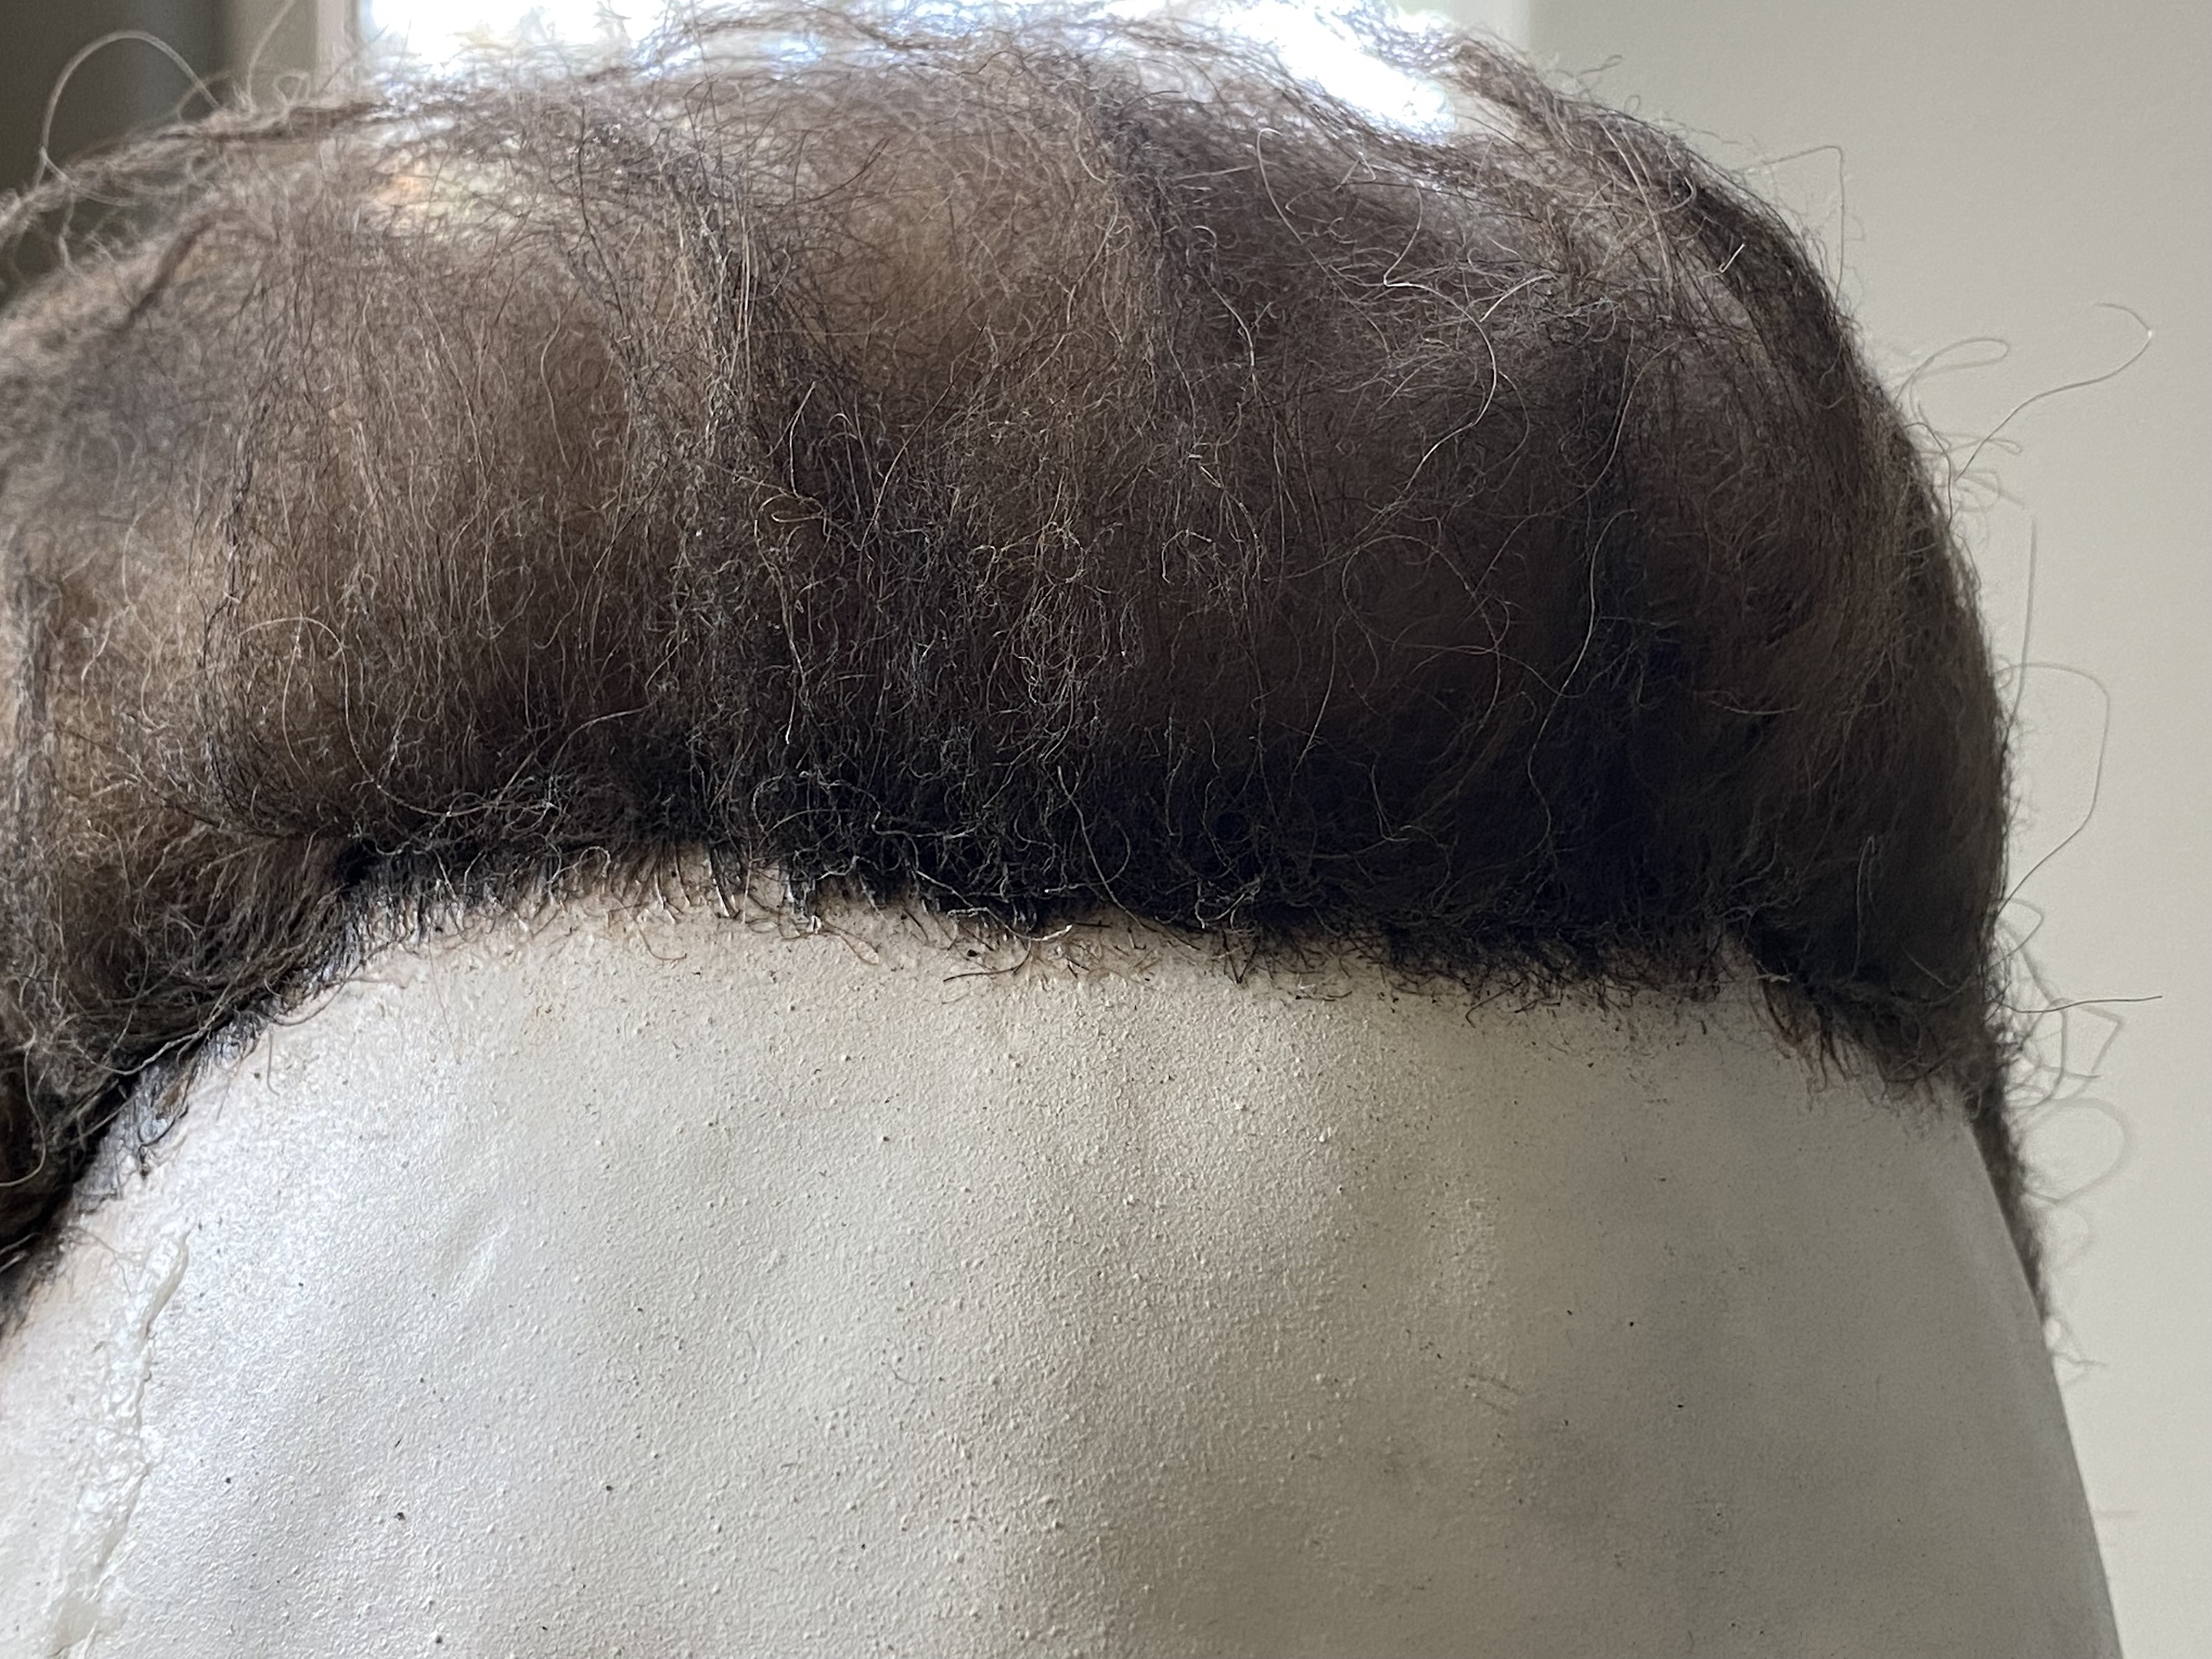
I will say that getting the hair right takes a lot of time/patience and a good eye for shape/balance. It starts with the hairline which is a challenge (mine’s not exactly right) but I think that’s a key to the rest of the hair looking right. Look at good photos while you glue the hairline. Next, the mask has too much hair density so you can thin it down some by brushing it out a little at a time until it lays down a bit more. You want to reduce the hair volume. Don’t go too crazy or you will create bald spots! Take a look at the scalp to see where the hair is glued to get a sense where you might be thin to start with. The hair is also a bit long. So, you’ll also want to trim certain areas (again go slow and think twice before you cut anything too short). Nick suggests using a hairdryer pressed against the hair to help take down the volume and create that overall shape you want. This works really well in my experience. I only used a little water to help twist the hair “horns” with my fingers. That’s just a slow process of taking a small section of hair, isolating it from surrounding hair using your fingers, and simply twisting from the root area to the tips. Heat and/or some type of spray can be used to help lock hair where you like. Nick suggests using Krylon Crystal Clear matte acrylic spray paint as if it were hairspray! I haven’t tried that yet as my hair work is not done.
Long story short, you need to try working with hair to learn what works for you. It’s going to take a lot of work, and you’re probably going to mess up until you figure it out. I think it’s like anything else… advice and tutorials can explain methods/techniques to you, but if you’ve never done it before, you really should expect to make mistakes and possibly ruin your first attempt. I suggest practicing on a mask you don’t value if this is all new to you.
Thank you so so much for a great, detailed response. Yeah this particular mask I’m not looking to make unbelievable as I only picked it up with the sole purpose of having Nick Castle sign it. So I’m just looking to do a soft upgrade to it to just make it look better than stock.
Aldo I have seen Nick’s videos and his work is amazing! Again I really appreciate it!
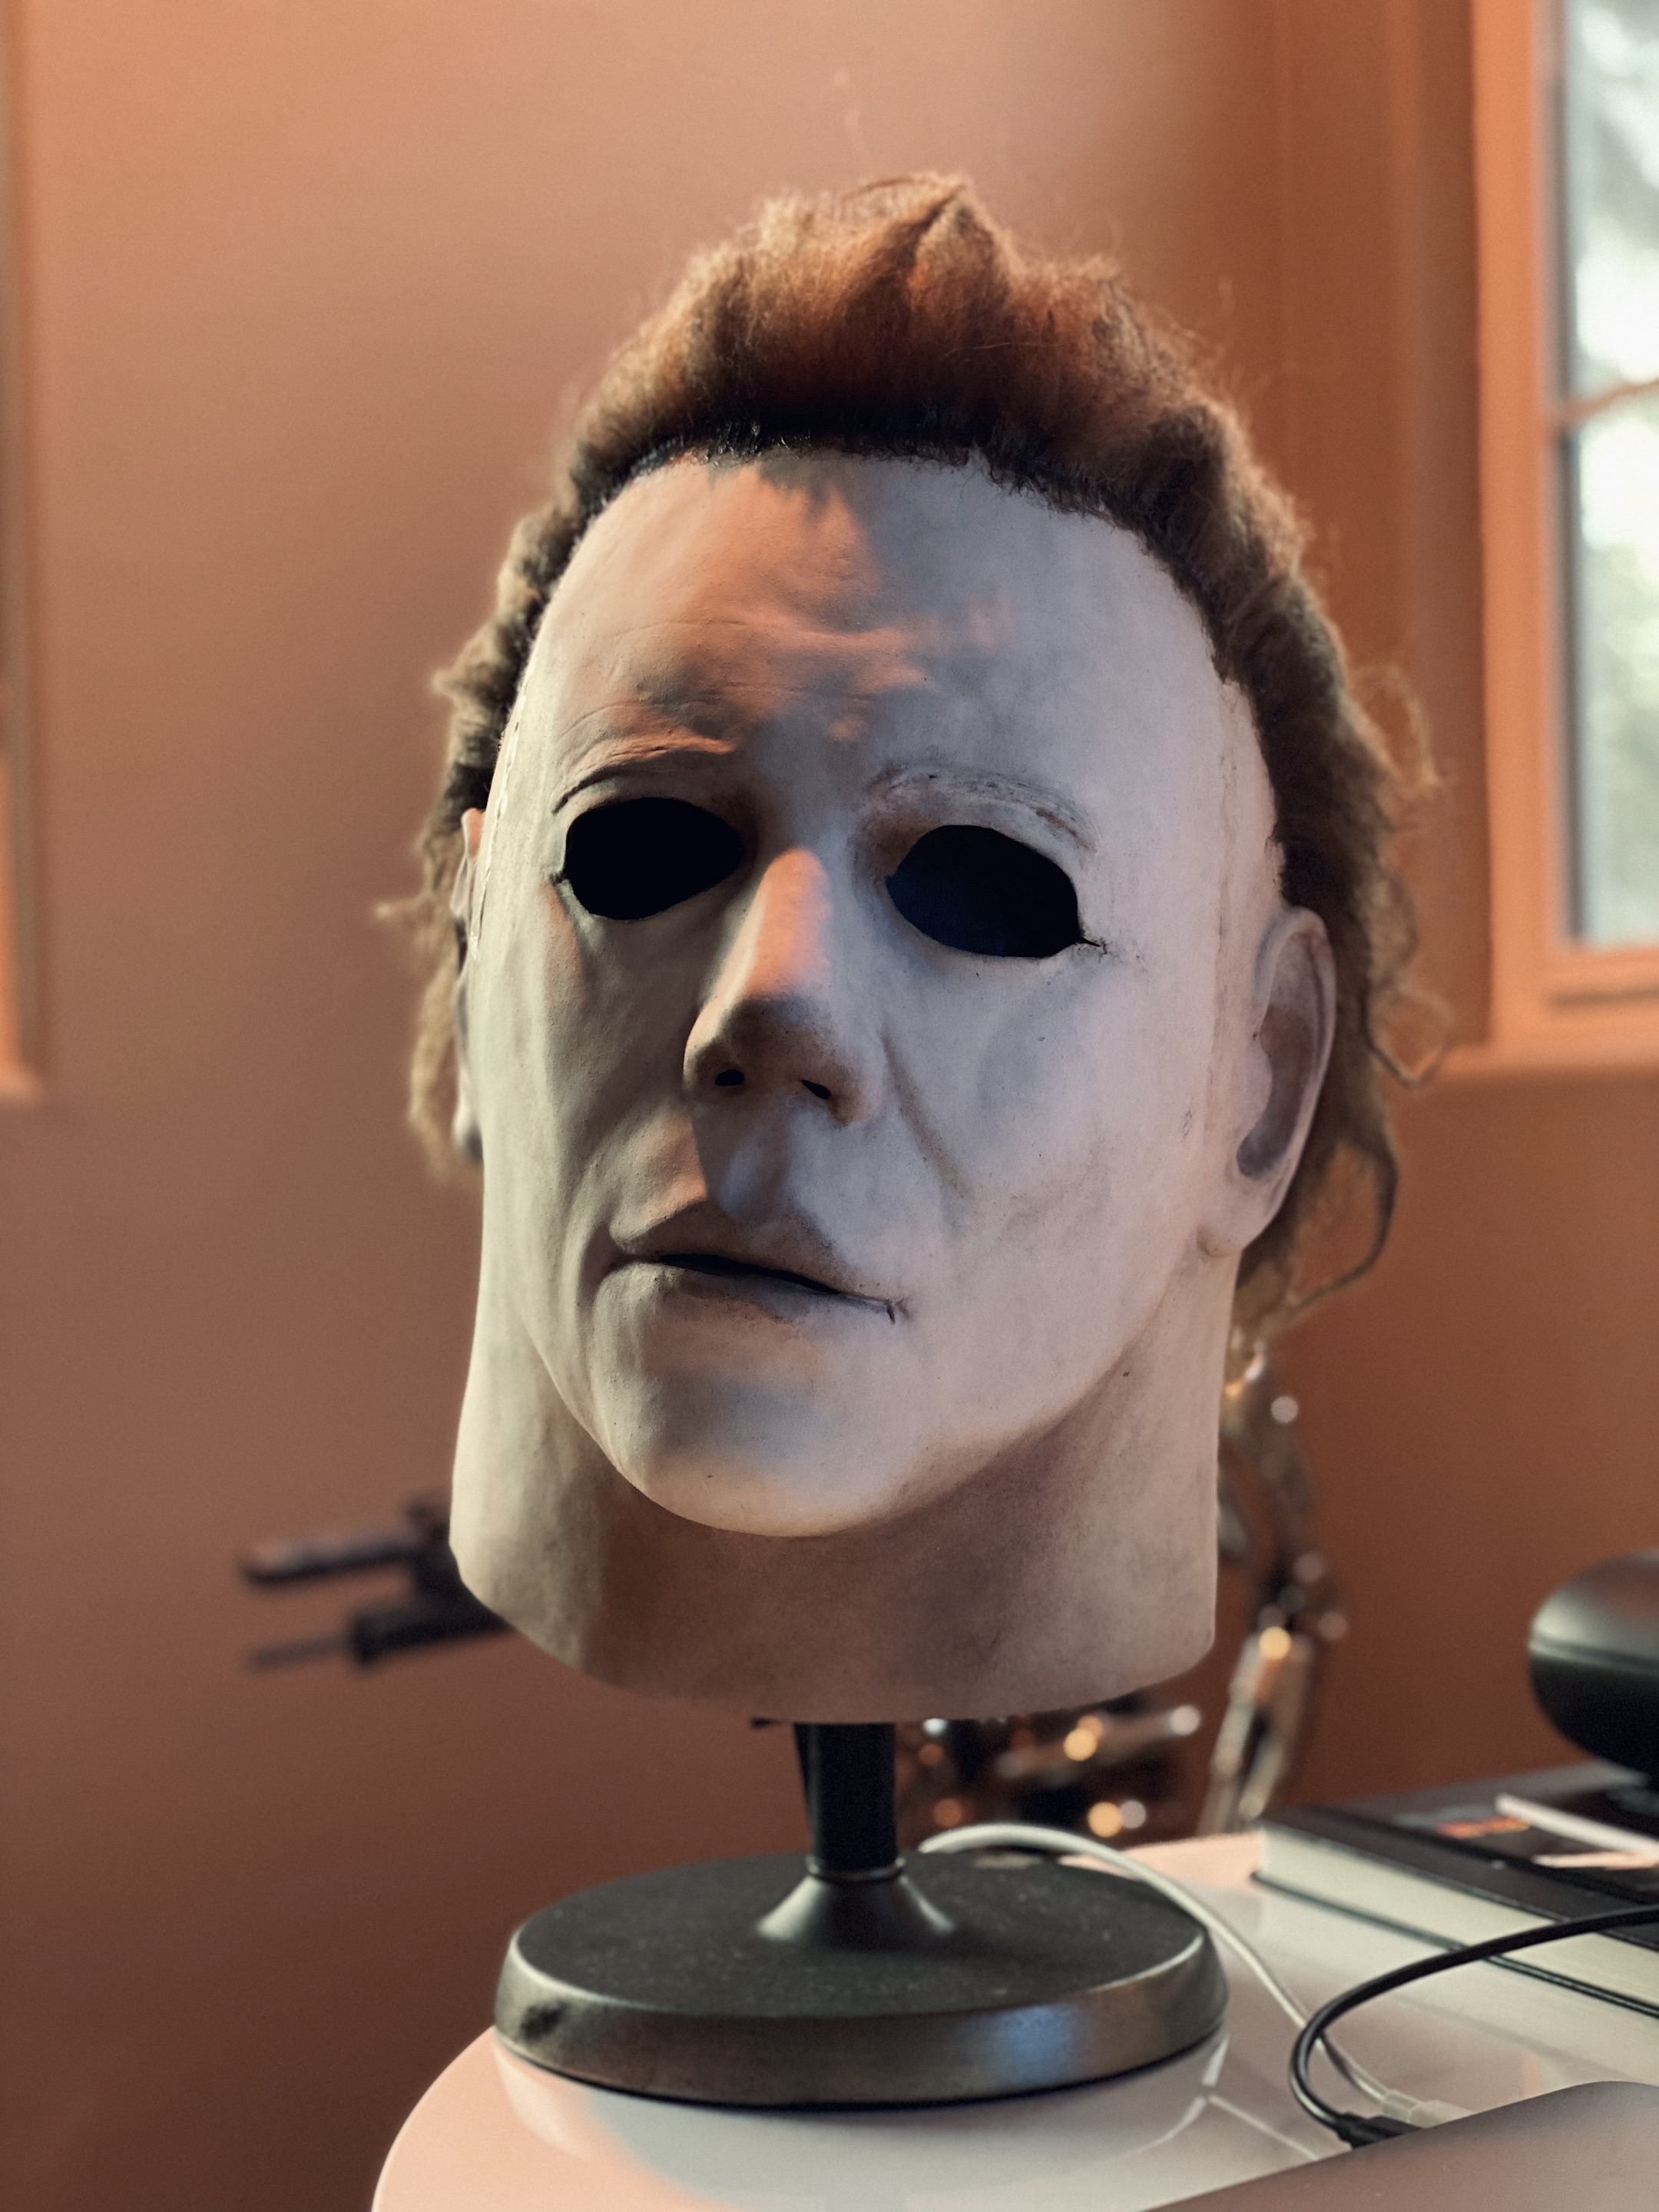
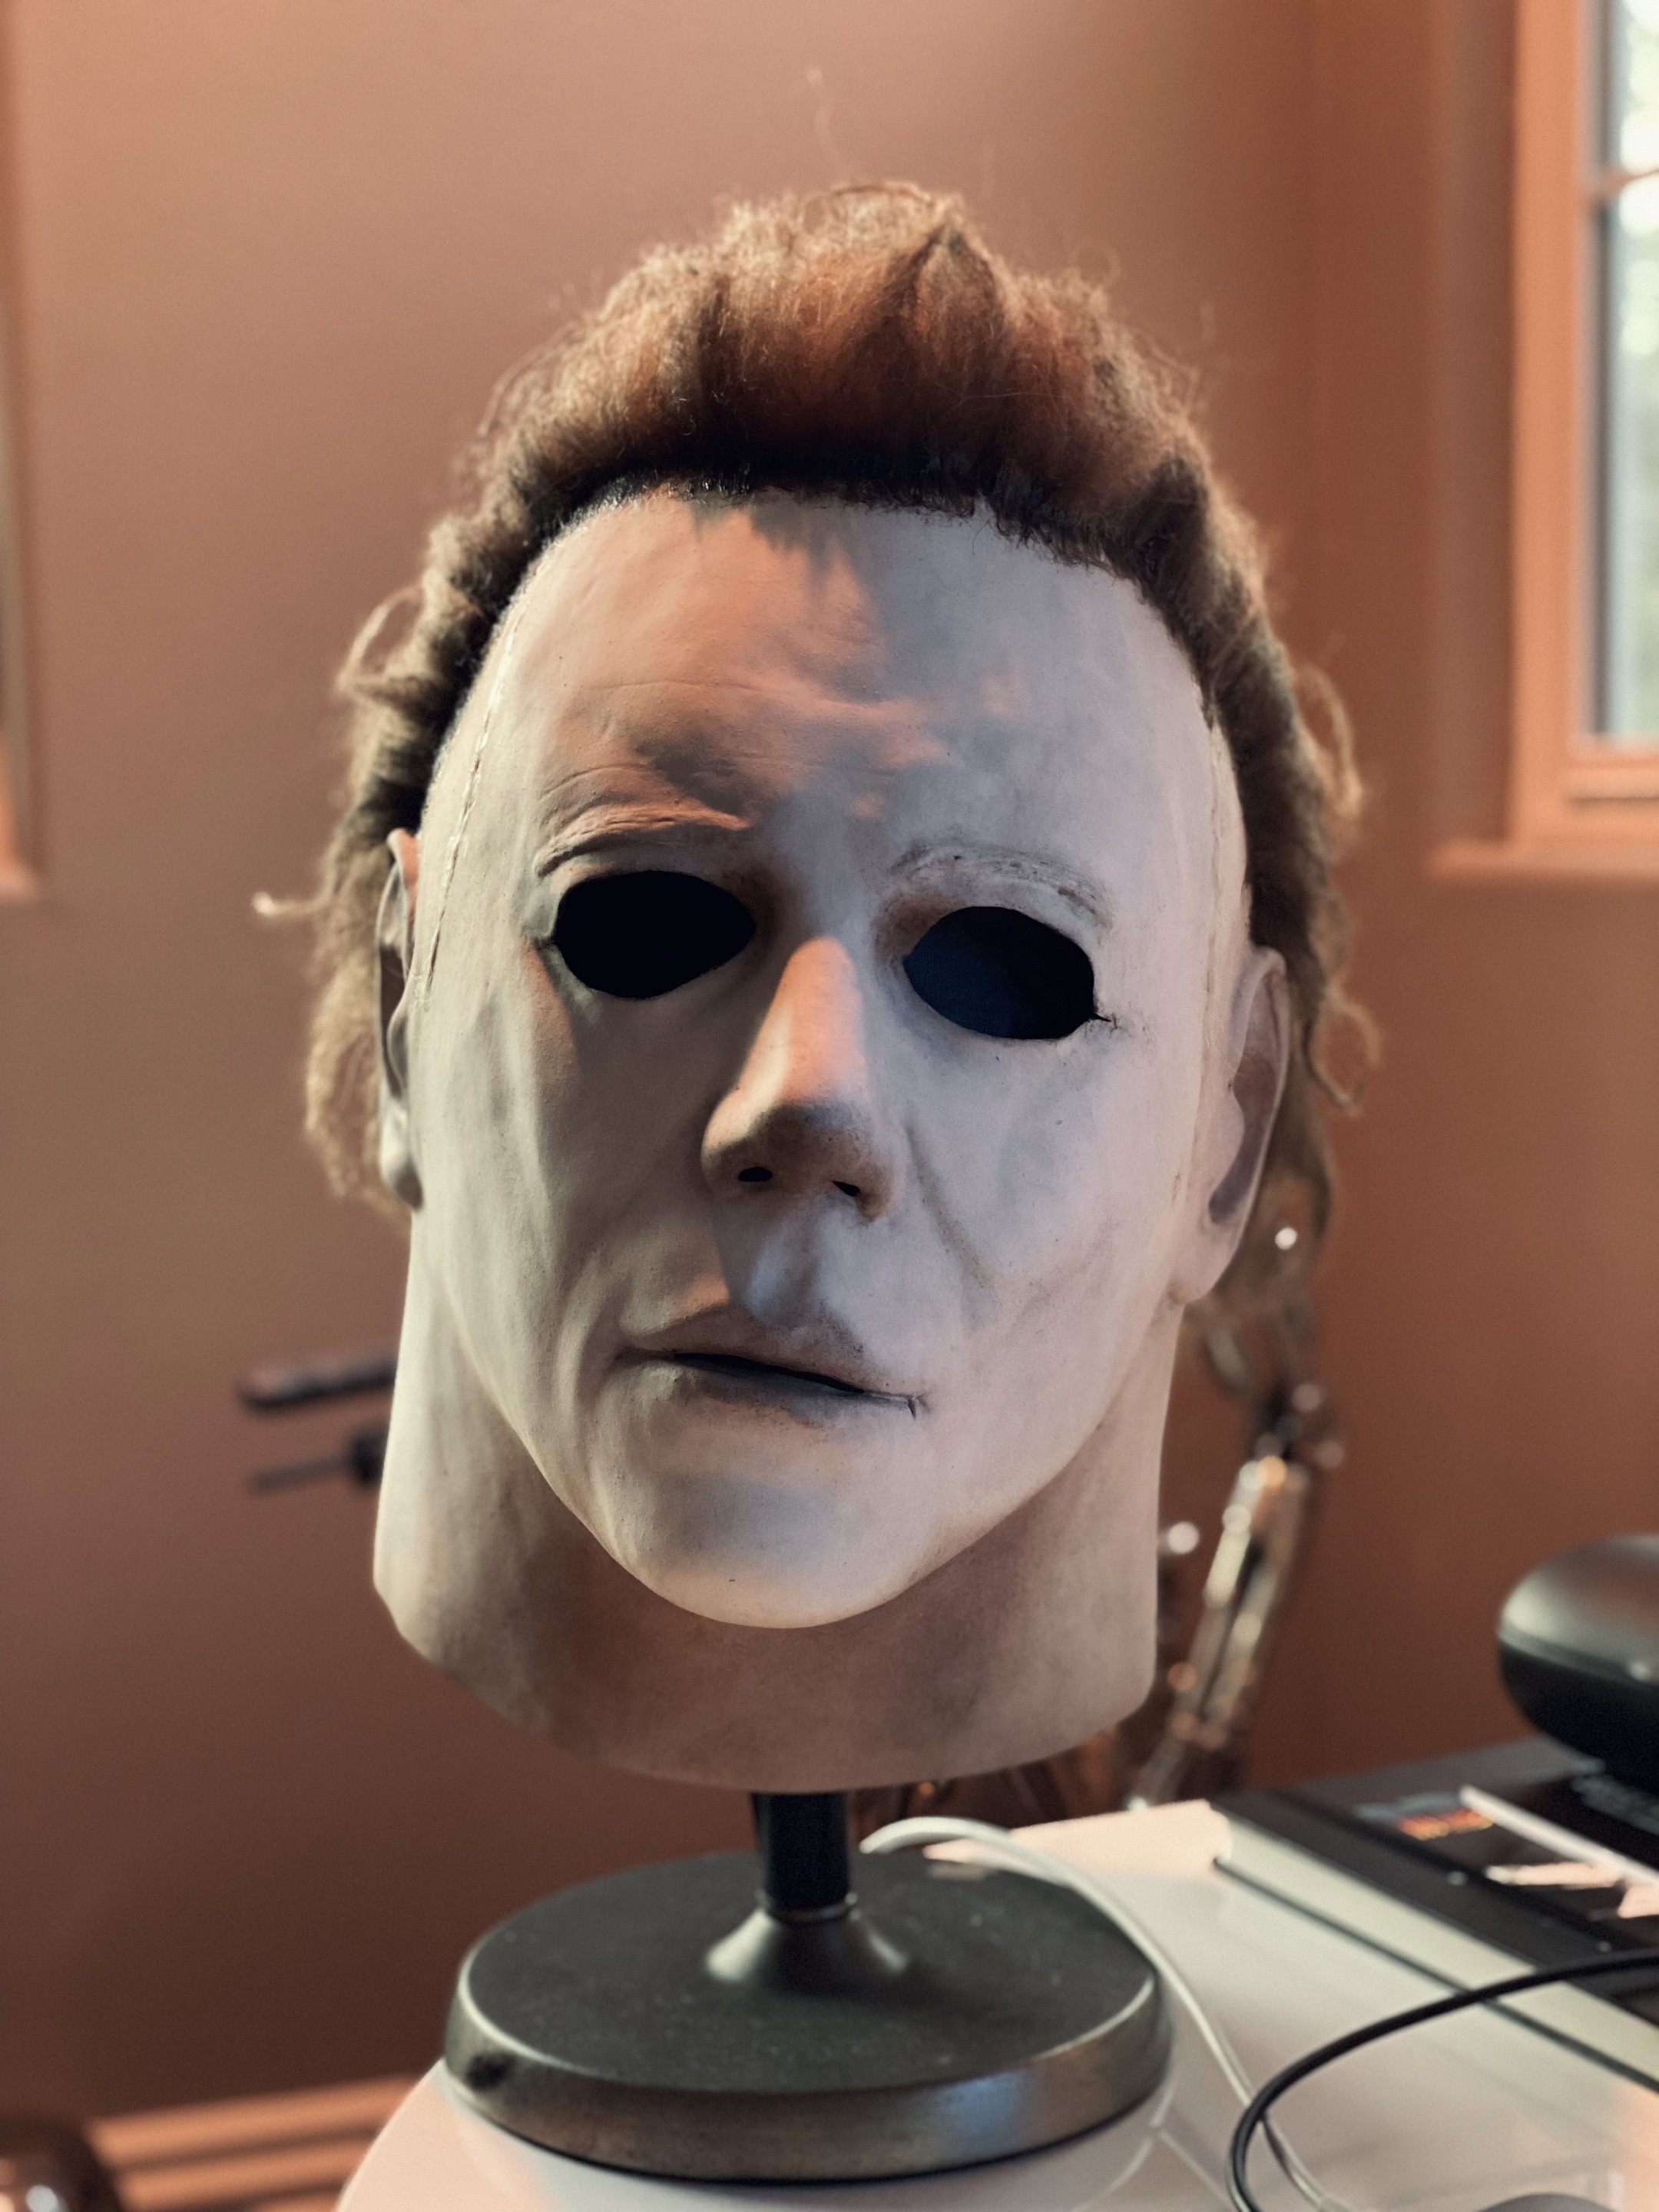
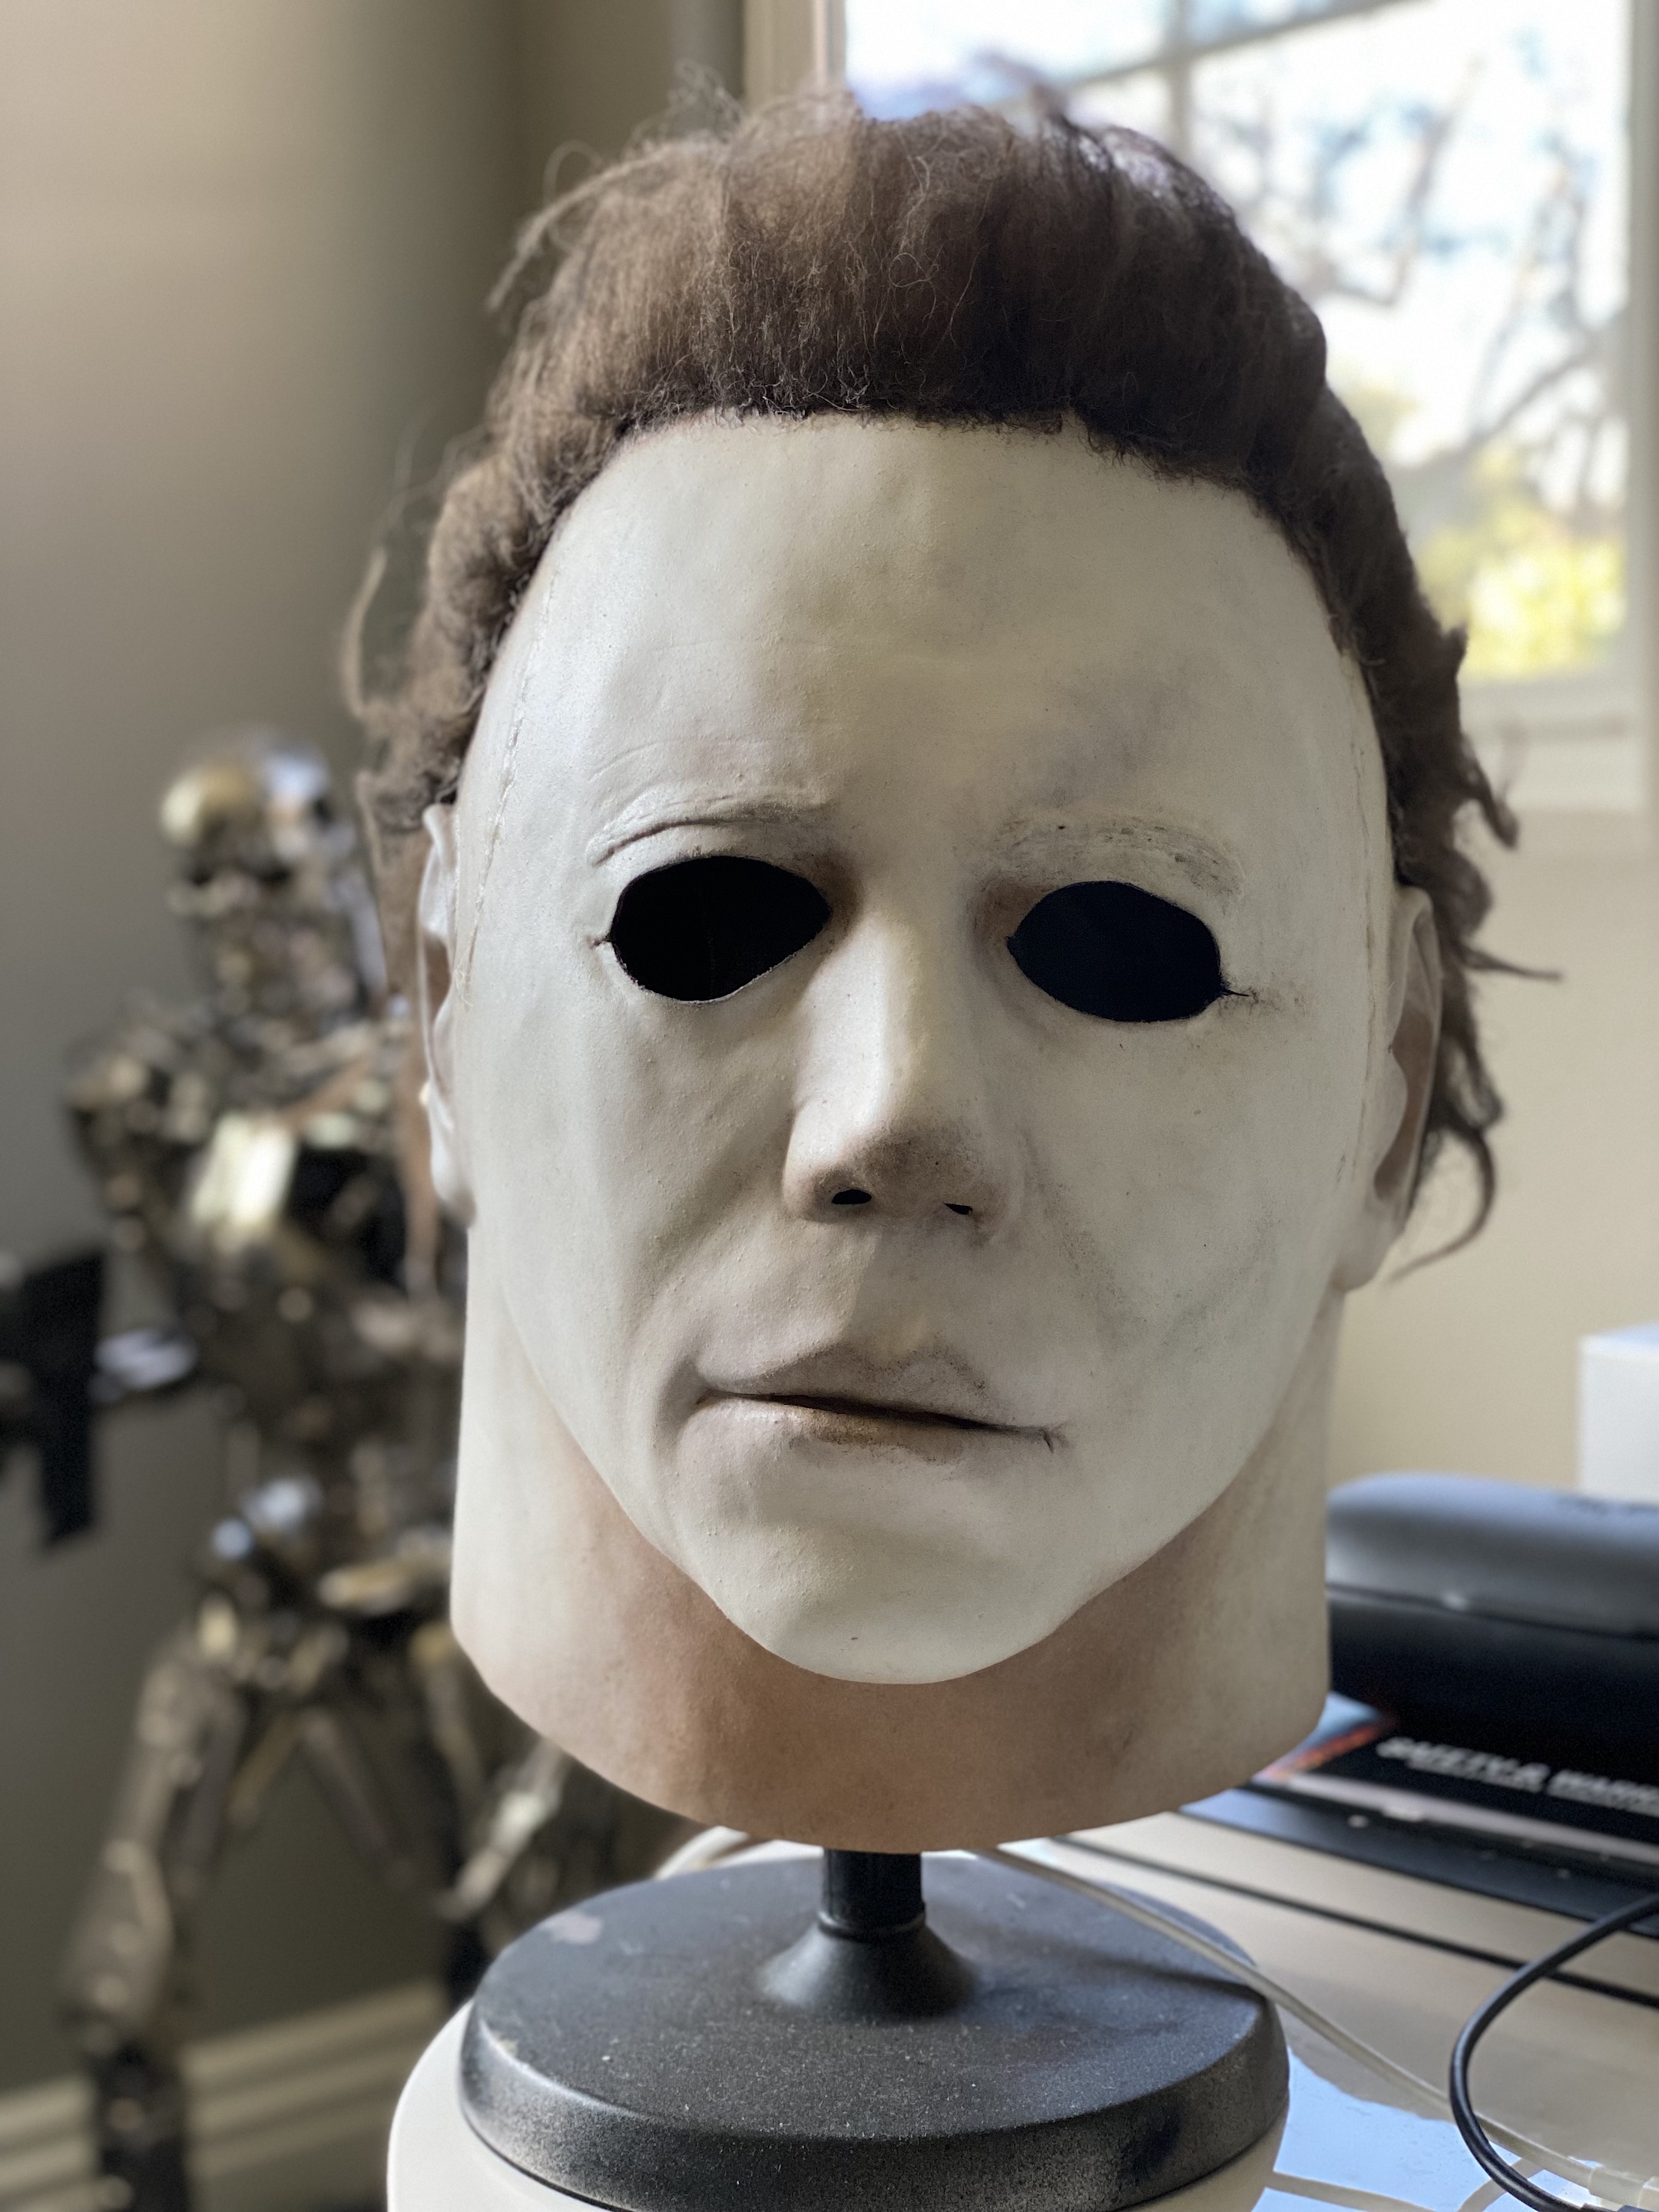
Here are some updated shots of the mask. I did some additional hair work and minor paint touch ups to the face. Set the hair with Krylon Crystal Clear and sealed the face with Plastidip and some Glossifier too. I decided to take these photos under fairly normal lighting conditions this time instead of the more dramatic colorful setup I used before so you can get a little better look at where I’m at:
Thank you very much. For paints, I’m using oil paints mixed with rubber cement and thinned down with naptha. As far as colors go, I sprayed the flesh tone areas with a custom mix of oils that looked like a teracotta-ish tone. I think I used raw sienna, burnt umber, bright red, and maybe a bit of titanium white to get the particular shade I ran with. Once that was done, I used titanium white as my “white” color (again mixed into rubber cement as the binder and using naptha as a thinner). This was all shot through one of my airbrushes.
After letting these sit for about 24 hours, I did a super thinned down acrylic paint wash using a mixture of raw umber and black. It was SUPER thin and just kinda broke up/tinted the white in a way that took off some of the sanitized white feel. I controlled where I went heavier/thinner to also make sure that areas like the forehead, brows, nose, cheeks, etc. had a bit less so I got some pop/contrast.
Note - Acrylics and oils don’t play nice unless you’re careful. You’ll often hear people suggest acrylics first and then oil on top. Most advice suggests never using acrylic over oils. But in this case, the oil pigment is trapped in the rubber cement, and I felt pretty confident after 24 hours I had enough oxidation in the oil to proceed with light acrylics (like the wash) over my base colors. I’ve done this before… it does take practice and patience.
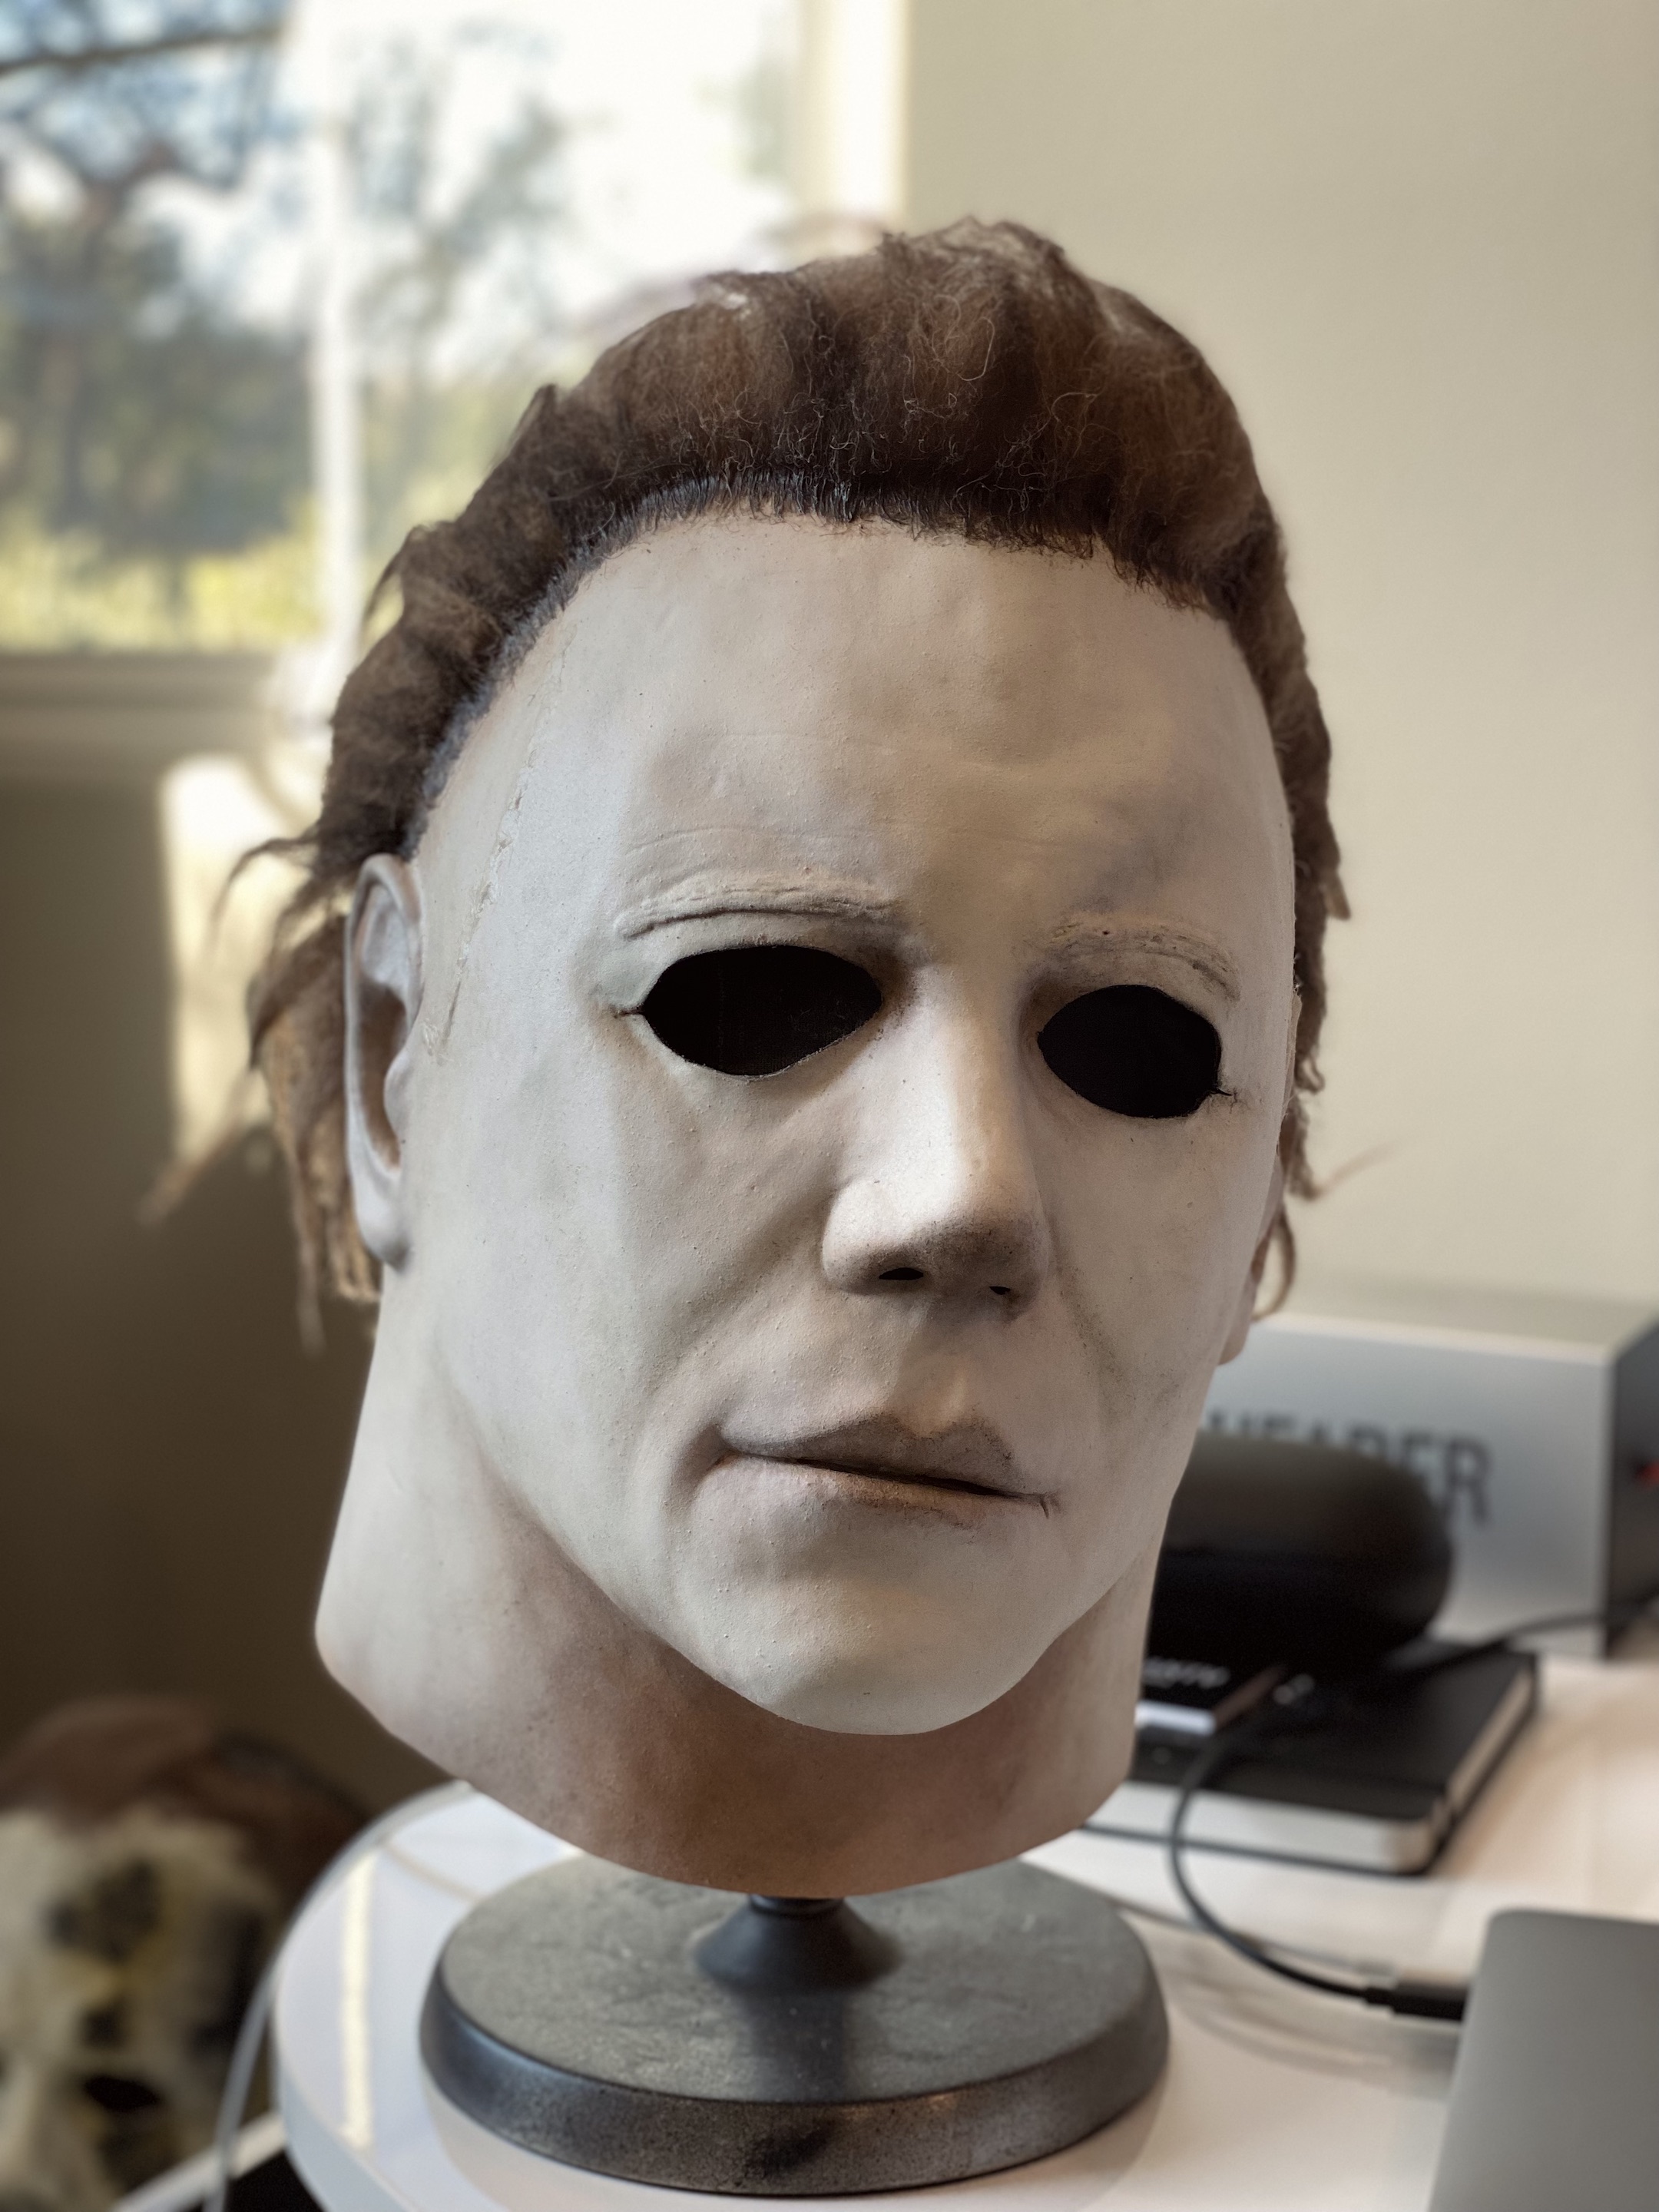
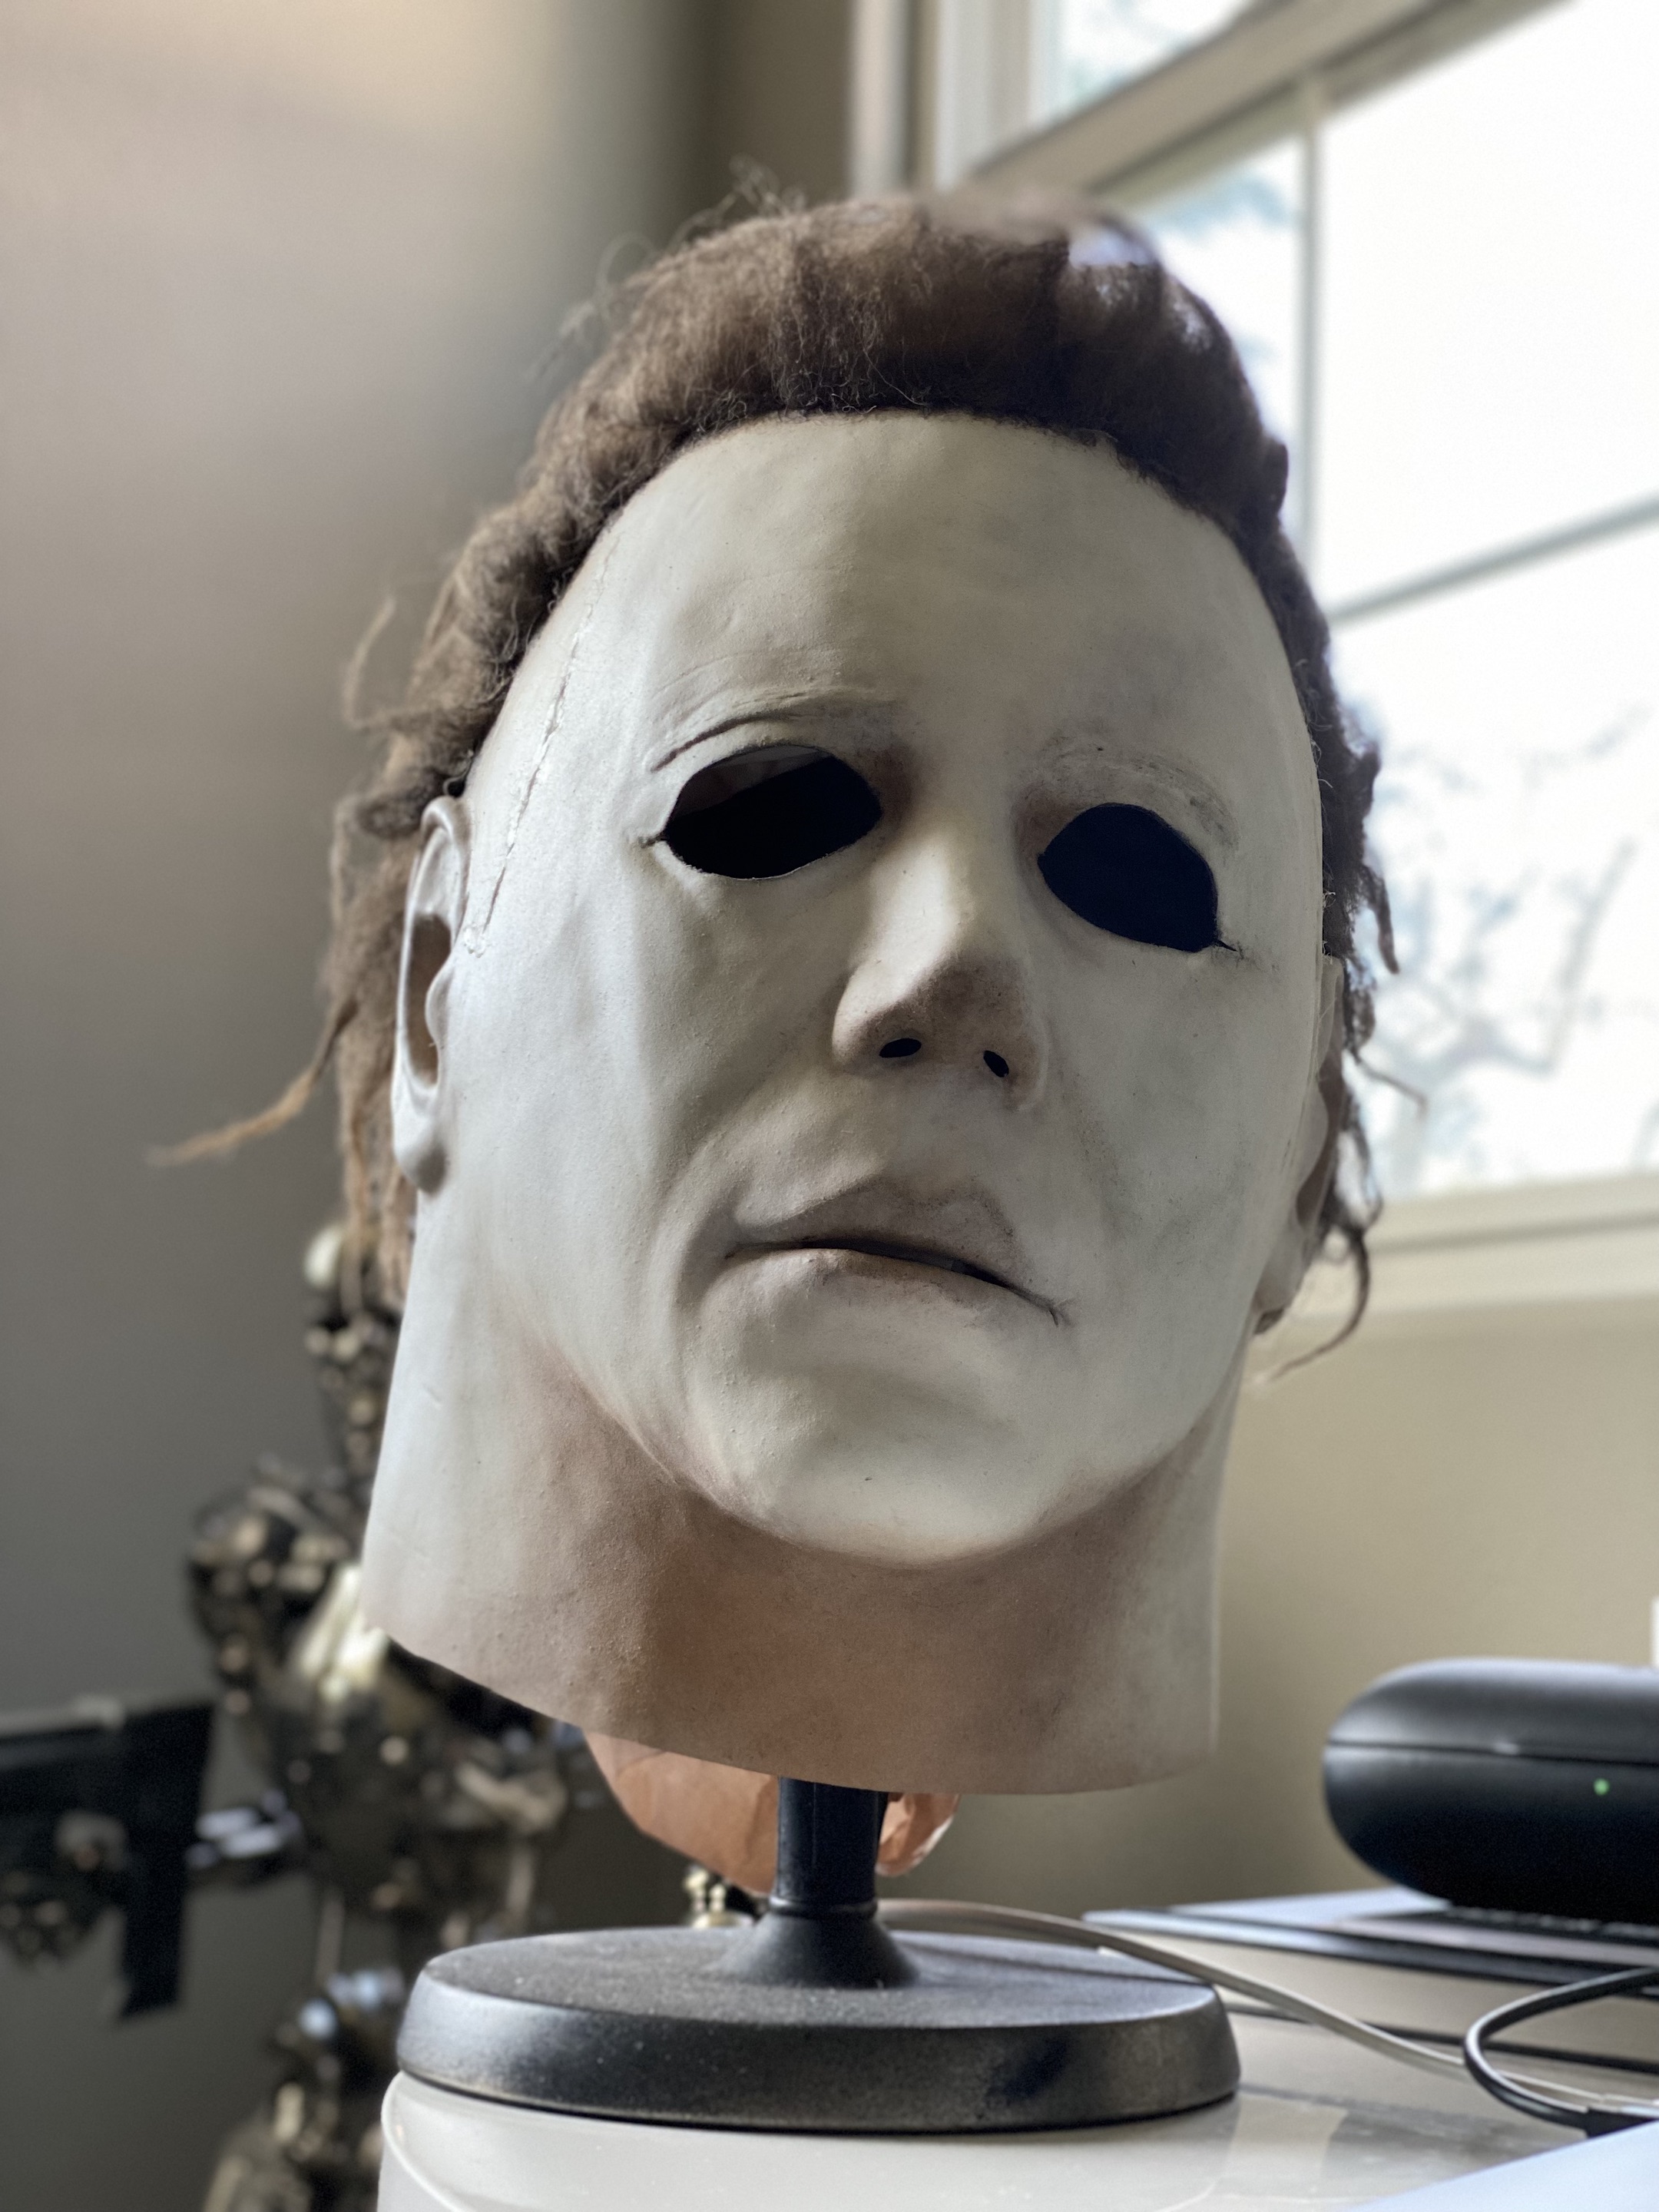
OK, I think I’m done with this mask. Here’s what I changed since last time. I went back and improved the hairline by hiding the super obvious glossy glue line. It’s something I’ve never liked the look of and I looked into how others have addressed this issue. Essentially, I ran a bead of Quick Dry Tacky glue over the existing hairline glue and bent the front row of hair forward, pressing it down into this glue (once it was tacky which was like 10-15 minutes after laying down the bead). I just took my time going along the hairline and pressing the hair forward onto itself until it stayed. After the glue dried (I think I waited about an hour maybe more), I was able to style it back to the way I had it and you don’t have as noticeable of a slicked down hairline. I think it looks much better.
After that, I thinned down some black acrylic paint with rubbing alcohol and lightly misted some areas of the hair I felt were too light. also did a little more in the front to help get that darkened but not done particularly well look that the masks seem to have in the film
Overall, I’m really happy with how this turned out, I learned some new things, and I am looking forward to the next one I try. But, I have some plans for this mask that we’ll just have to wait and see! Happy Halloween!
This is one of the best 78 overhauls I’ve seen. Beautiful work! Would you mind sharing some hairstyling tips? I finally attempted to style mine this year and it’s still not where I want it.
Wow, thank you for your kind words. I think this mask has a lot of potential. As for the hair, I’ve given some pointers on how I worked on it in my previous posts. I can say that I did mess with it some more for this picture. My advice would be to pick a specific moment in the film where you like everything about the mask and hair as a total package. Why? I believe the shape of the face/mask and the shape of the hair are intensely linked to how we view this mask. If you like the way Myers looks during the scene where he hides behind the hedge (round face shape) and style the hair like the closet scene (really matted down) you’re going to get a look that just feels “off”
So, I would suggest making that choice first and stuffing the mask until you are close to the overall face shape in your reference image(s) (again they need to consistently reflect the same look/moment). Then I go back to the hair with my hands/fingers and try to get the gross shape/volume of the hair (the silhouette) to match from the front, side, back, etc. I go back and forth shifting the mask stuffing around and moving hair until they both look right or are as close as I can get.
Then I’ll tweak little things like hair fly aways, horns, pulling some individual hairs up in areas to create some fuzz here and there. You know, more subtle nuanced things.
I think it’s challenging and time consuming. You need patience and a critical eye that can really see both macro and micro differences and know the difference between them. You know like not worrying about how a particular strand of hair is sitting until the overall volumes are dialed in. It’s tough.