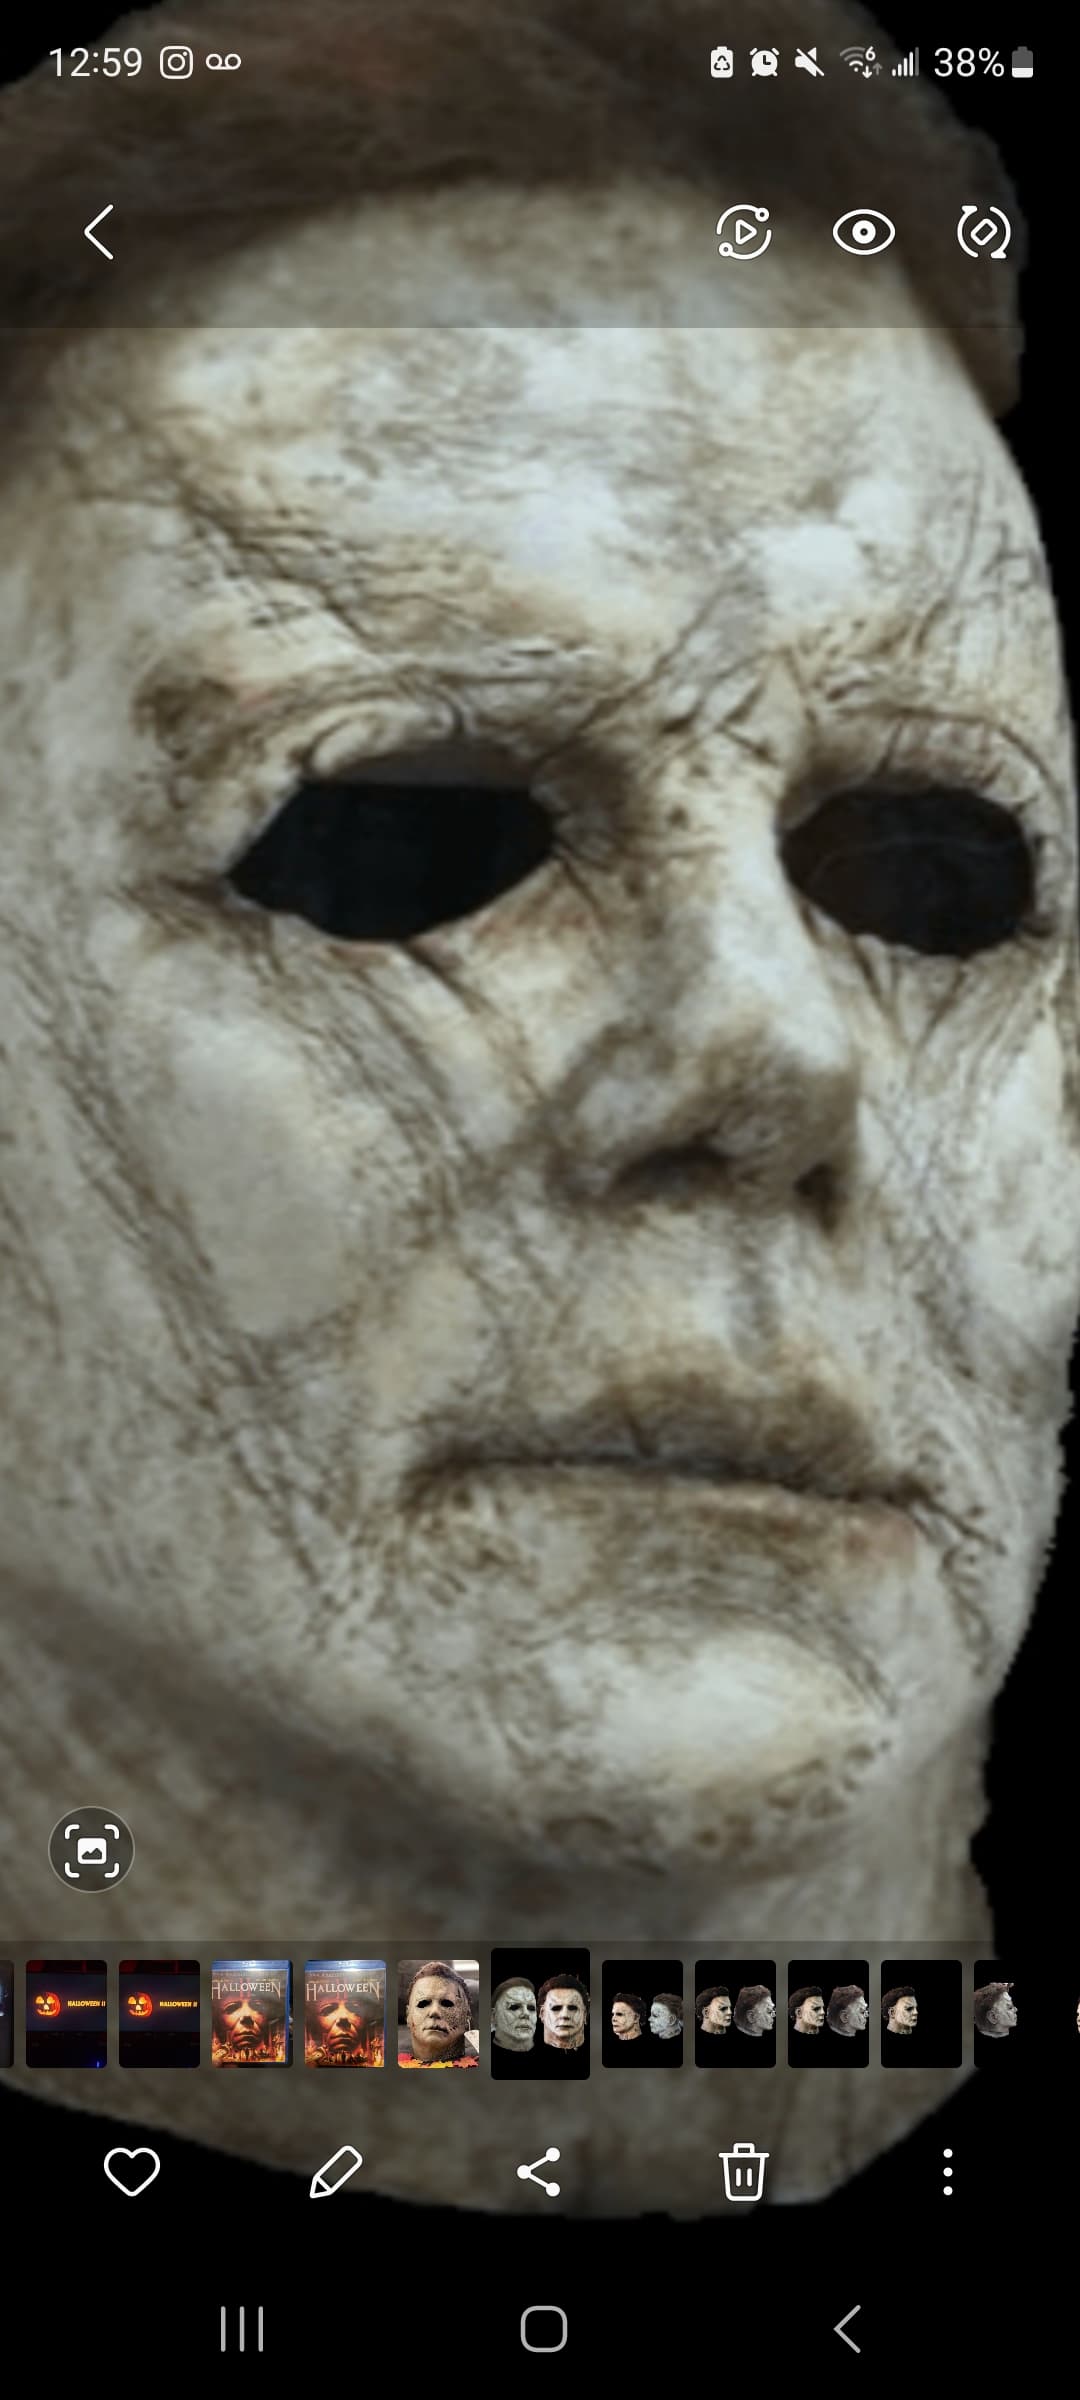
I am a beginner I can’t waste 50$ on this h40 mask try to rehaul it and fail. I can’t remove the hair I can’t strip the mask either so I’d just cover the hair with a bag and I think some people paint over the stock paint anyway. Would I start with a brownish base then dry brush white over that and then do weathering or do a white base and a black and brown mudwash over that and then do weathering I’m gonna buy the mask soon please help!!
1 Like
Ok, im confused. You’ve tried before? You’ve watched videos. You dont need to strip the mask, if you fail you can strip it pretty easily and start again. Dont know what your budget is but you should accomadate for a mess up as its your first time. (Speaking from experience, not trying to set you up to fail) Both things you have stated are how you can paint the mask. Painting it all an off white and doing the washes is the easier method , tots masks do have faint details so you could do touch-ups afterwards if details arent coming through from washes. Just dont go heavy on the paint and completely fill over details. Doing just the dry brushing method will take more patience and will require doing very light layers and building them up, but can allow details to come through a little better, and give you undertone colours from the white reacting with the base colour.
1 Like
Go for a dark soot kind of base (Nelson himself said this) and dry brush the off white over it all. There is a lot of layers, so focus on the off white as the base tone, then using your reference pictures, add the dirtier areas and highlight details if you need. And most importantly, use good paint! Most of my mixes failed and cracked, so I had to restart. For your budget, it’d be best to buy acrylic paint of your choice, then some thin liquid latex (someone here said balloon latex, which might work).
2 Likes
I know what to use I just don’t know the dark base first or light base this would be my first mask have you any pictures?
1 Like
I don’t myself. Using the dark base first is what Mr. Nelson uses, but if you do the white first, then it’s basically pointless unless you’re skipping drybrushing and using the wash method instead
1 Like
Yea well putting a white base means no dry brushing and you do a mud wash to fill the detail instead of dry brushing over dark
1 Like
I’ve never tried this is my first mask
2 Likes
I mean one is more time consuming but I have time I just don’t know which one is easier to mess up
1 Like
Also do you have tips on colours I mix for actual weathering like the yellow the browns like that
1 Like
And I don’t know if I need a sealer either
1 Like
Its more time consuming to dry brush. Both are easy to mess up if you go too heavy with paint.
Yes you need plastidip sealer clear.
Its best to use a heavy body acrylic bartman.
Also, it’s usually a very dark base unless its the 78 or H2 1981 masks.
1 Like
Raw umber for browns , im not sure on yellows , honestly doesnt look like much yellow is used if any, on the hero mask, (if it is it’s probably just a basic yellow) though for the the initial white youll want a drop of yellow to to make it an off white.
Also curious if you’re the guy I talked to on youtube and told to come here or if this is just a weird coincidence.
1 Like
You’re in good hands man . Youll need some makeup brushes and flat brushes , and some really fine brushes for detailing fyi. Make sure you get some paint thinner too, to clean the brushes immediately after using, latex can destroy brushes. Are you ordering the mask or going to the store? I would recommend going to a store first so you can see the mask in person and maybe find a decent copy. Ordering is a gamble , you dont know what they will send you, may need more work with eyes etc. Speaking from experience.
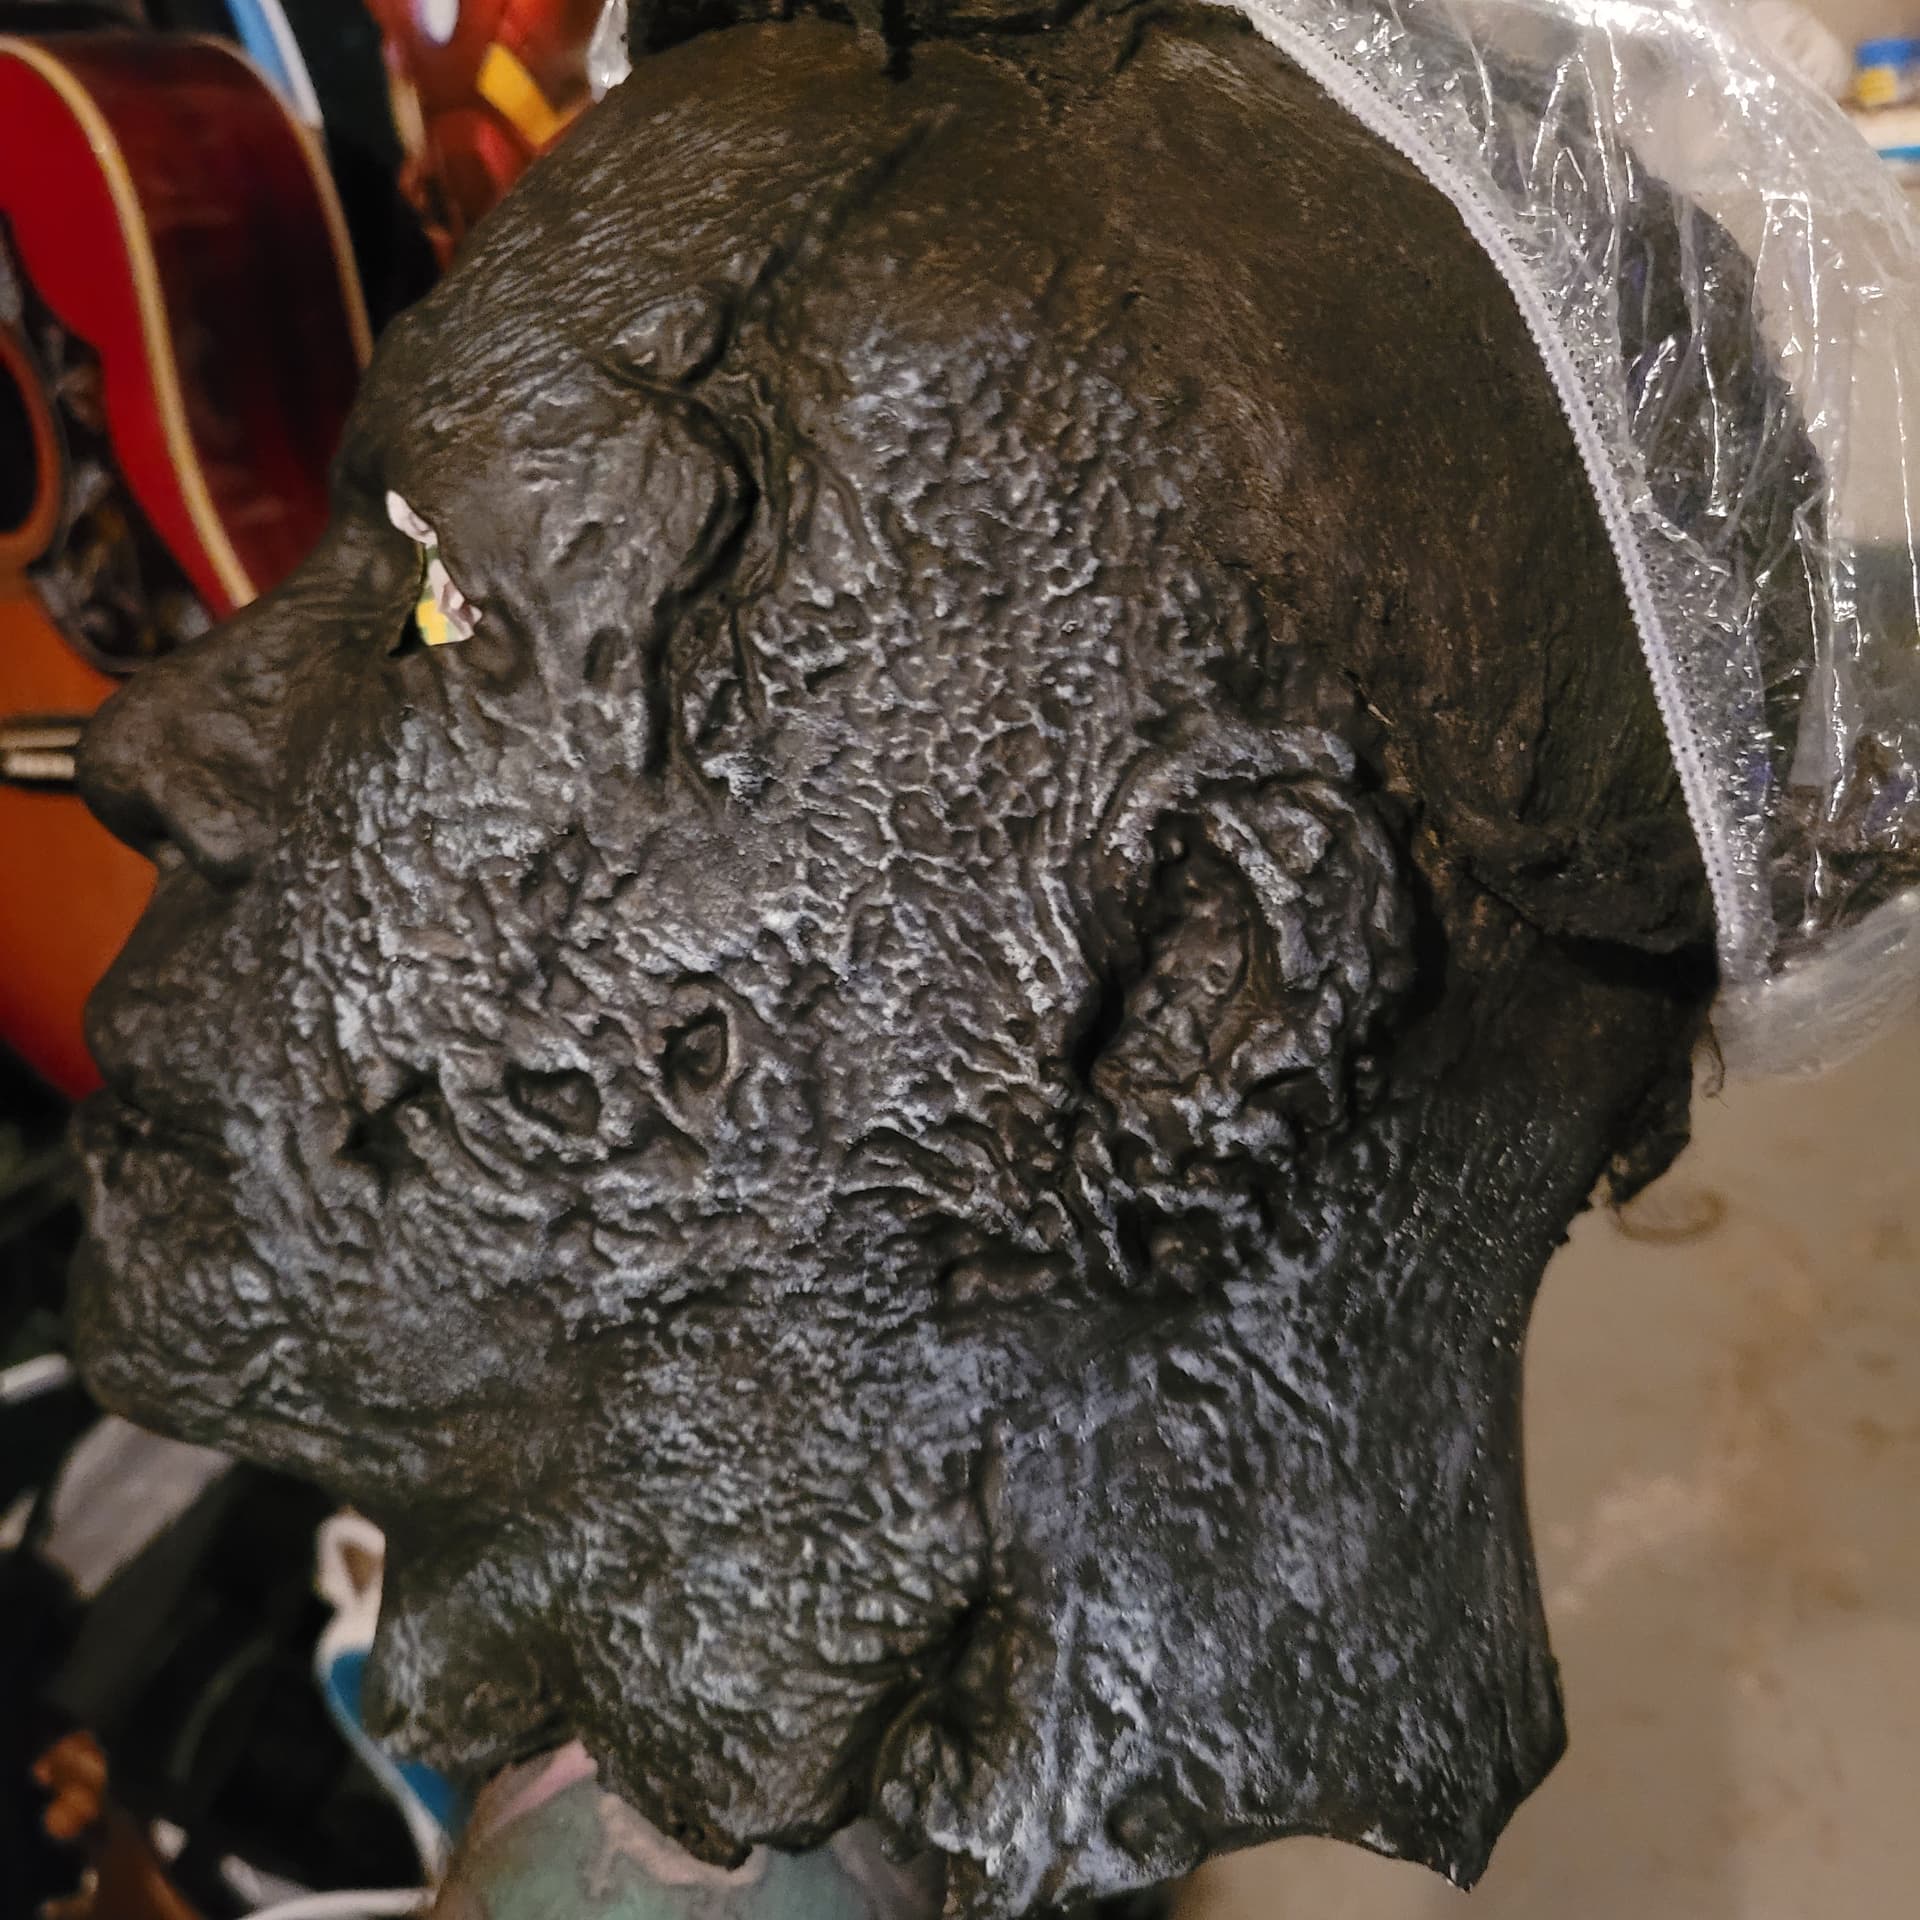
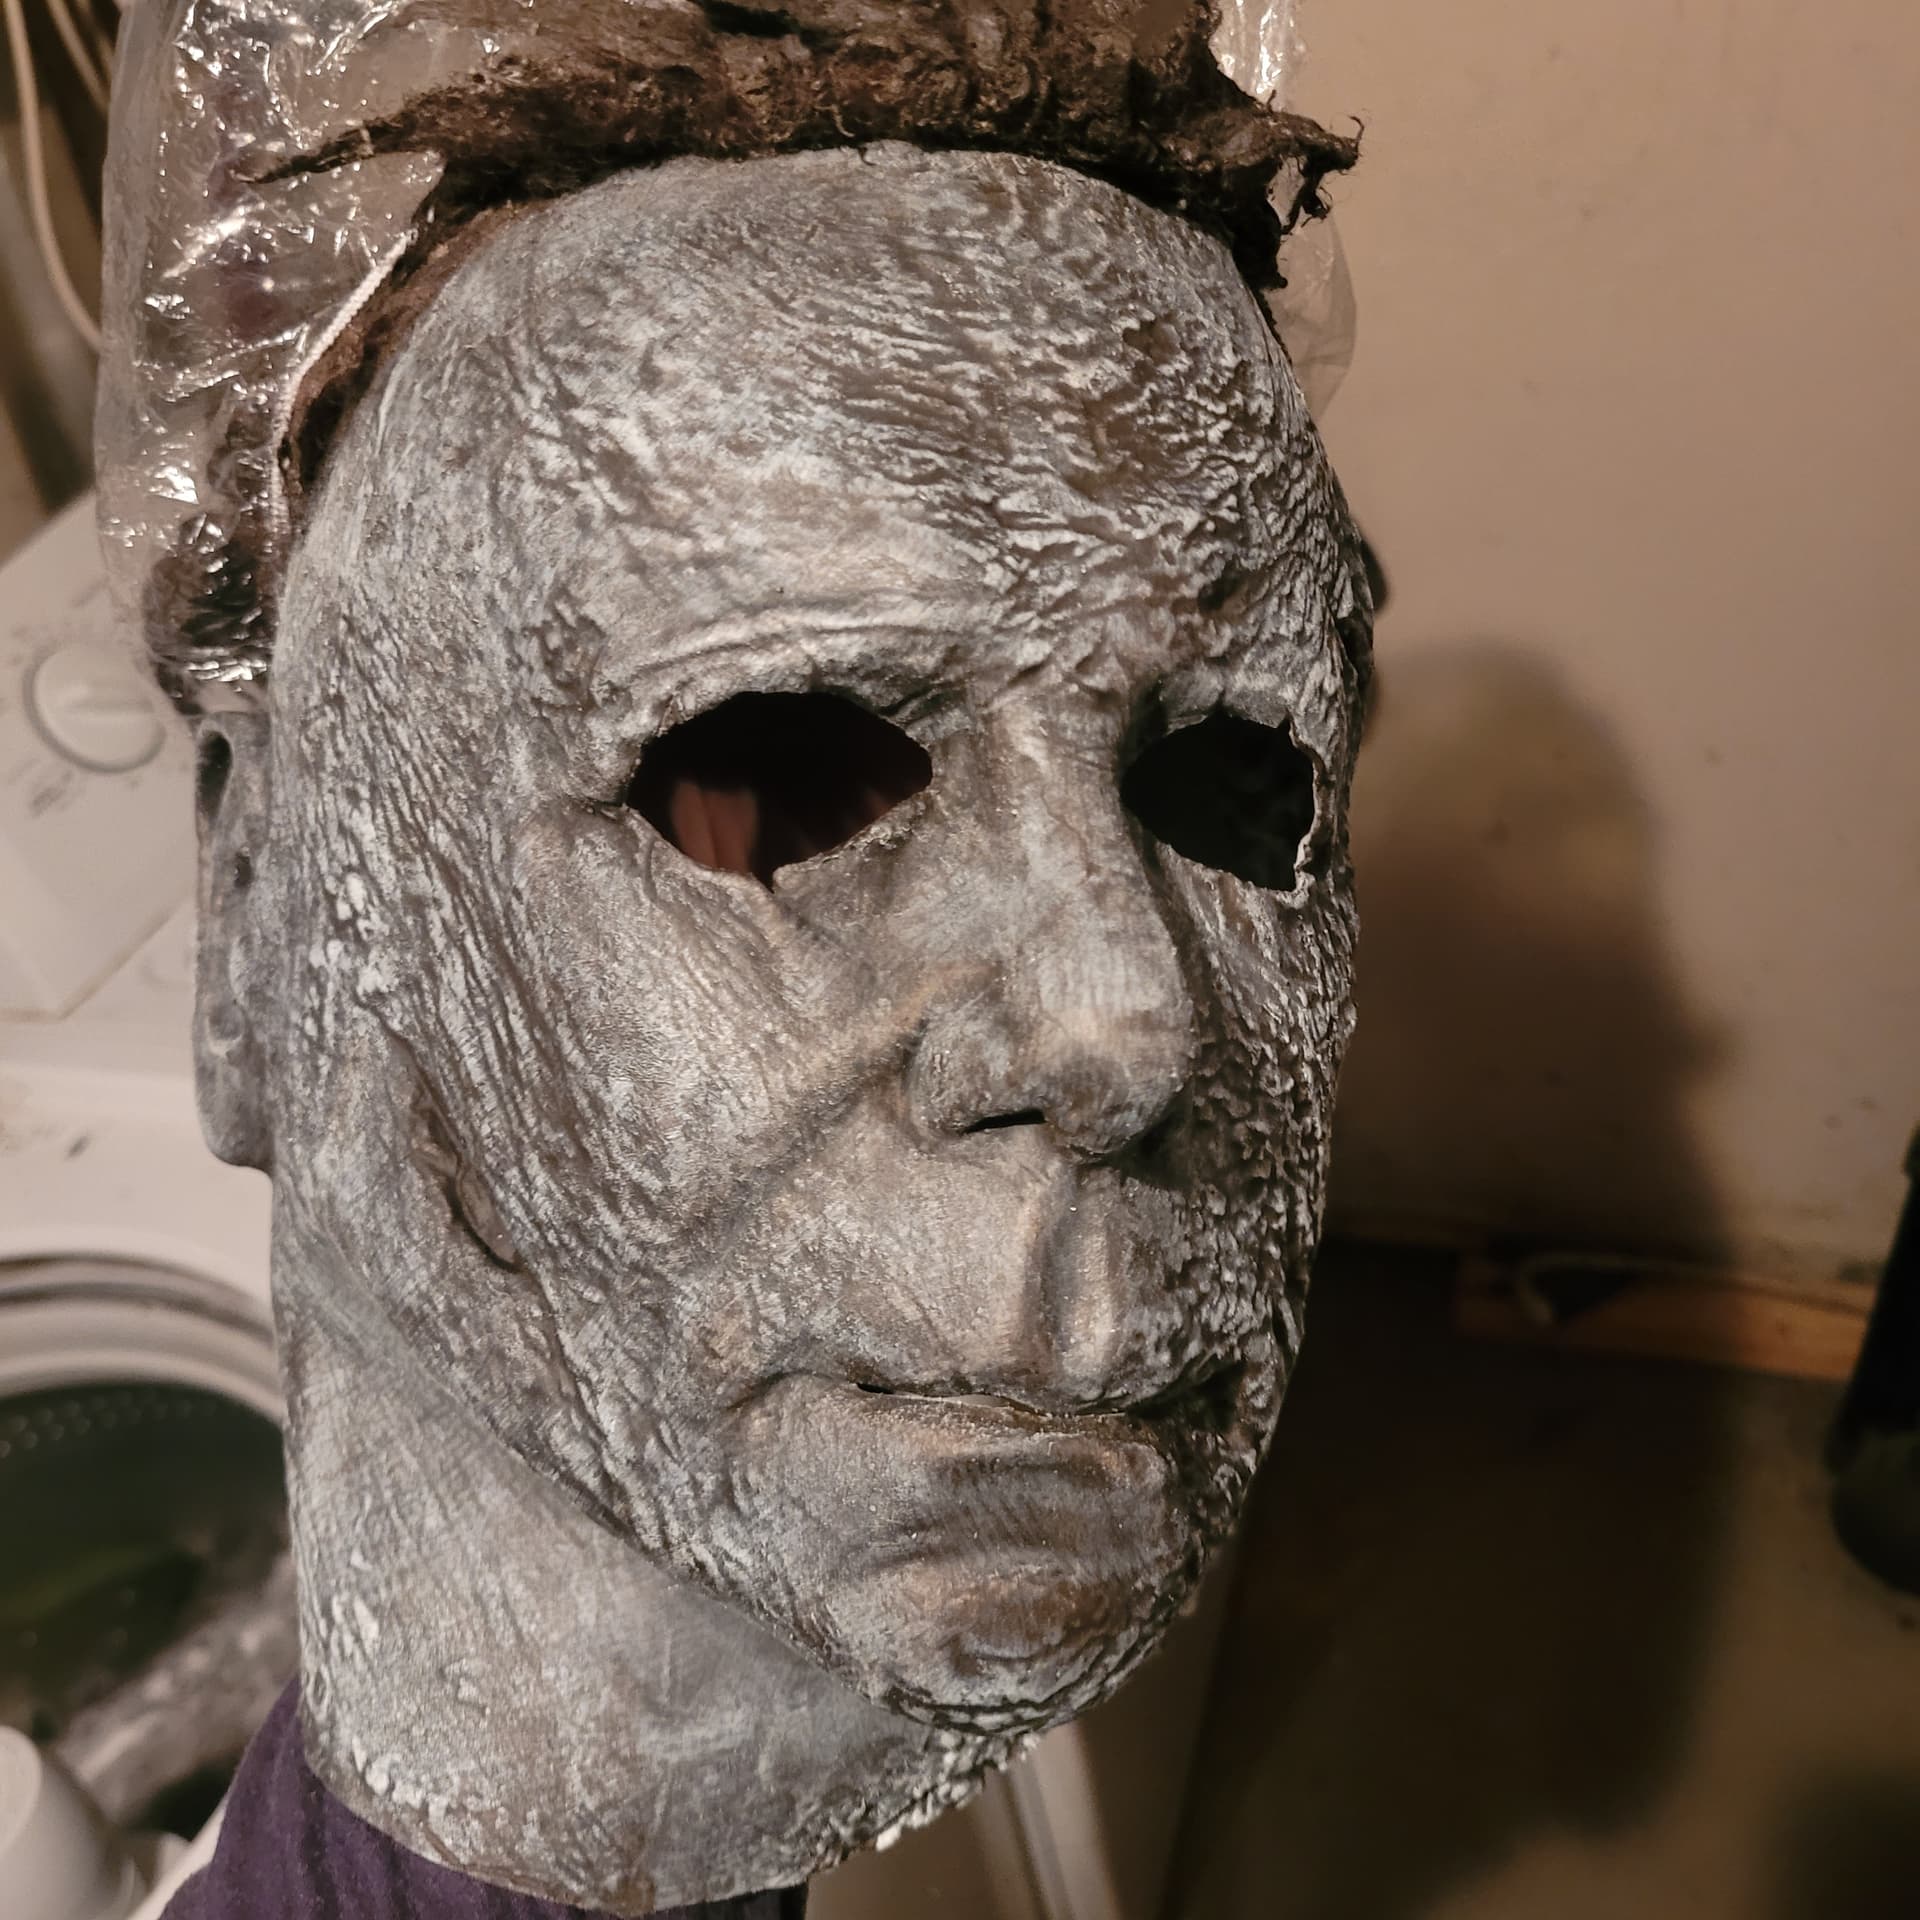
Heres some base work. I used raw umber acrylic and black boot polish to get a dark mud colour , 2 even coats let each coat dry completely. And ive started dry brushing. Had to restart this one, bunch of cuts i noticed needed to be done but im back at it. Using very little paint , making sure i keep the brush a little wet, and keeping an eye on paint consistency. Always use your first brushstroke on the back of the neck in case you have too much paint, its best to go over areas that are raised , as they are not as easy to accidentally fill in. When you have unloaded alot of the paint from the brush, is the best time to go over less prominent details like cracks so you dont fill them in completely. Im iusing a flat brush and just gently gliding over the detail areas catching only the raised bits.
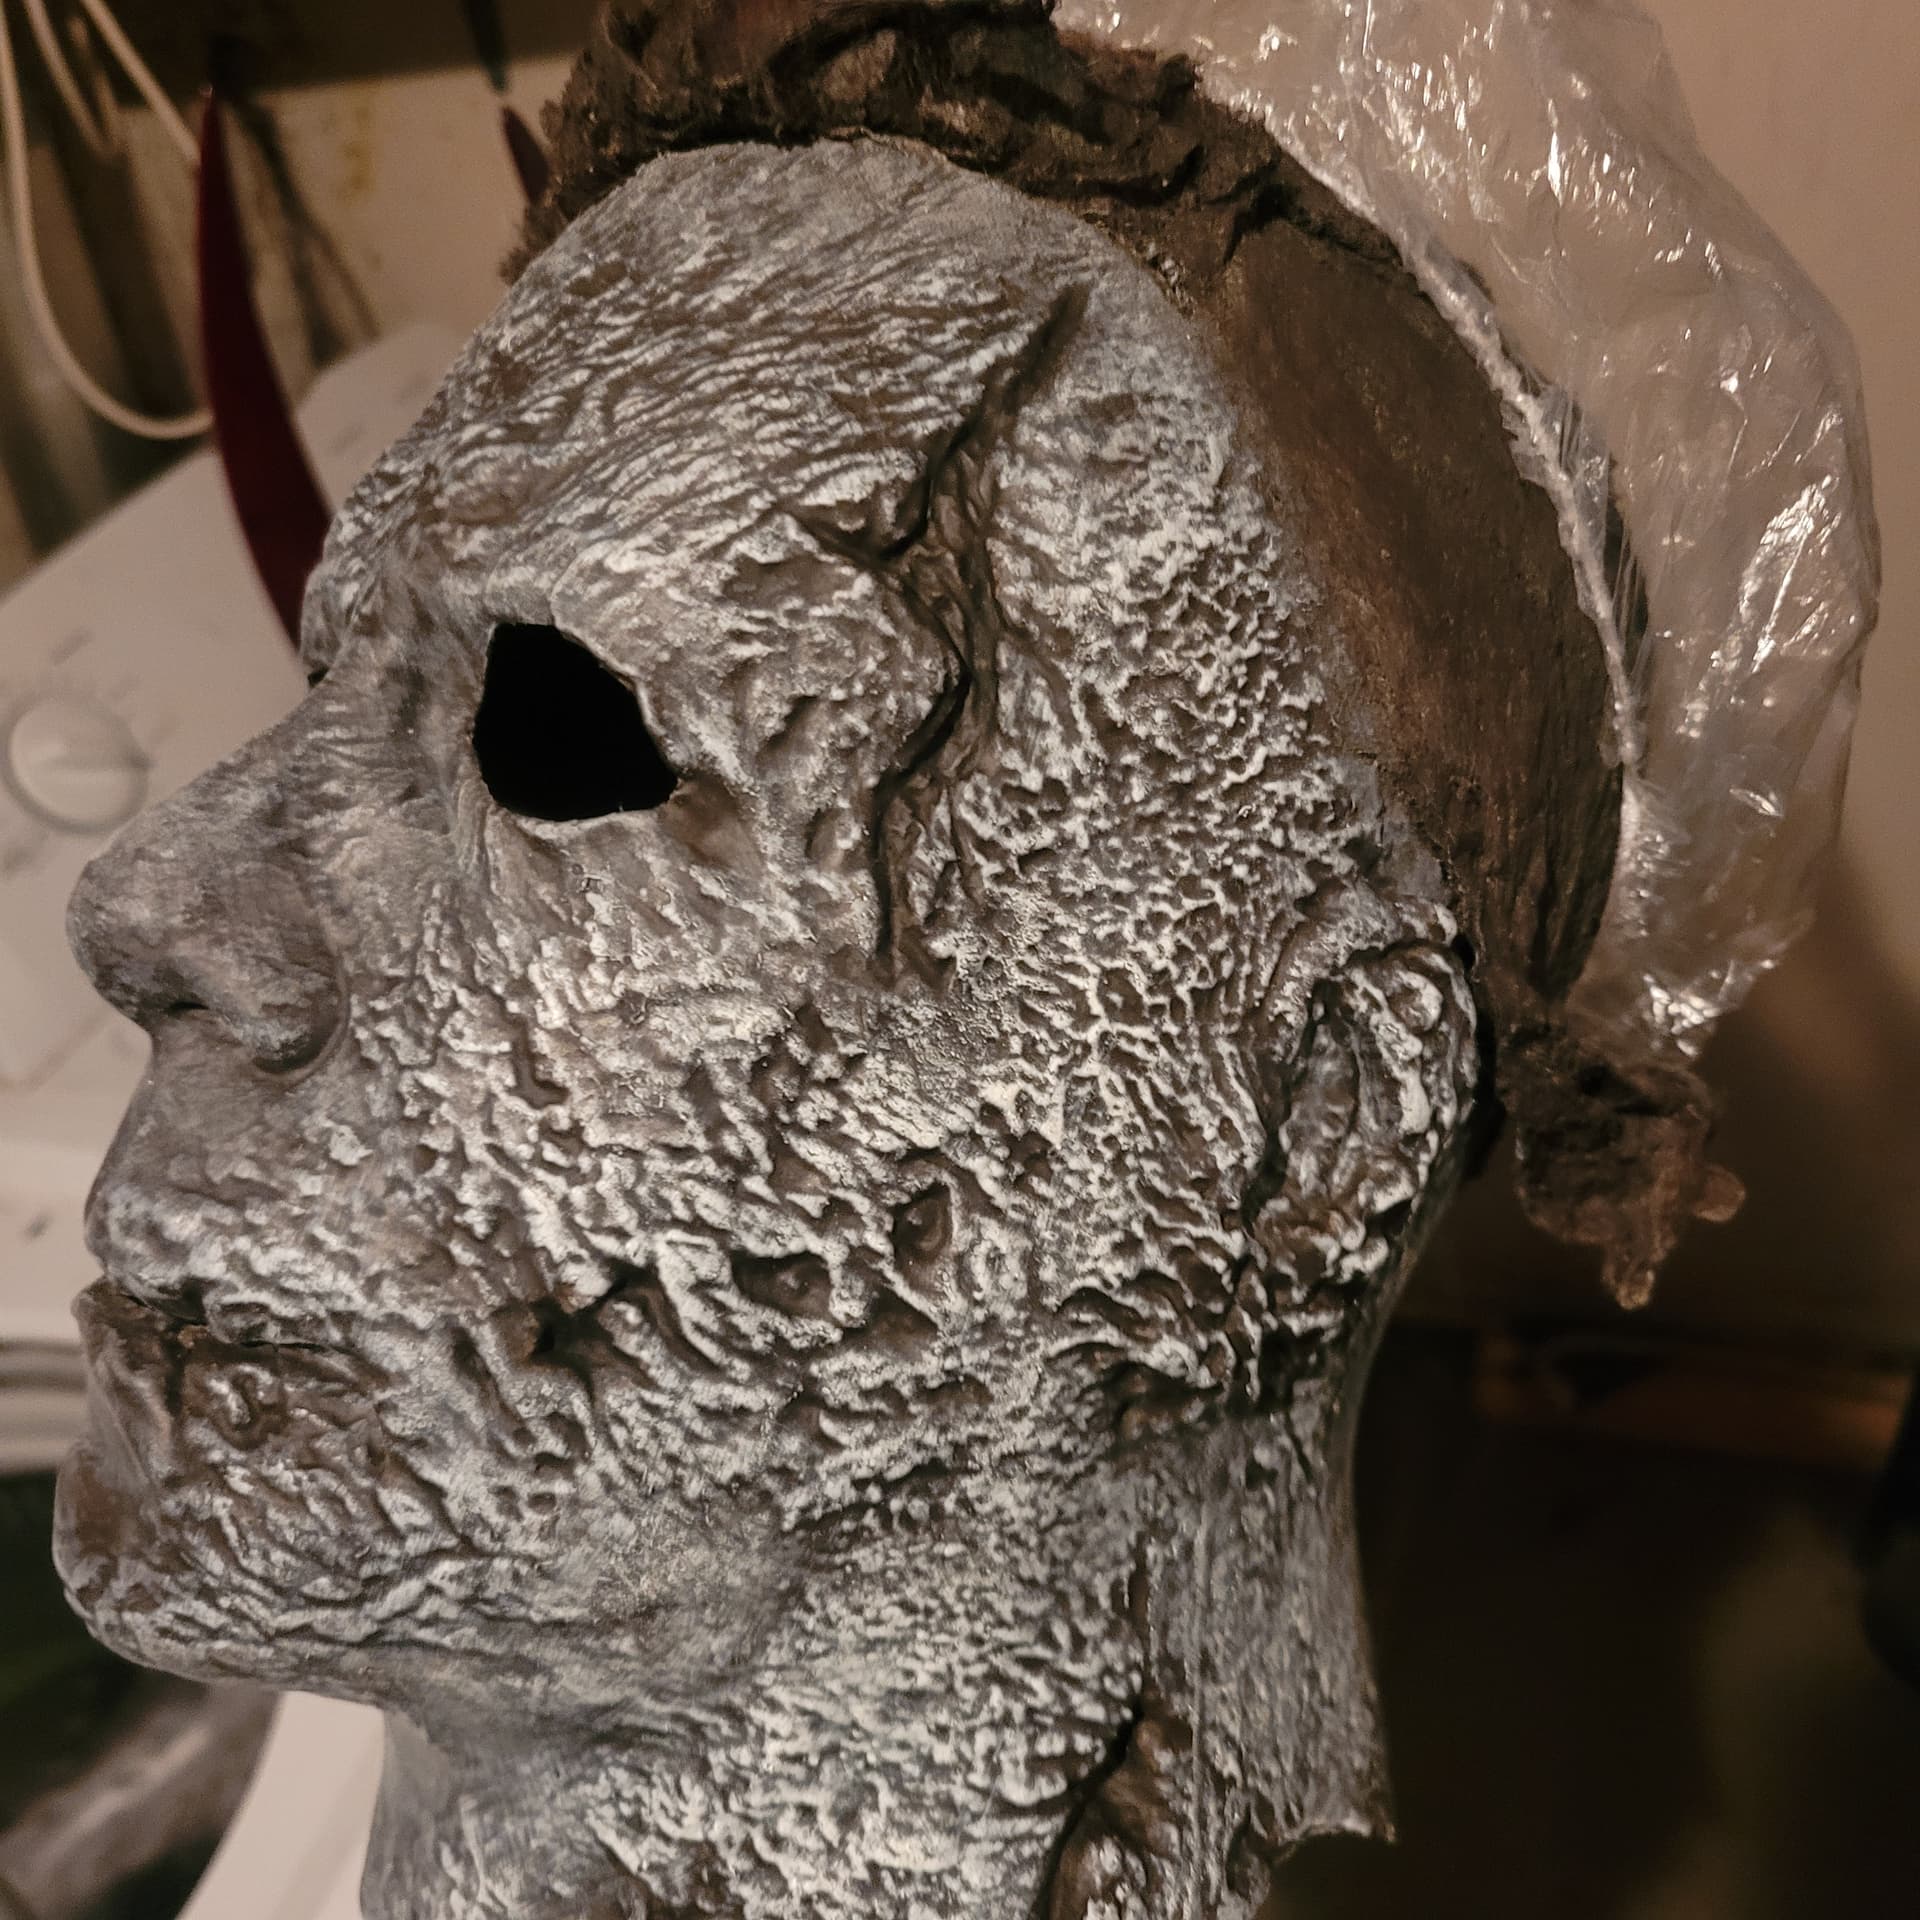
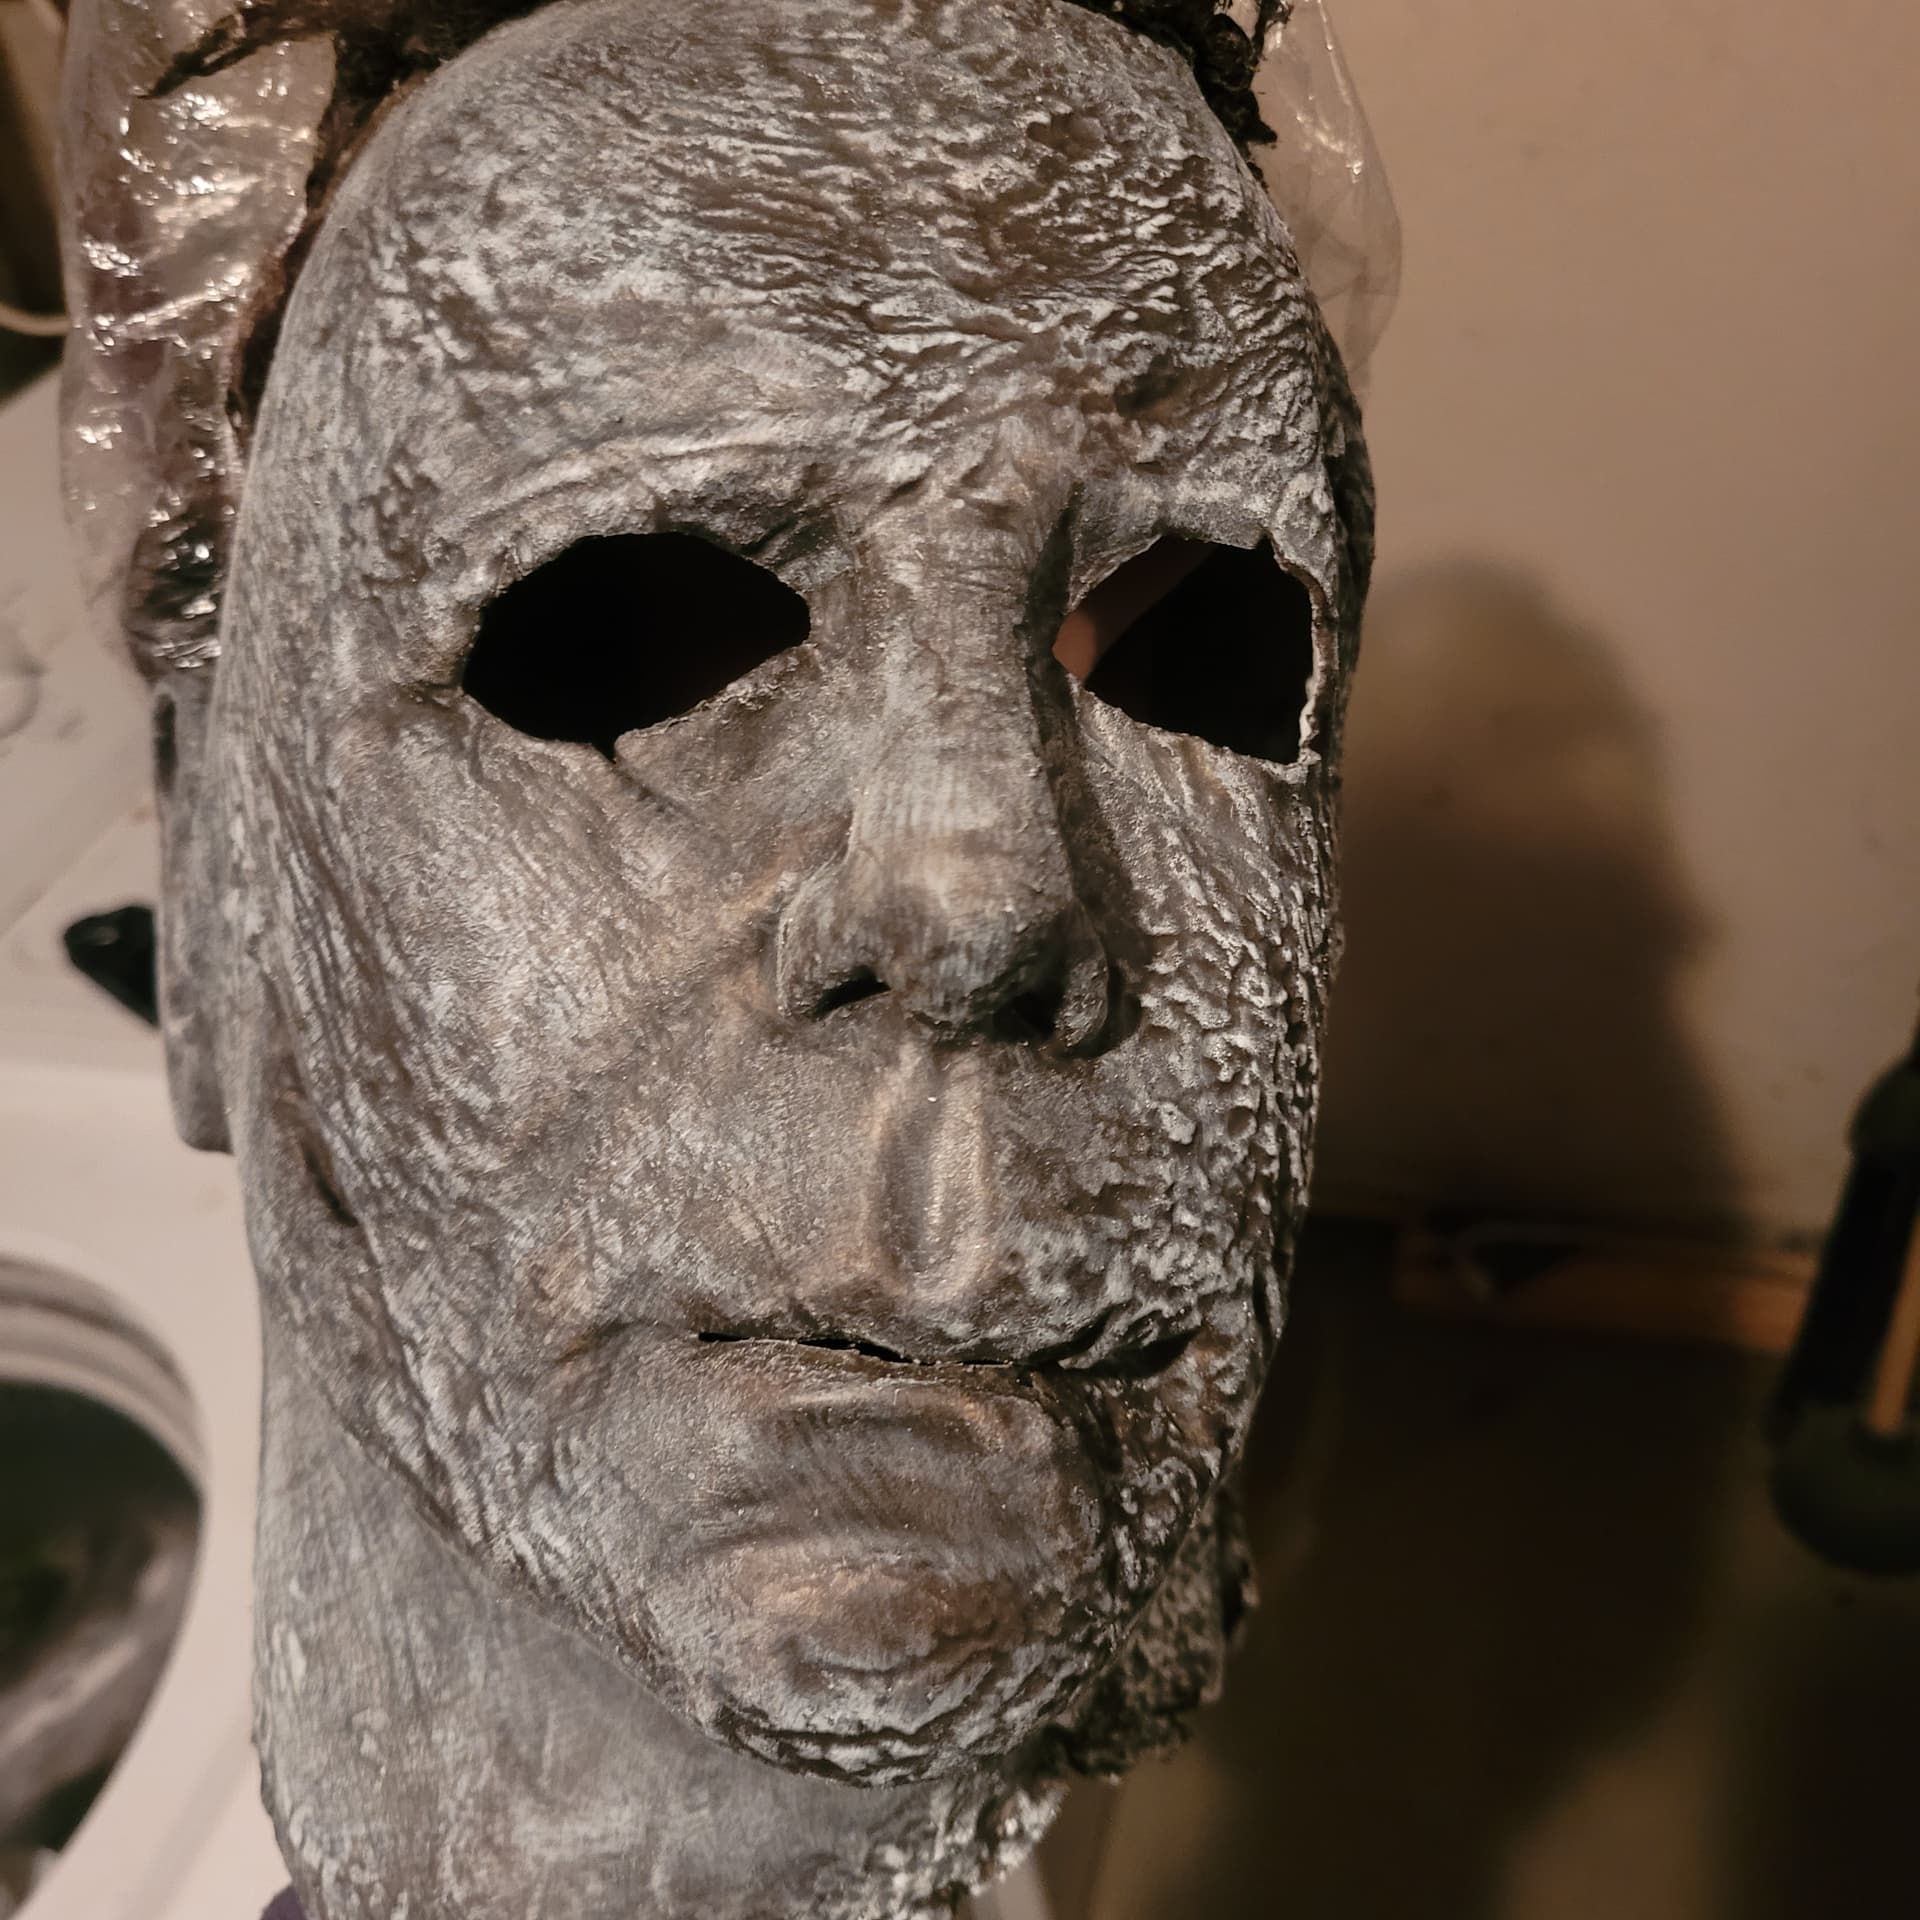
This is an off white, but you can see how it reacts with the base, and is bluish /greyish to start.
2 Likes
This is important, it’s why my H40 has a warp lol. I have another I bought used thats perfect though. Party City before it closed only had Ends masks
2 Likes
On a copy I own, I sprayed over mine, and did acrylic washes, hit the lips, nose, and face with detail brushes and did the neck and scarring with some damp rags, I also messed with the hair a bit and added some misted spray for hold—the idea is not to over saturate on any medium you use, less is more!
1 Like
Question, did you seal after the white? Just wondering if its better to seal it then do washes so the latex can take more abuse, and if you dont seal it has there ever been an issue with paint coming off from washes/scrubbing? Just want to cover some bases here, so to speak.
1 Like
Yes. There’s some sprayed Plasti-Dip in there too, and a touch of Perma-Blood for the neck puncture wound, also.

2 Likes
I’m going the cheapest I can so I’m doing acrylic paint with thin latex water some brushes and a sealer I’m doing this mask for next Halloween so i definitely have time I’m buying it from Amazon unless spirit has it on November 2nd when everything is 50 percent off I could get it for 30$ then
1 Like
Lol, why did your thread have such immediacy then? ![]()
well let us know when you got the mask (and materials needed ) and post some pics.
1 Like
So i tried using detergent to coat the brush (pinch off excess after dipping) and it does seem to let the paint go a few more miles before the balls rear their ugly heads.( Still get latex balls, not as bad) but i think i might just go with straight acrylic from here on out as i have it mostly covered with a few thin layers of latex and im not going heavy for the next couple so i think i can get away with it , should still flex. Using a soft dremel at low speed works to get rid of latex balls too just go lightly and you wont damage the paint underneath them. (Tried it today) Ill let you guys know how straight acrylic overtop of a liquid latex base goes, pretty happy so far bringing out all the little details and not filling them in , its exactly like fingerprint dusting . (Dusting is the technique name.) Only using a flat brush, it just seems to work the best. Used a big flat brush for the burn side easiest to dust without filling in understructure. Smaller flat brush for tough, tight areas like the cracks , eyes , ears.
@Bartman
@diontaye
@Myers13Halloween
2 Likes