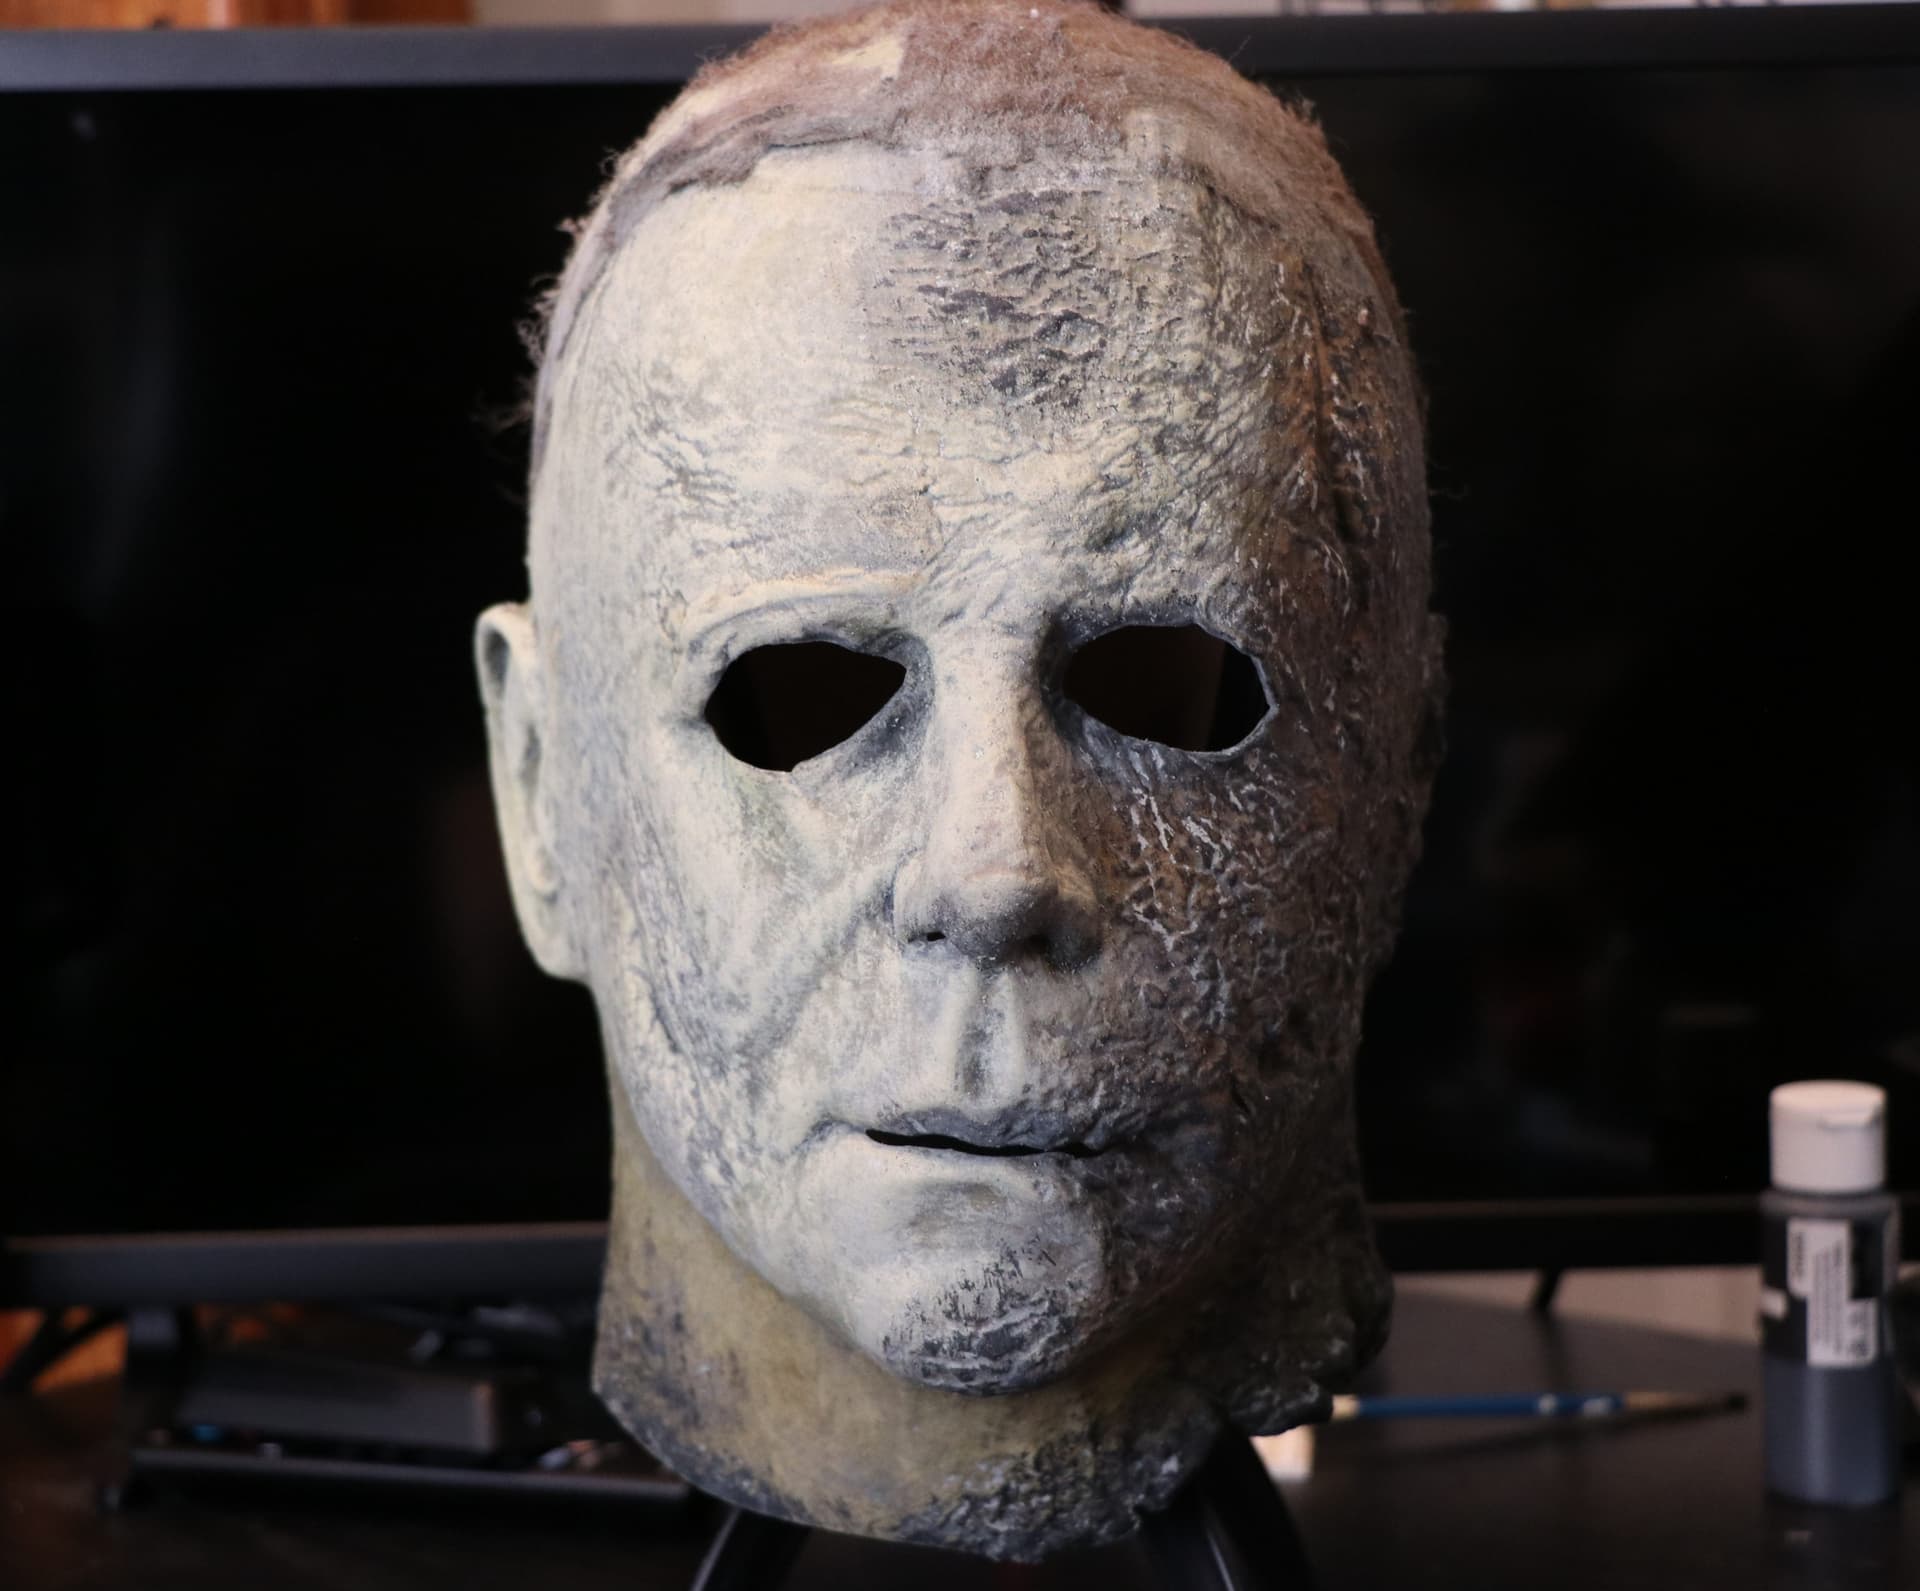
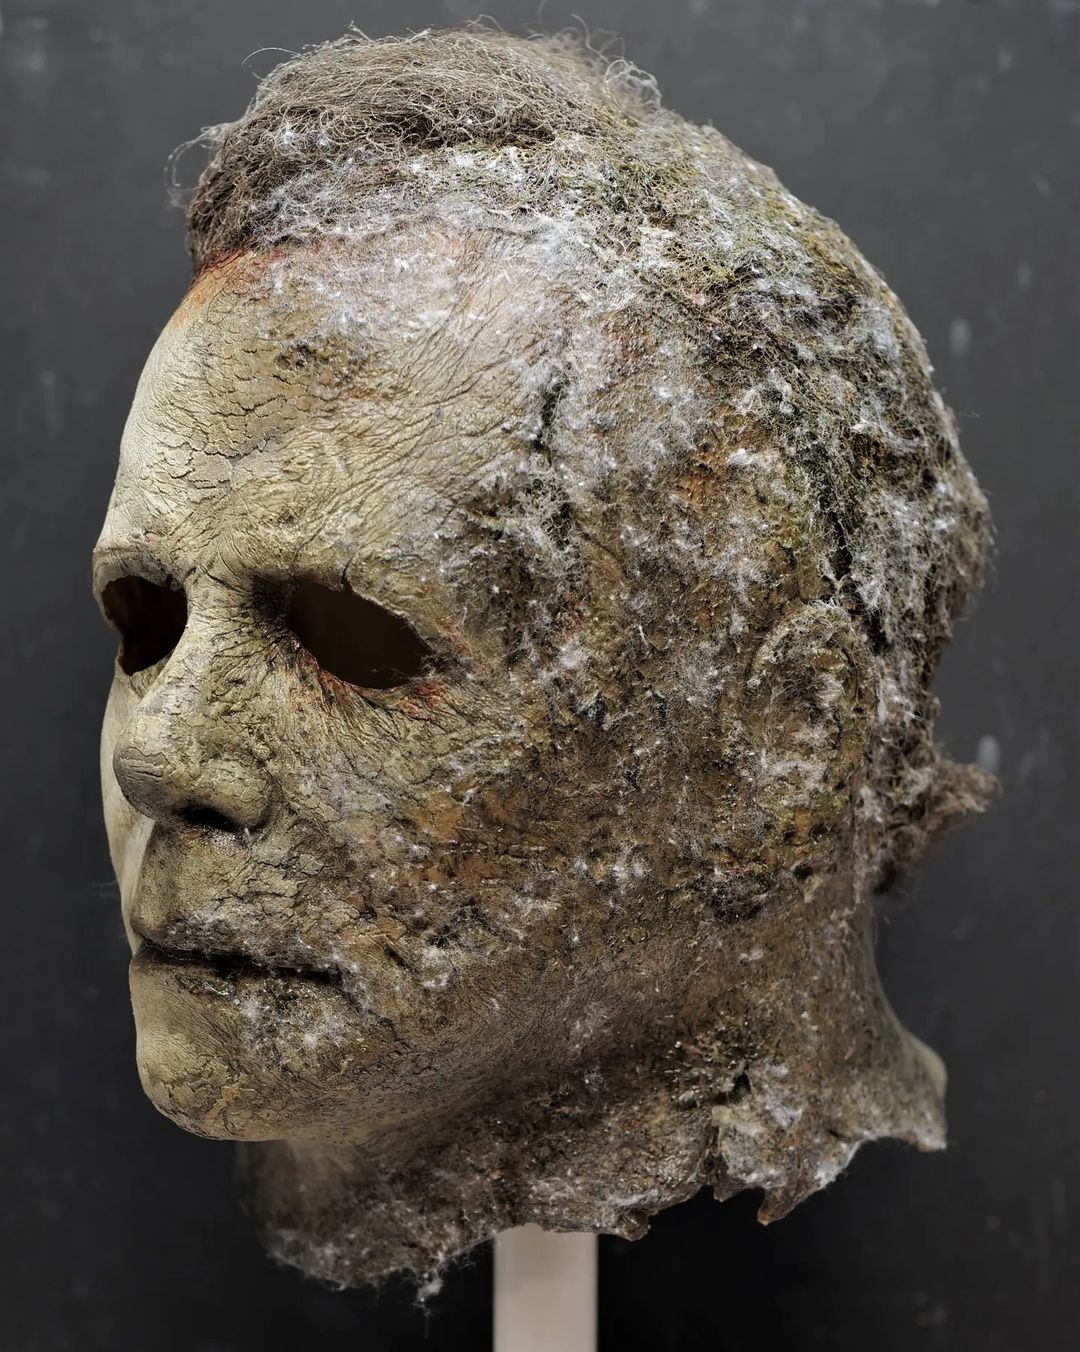
I decided to make this topic just to give updates on my Ends mask project, from start to finish! This is the current state the mask is in; he’s bald and stripped of the paint I put on. My next step is to buy a chip brush to apply the dark brown layer of a watery acrylic latex paint mix, so its not too thick to begin with. I’ll post a picture when thats done!
And if anyone has any tips or recommendations, leave them! This is somewhat experimental as I’m not going to use any washes for the details or tone, aside from maybe the neck and burnt side.
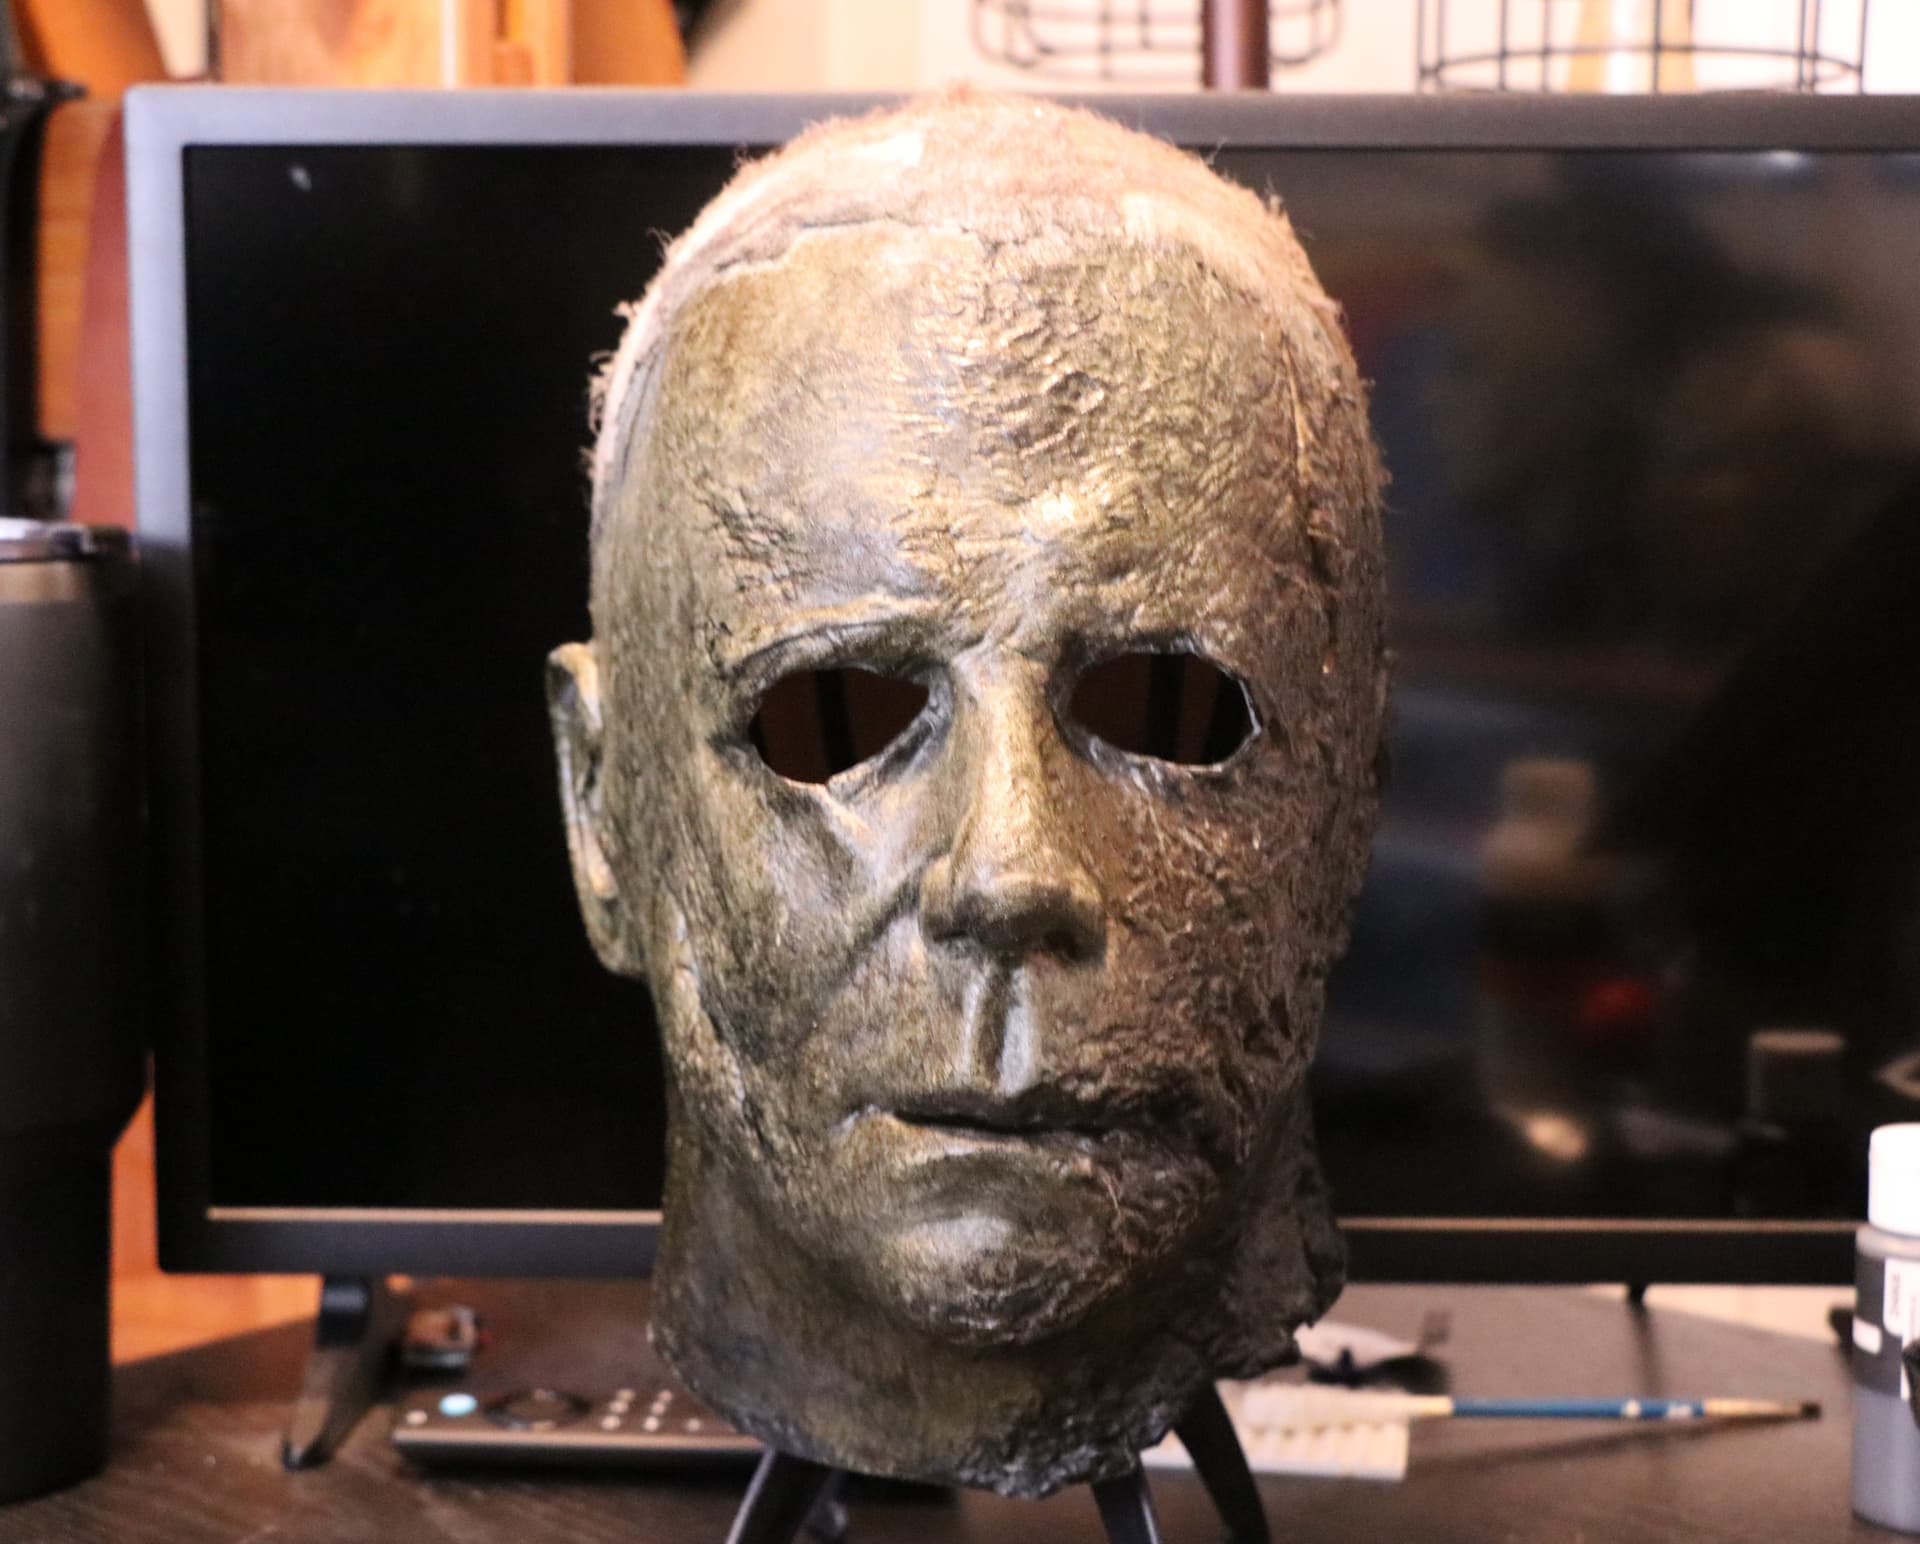
Update- I just applied the dark base coat. It’s a 1:3 mix of black shoe polish, dark brown acrylic paint, an liquid latex. Its not as thin as any previous washes, but also not too thick to form those unwanted paint clumps all over it. I’ll take a picture after it dries and share it.
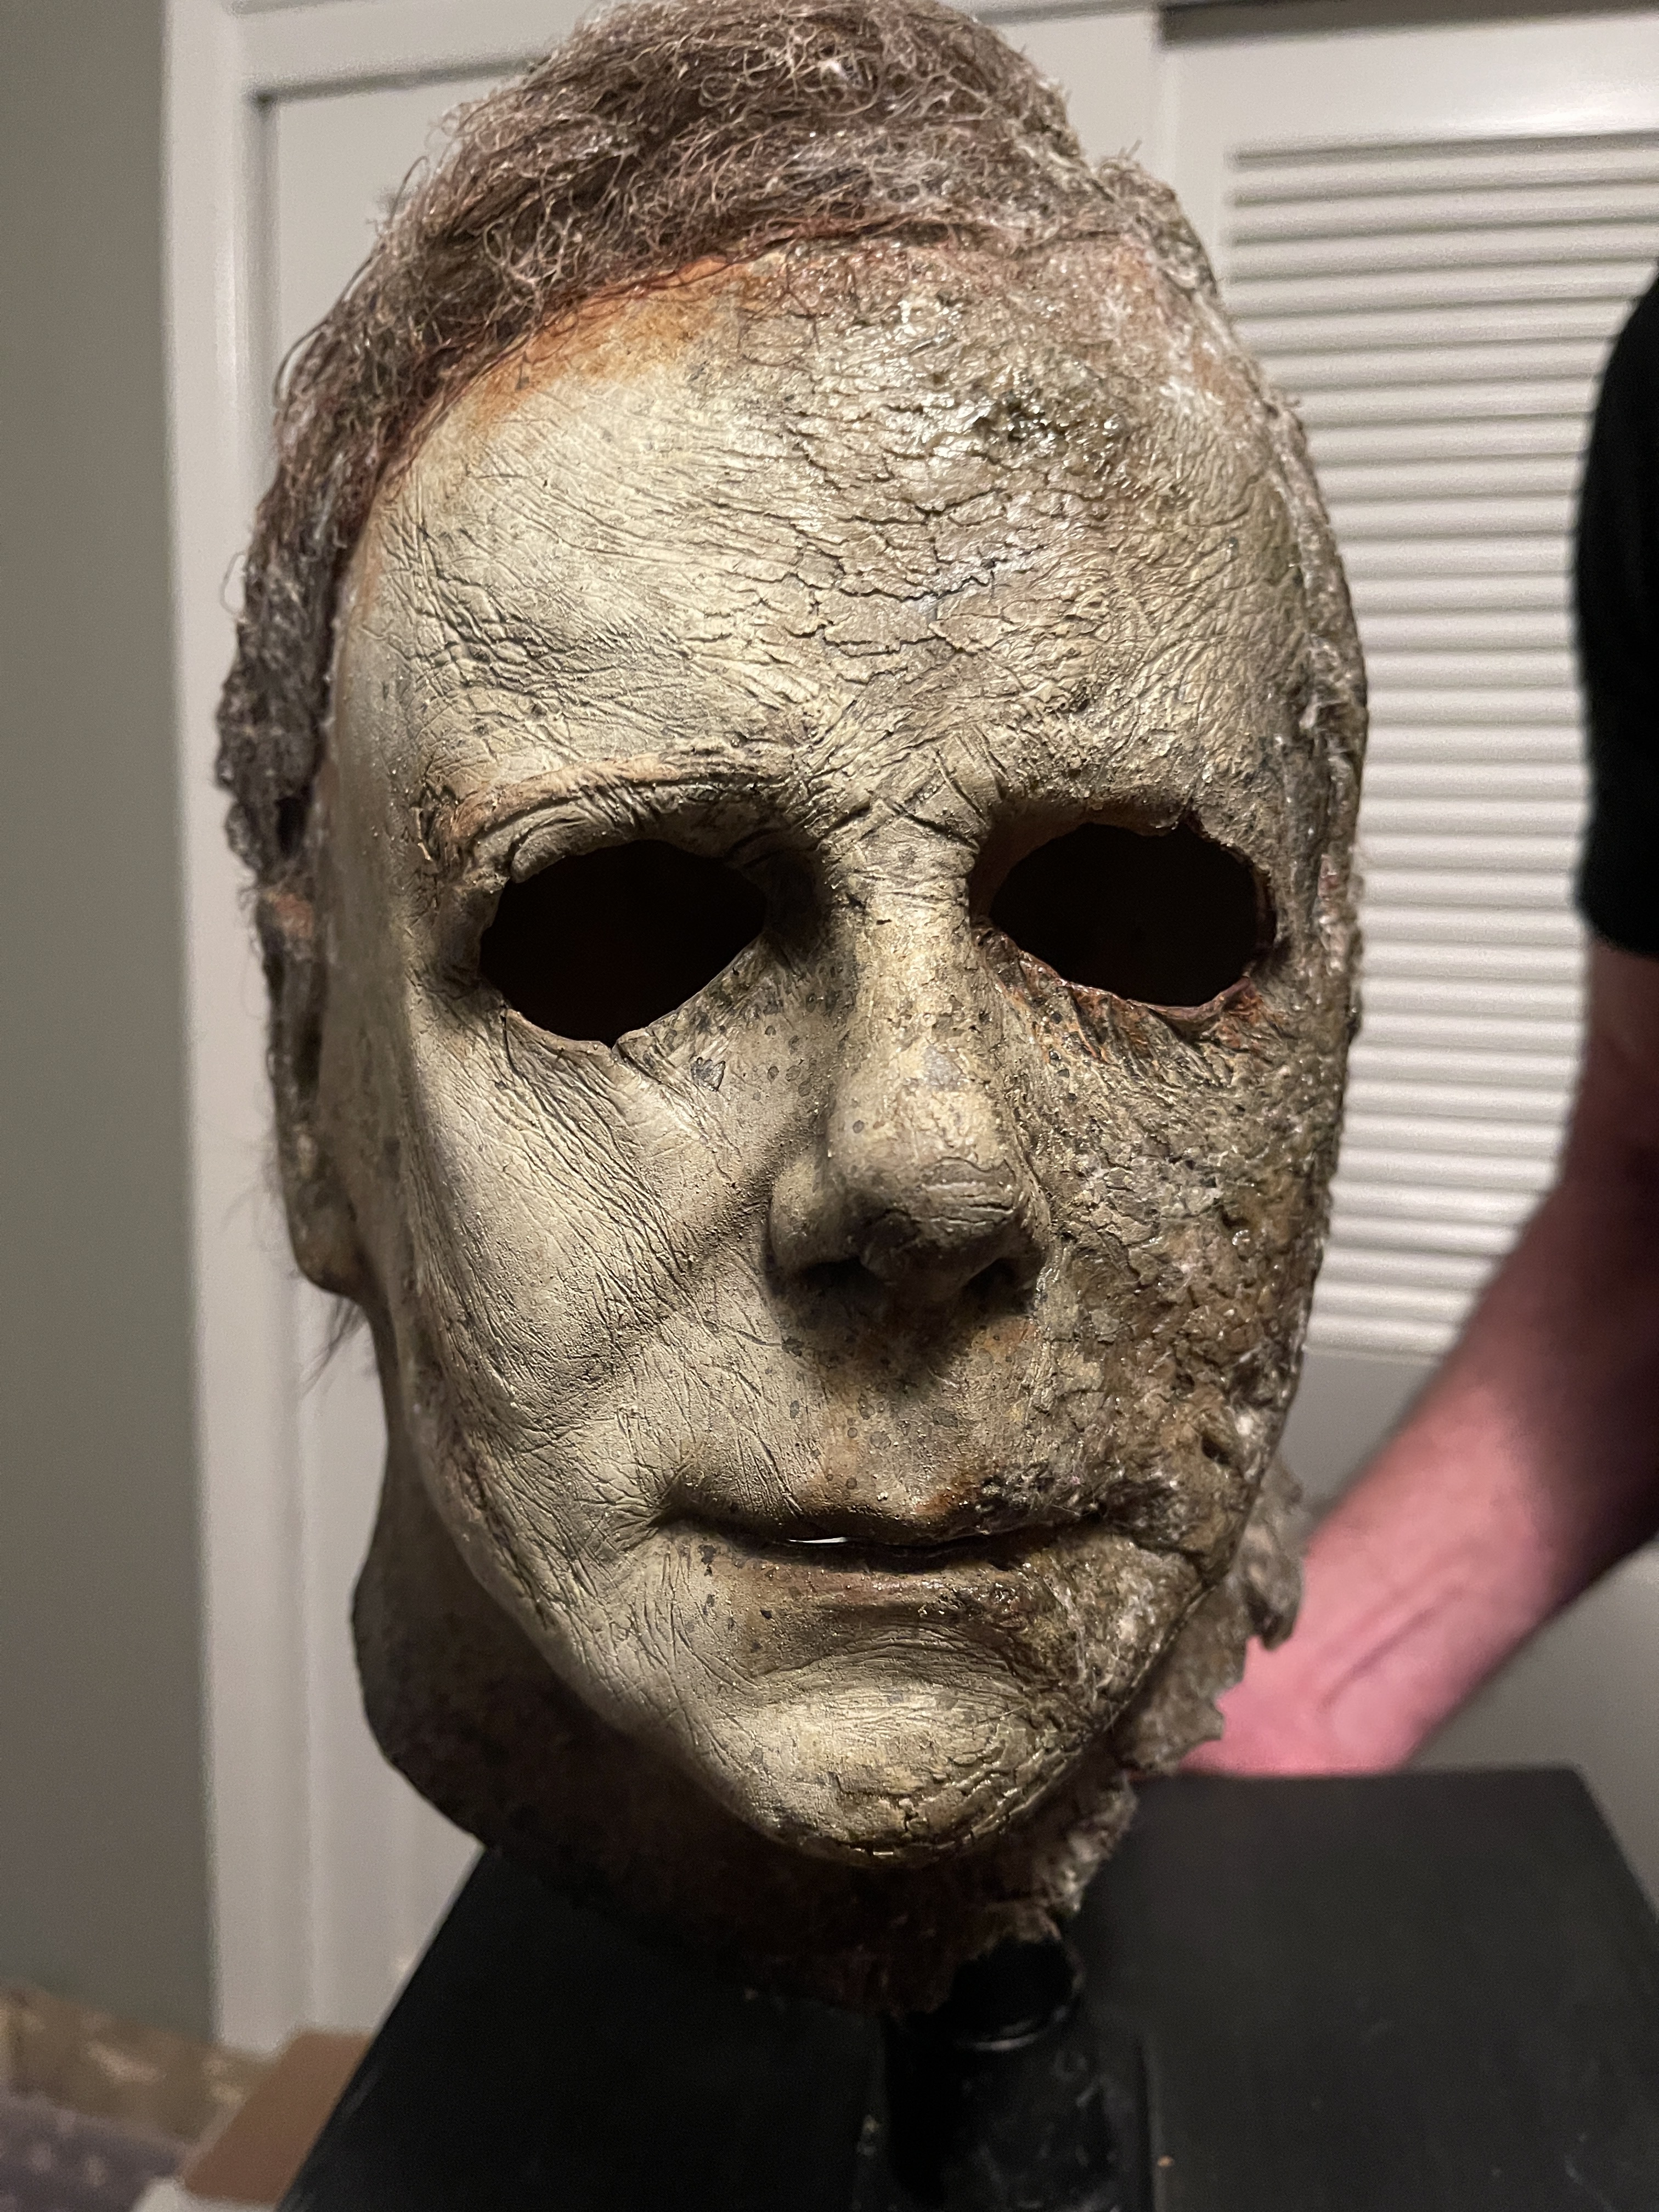
Update- The base coat is applied! Its not terrible dark, much darker than this picture though. Would anyone think its better to have it darker? It sunk into the details which is really all I needed, but just for feedback.
As long as it’s where you want it you should be fine. I did a completely white base coat, then a solid dark wash coat for mine. You can always do more washes later as well in the spots you feel need it.
Update: the next step is to dry brush the off white. It’s pretty much just an aged white with a slight green to it, but overall subtle. If this were Nightshades, I think it’d be Fright White, Zombie Flesh L, and Decomp. I need to buy a green acrylic paint to turn into Fargone, then mix it all with the liquid latex. Obviously to save time I’m just gonna dry brush the cheek with the cuts first to test out techniques and how much paint I can get away with. Once the green is acquired, I’ll share a picture of my brush + paints and liquid latex.
Thanks! I’m crossing my fingers on the technique, since it applies to every mask with damage to it. Just curious about the paints since you use Nightshades, what did you do for the base tone?
I did a base of Zombie flesh (L) and then I believe I did decomp after that. Then I mixed the zombie flesh with fright white and used that to dry brush.
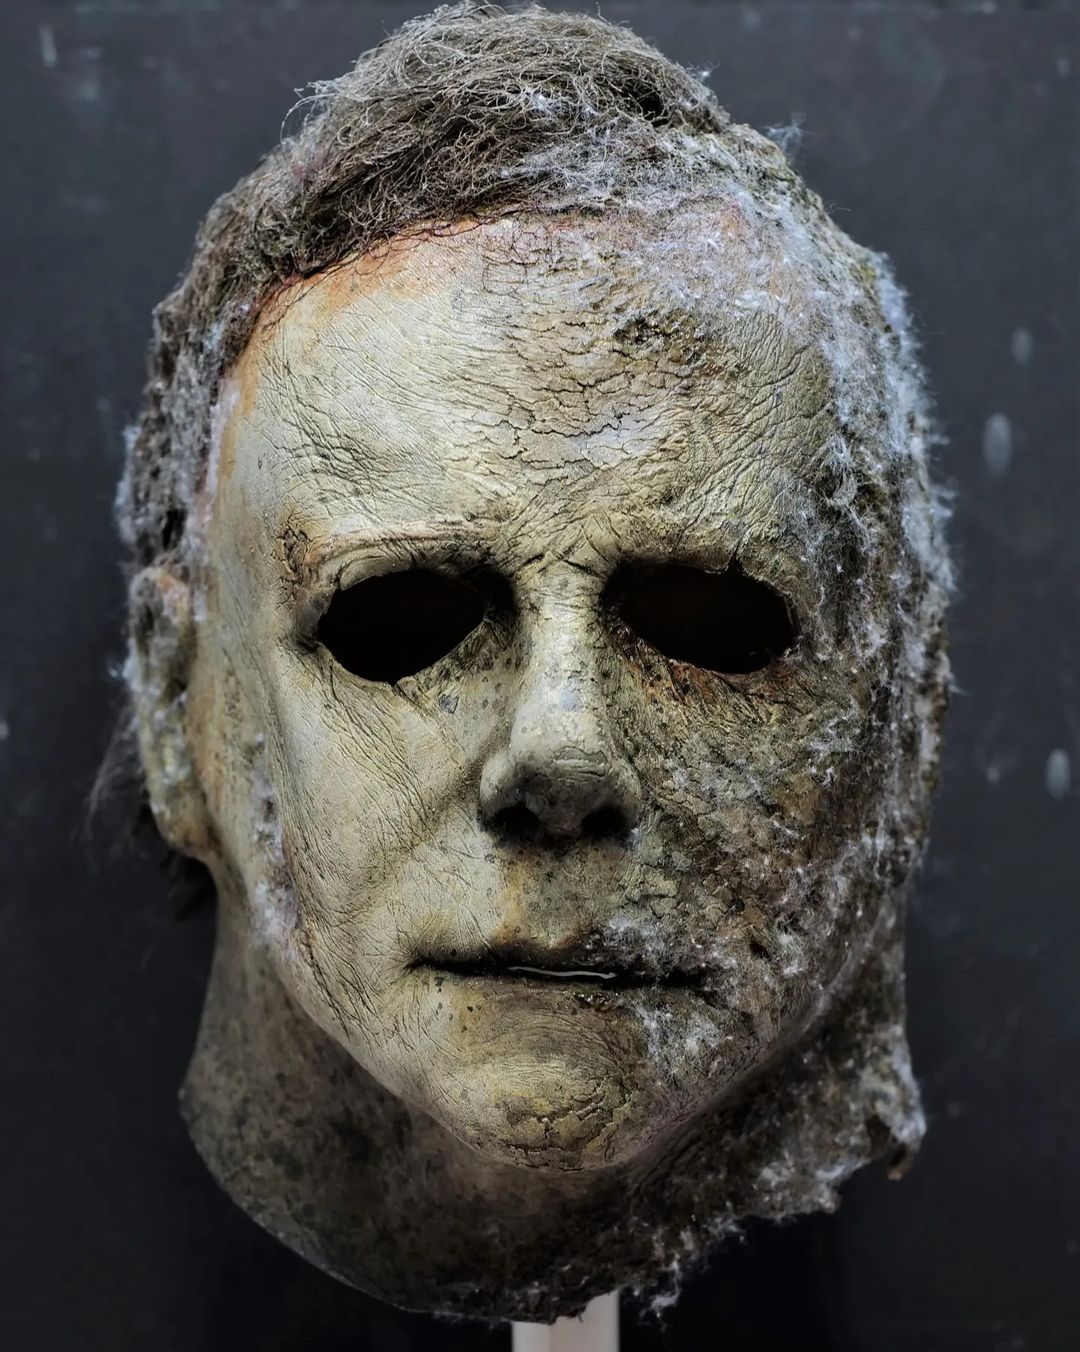
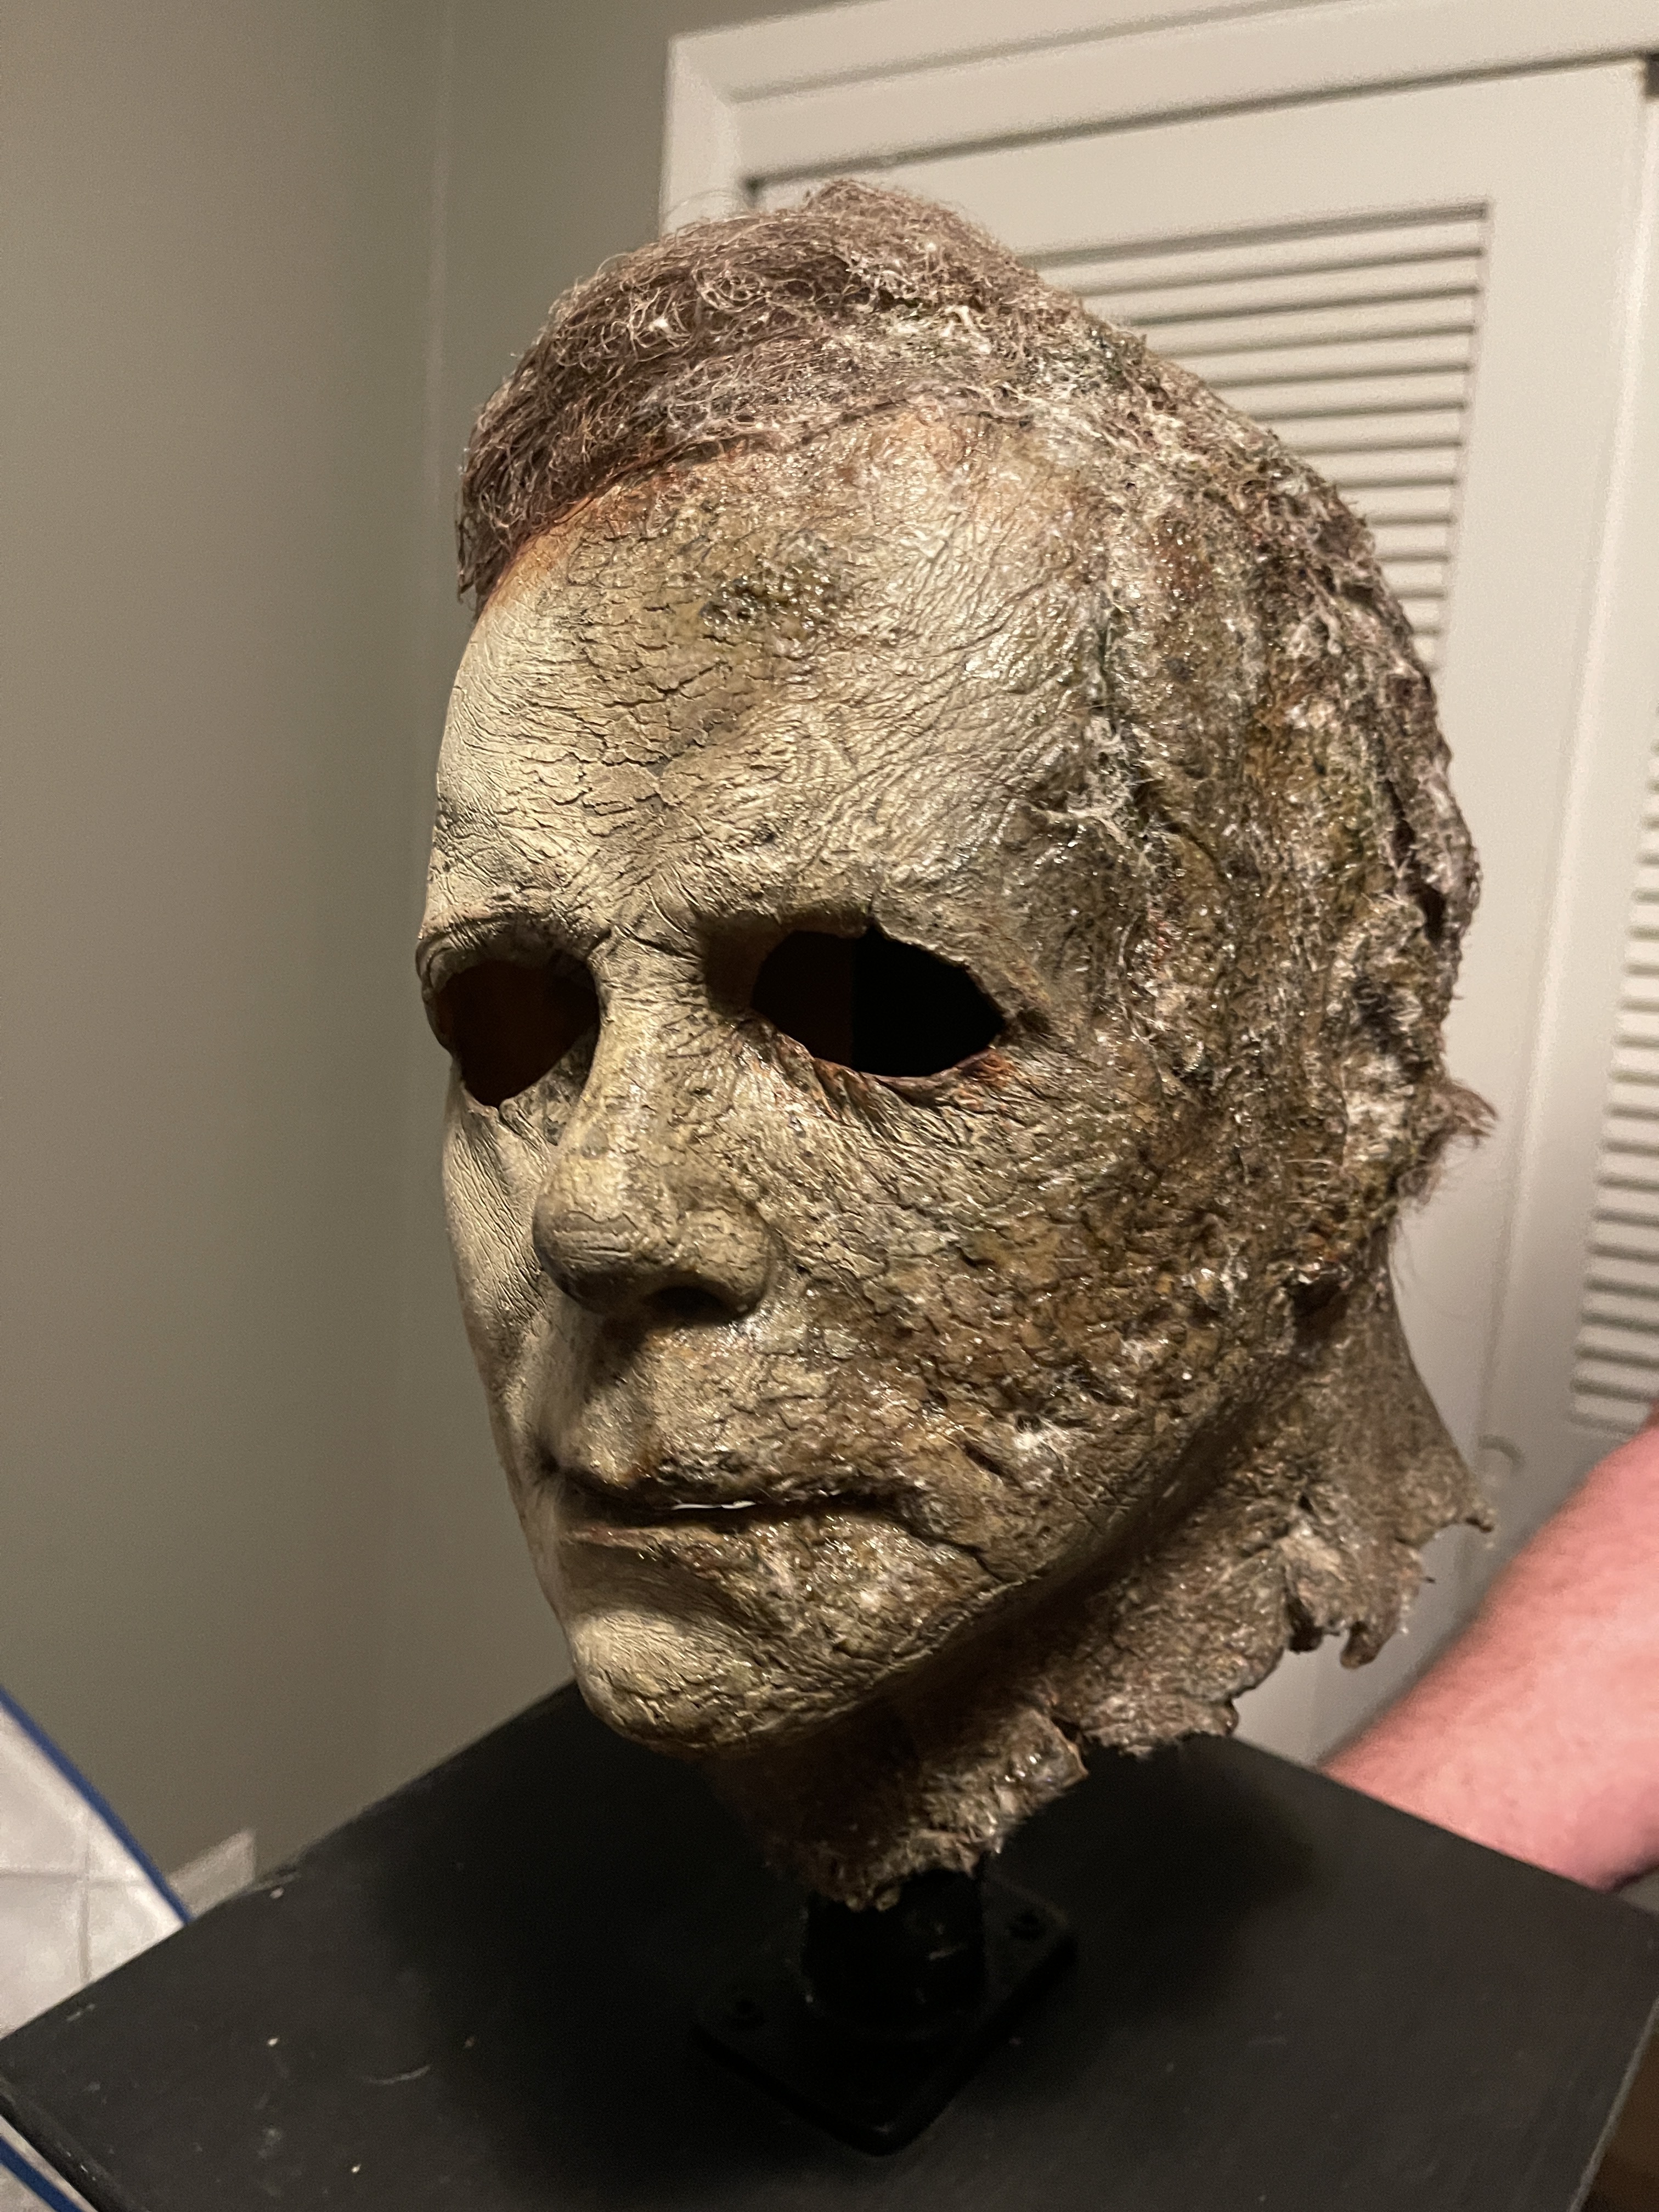
Ok, this is what I’ve got on the brushing. Using the mix and my domed dry brush, I used light drags across the mask to slowly build the paint up and avoid hiding the details. Its gonna be very tedious, but I’ll keep in touch. Ask any questions if needed!
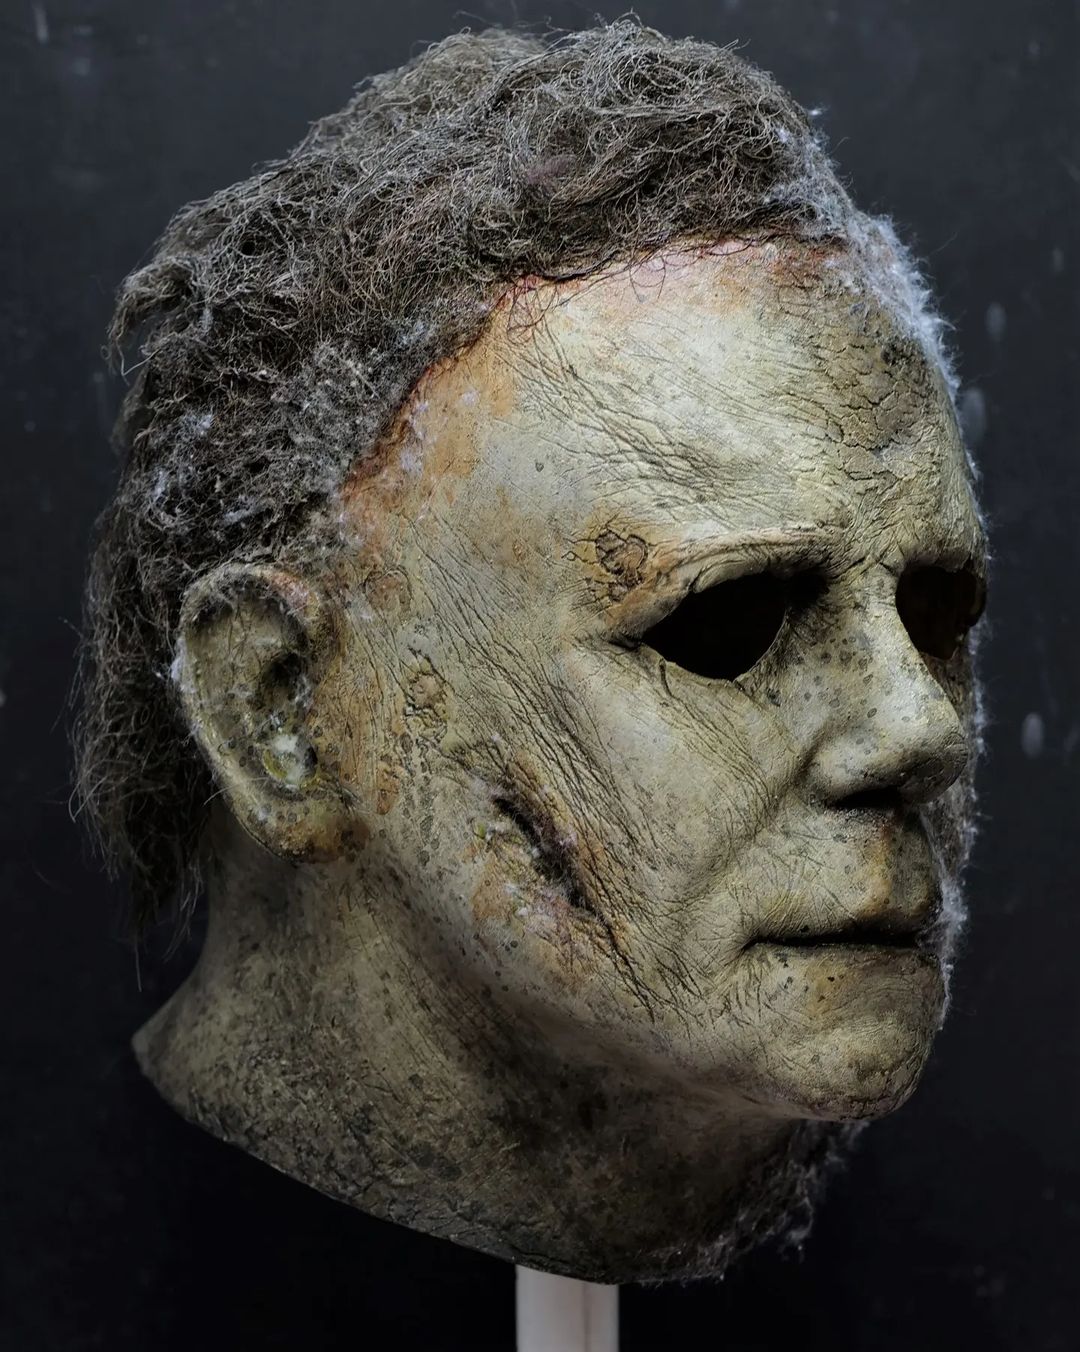
It definitely takes time and patience lol. Paint has been done and I’m just waiting on hair. I ordered a few that weren’t quite right, so now I’m just waiting on some crepe that should be here tomorrow. Then I’ll add the mold and finishing touches.
I think that will work fine. The ones I got just weren’t the right texture or color I wanted. One of them will make a good H1 fiber, so I ordered a blank and that is my next project.
Very nice, nice indeed. The hair just looks so much more softer on the Ends mask, which I think the mohair will help with the ease of styling and so forth.