After all the hardworking, payoff achieved. Tomorrow the real pics come, still messing with the hair.
Ends rehaul recently completed.
1 Like
Cruel Intentions ![]()
![]() Mask by Me, Light bulb by @ngsfx on IG
Mask by Me, Light bulb by @ngsfx on IG
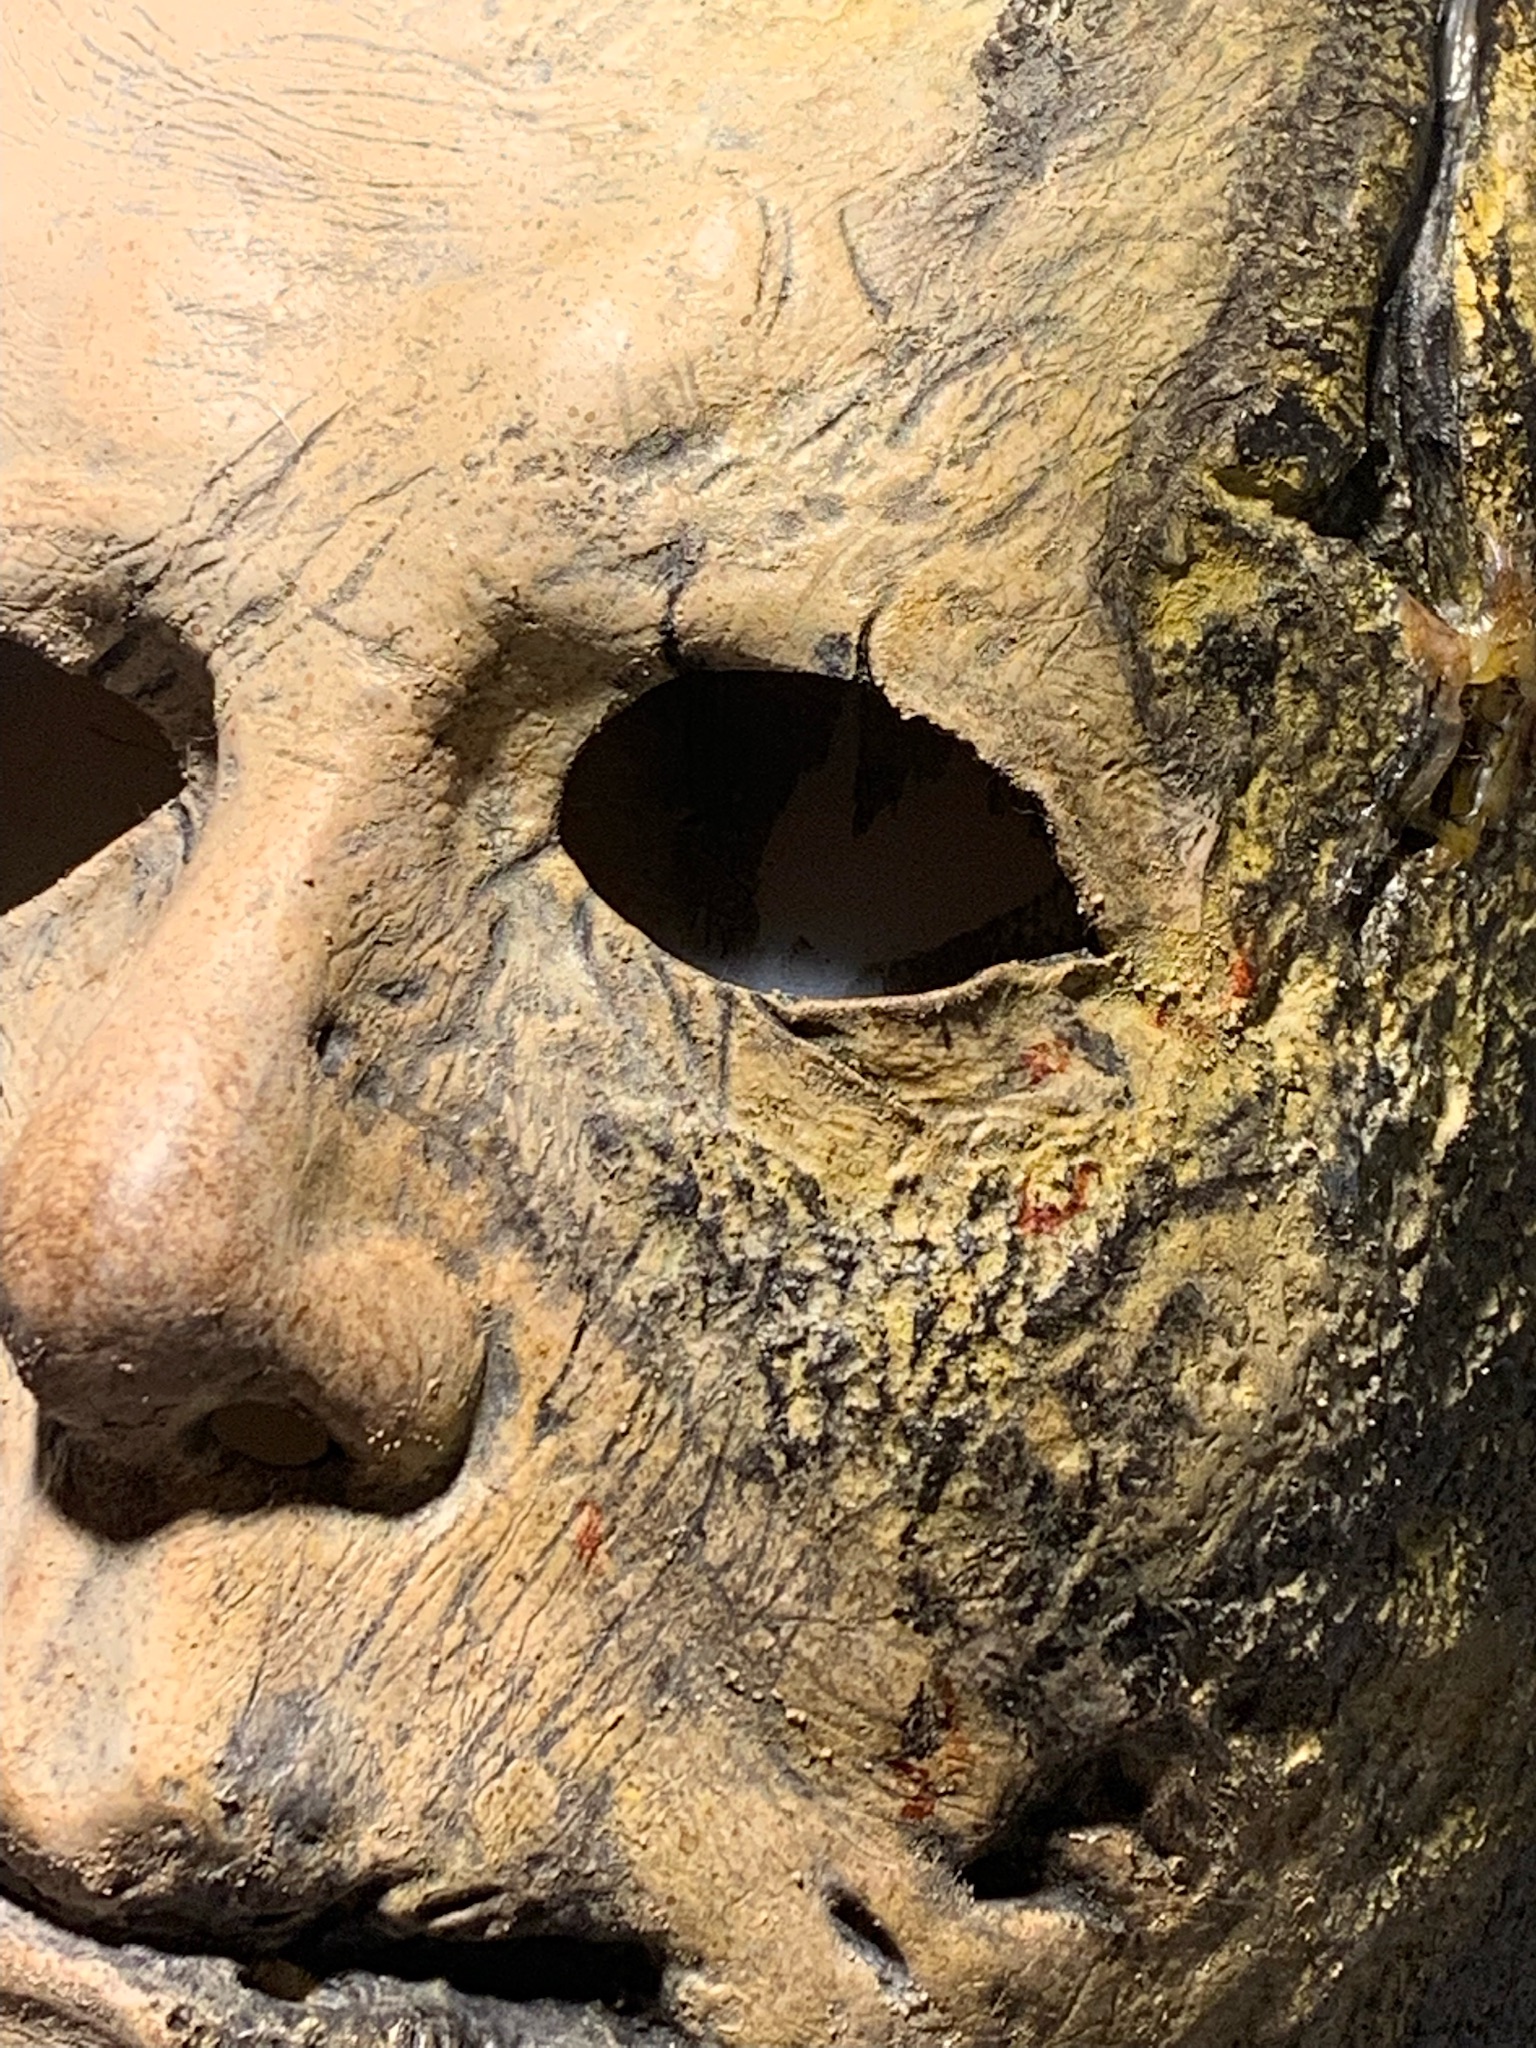

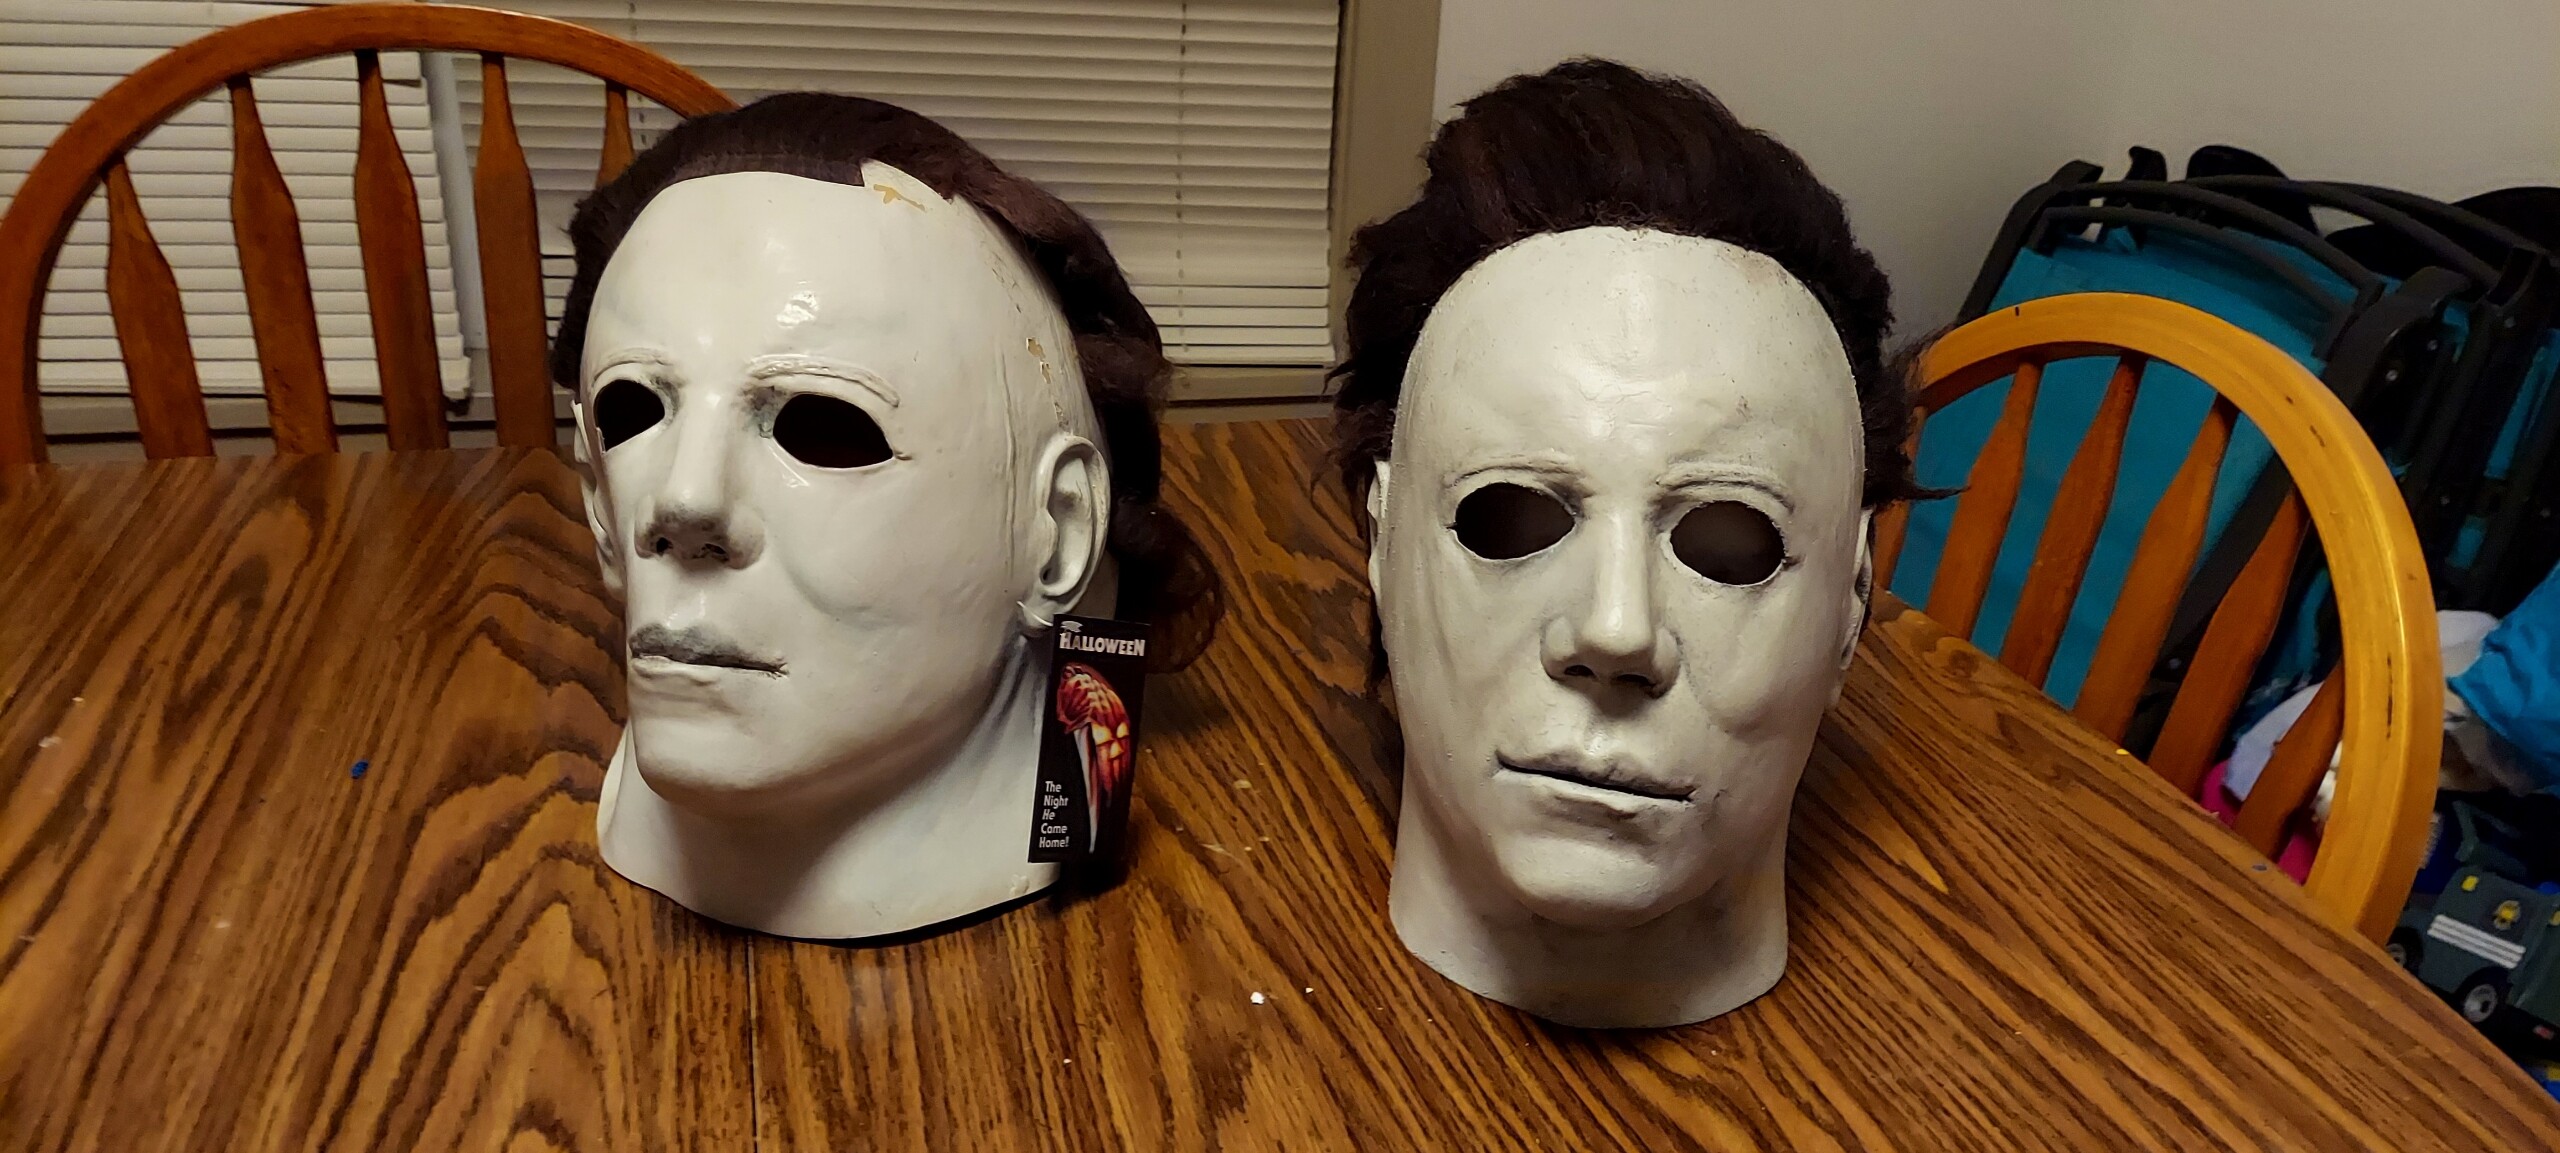
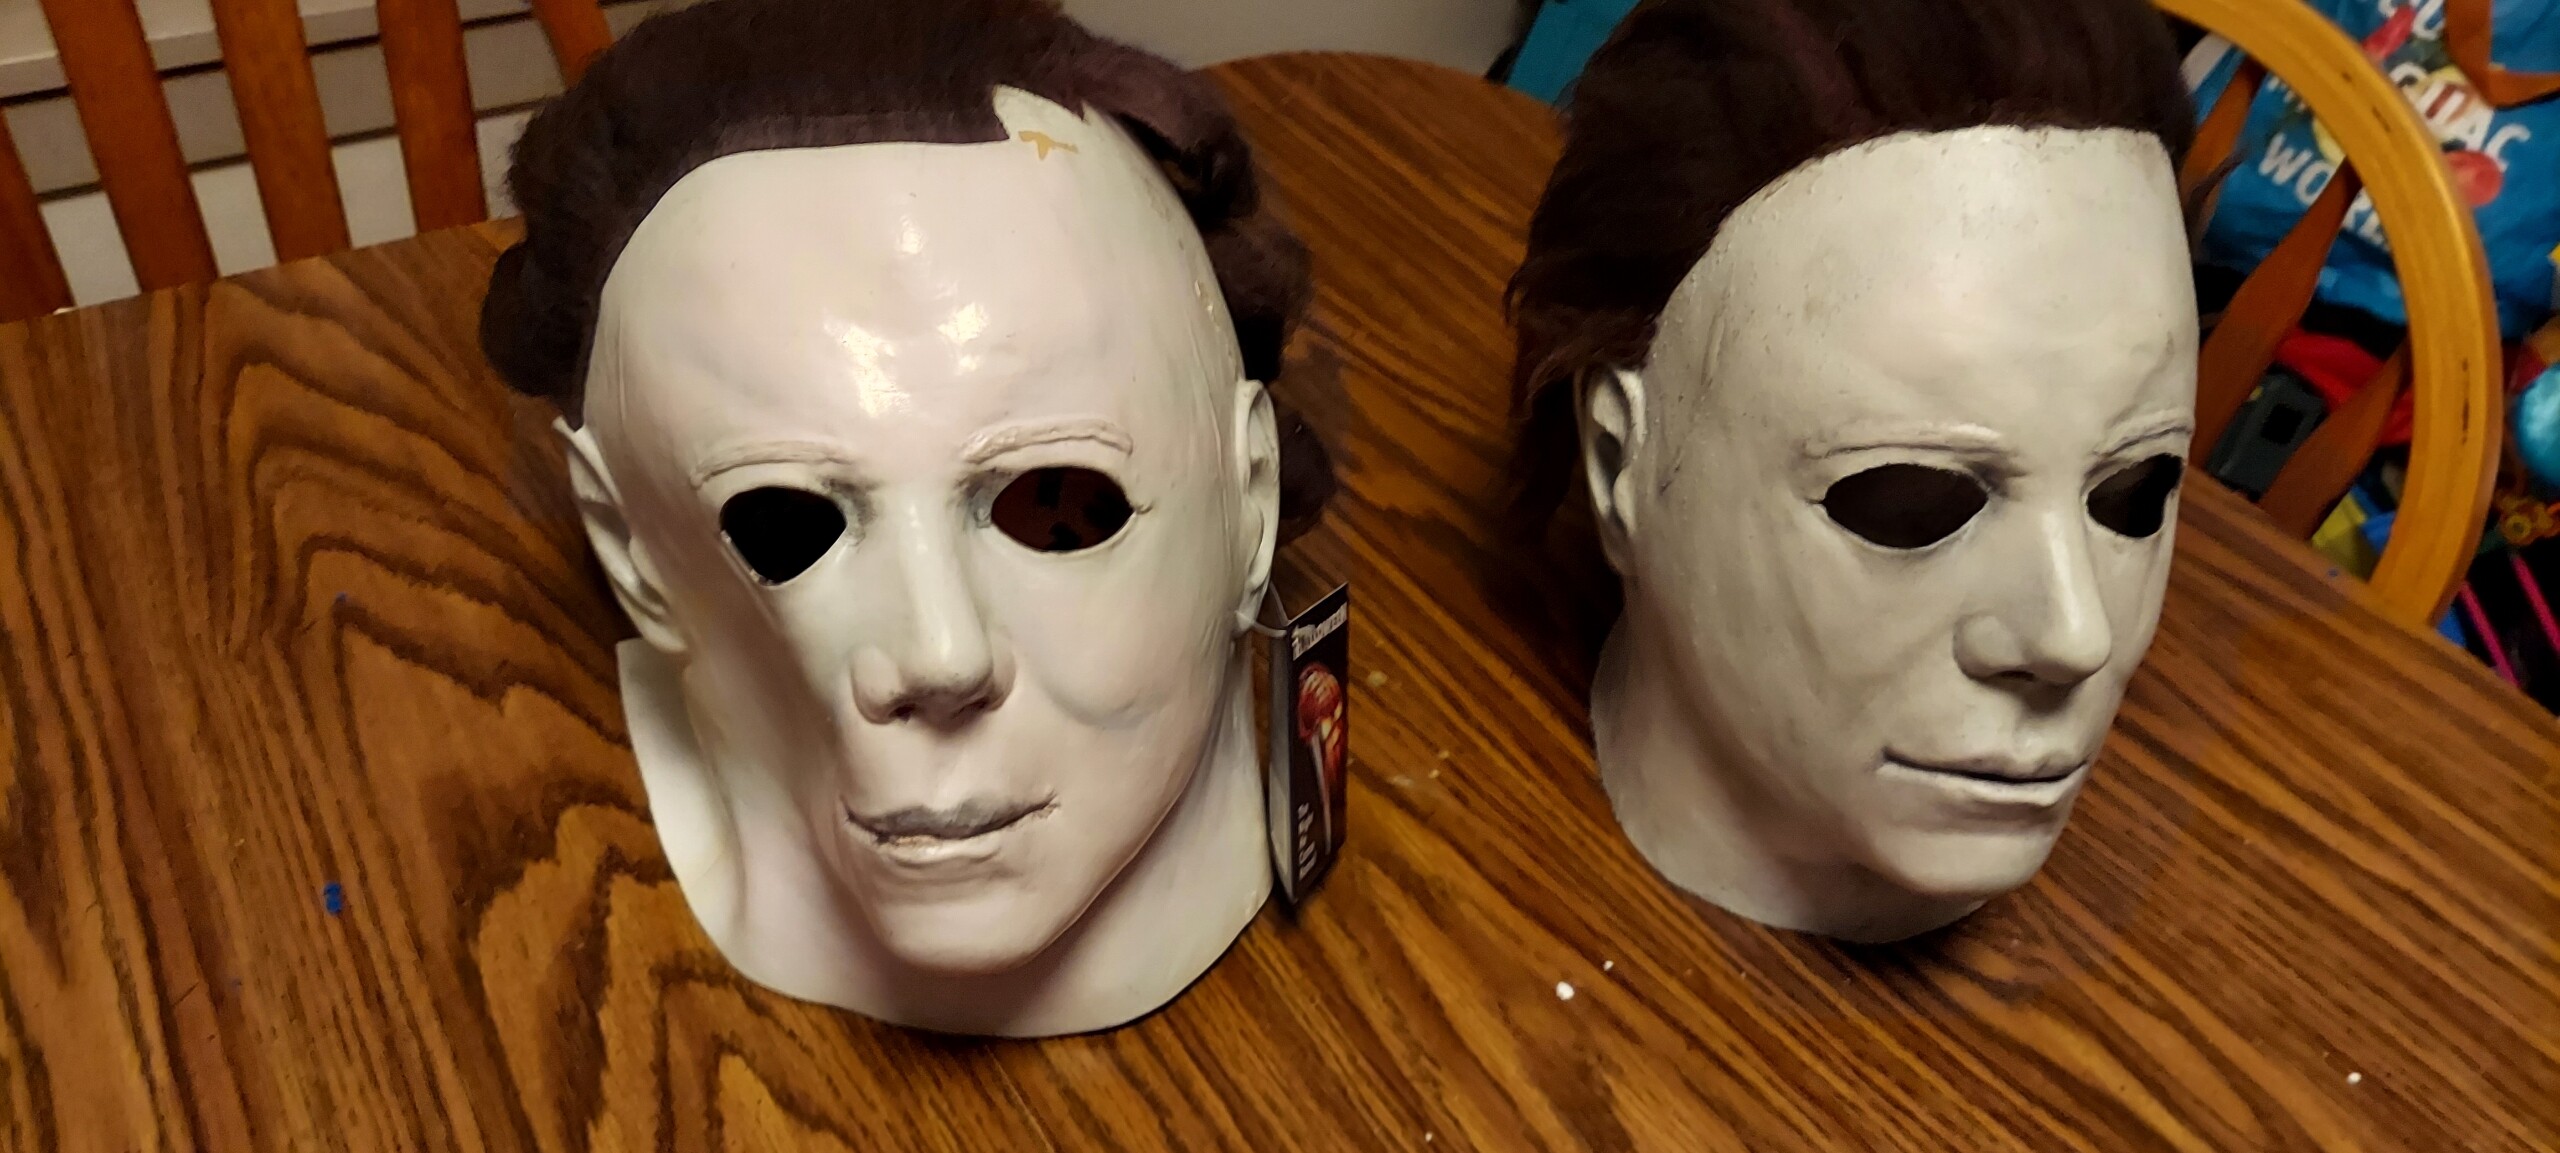
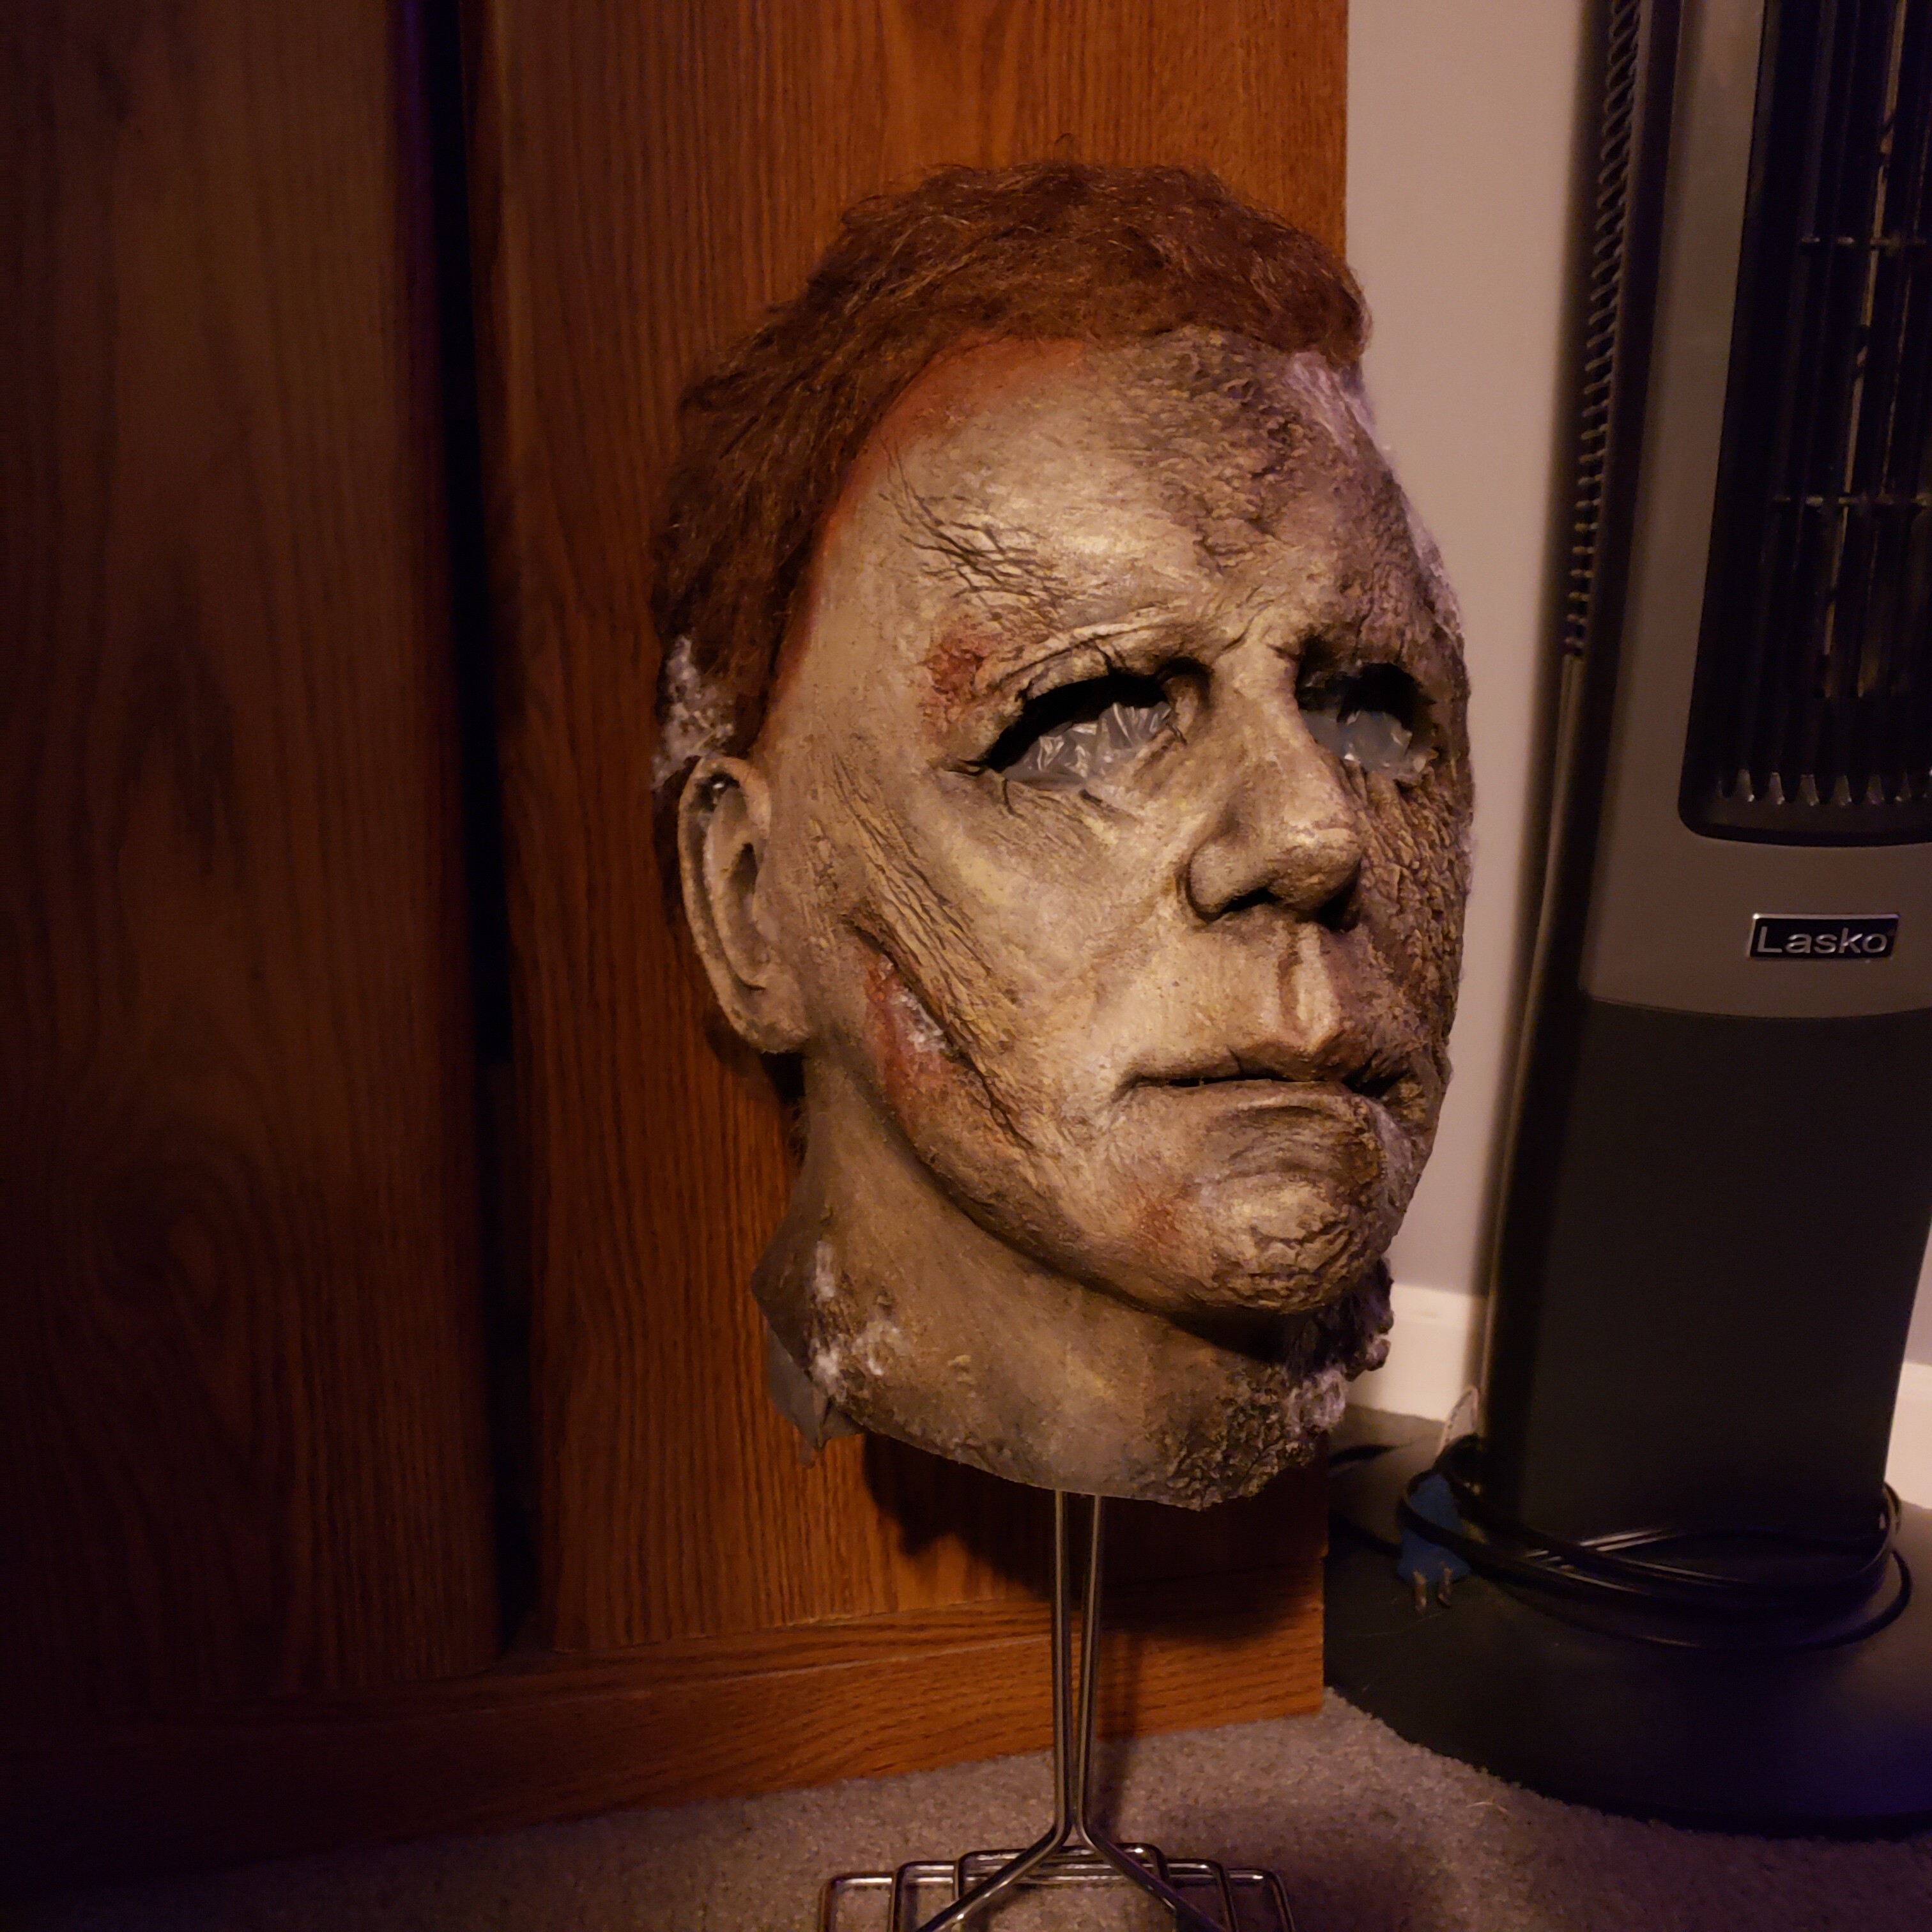
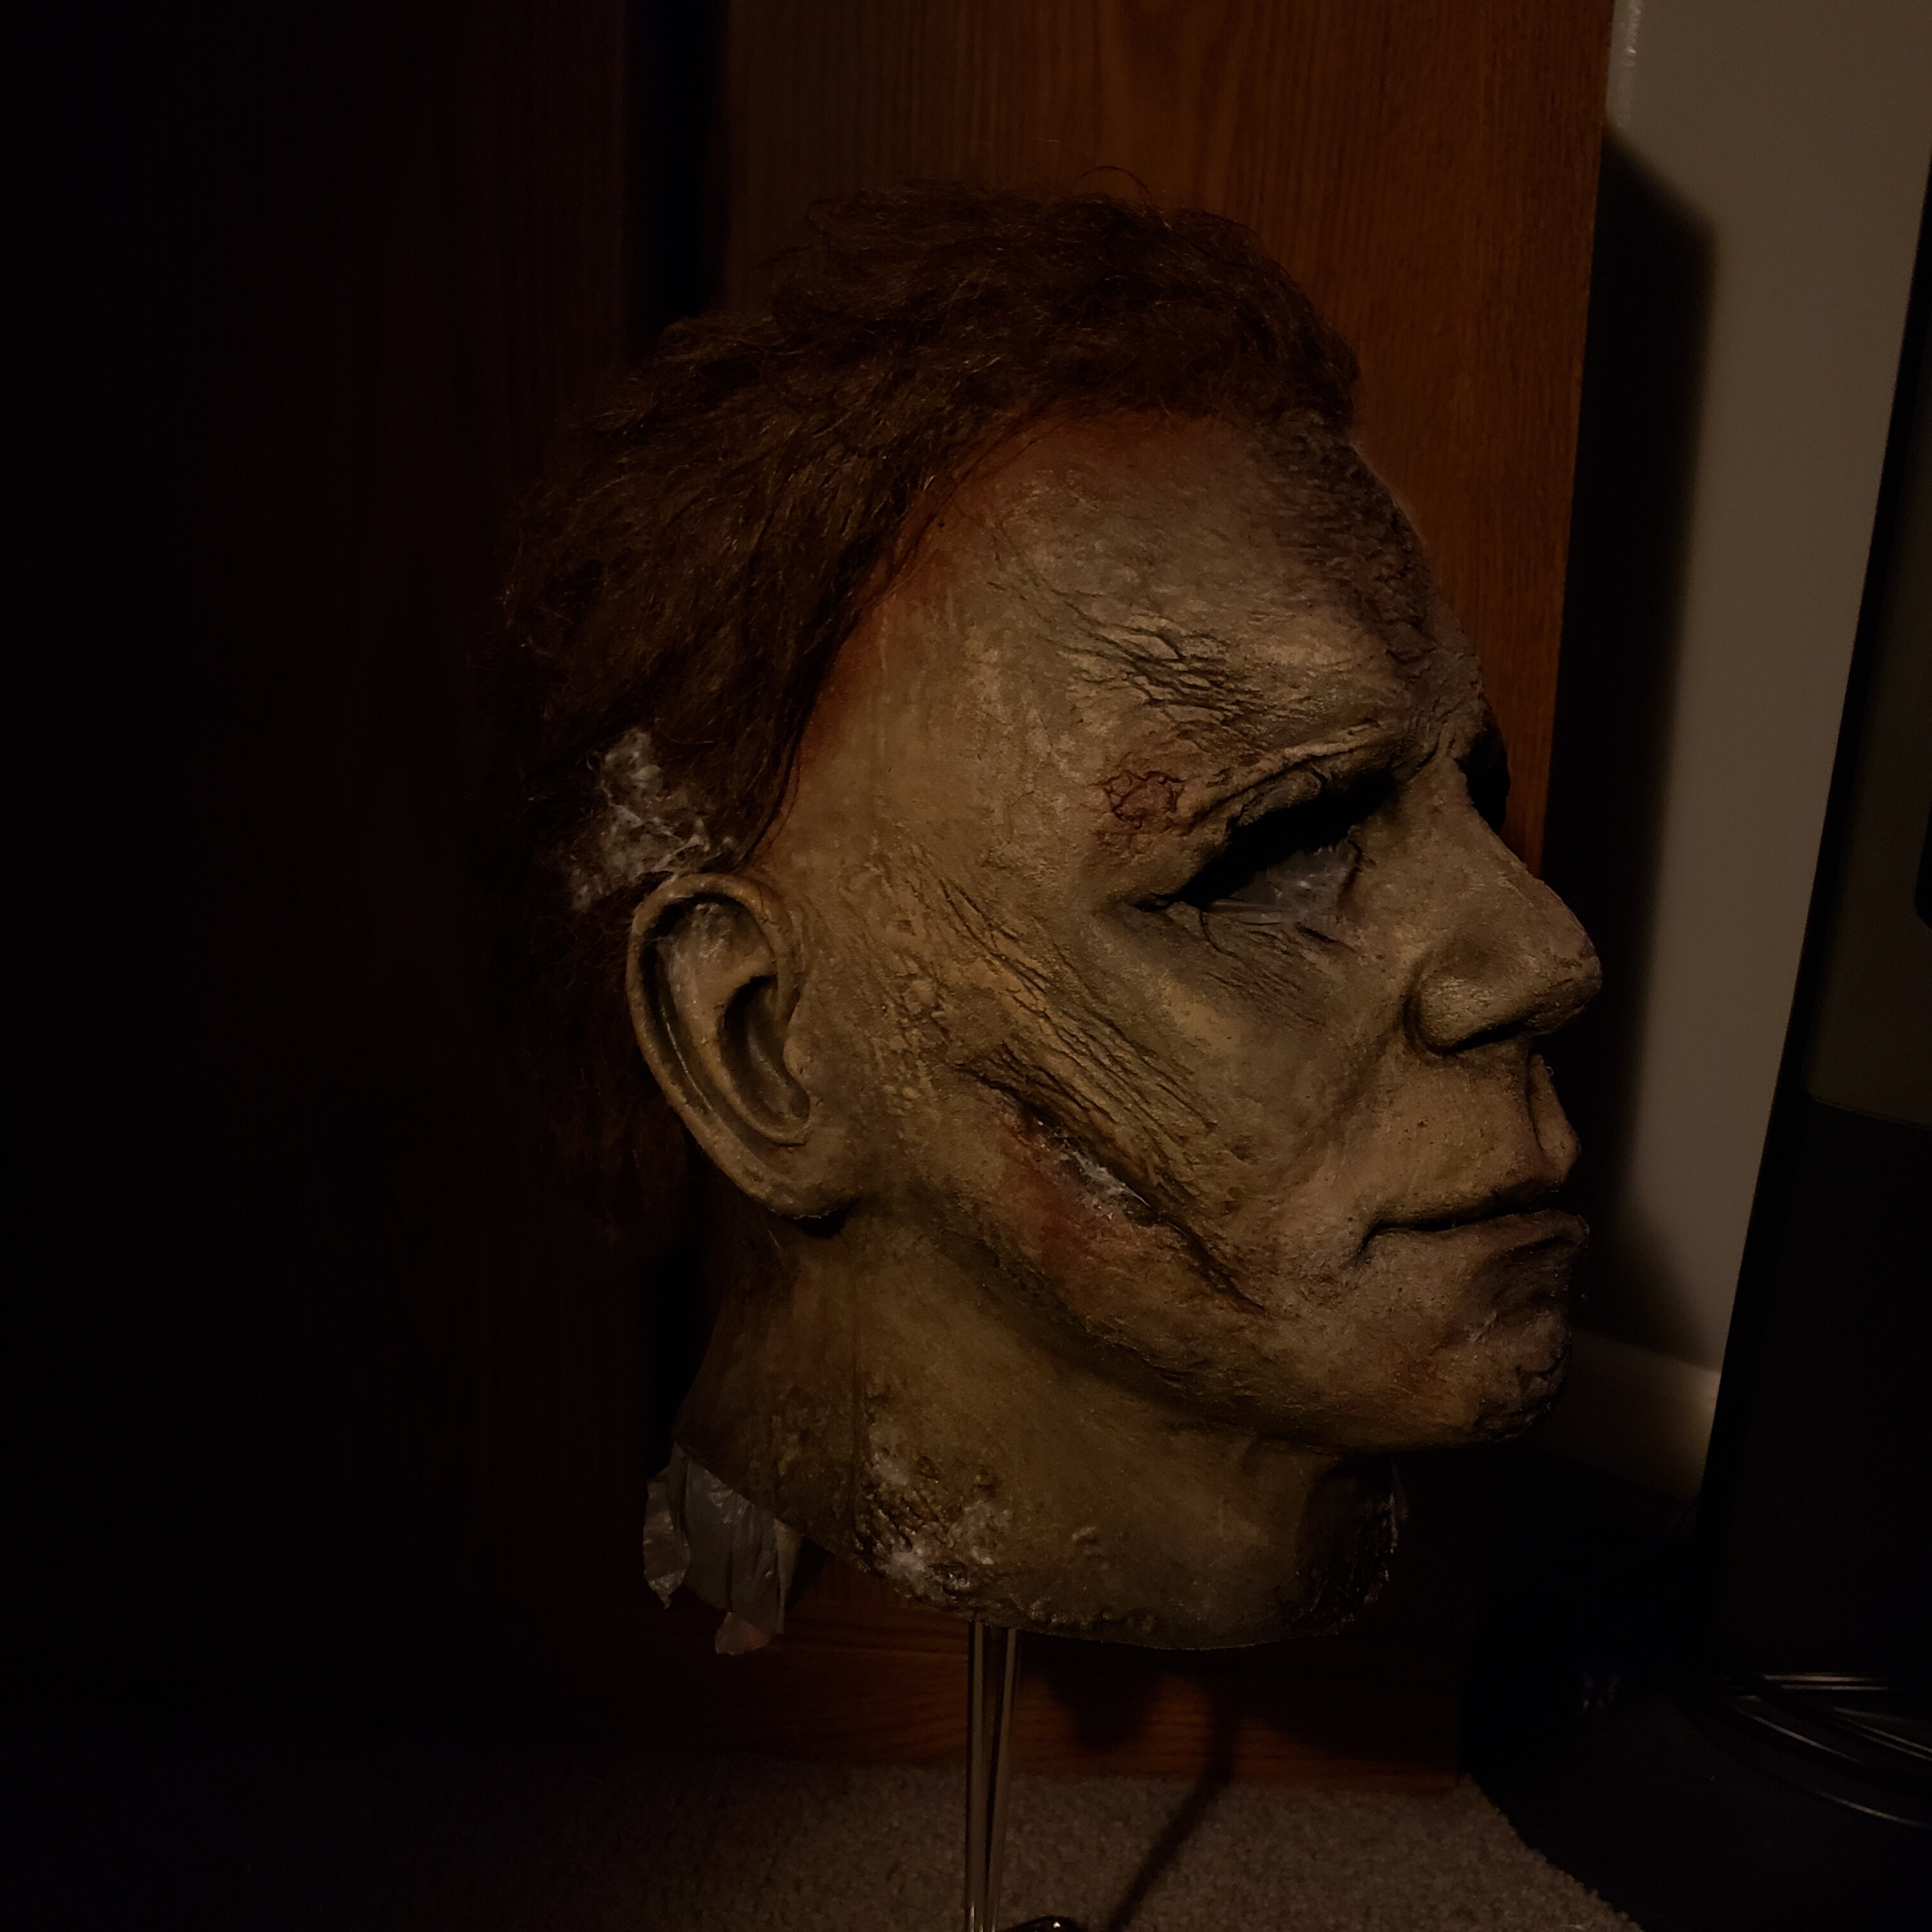
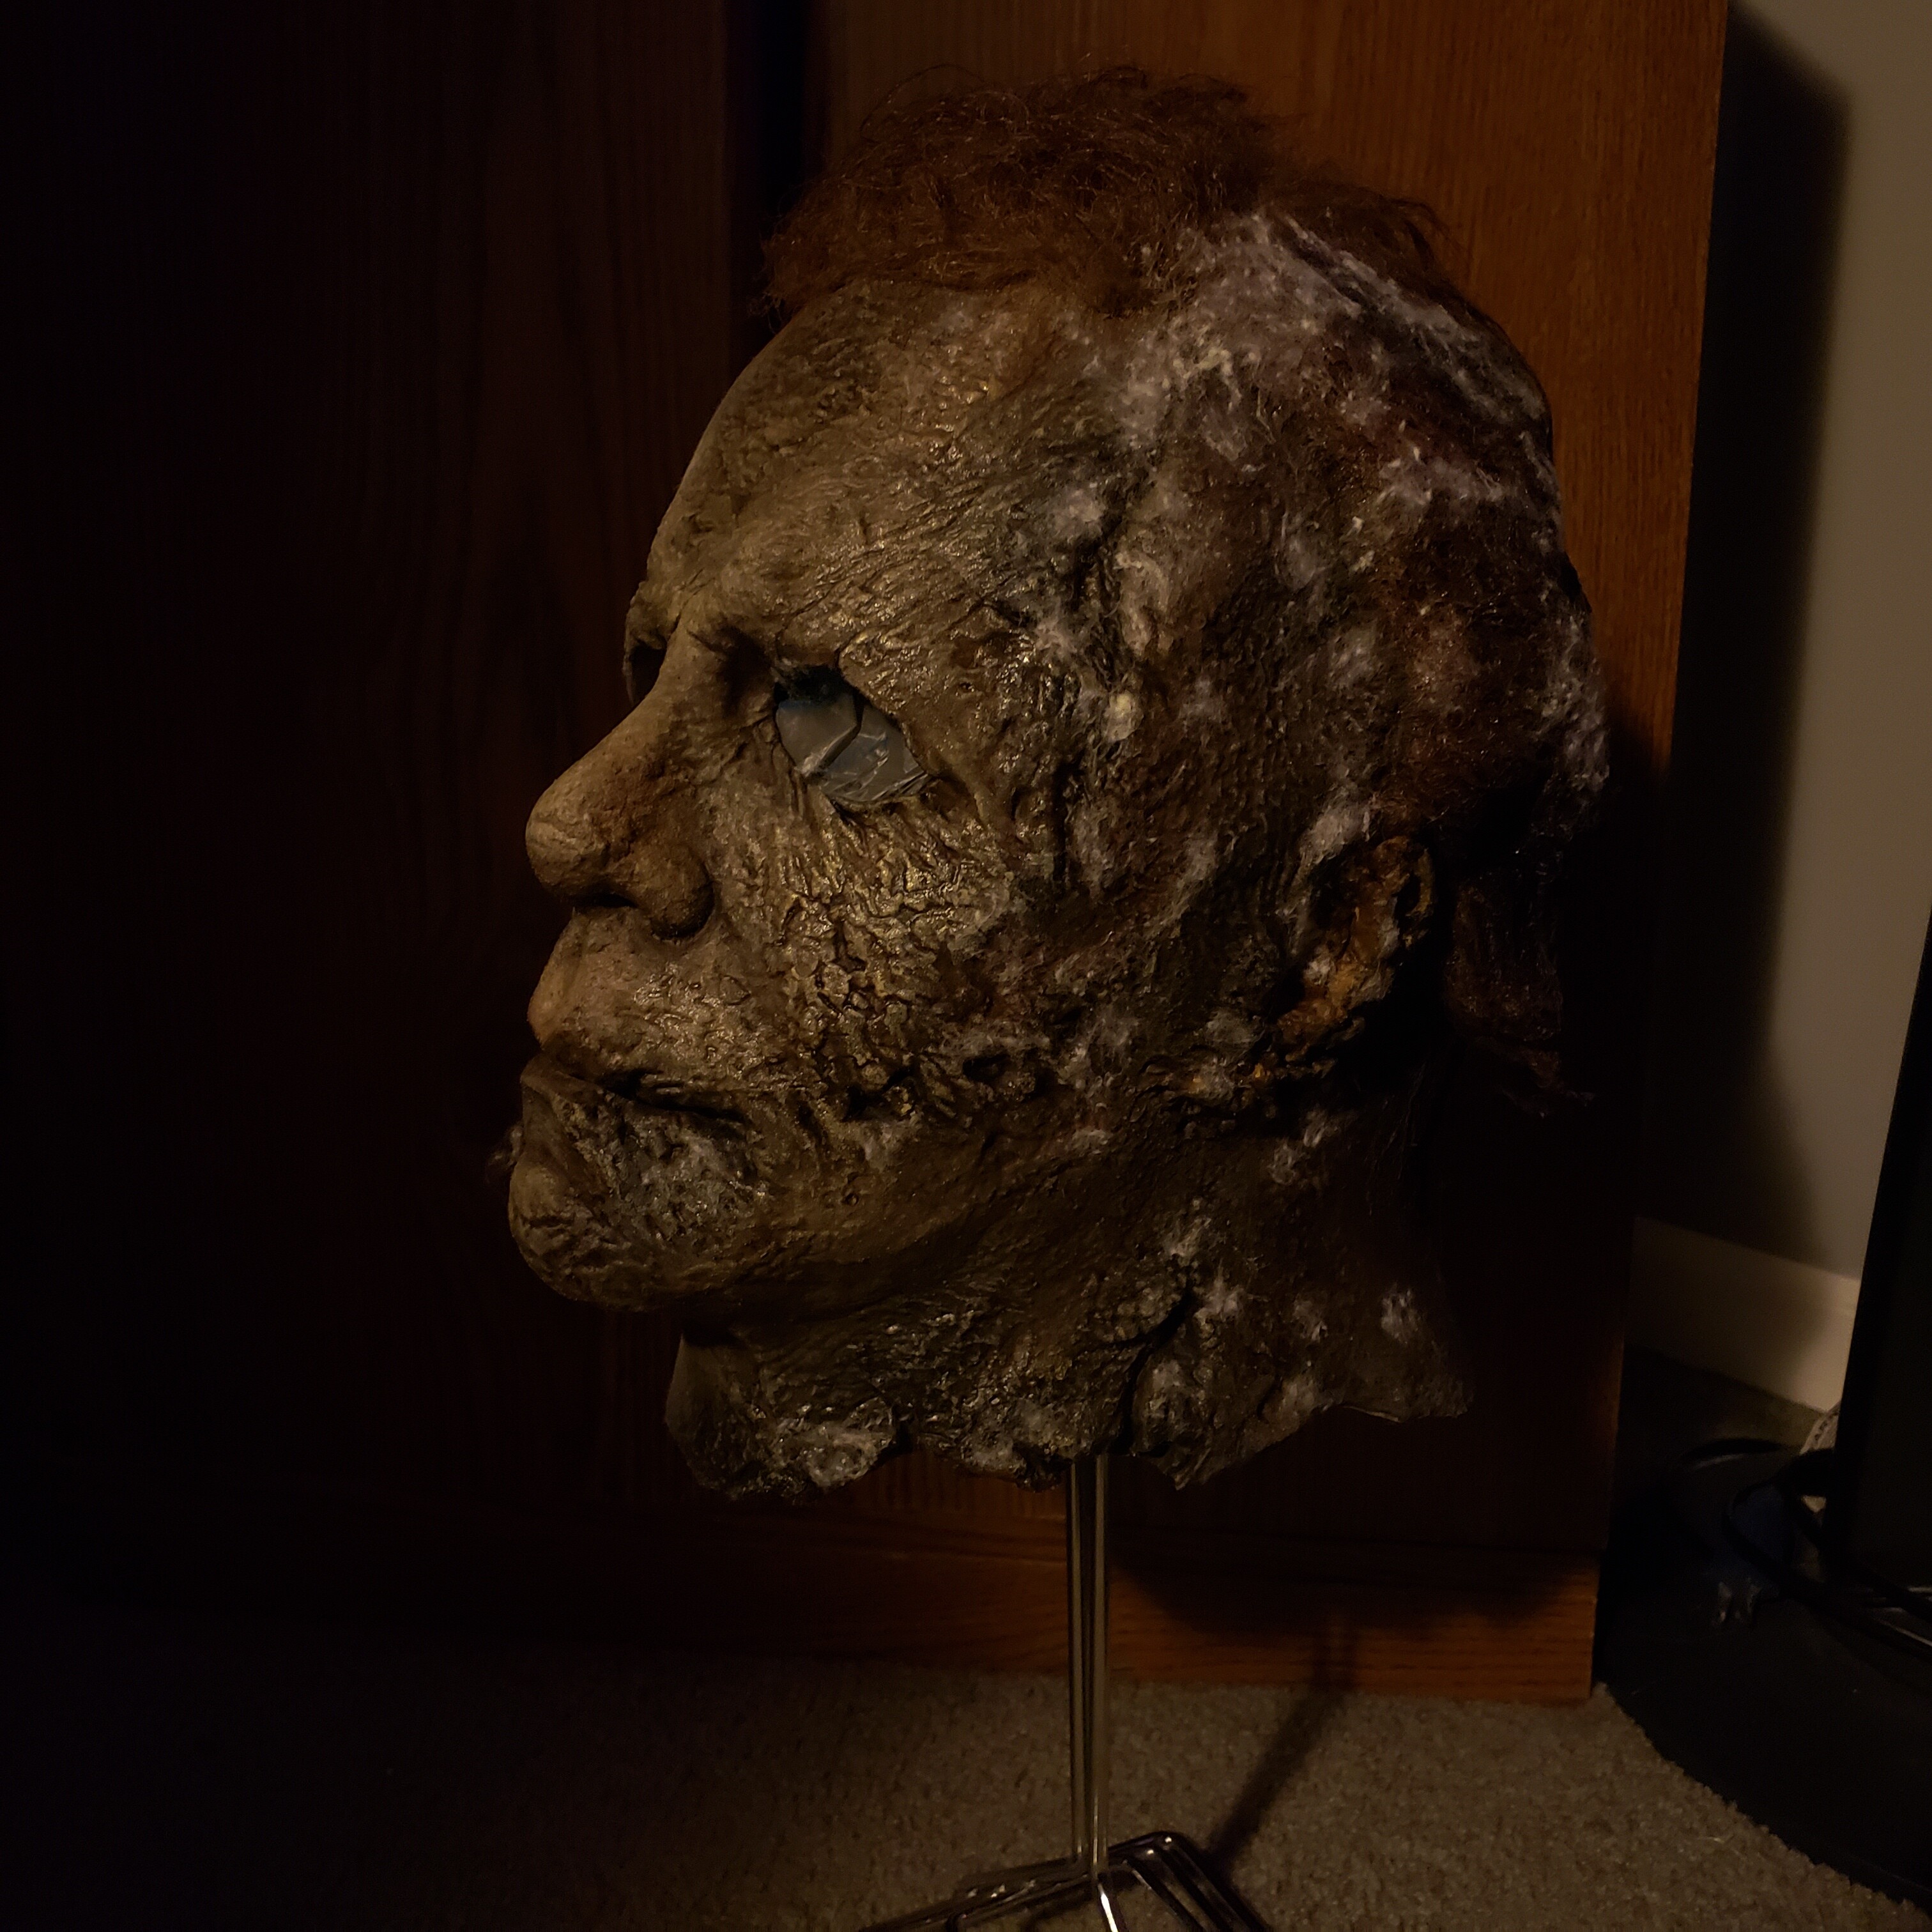
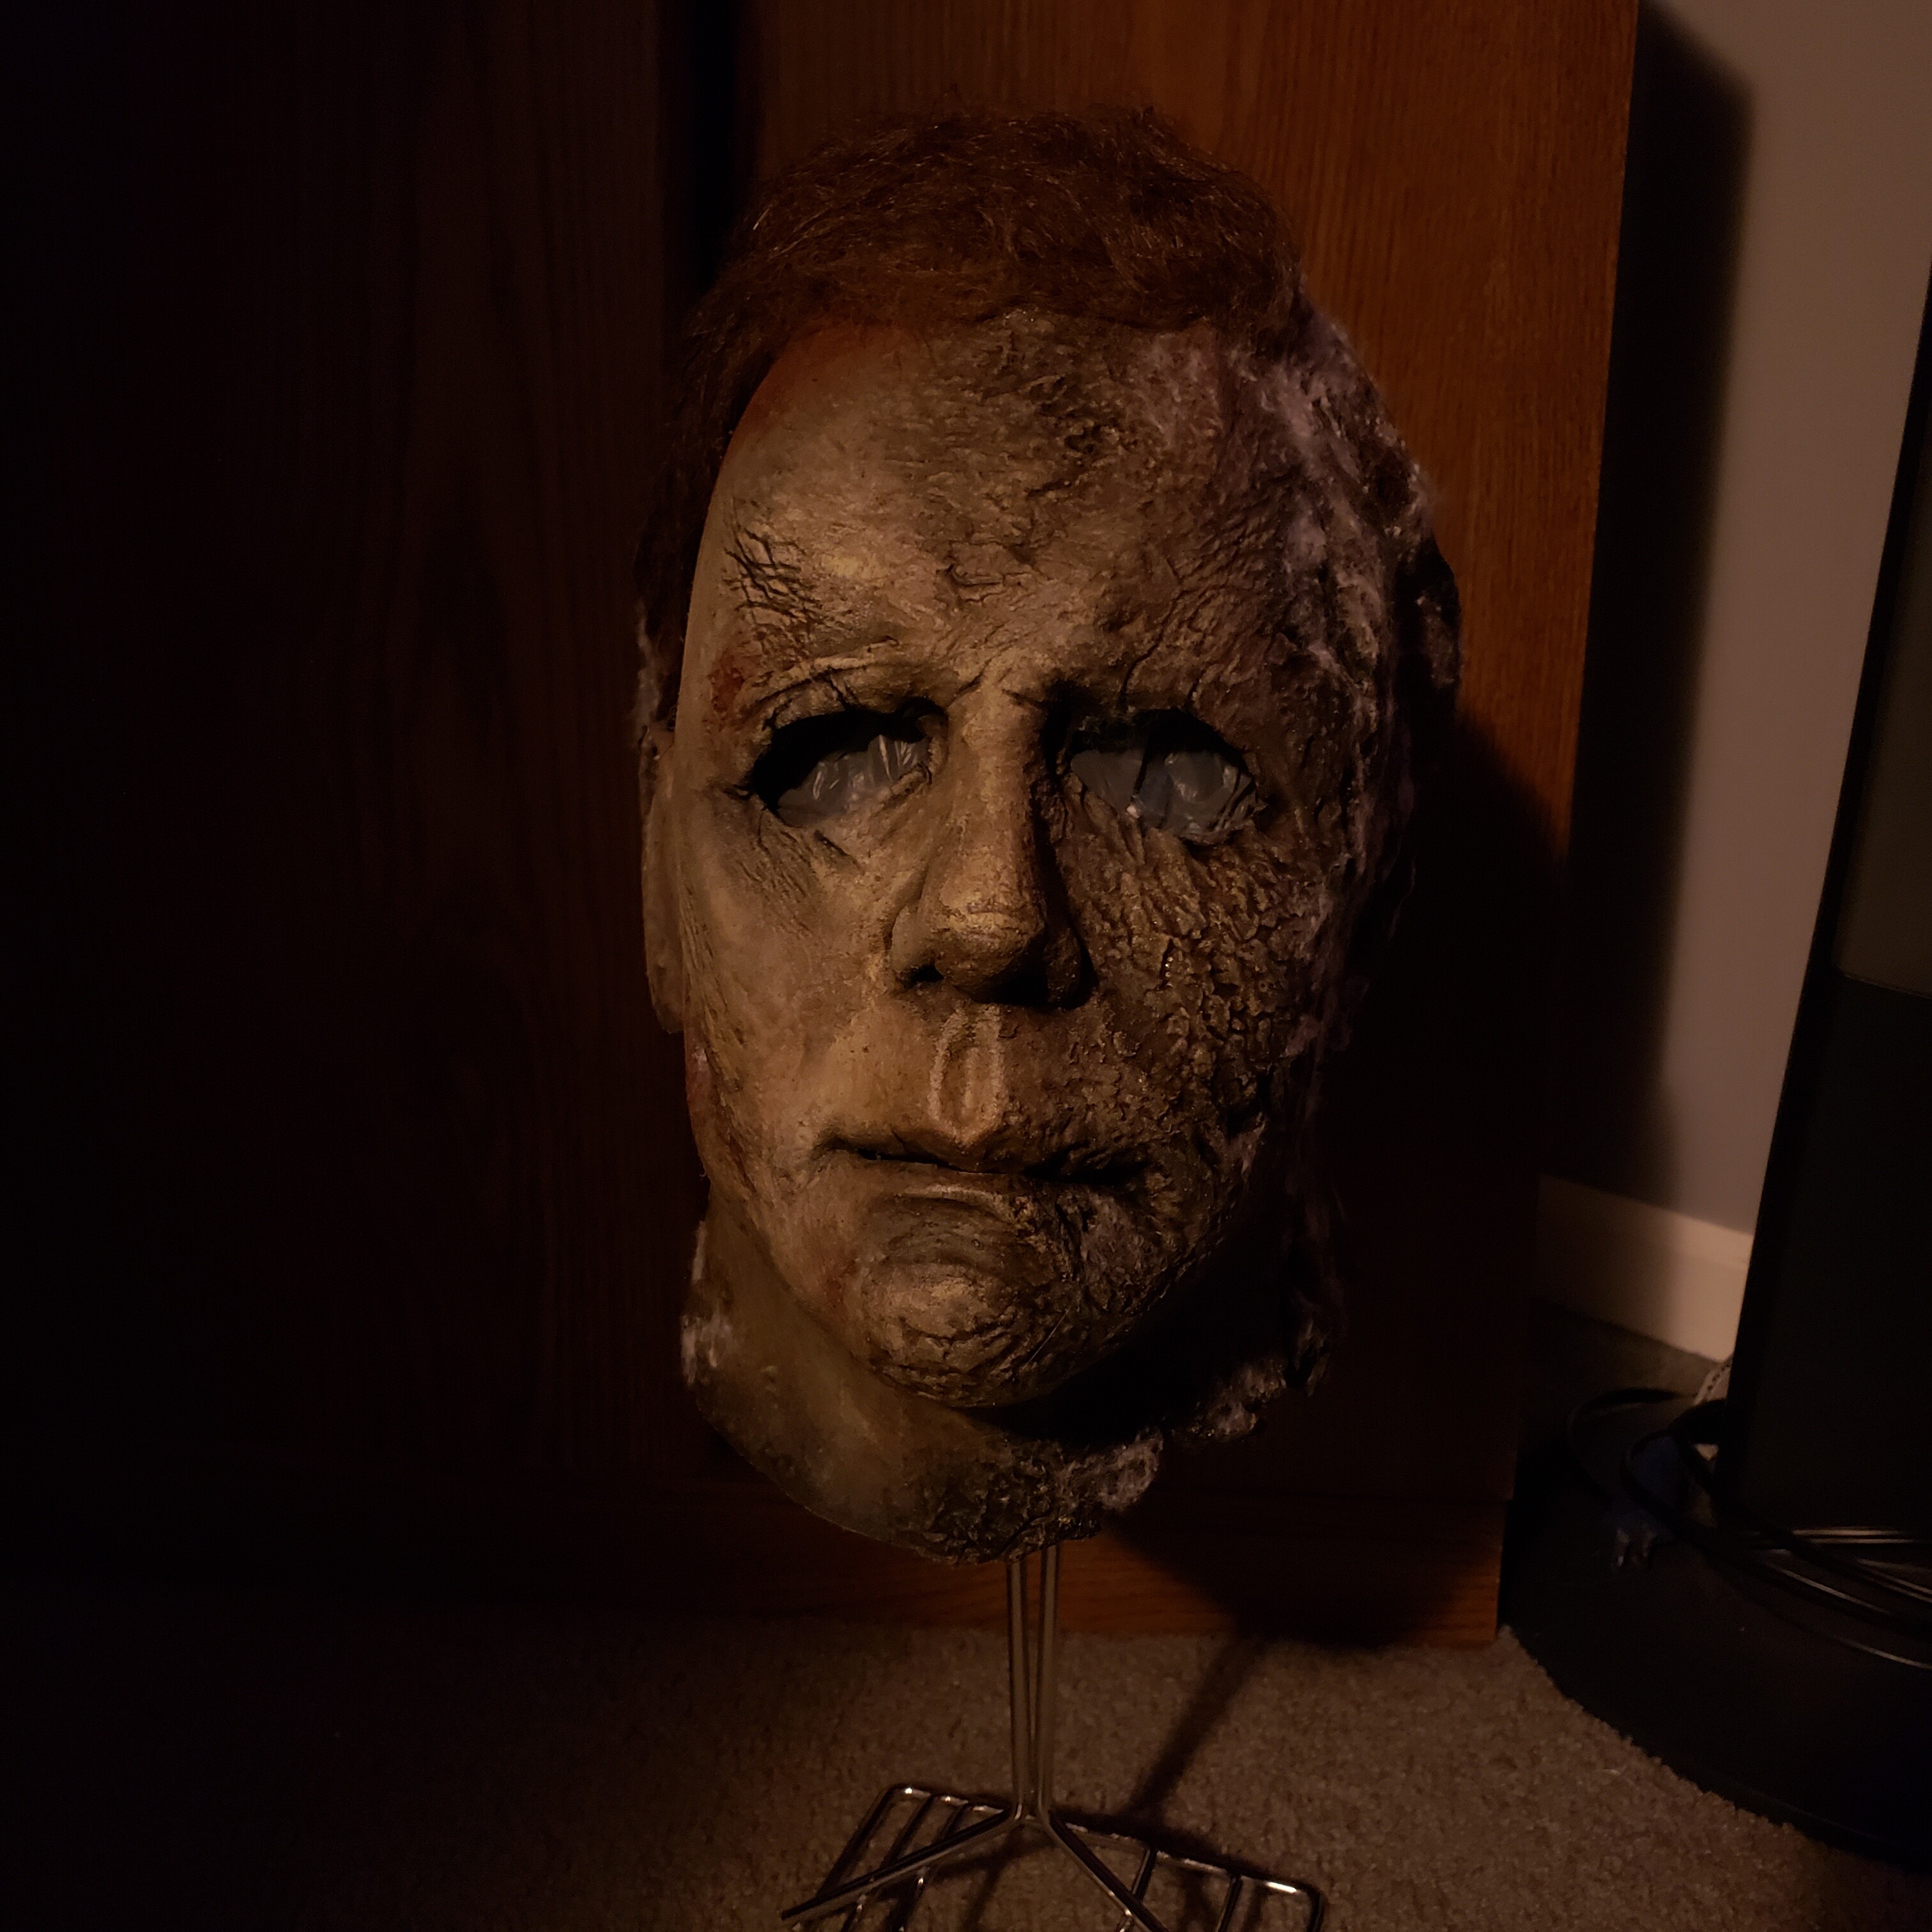
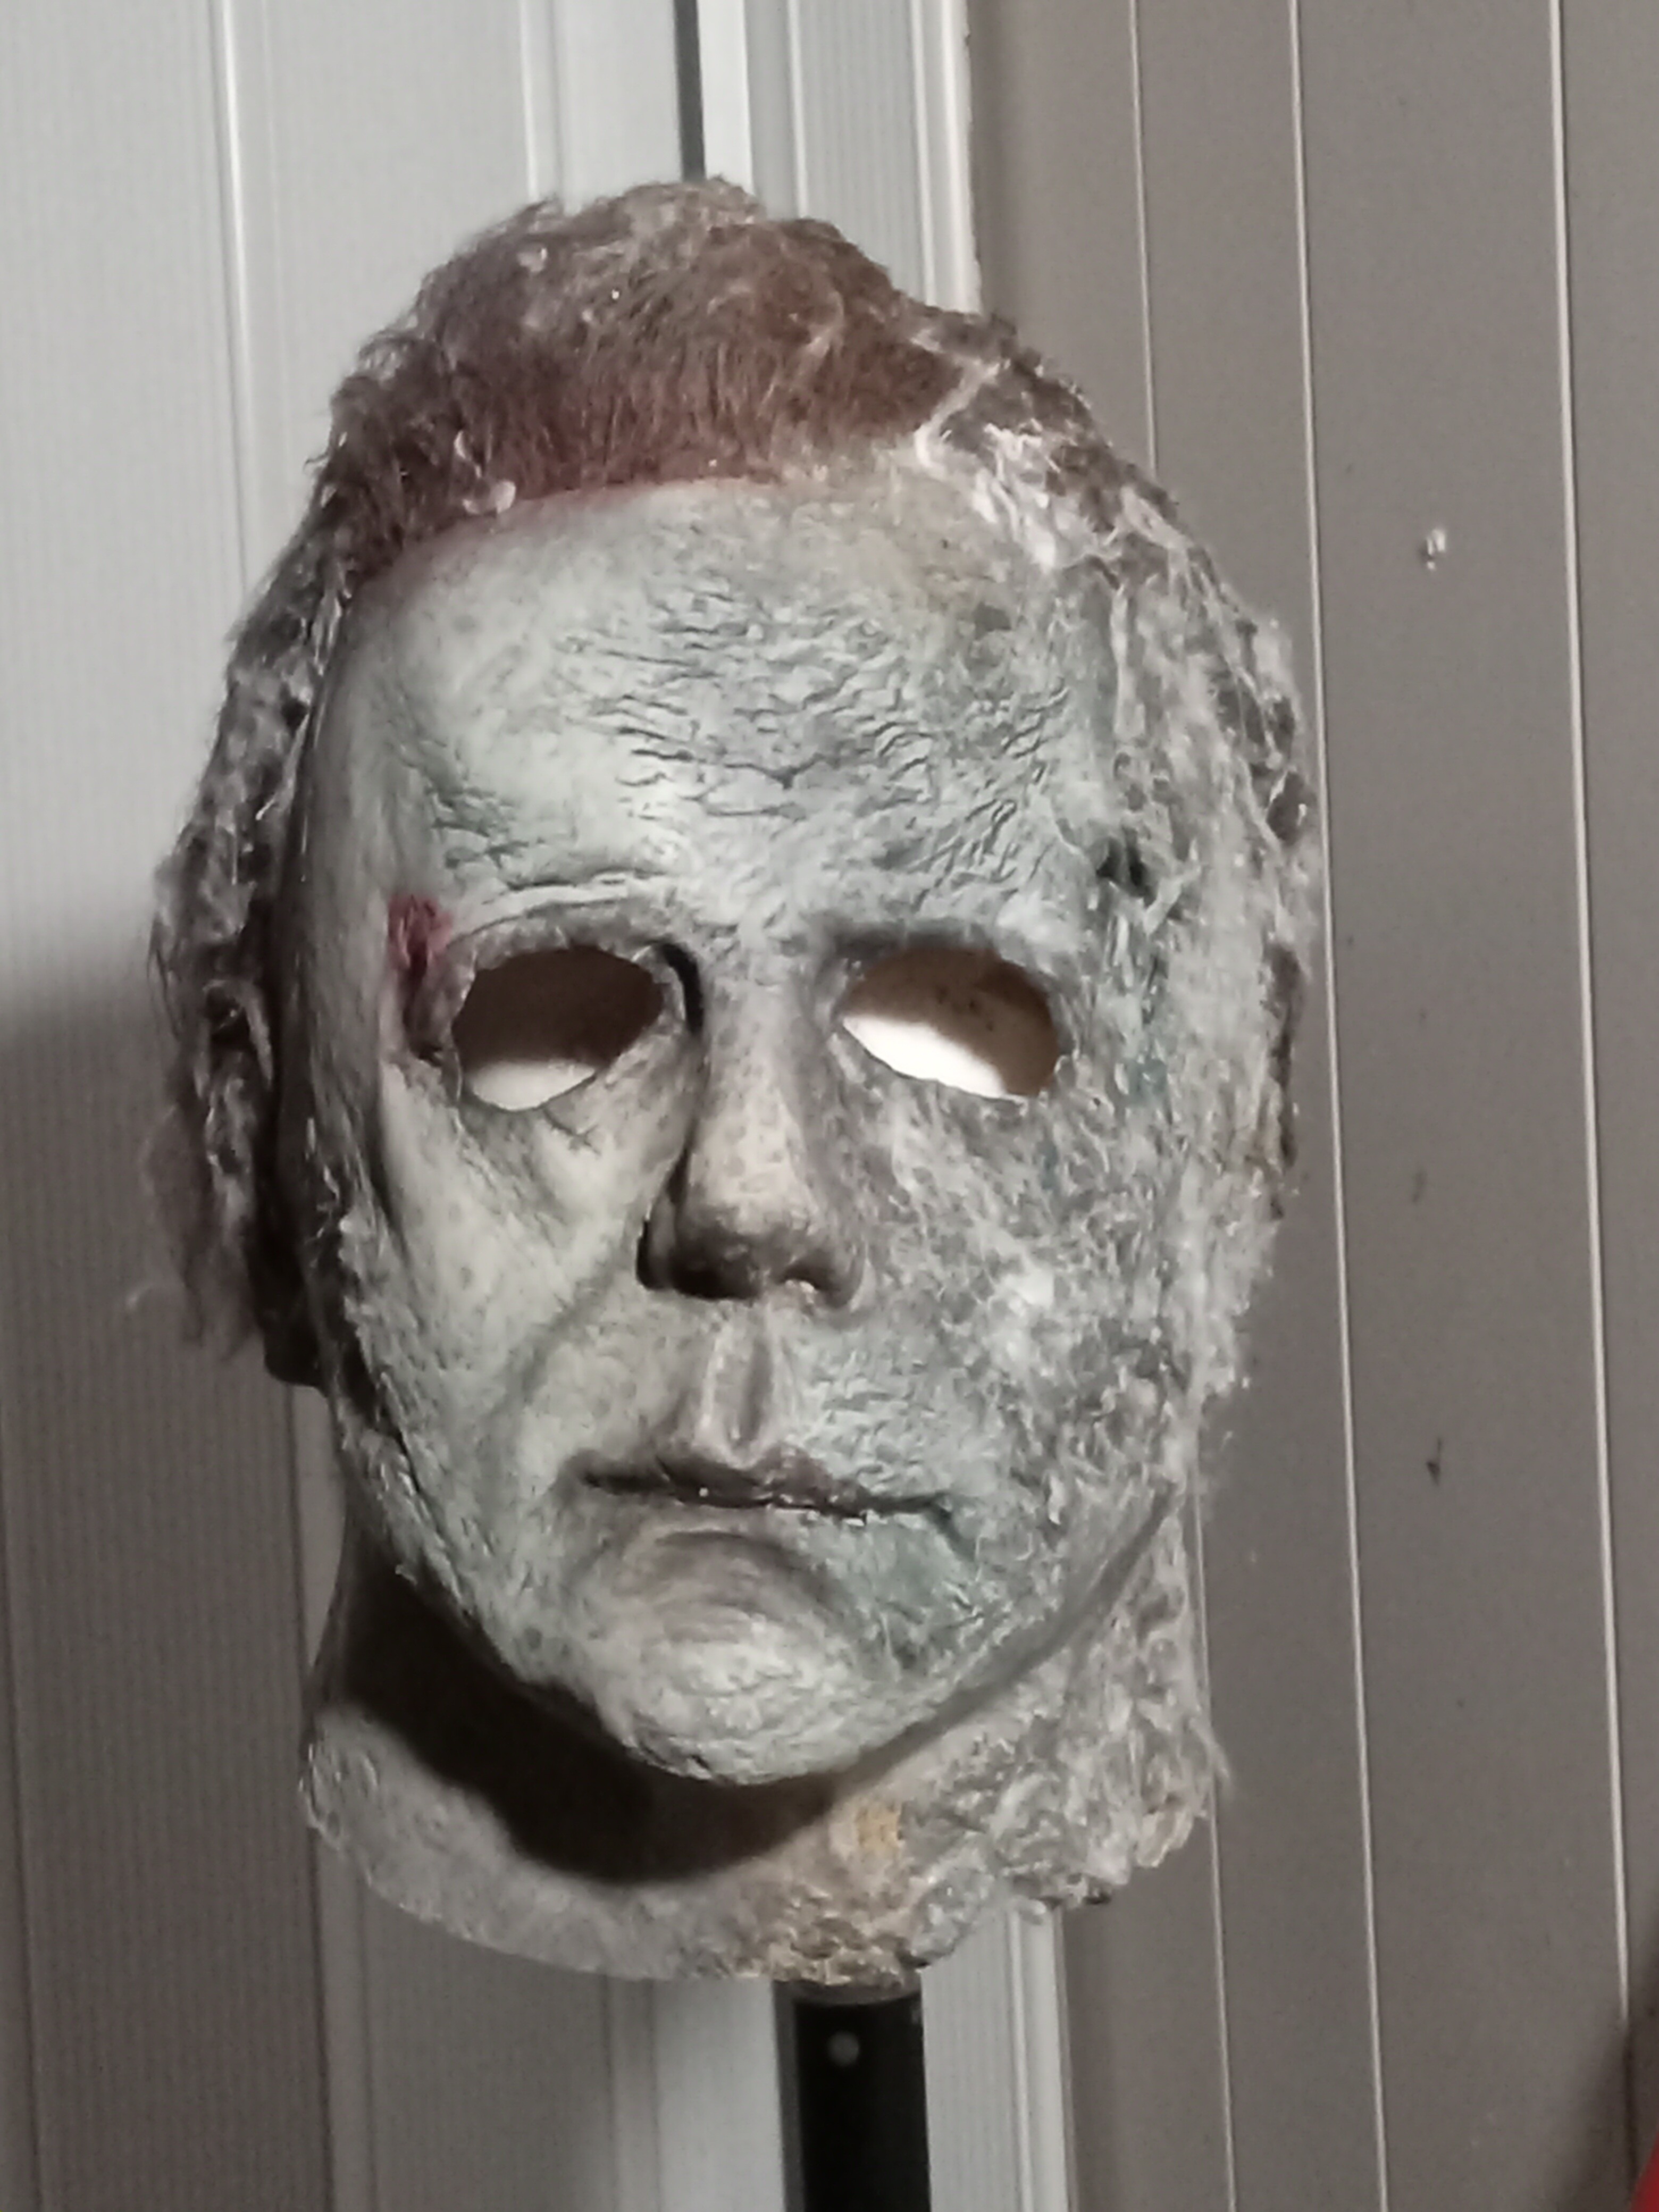
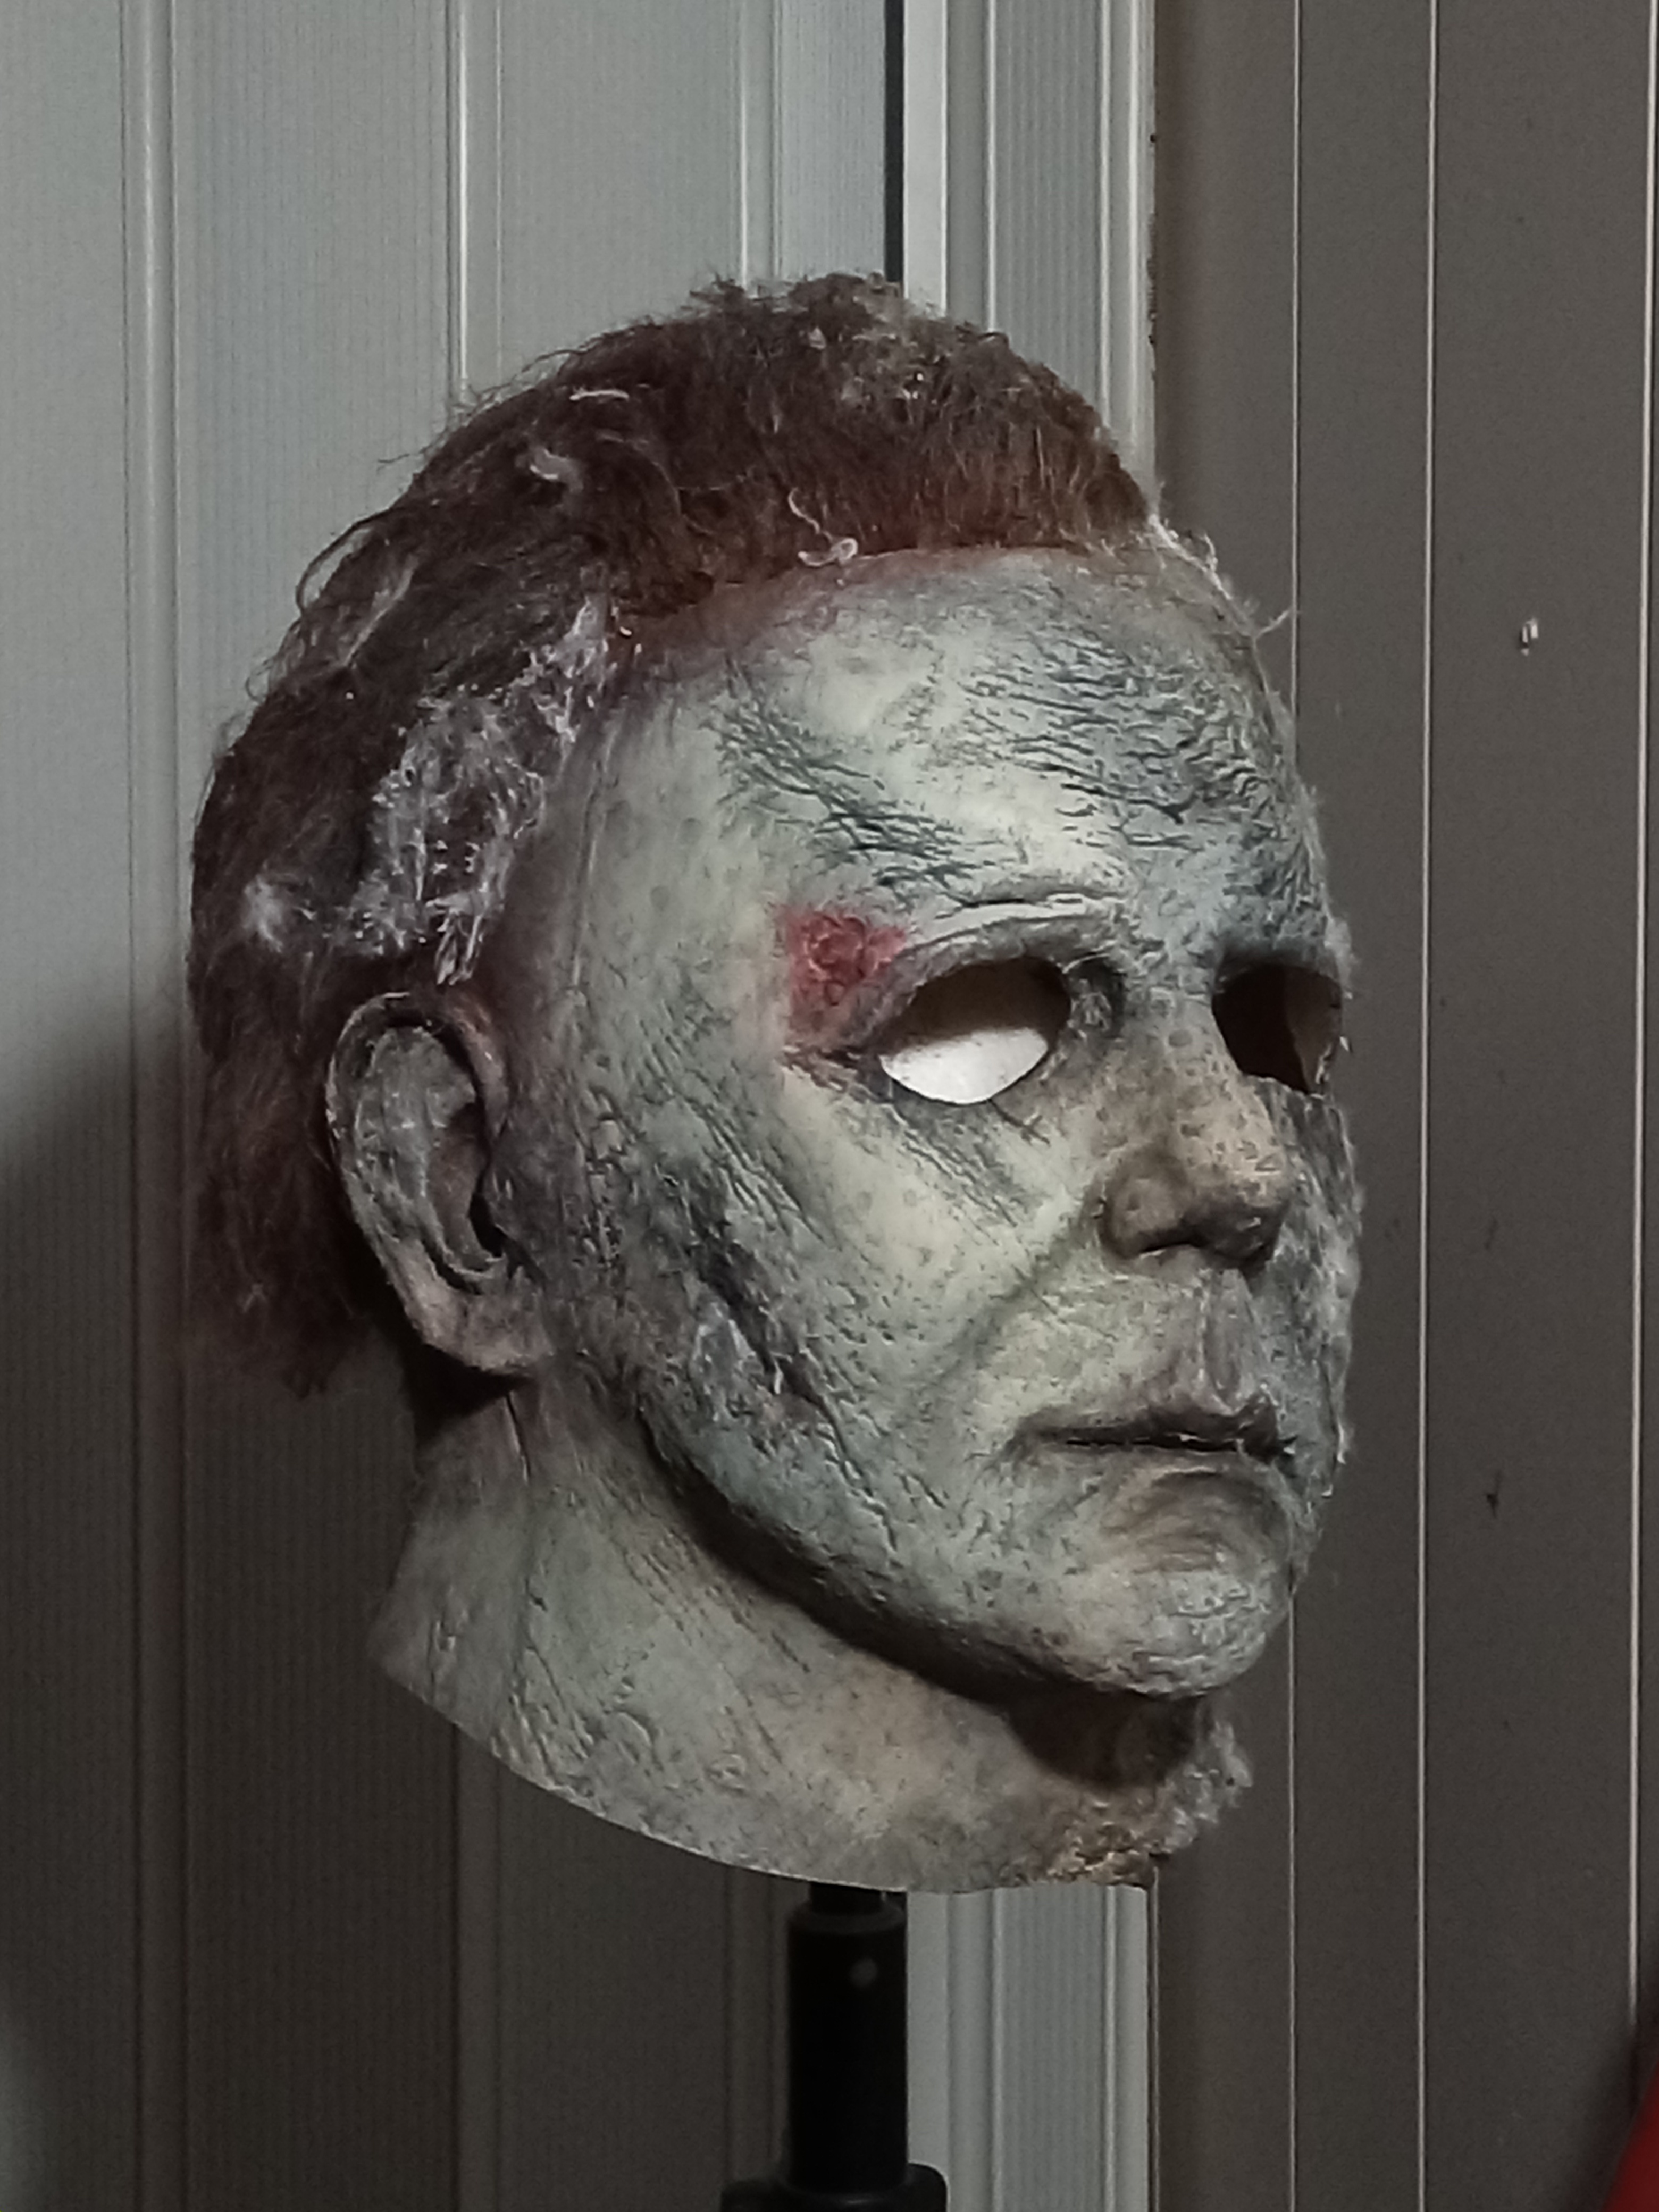
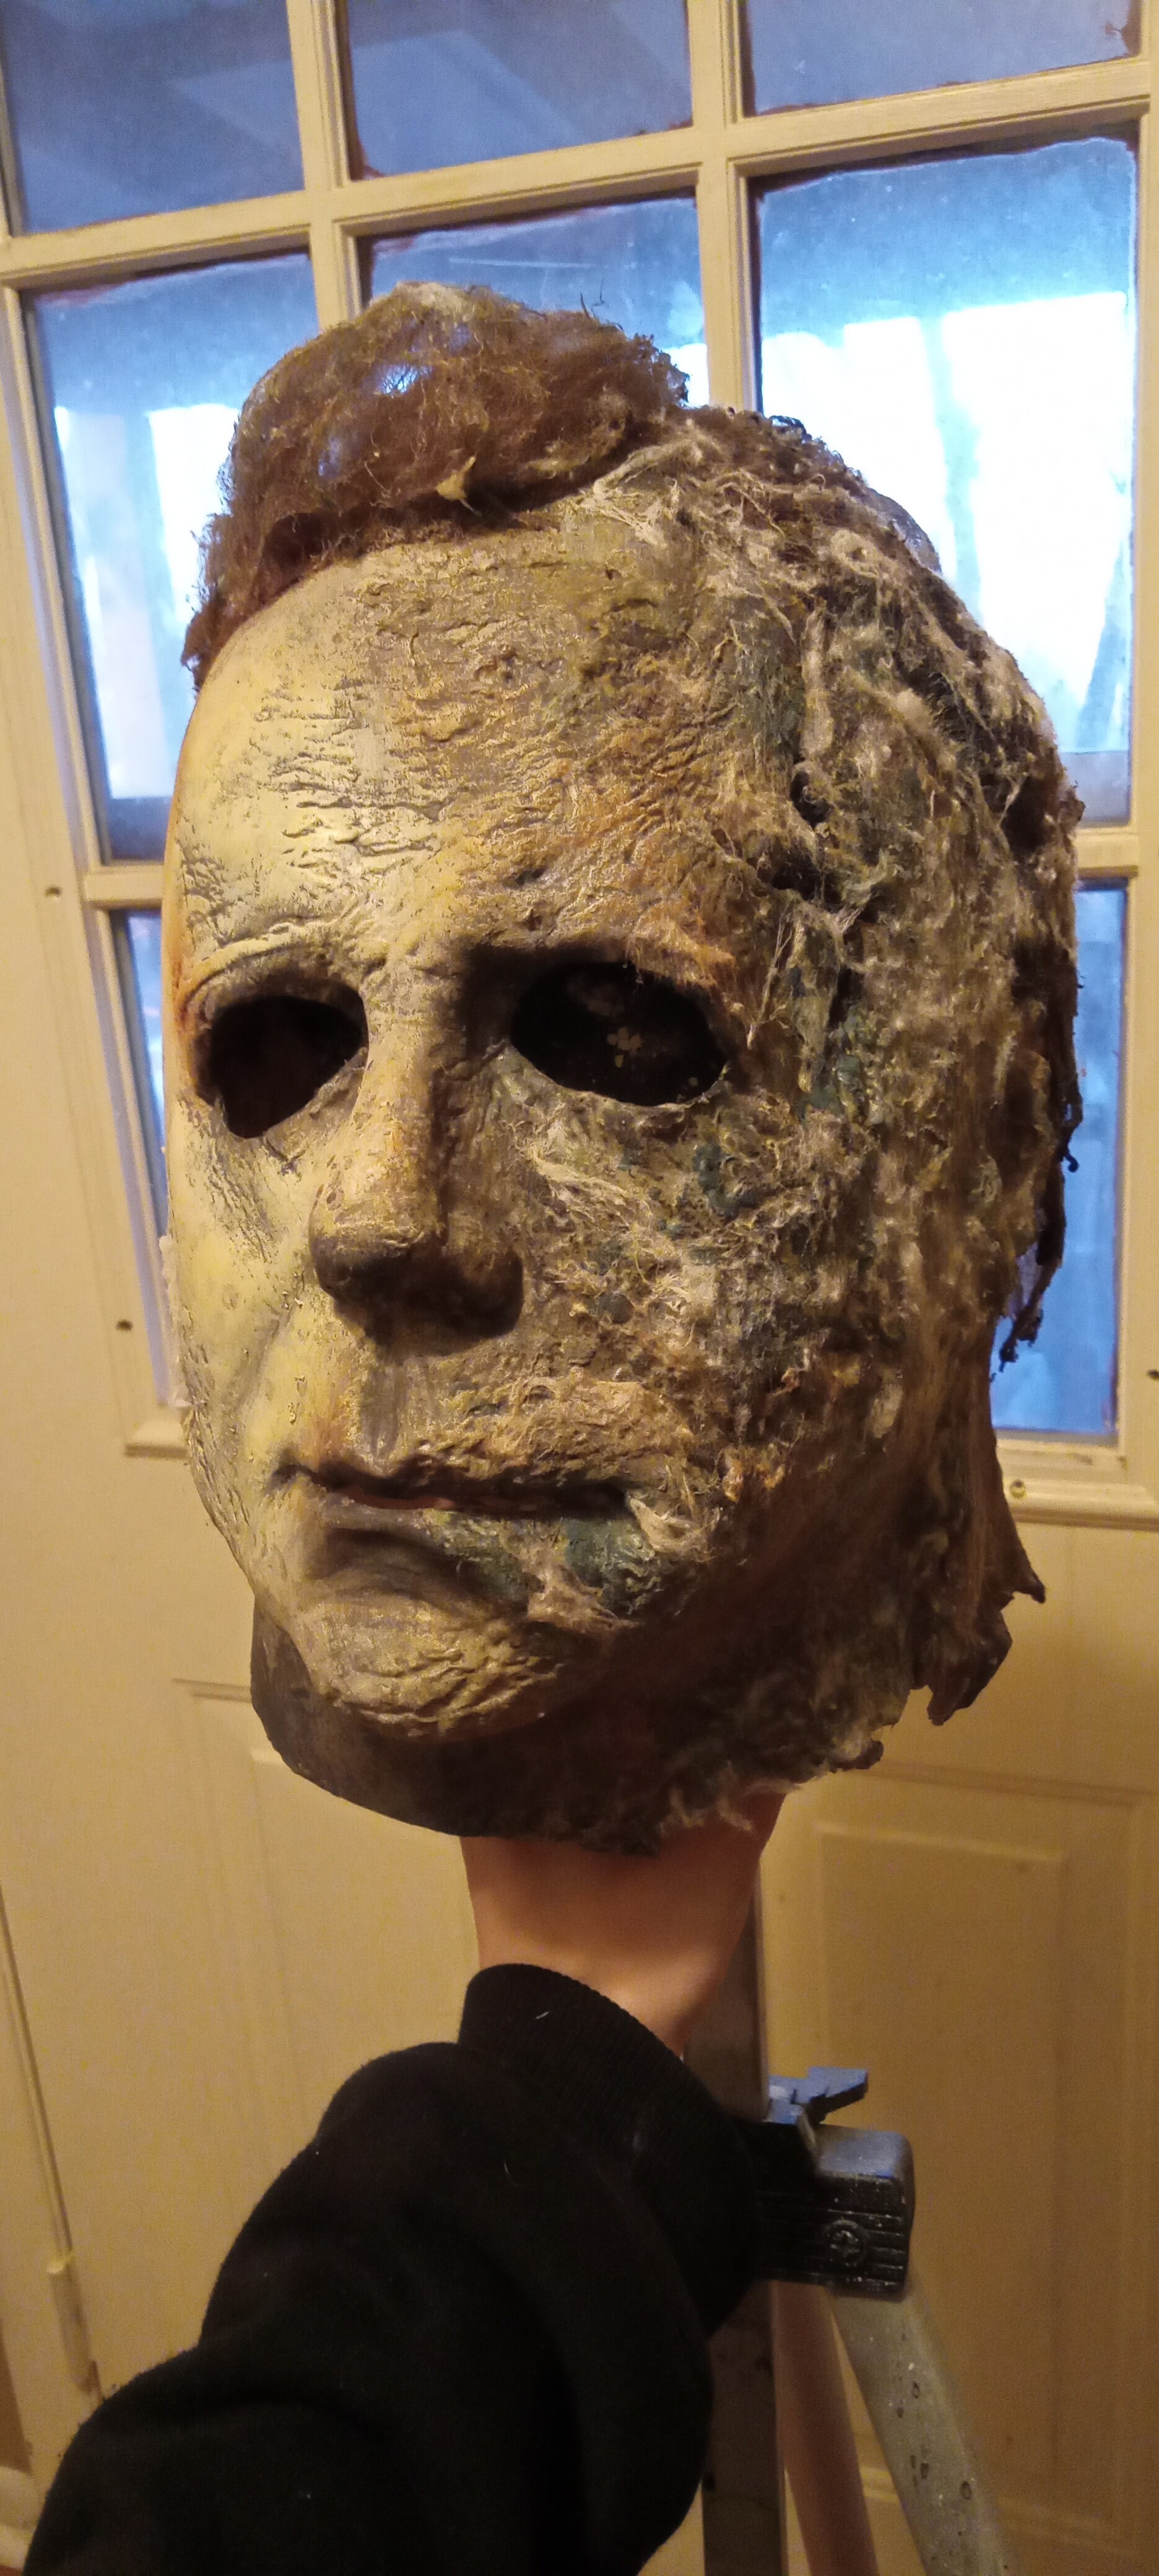
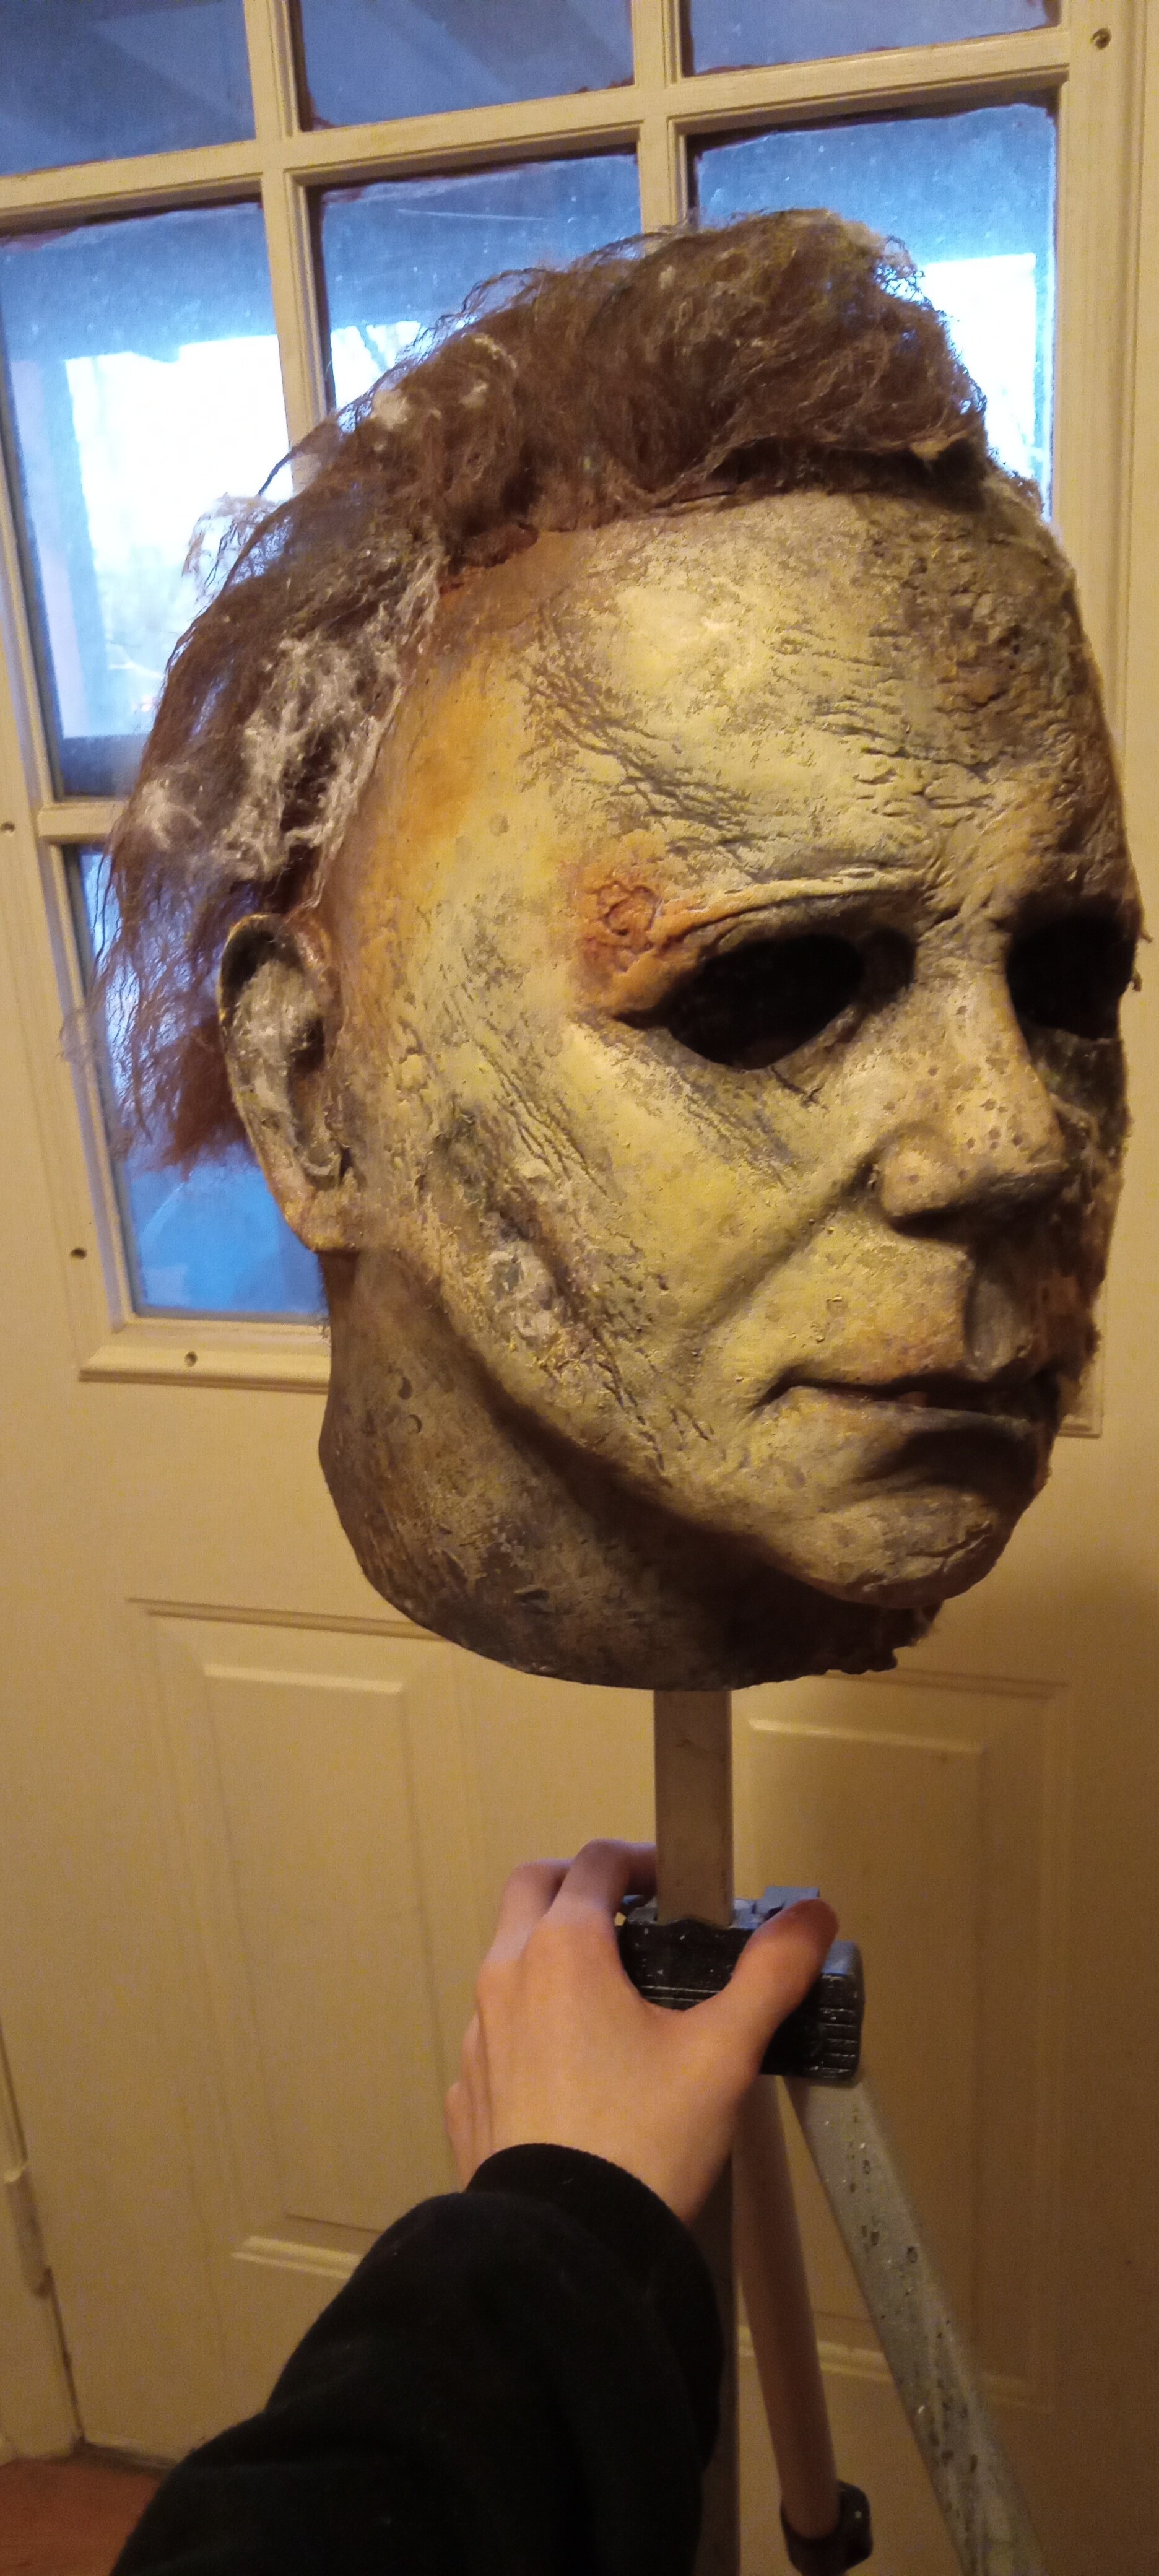
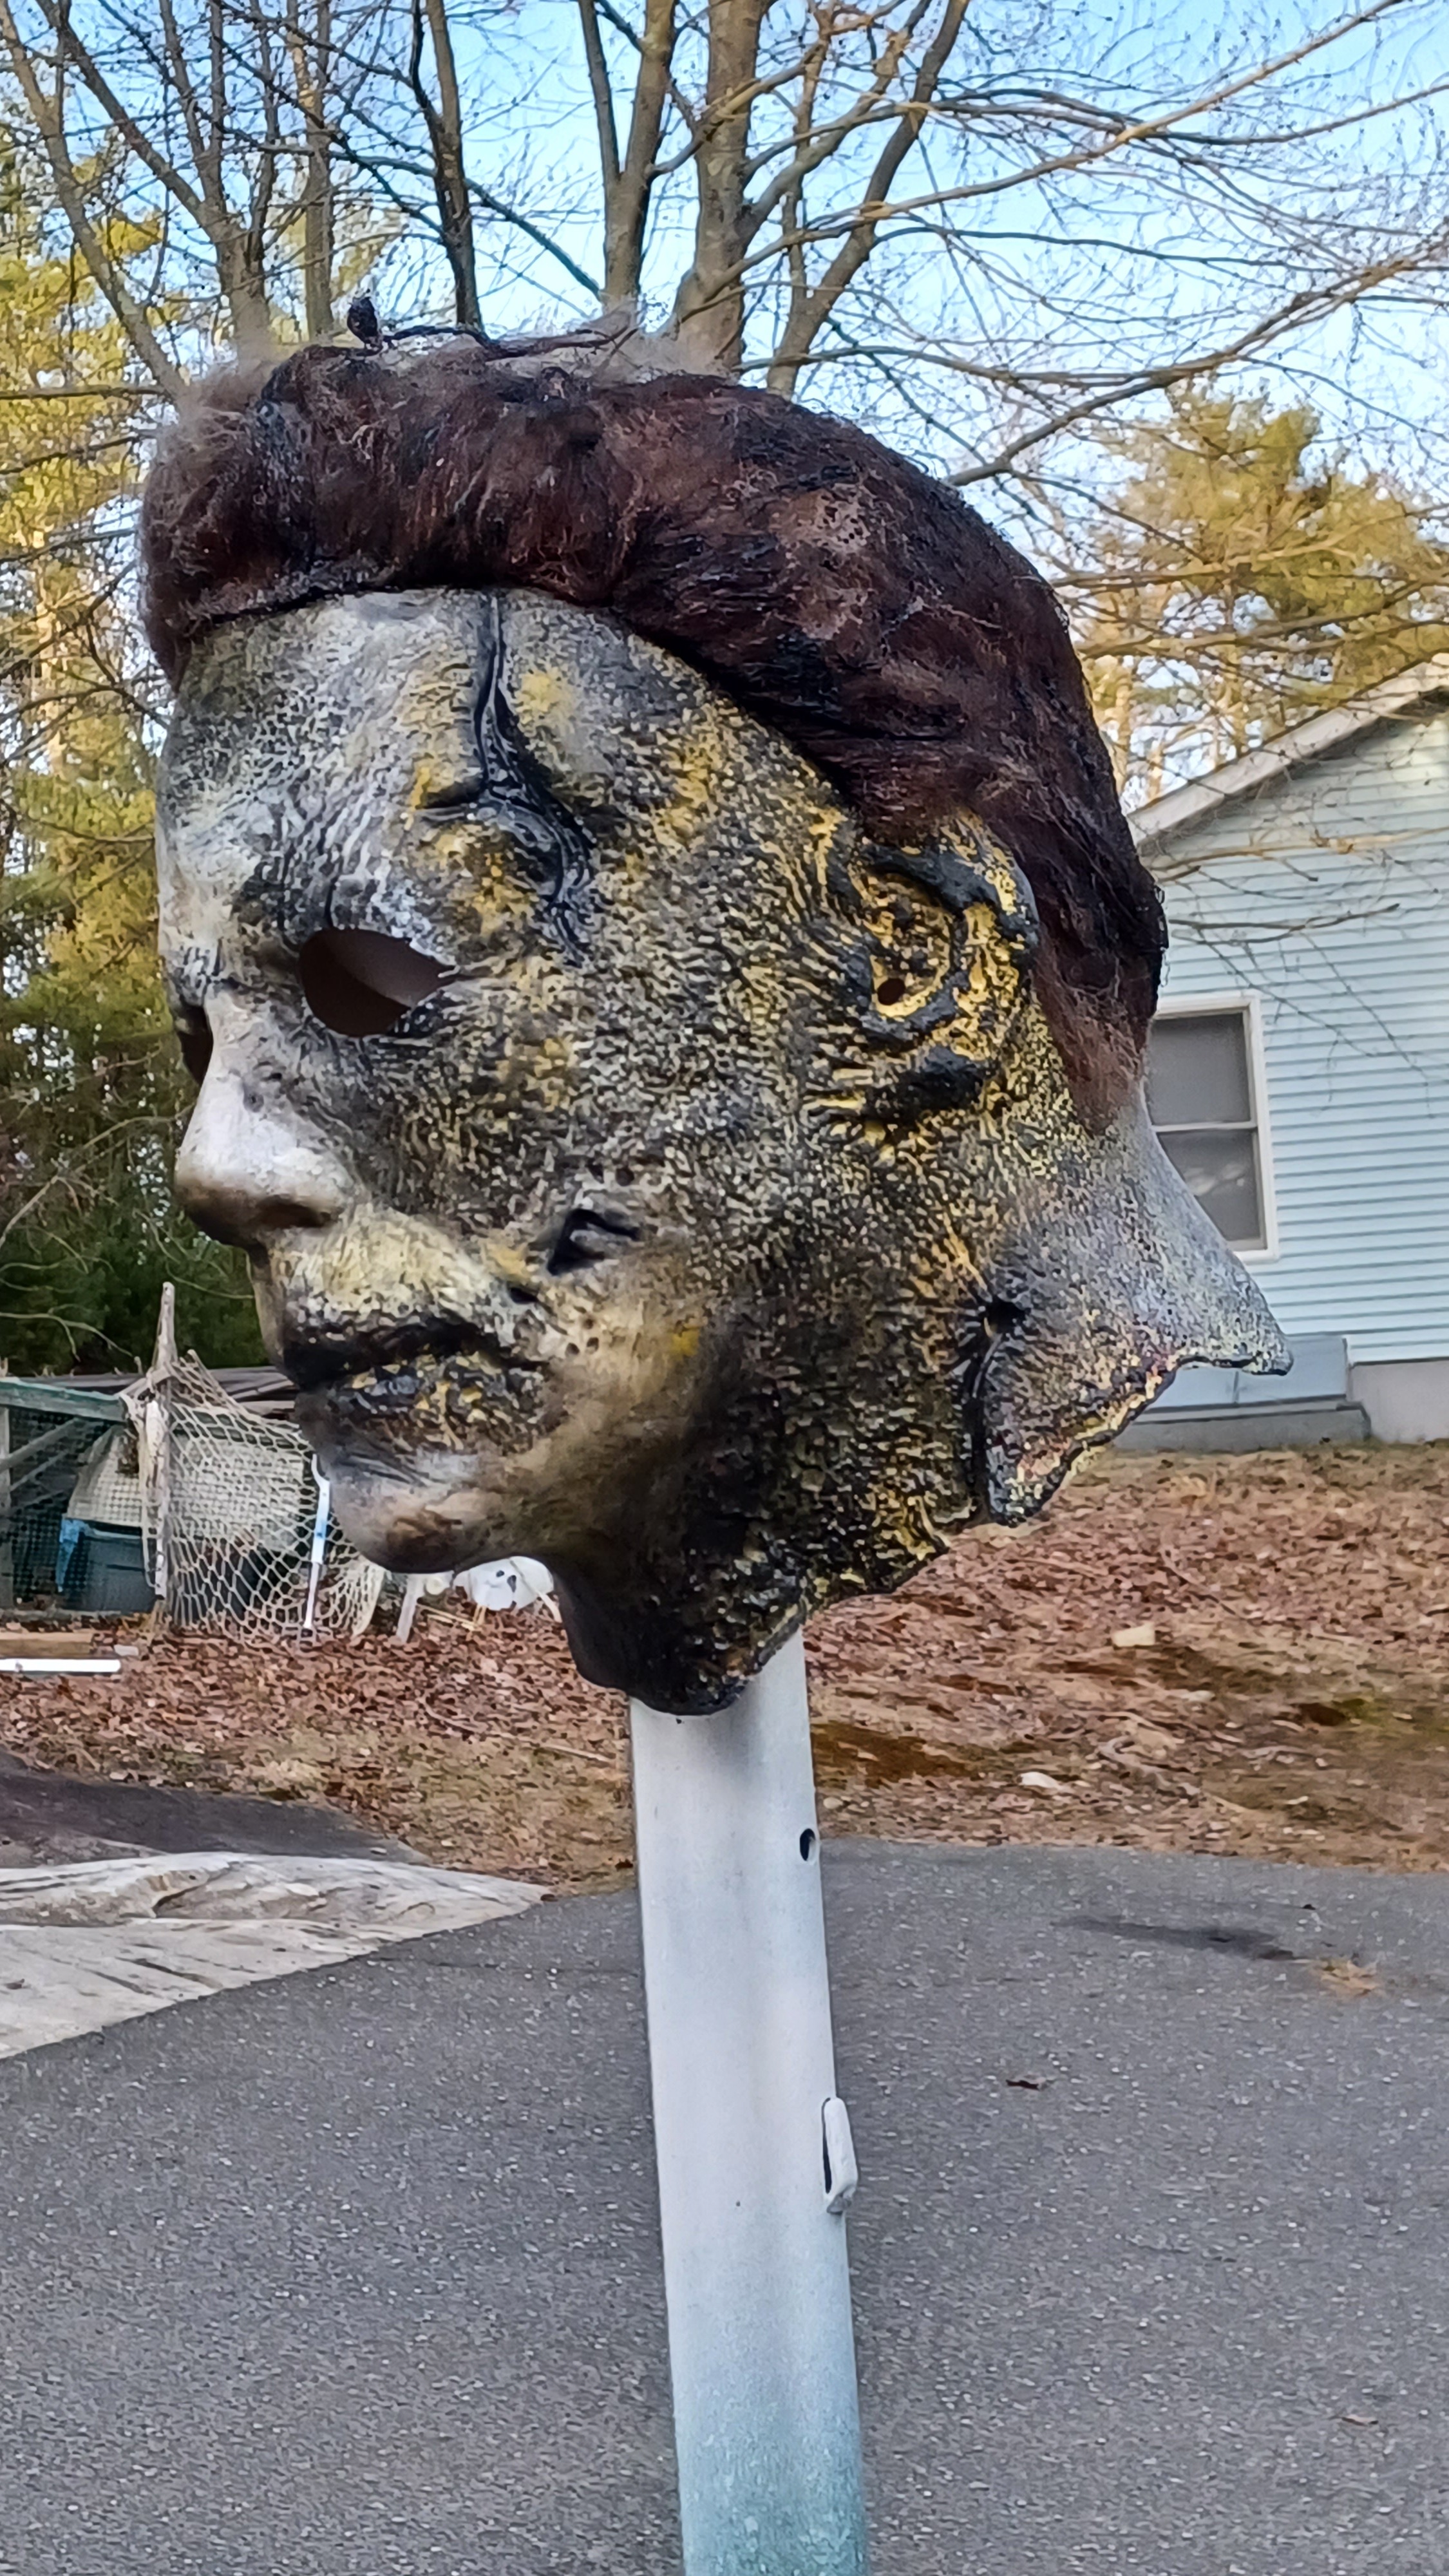
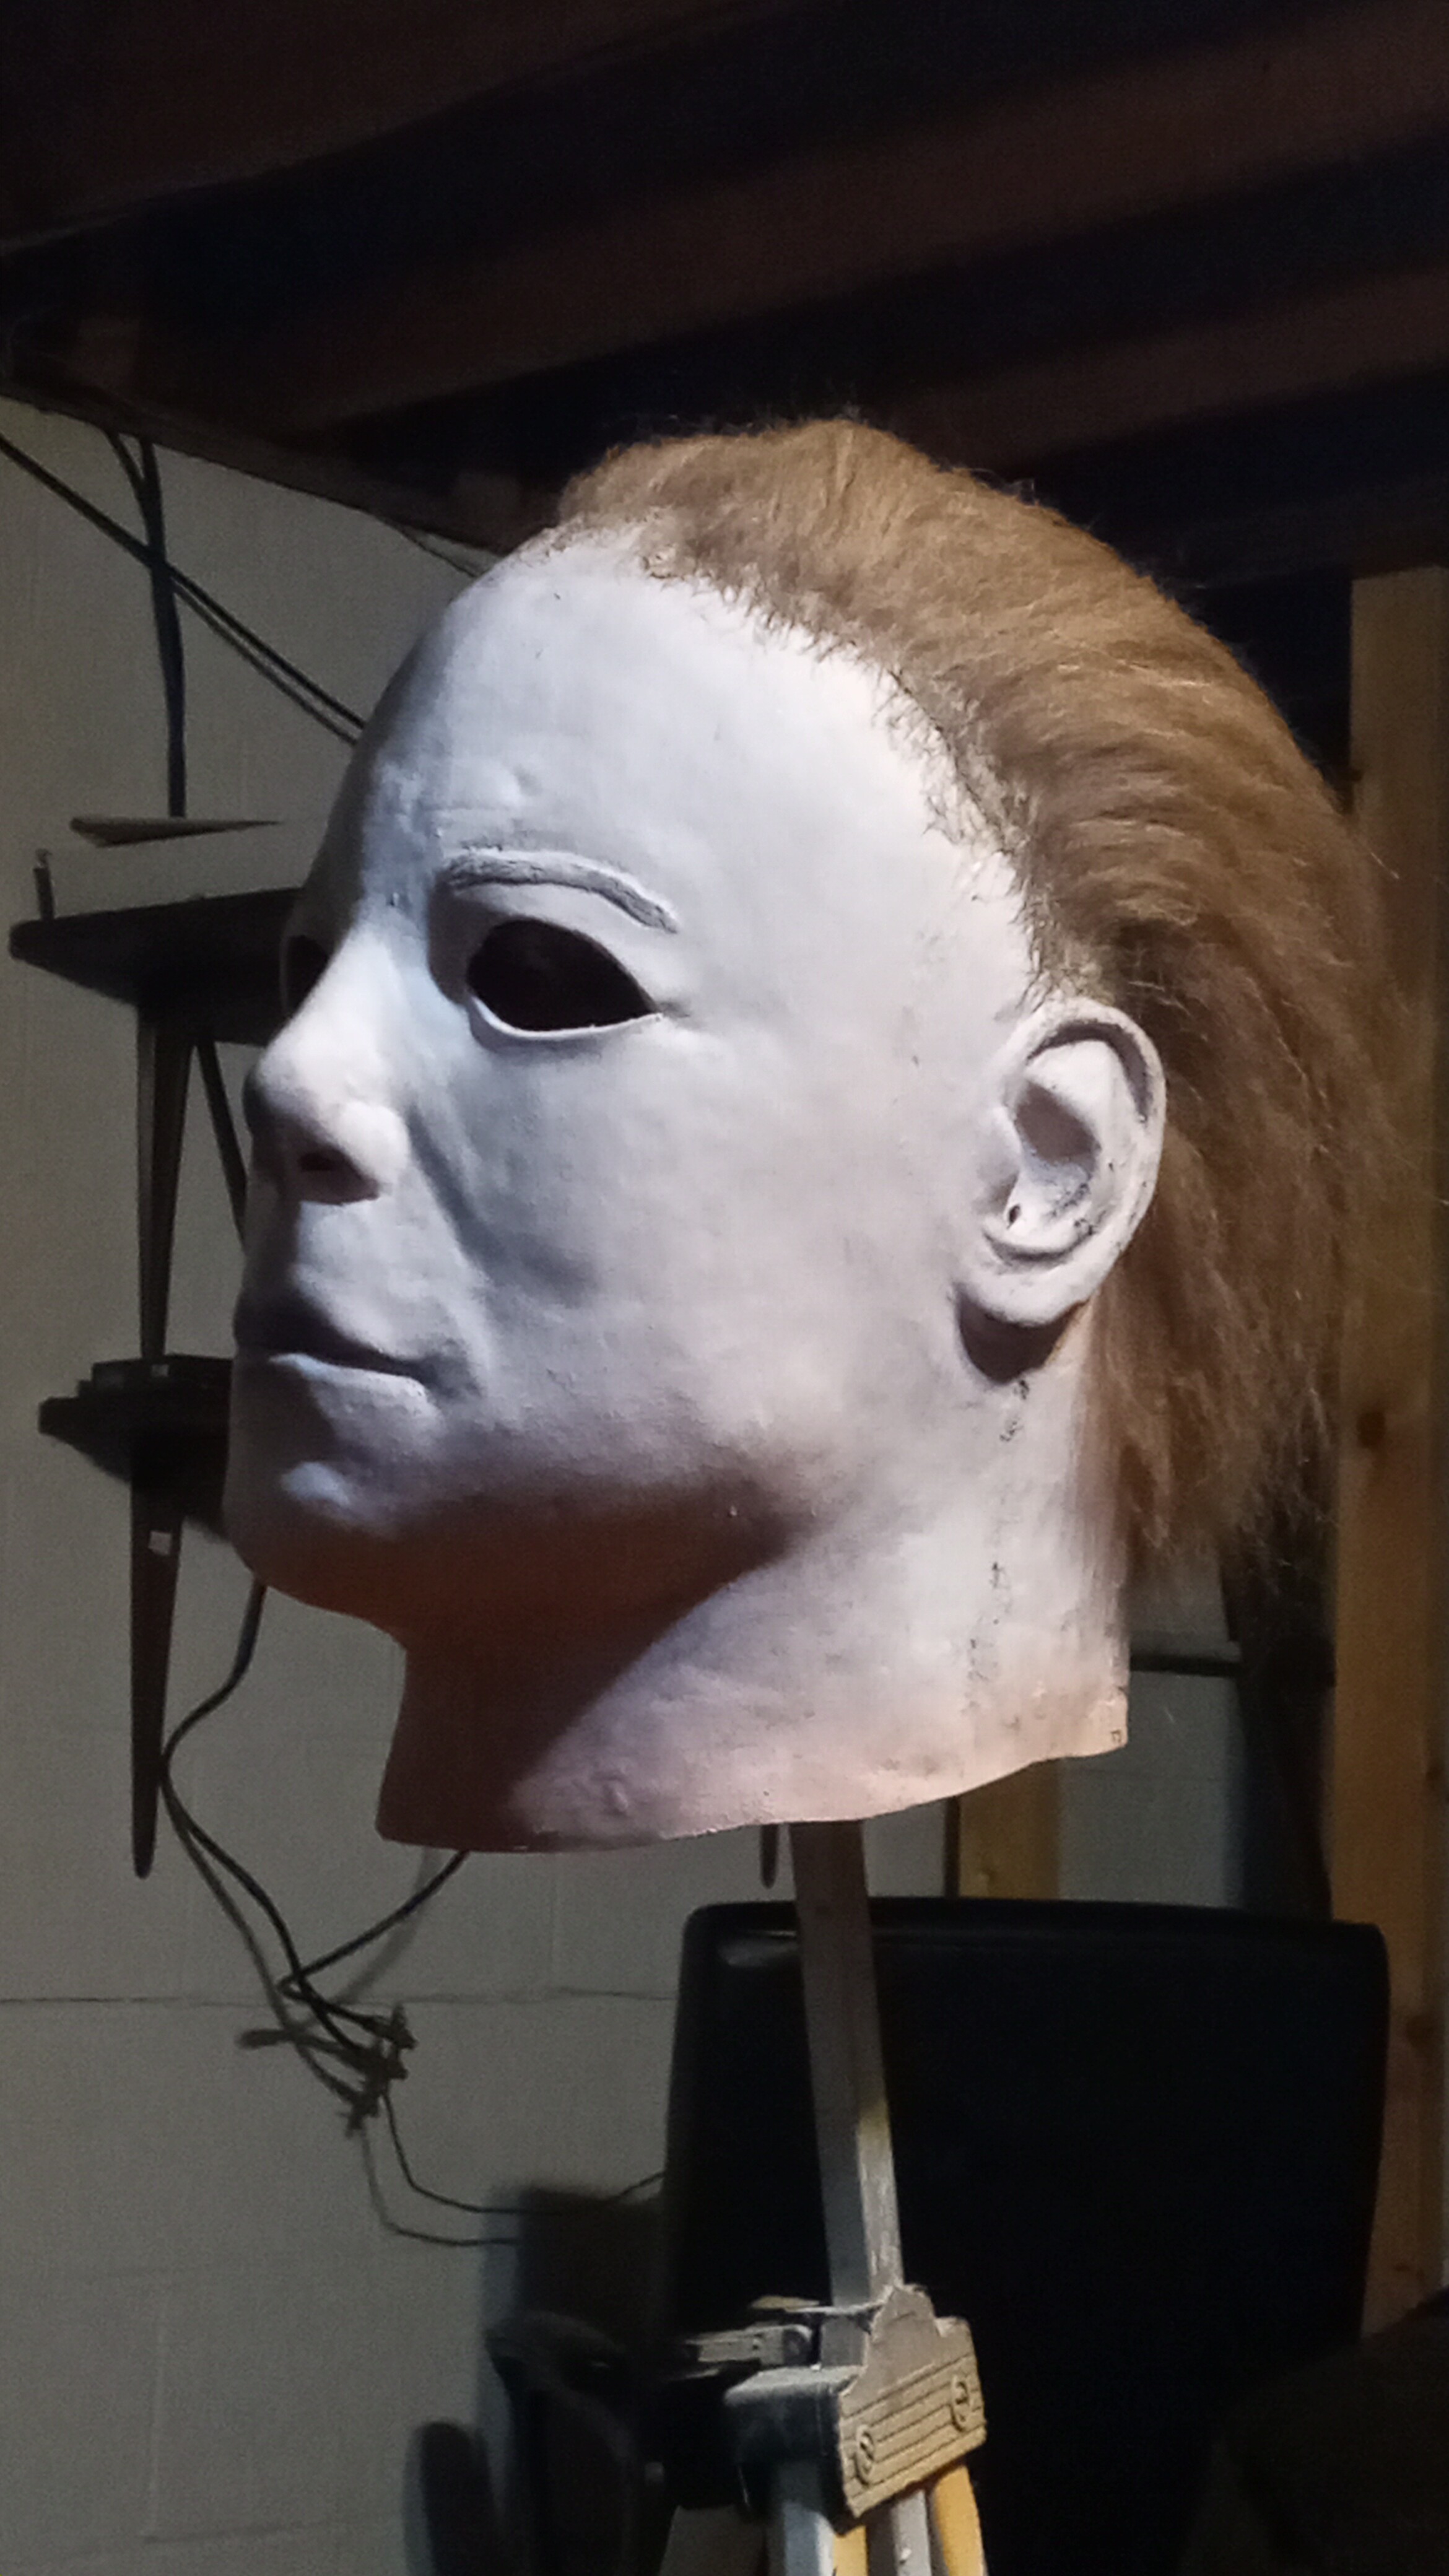
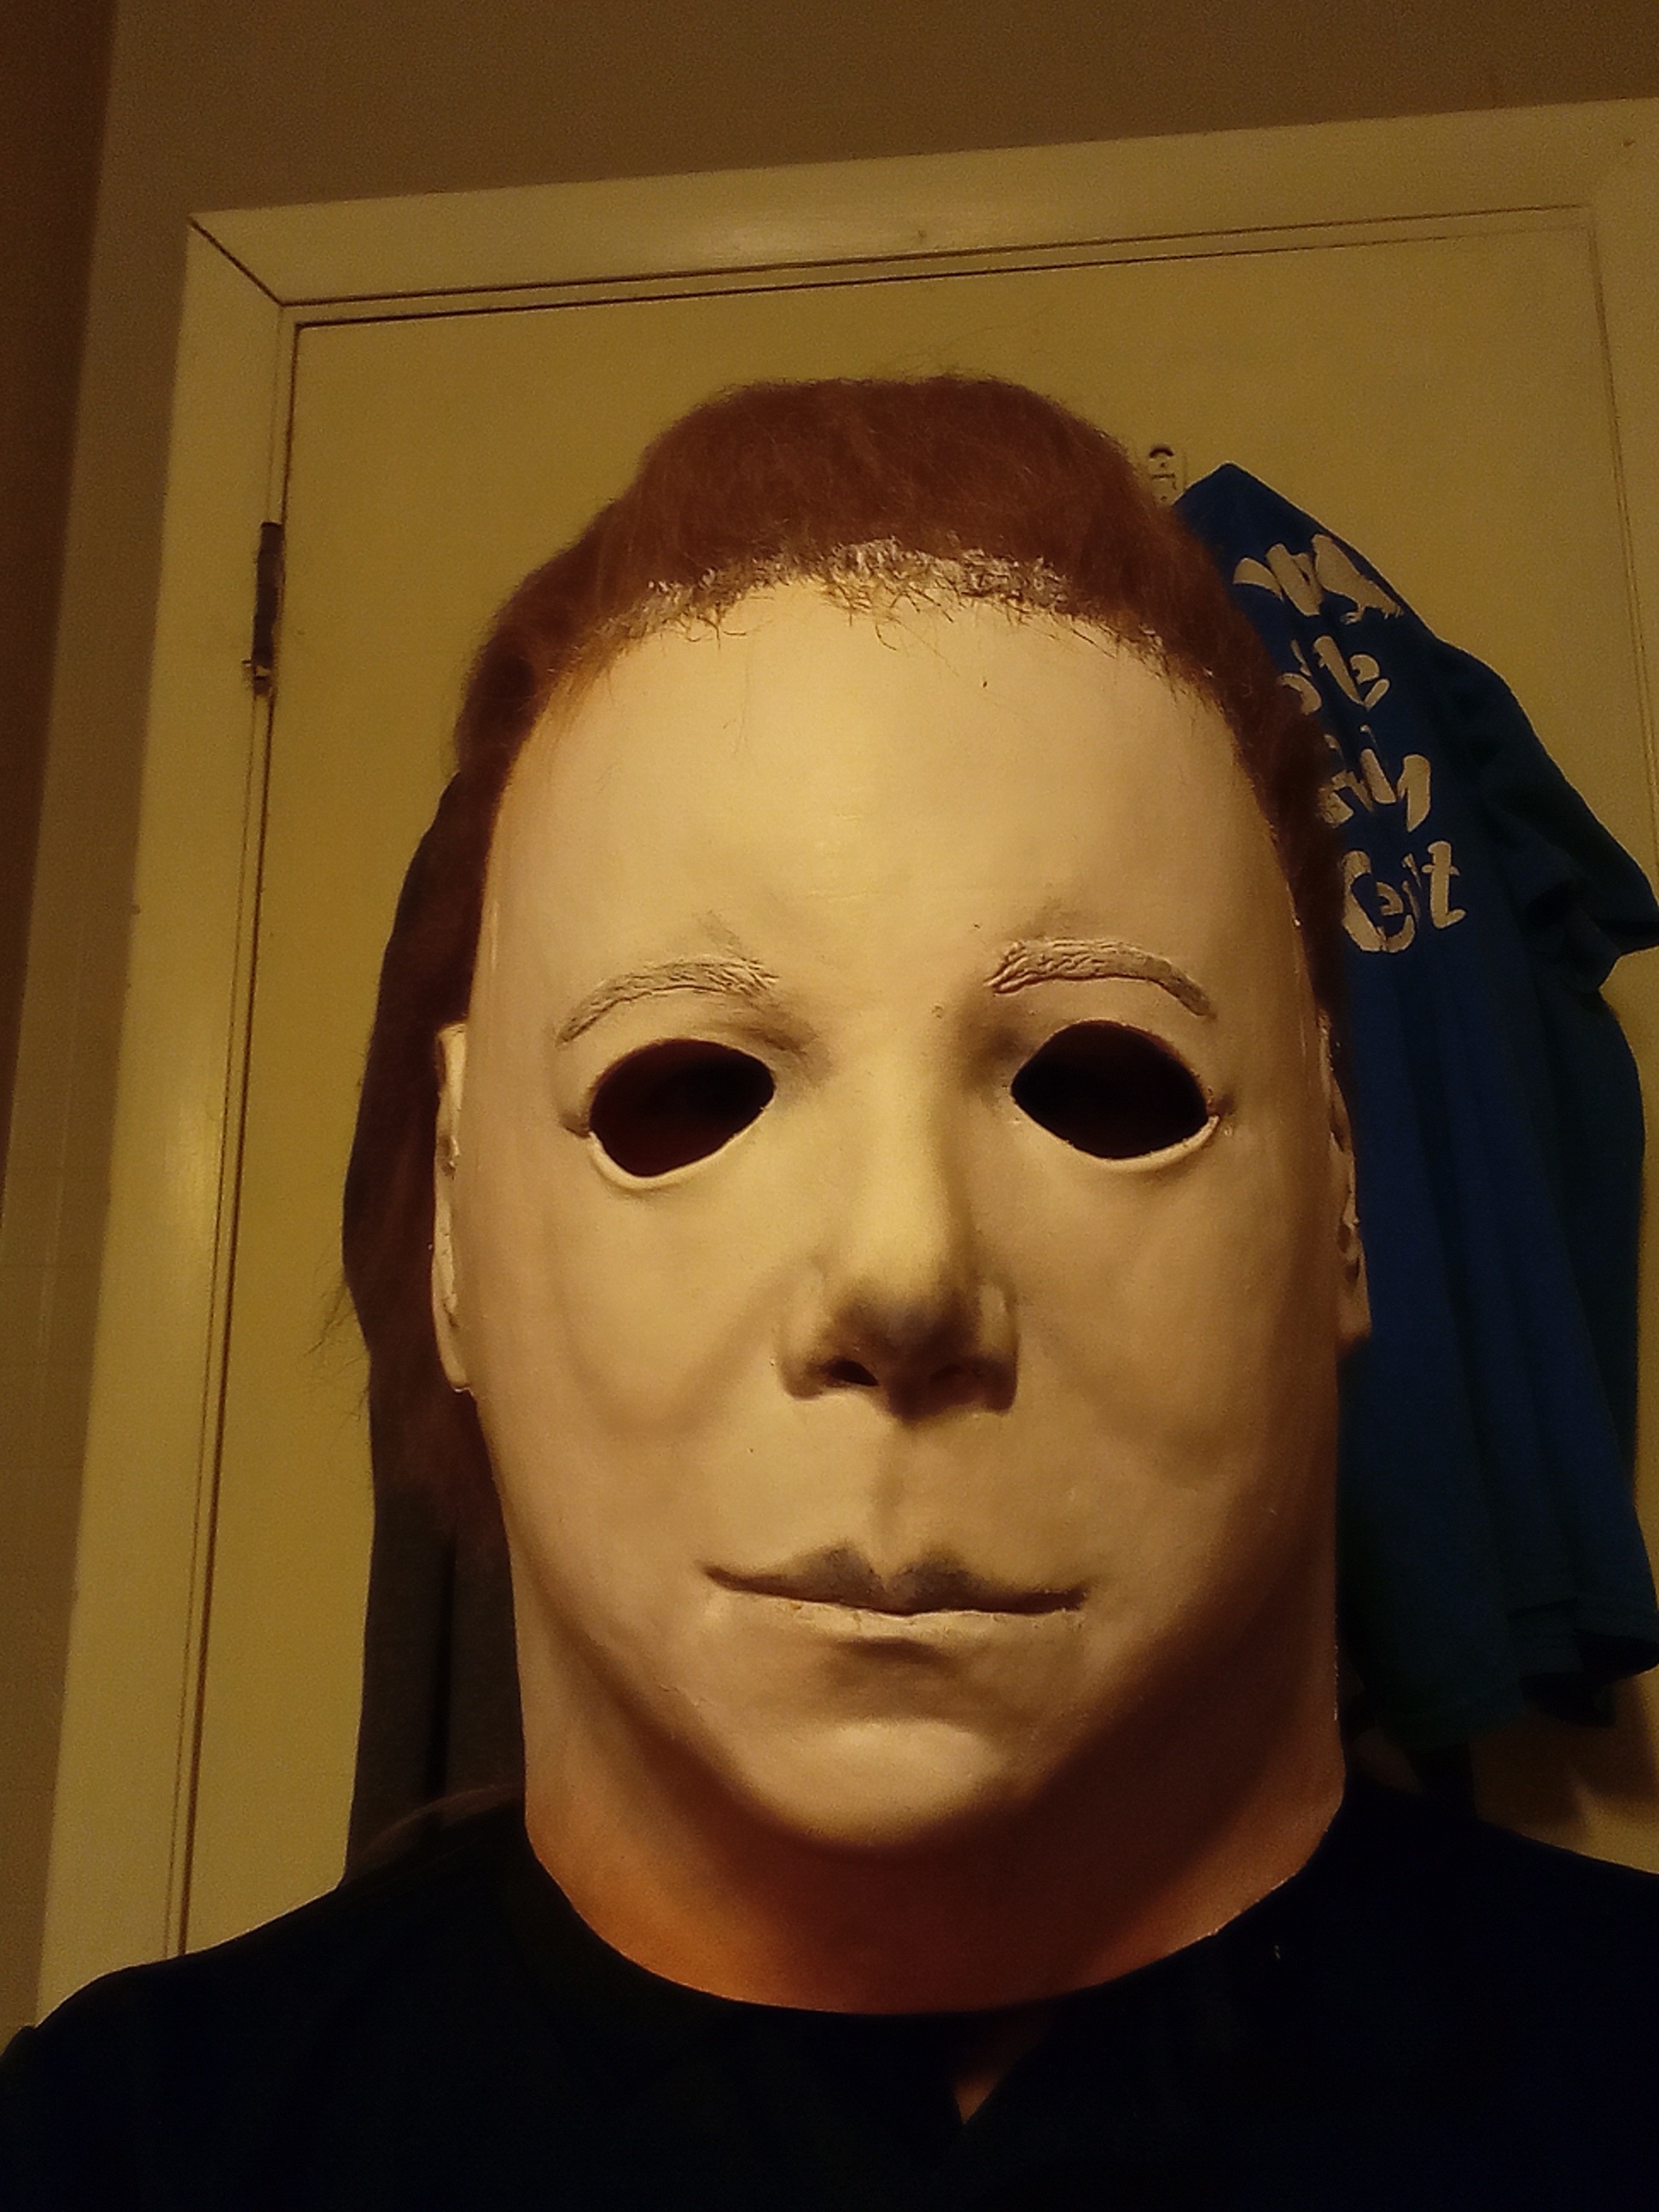
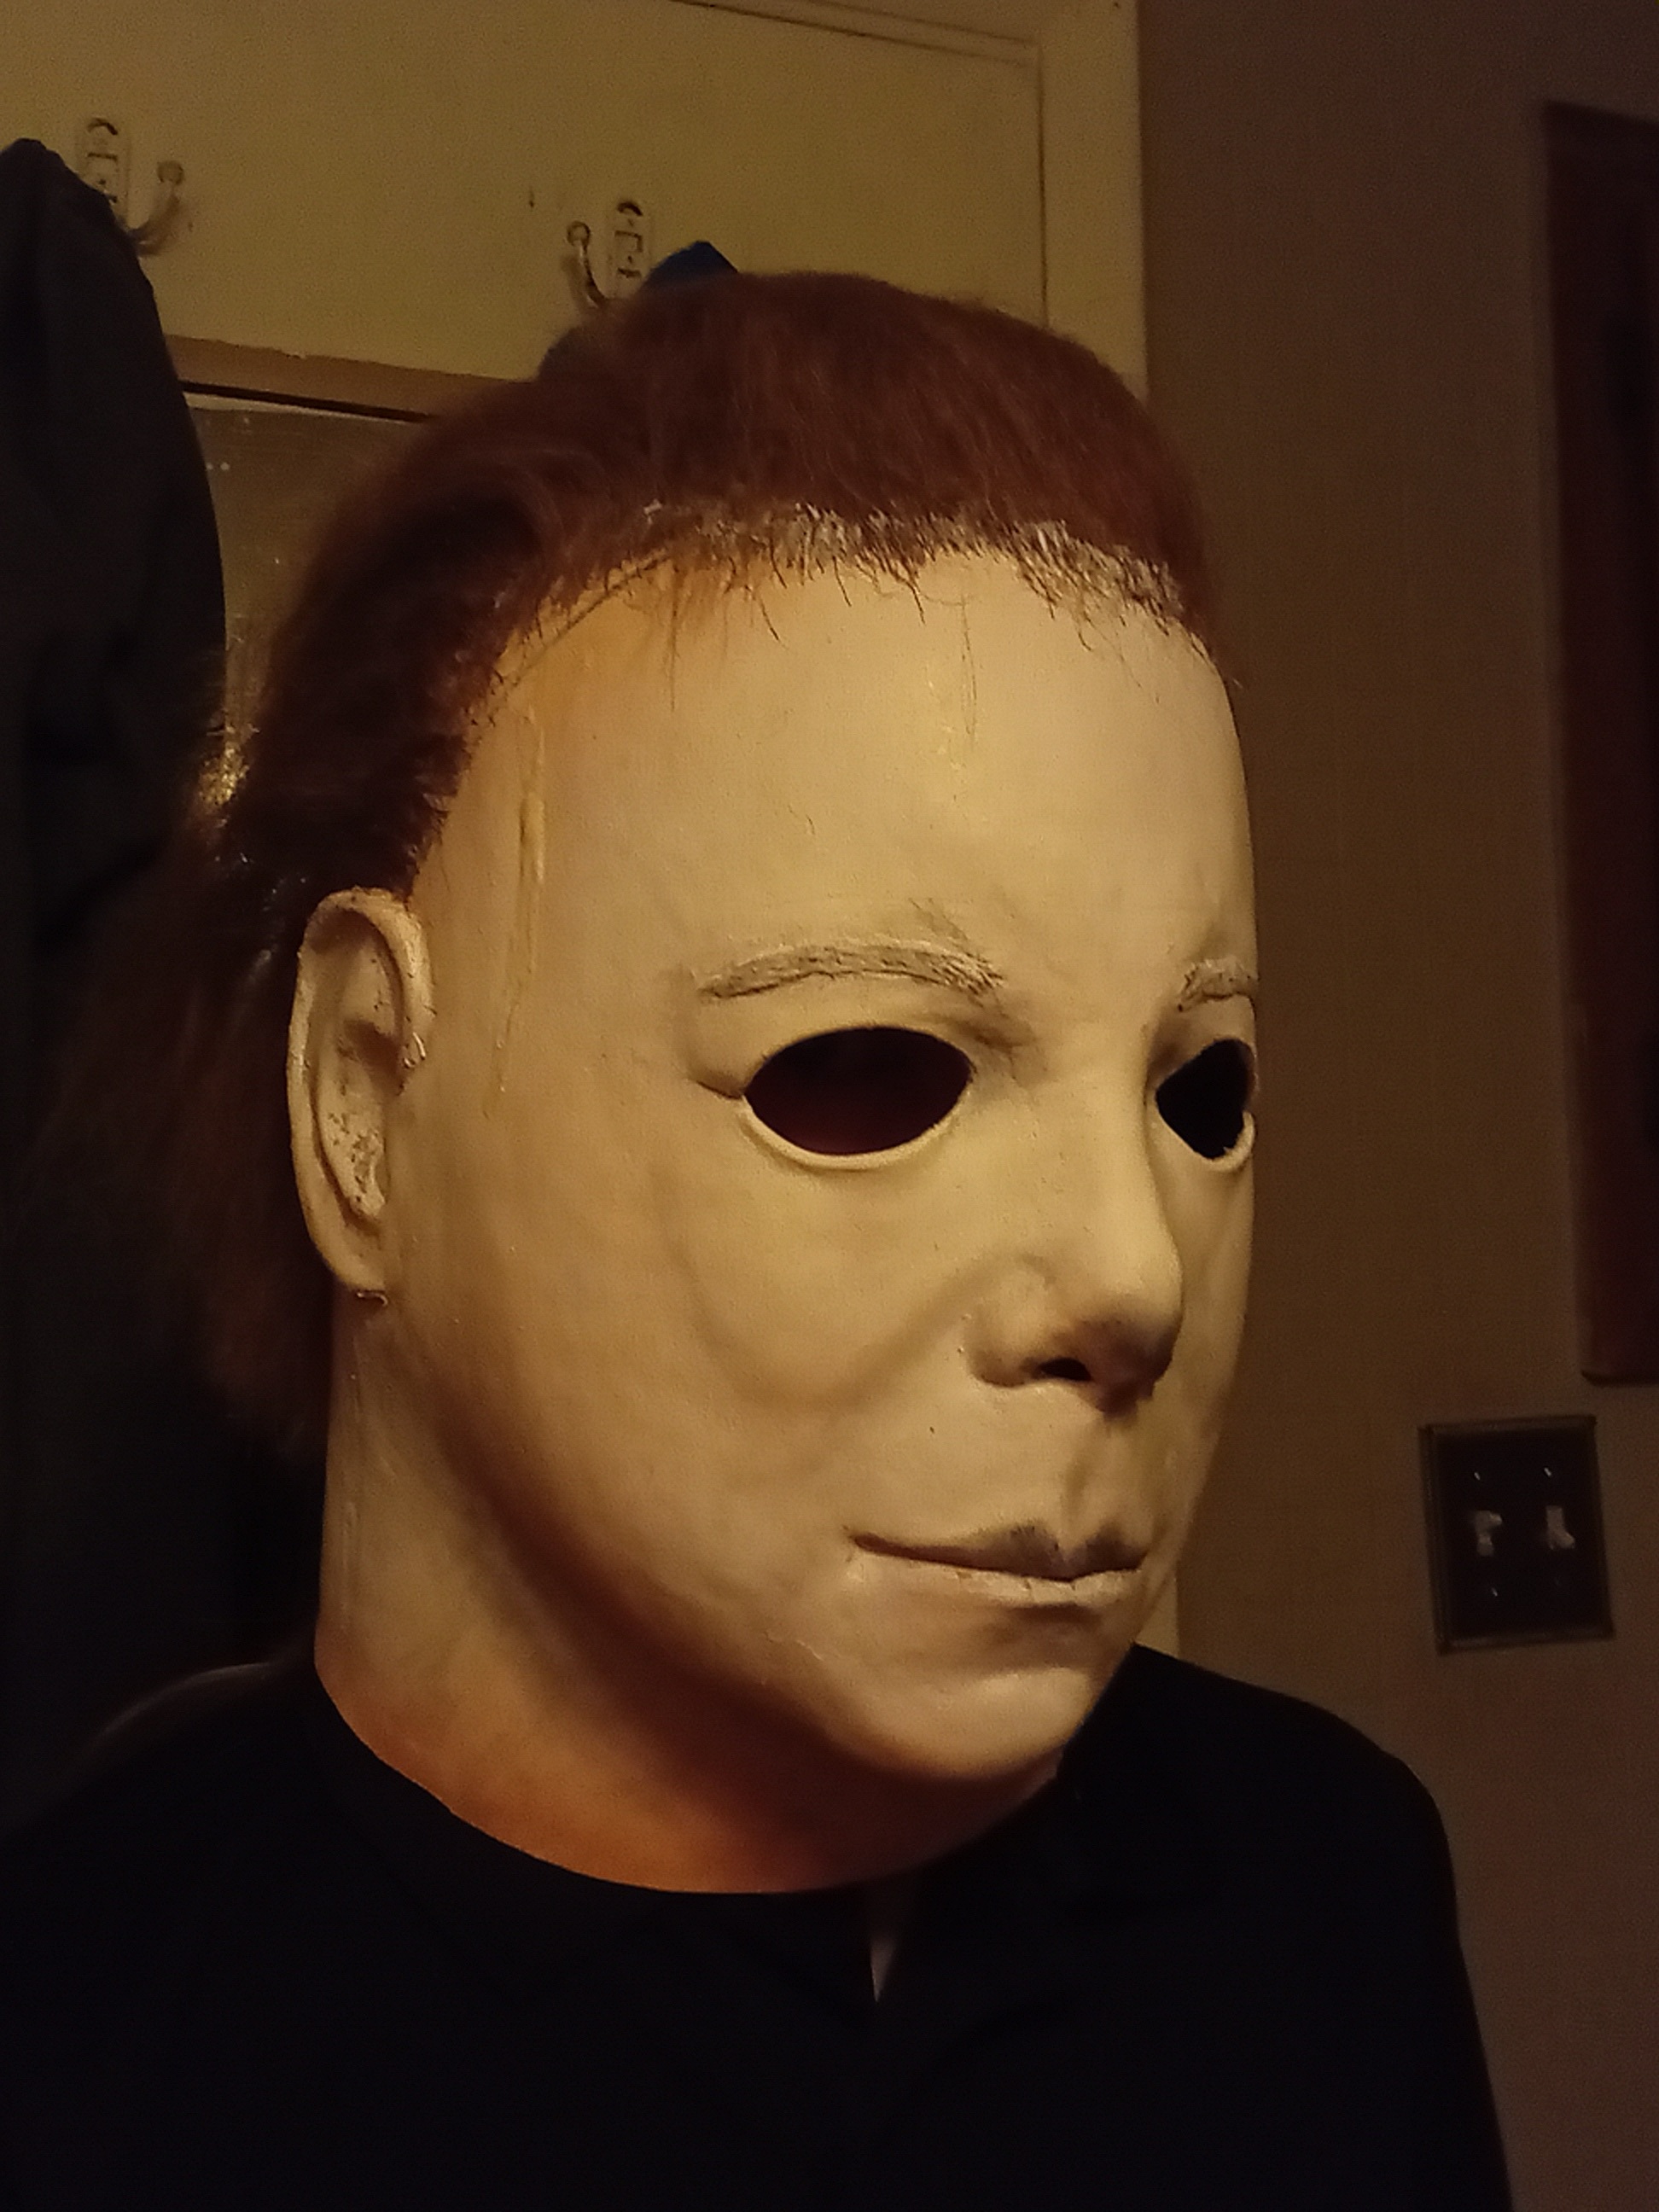
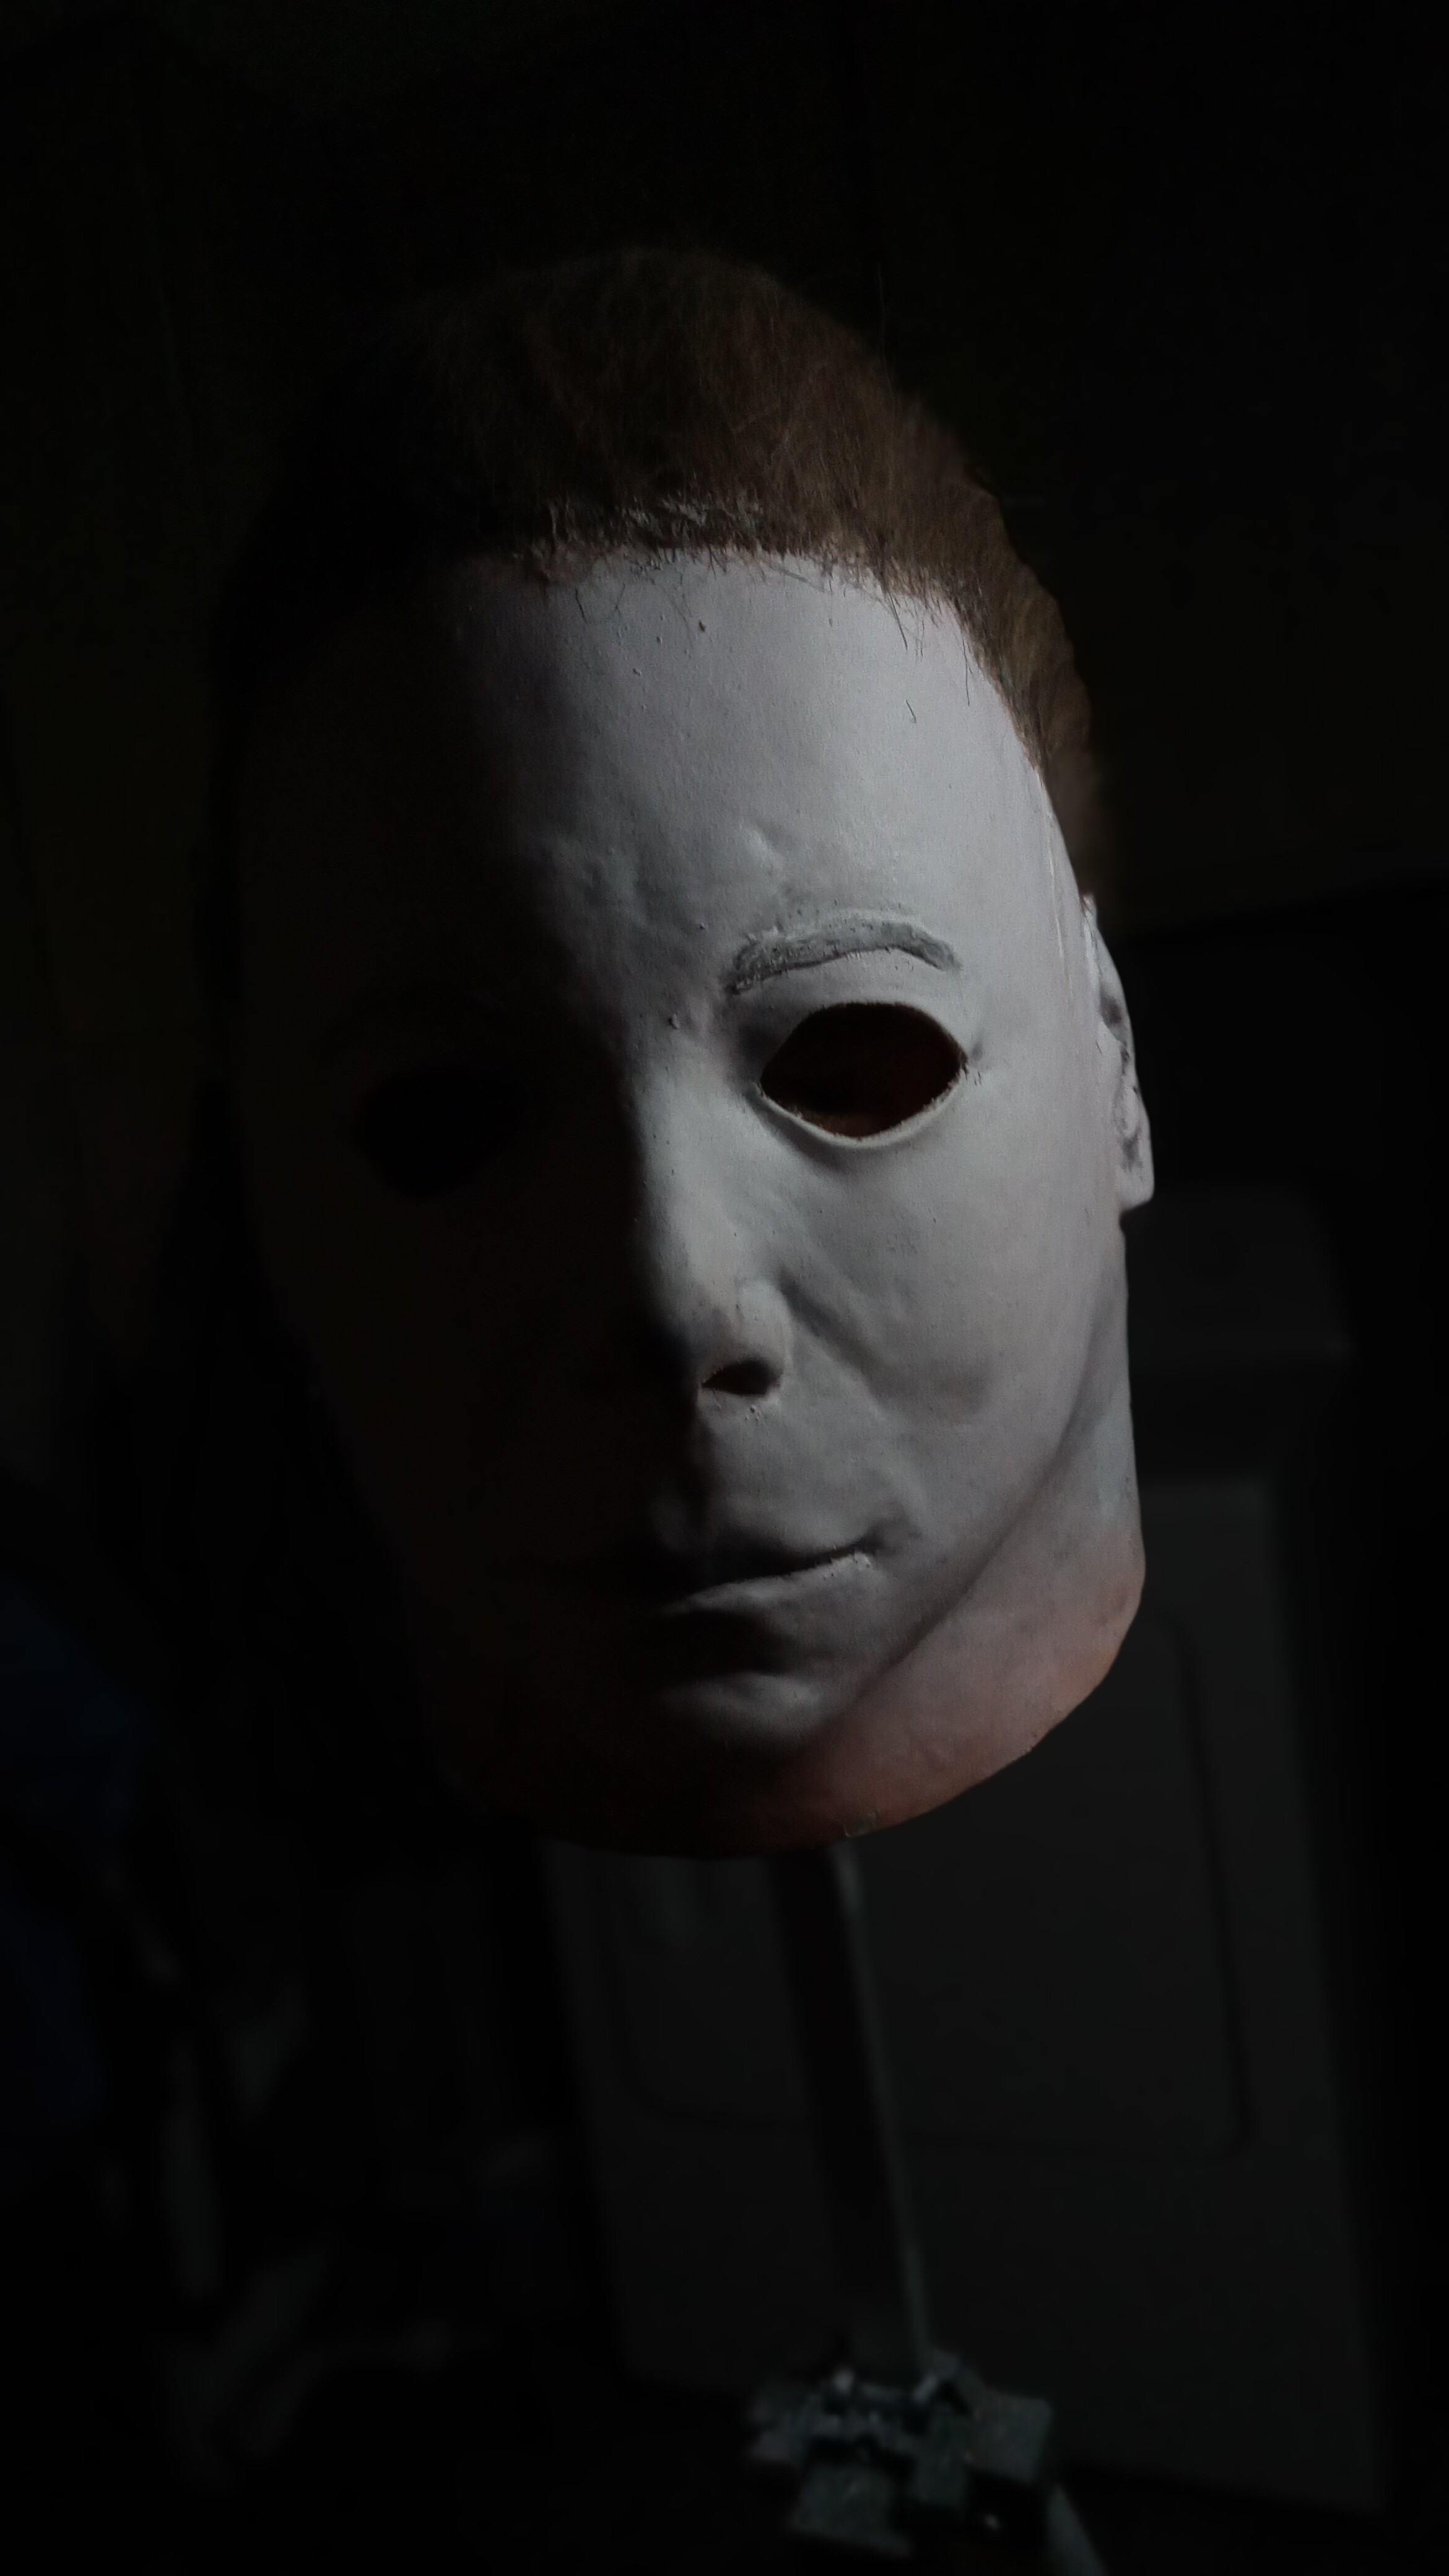
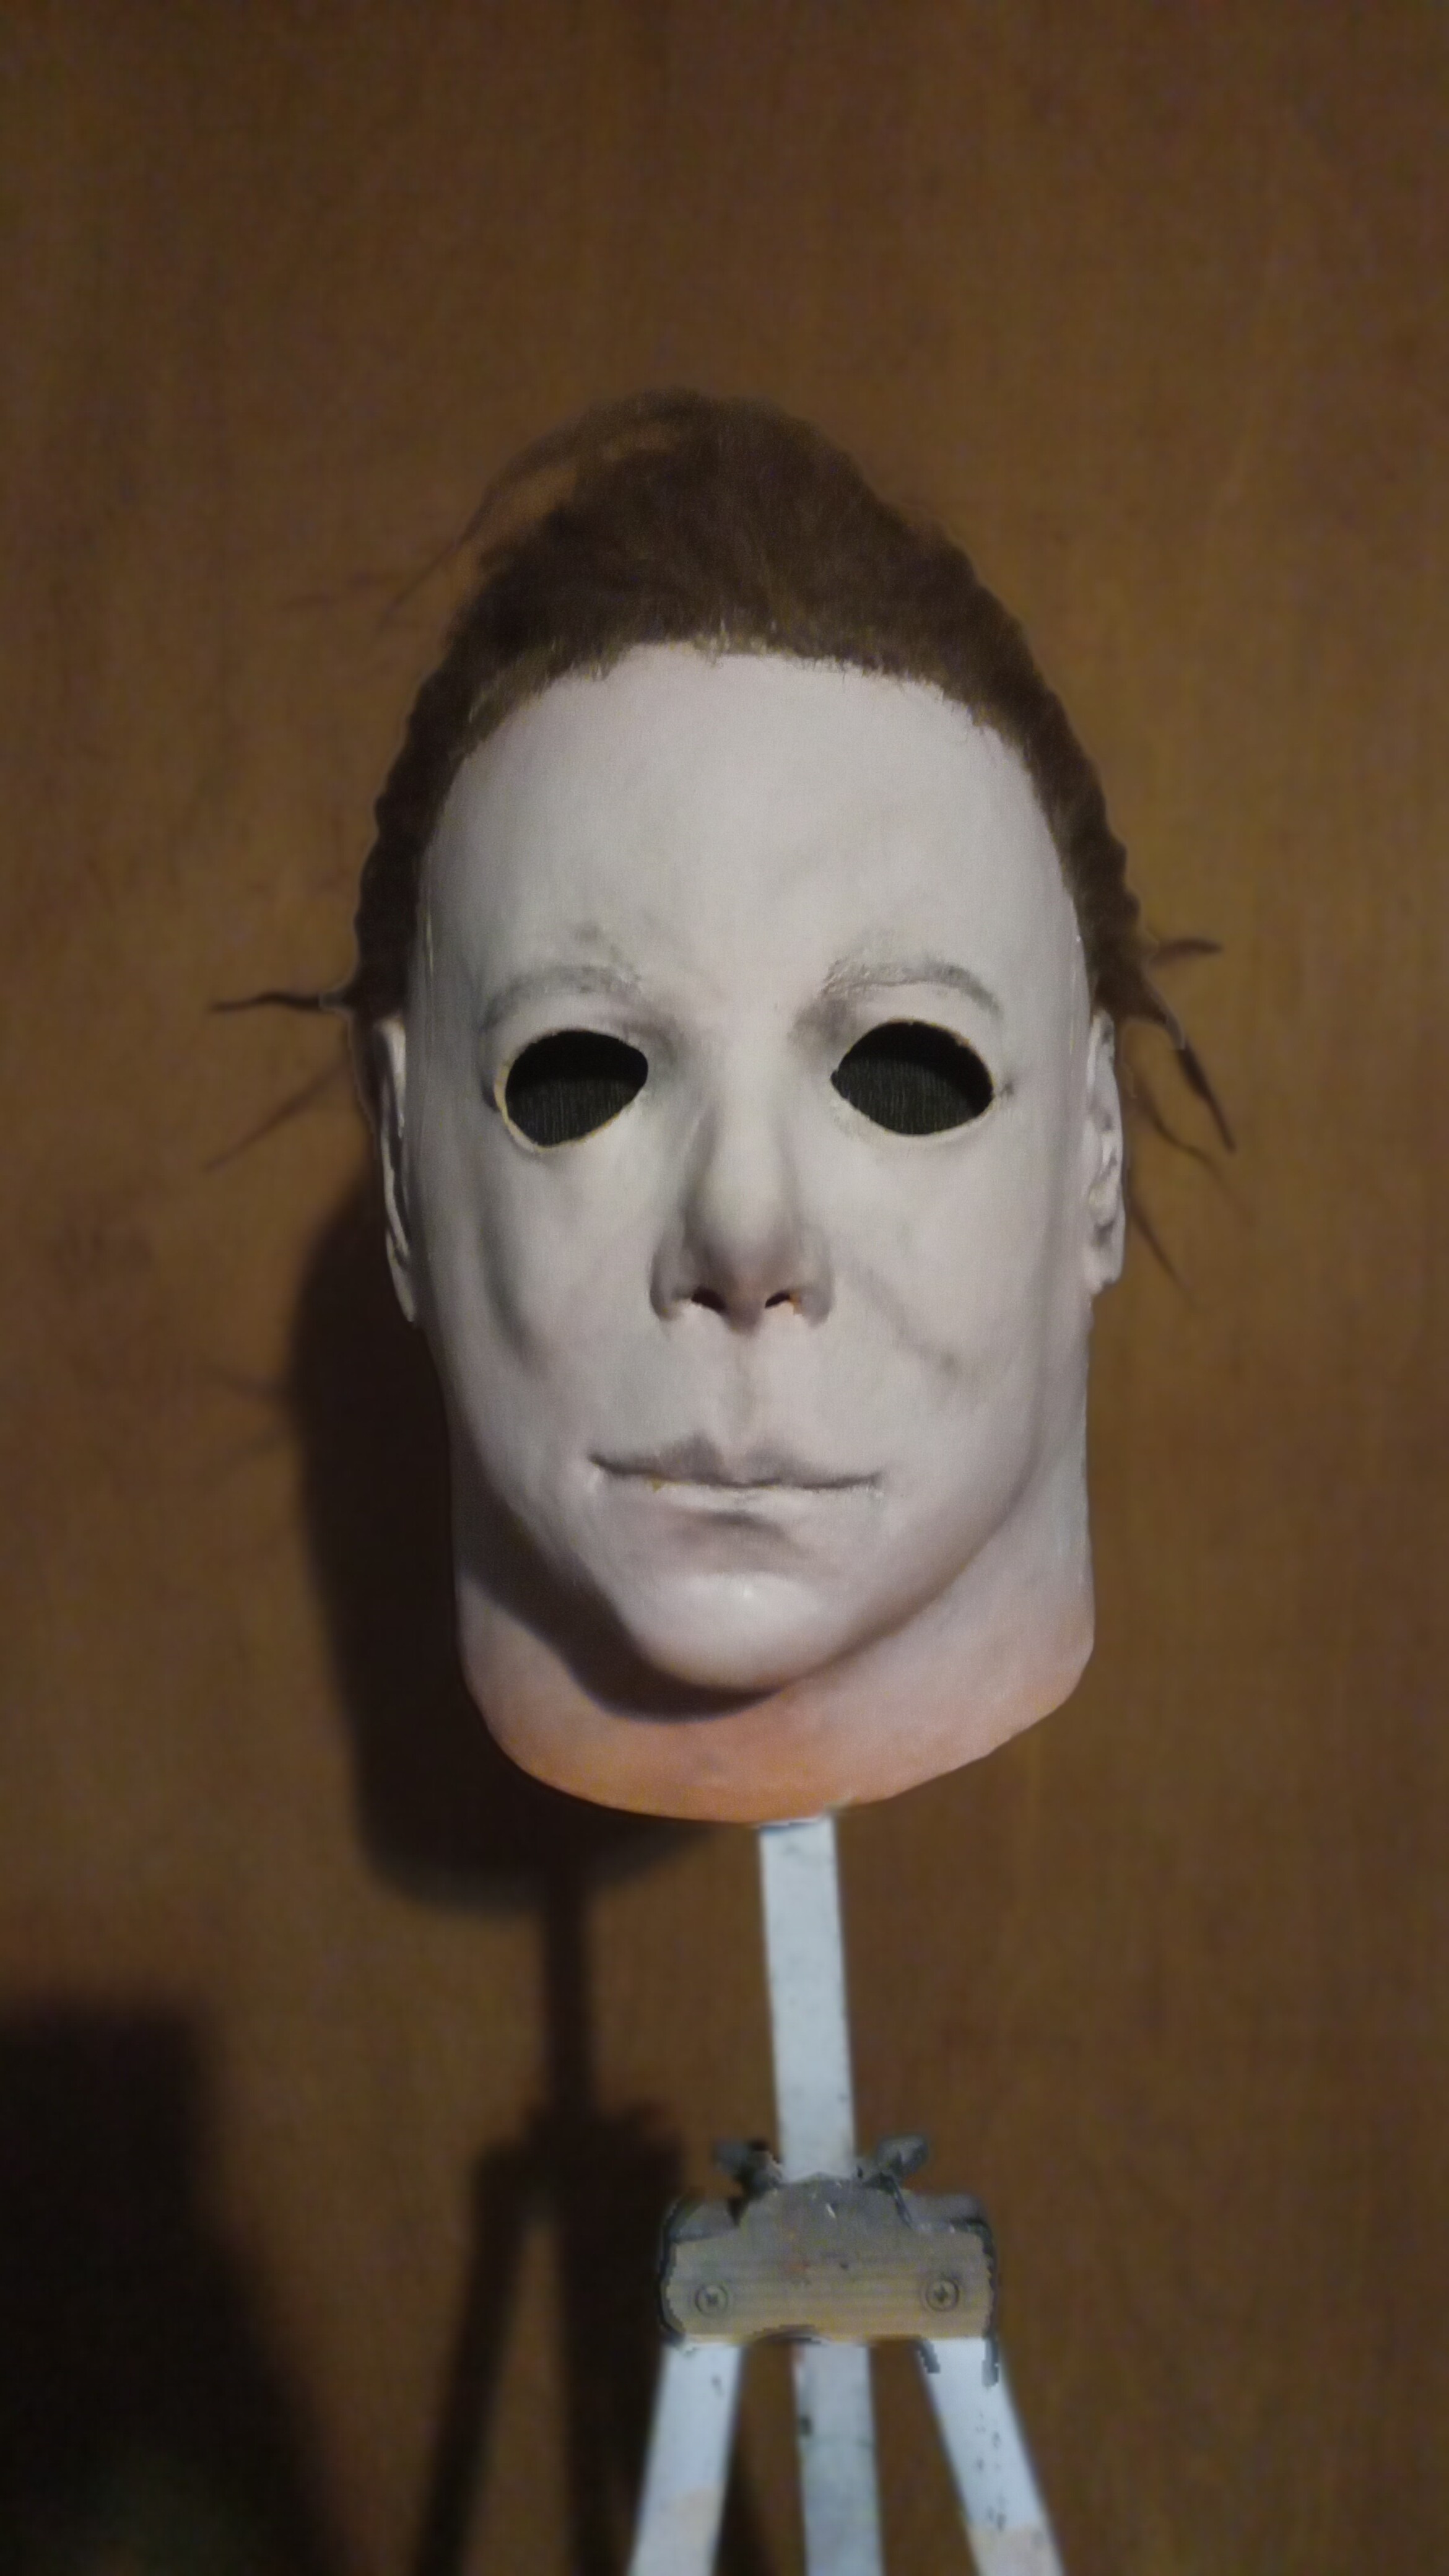
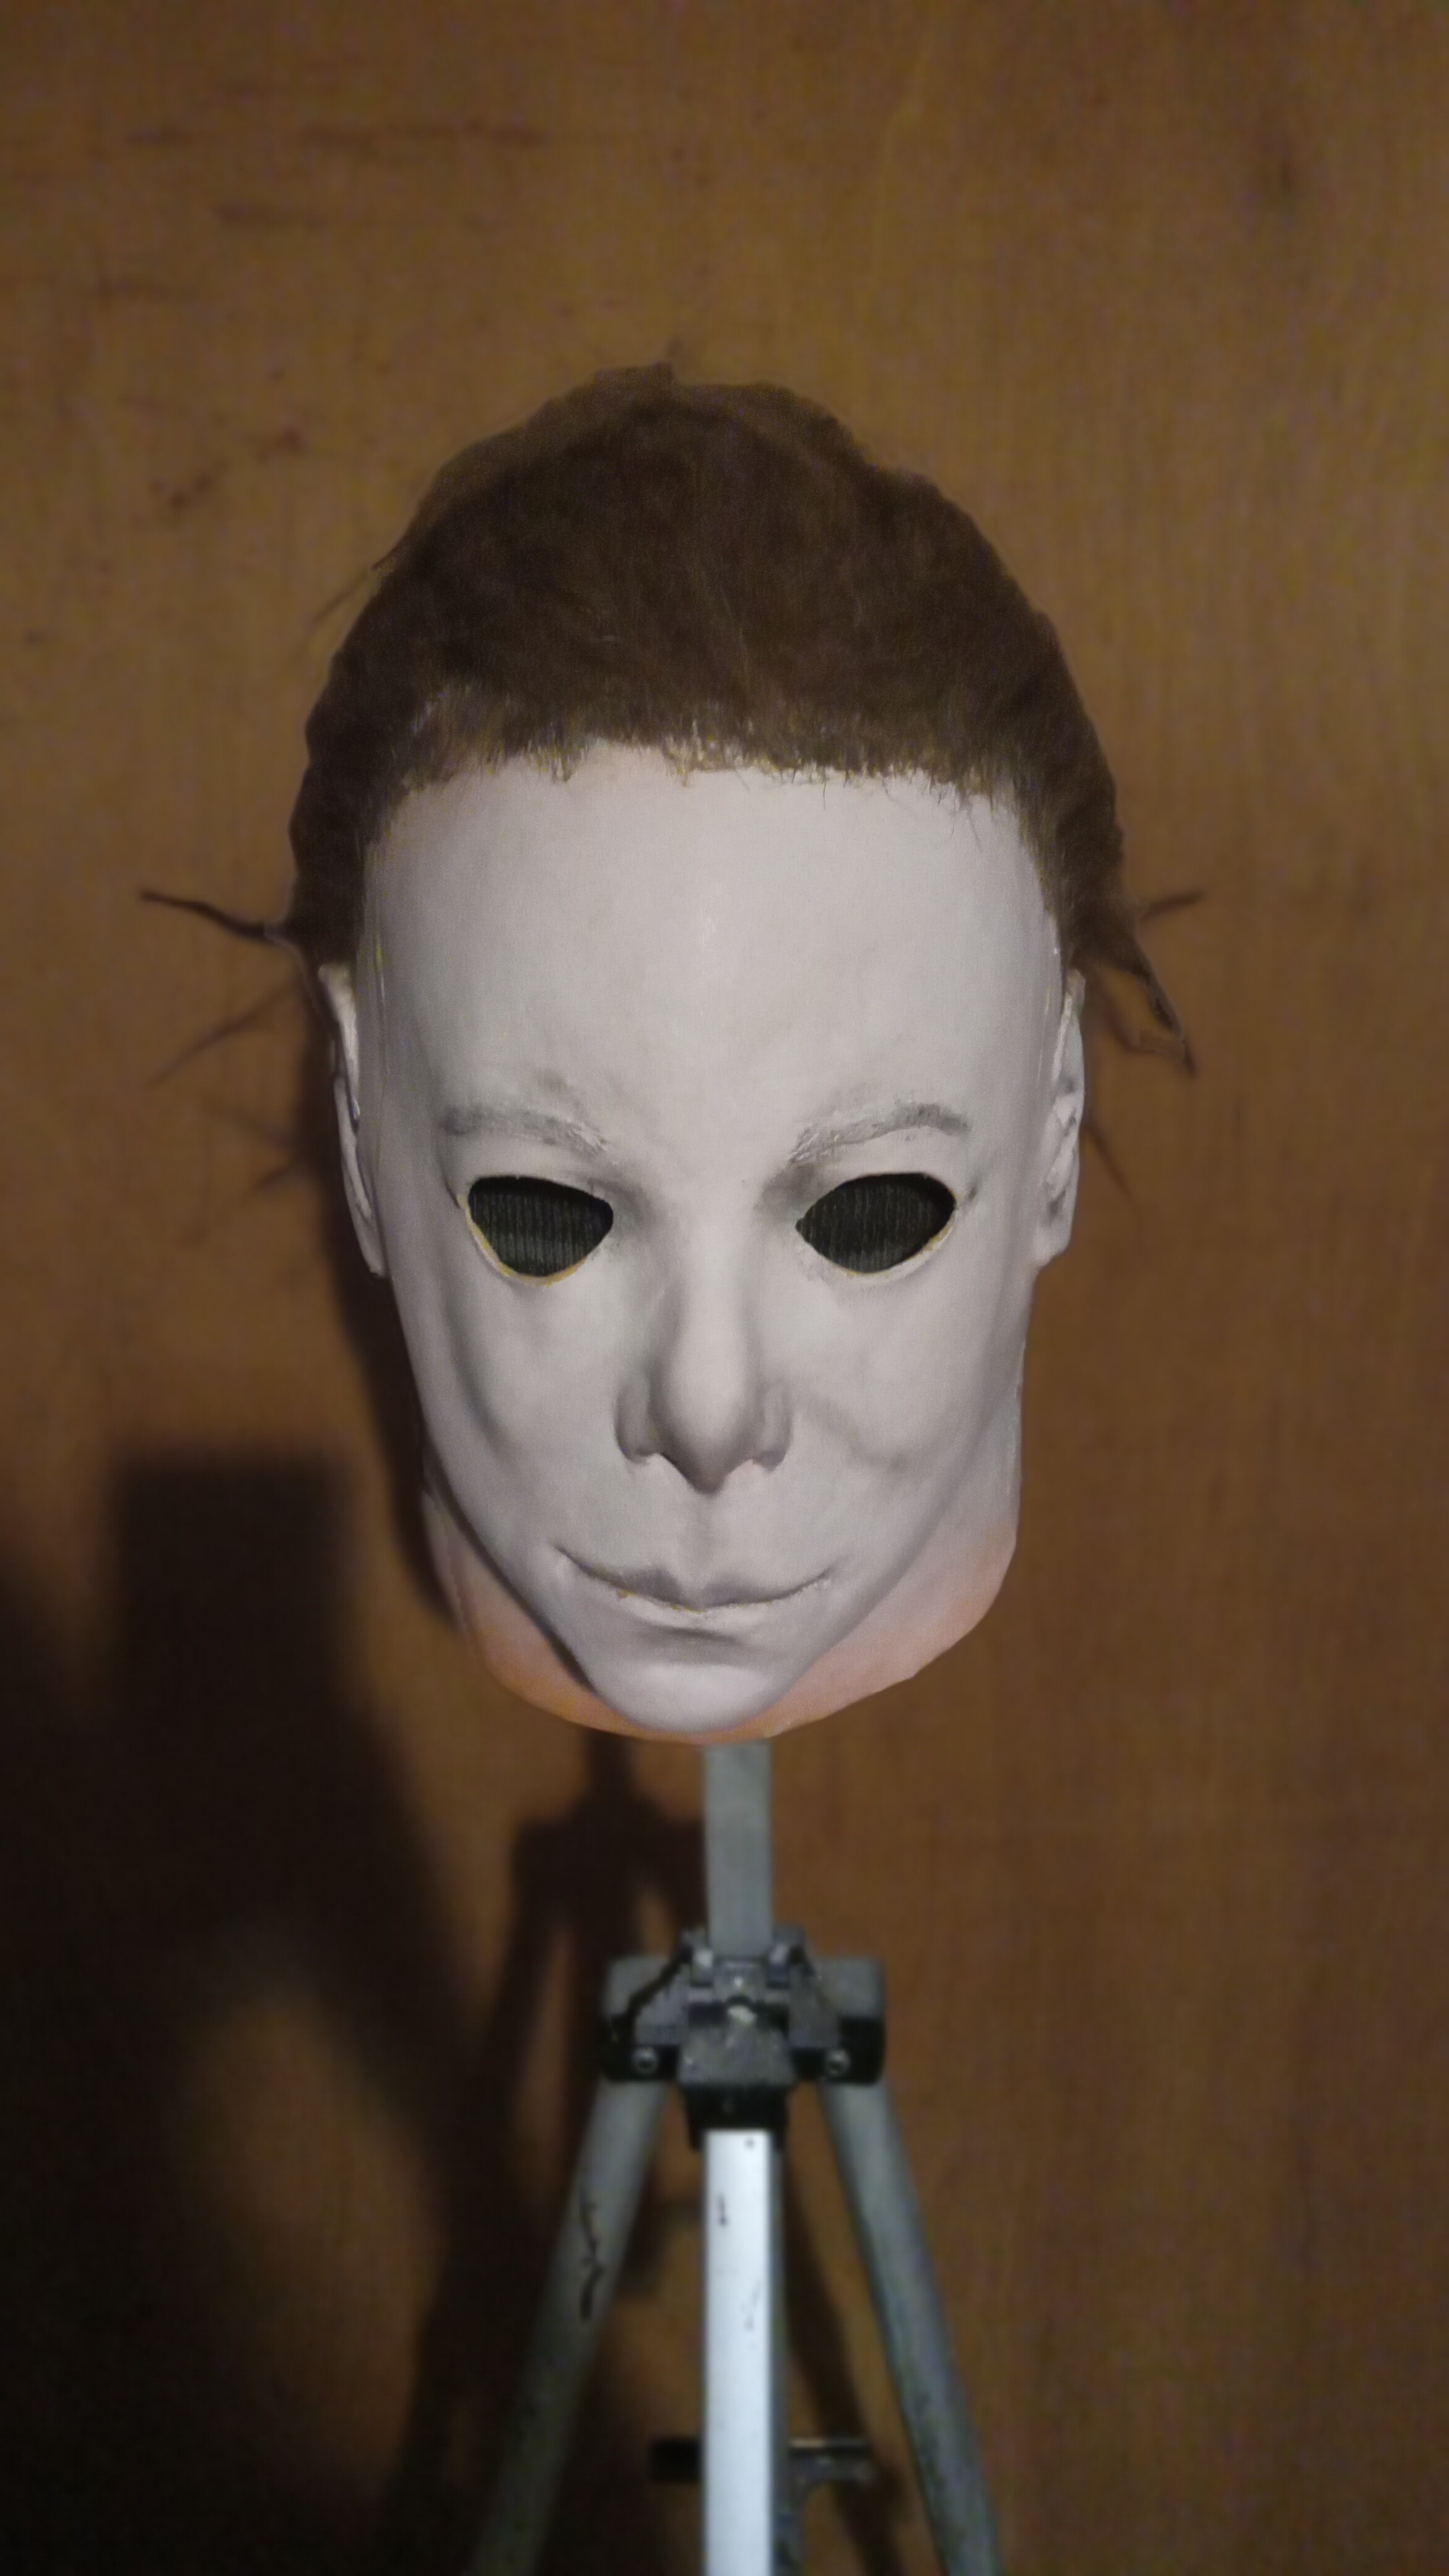
I want some feedback on my Halloween Kills rehaul. As well as some dry brushing tips and detailing the cracks tips! ![]() Not sure why the pics look greenish but I assure you there is no green on the mask lol
Not sure why the pics look greenish but I assure you there is no green on the mask lol


Sent from my iPhone using Tapatalk
1 Like
Looks pretty solid man. I think adding some more layers to it will definitely make it pop. Cause there’s a lot of different colors like browns yellows and some greens that all make it come together when combined. I’d say you did very well on the cracks and burned part. Just some more colors and age would complete it in my opinion. ![]()
![]()
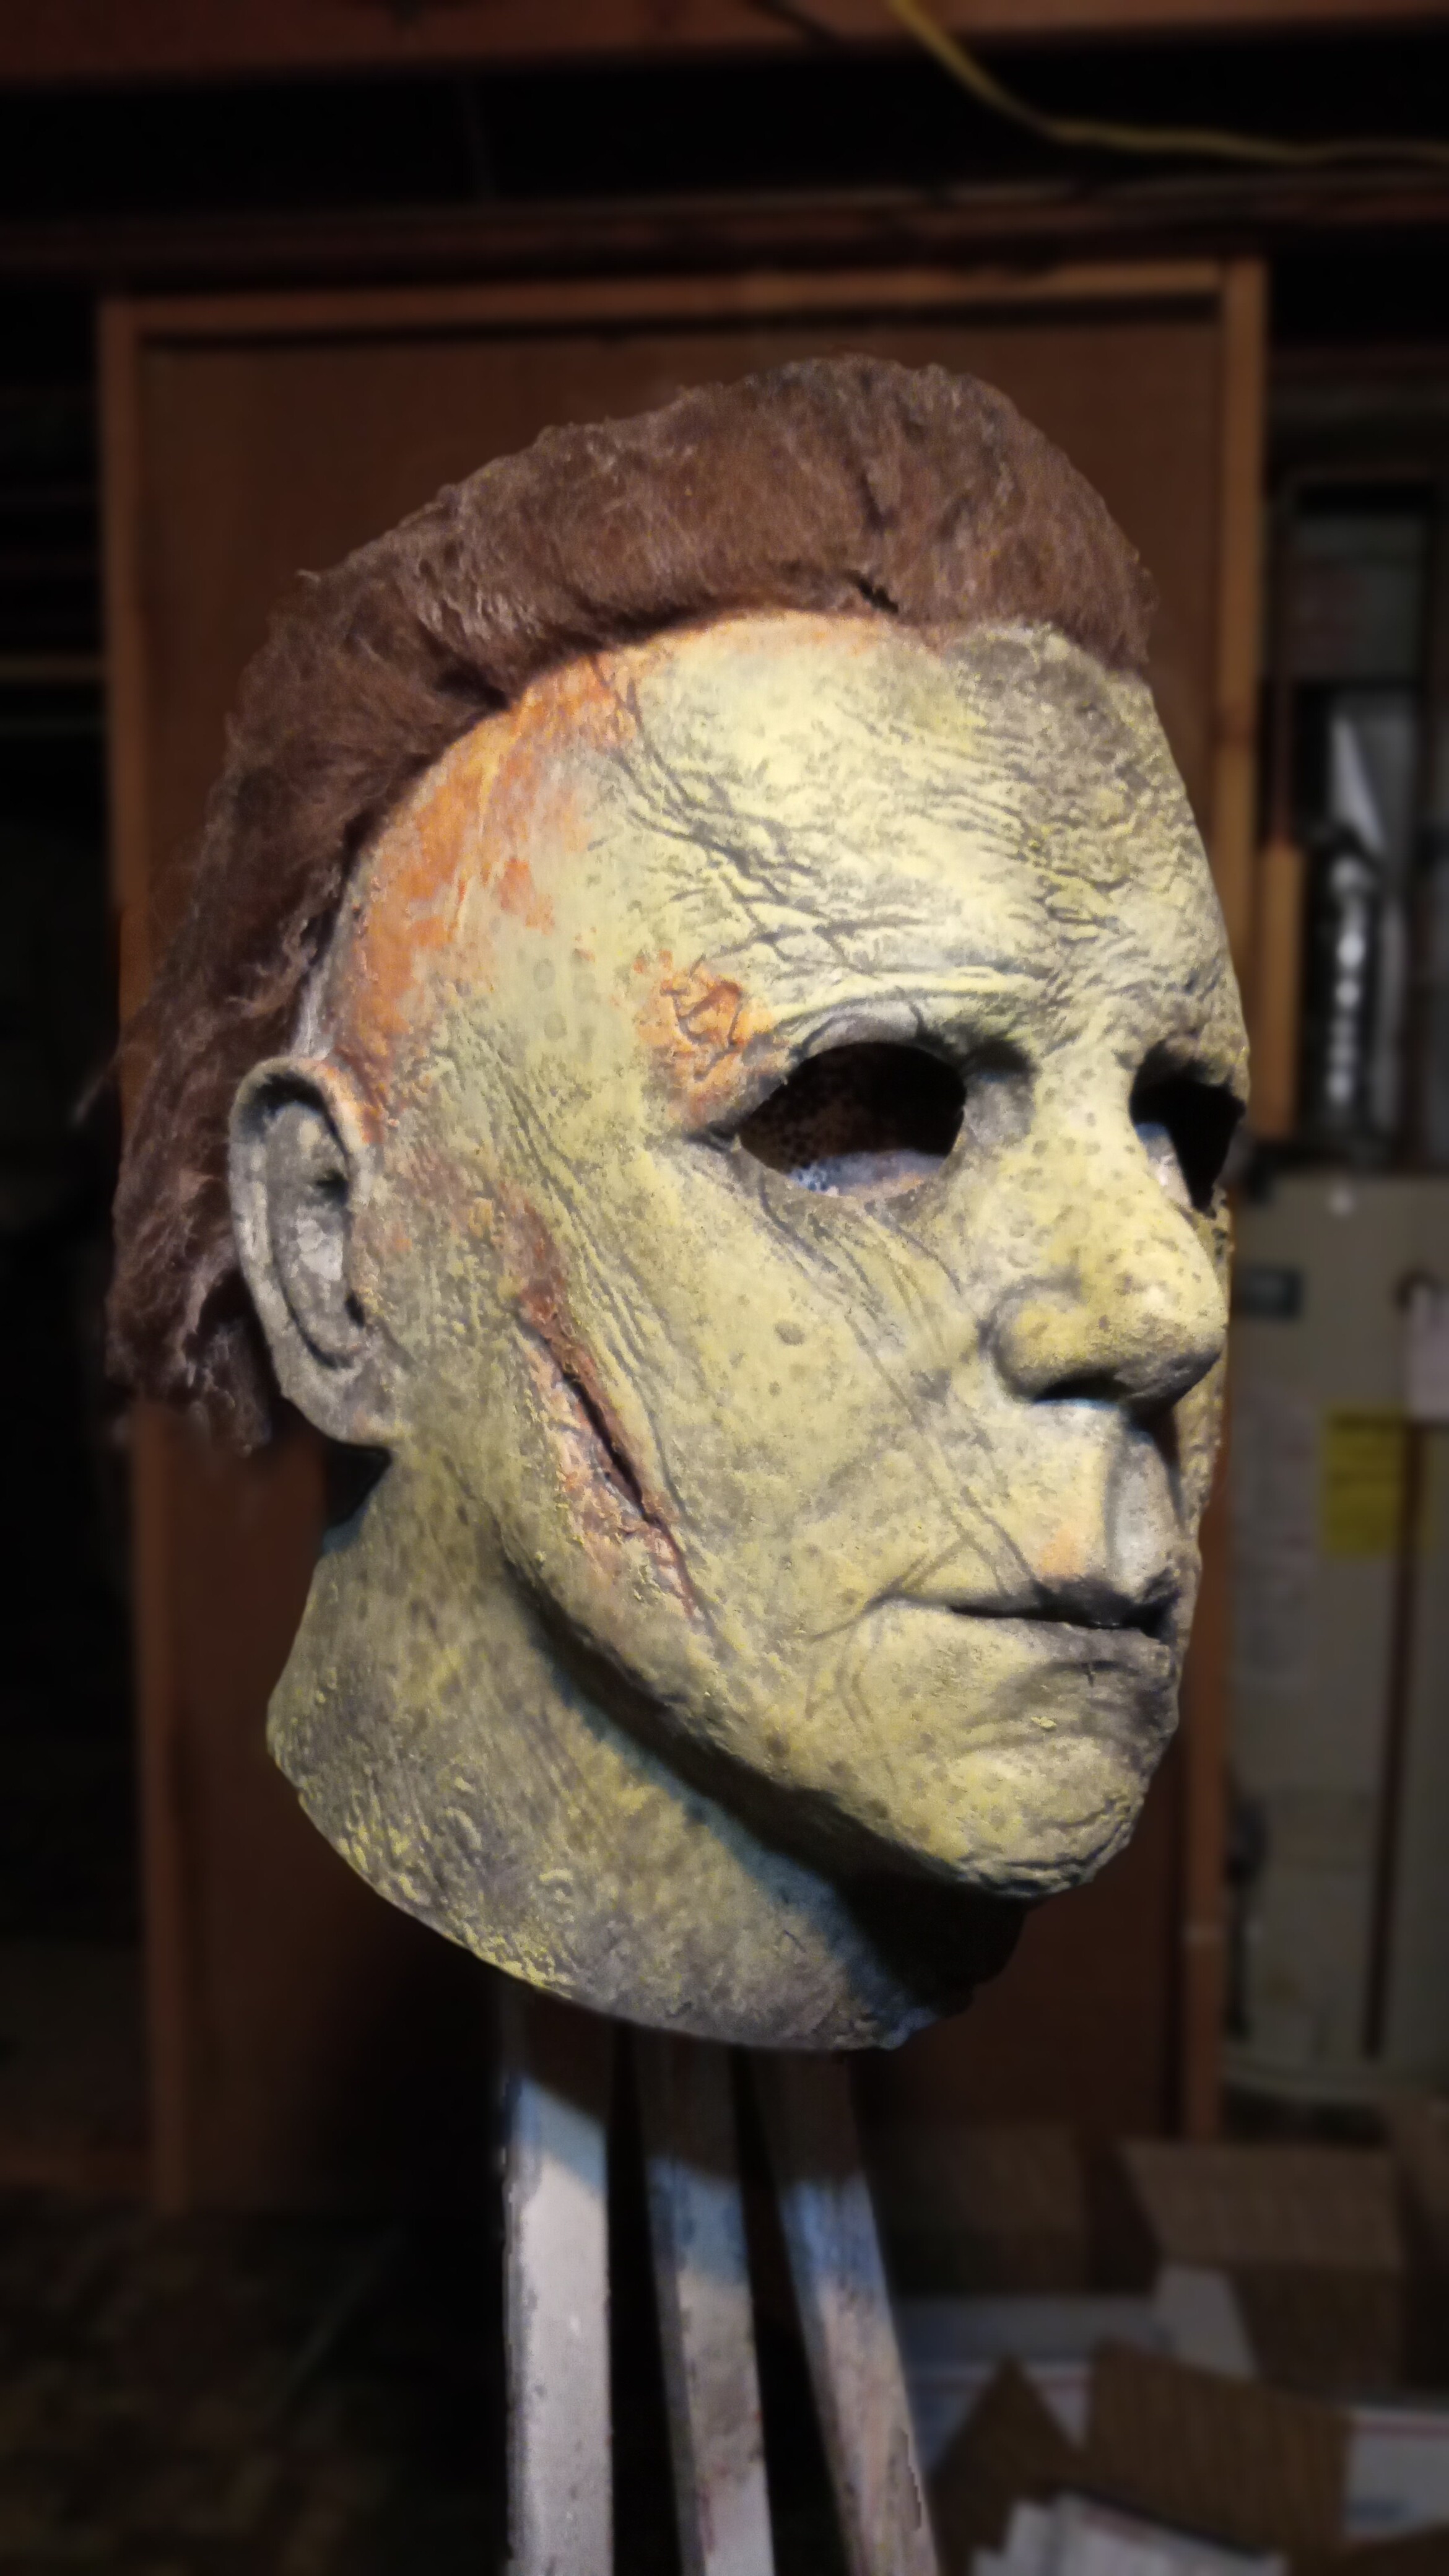
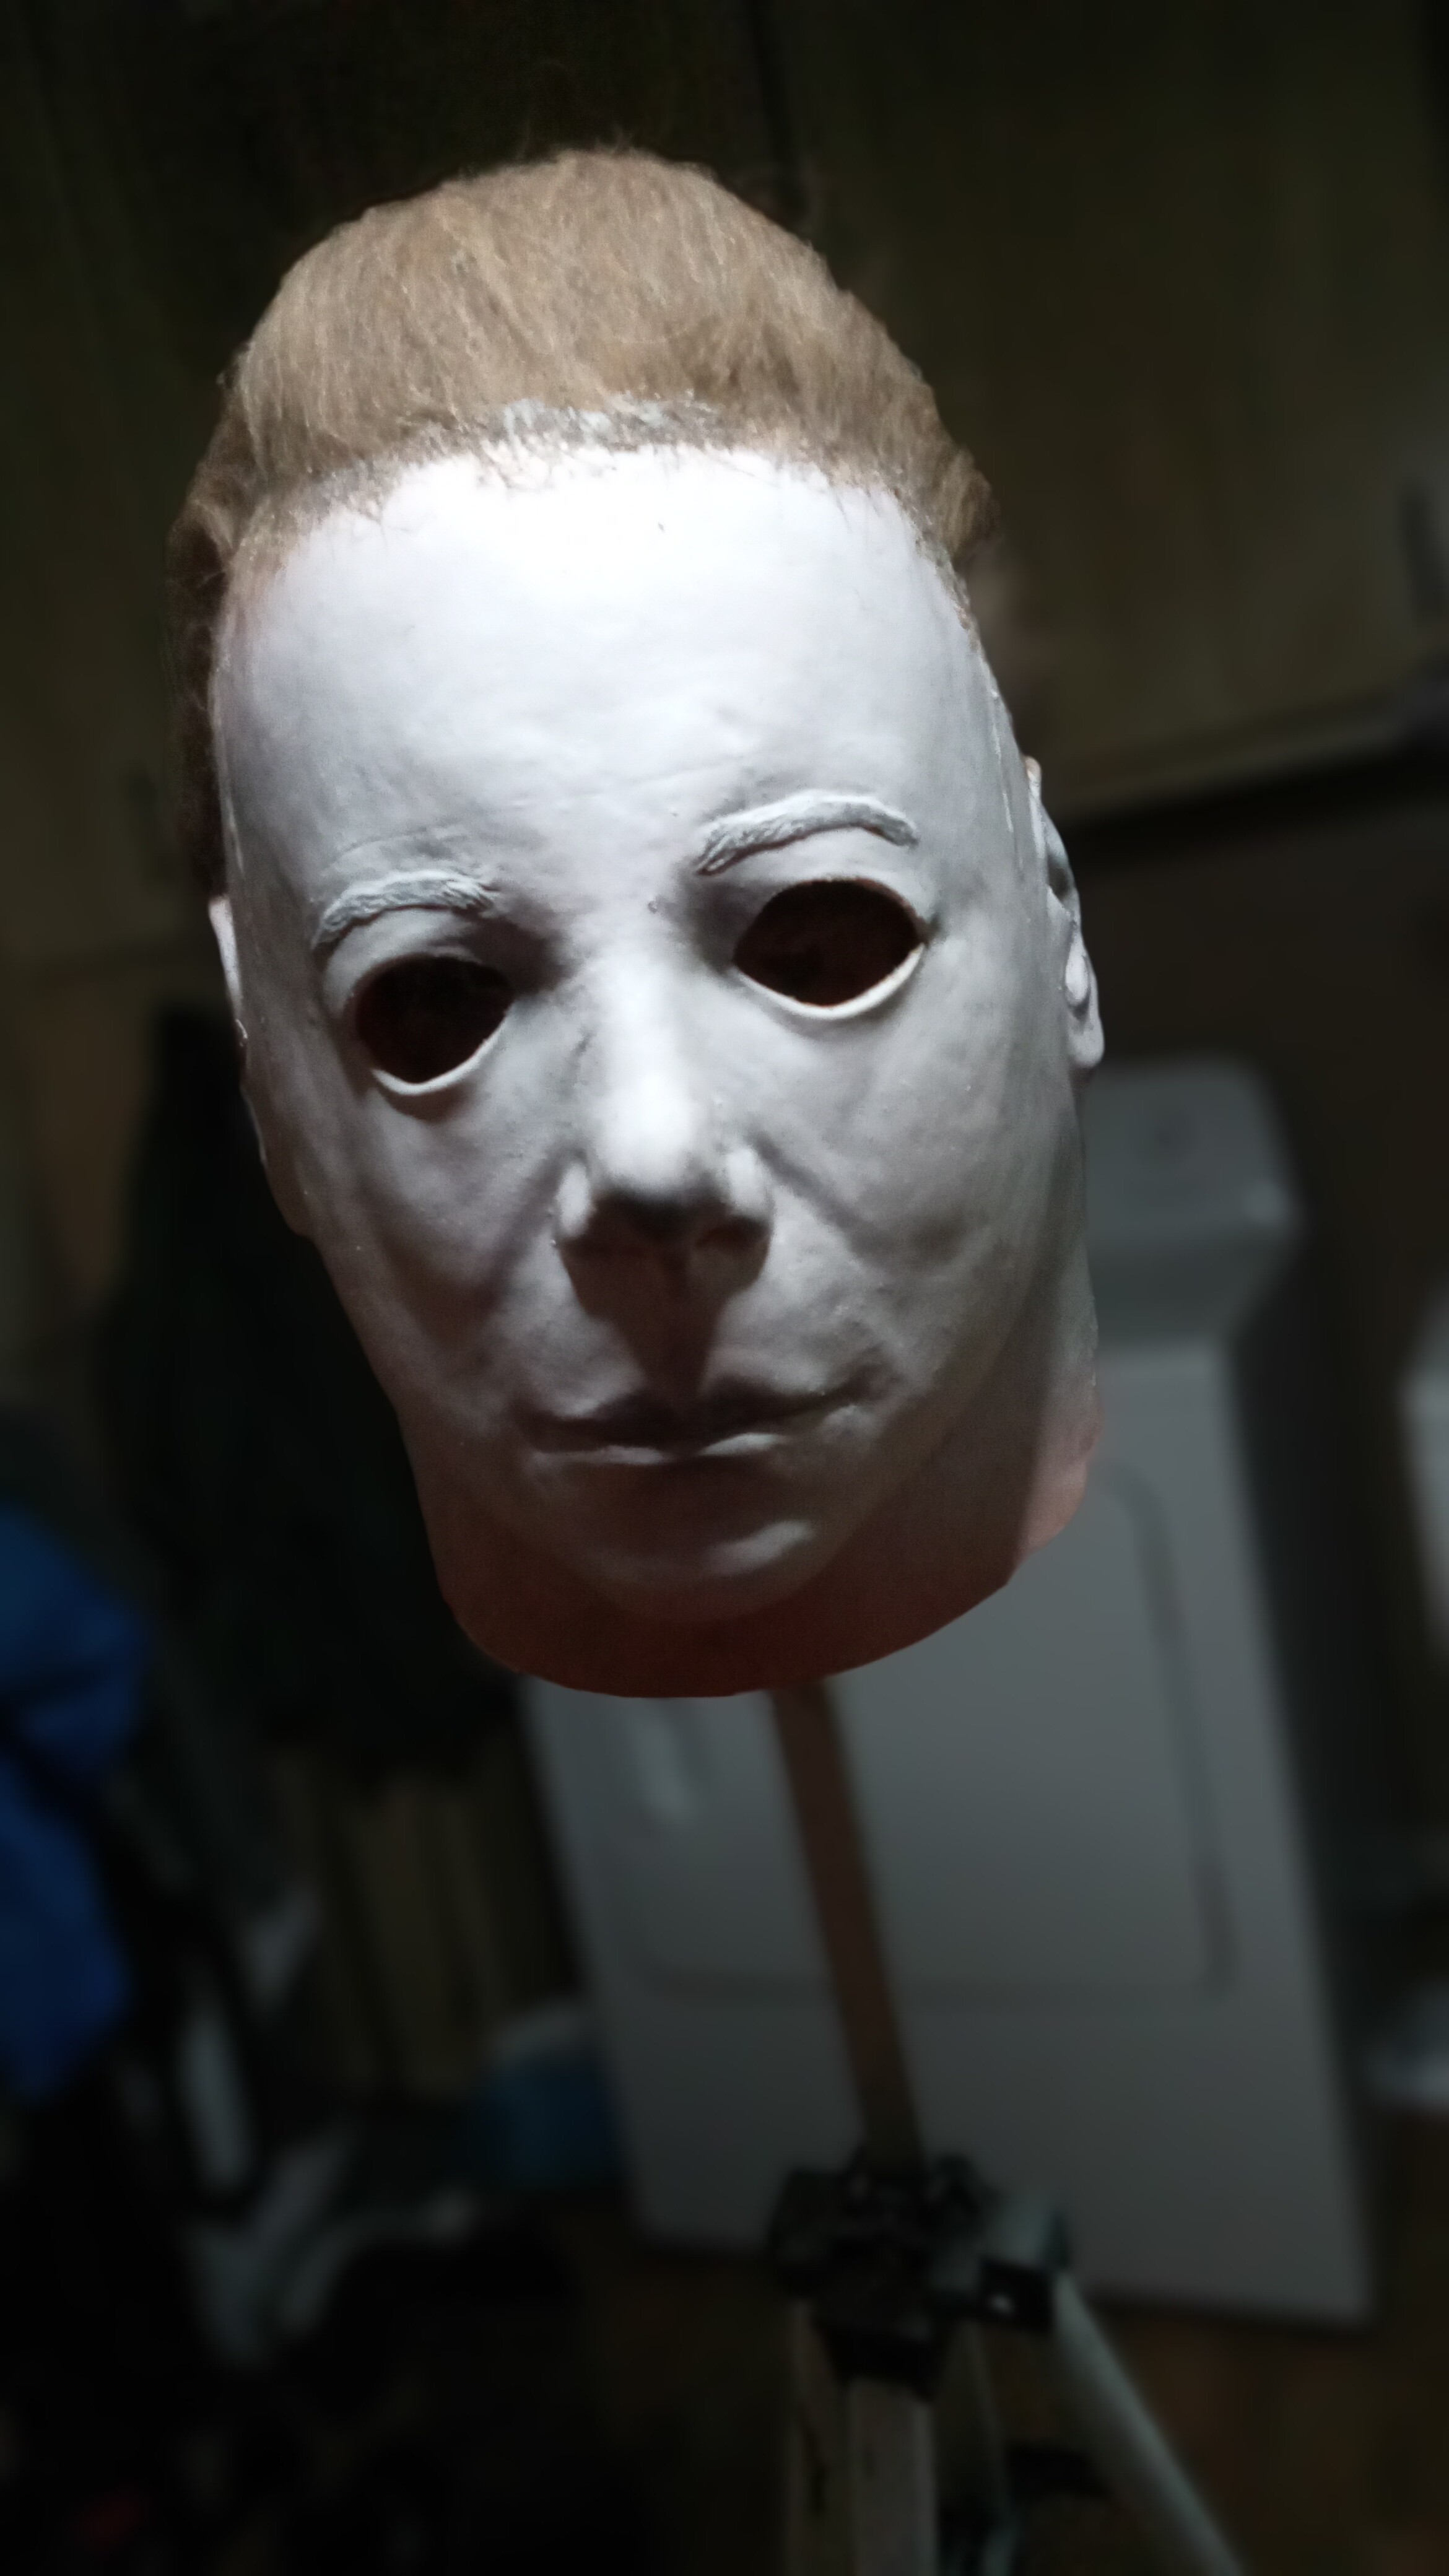
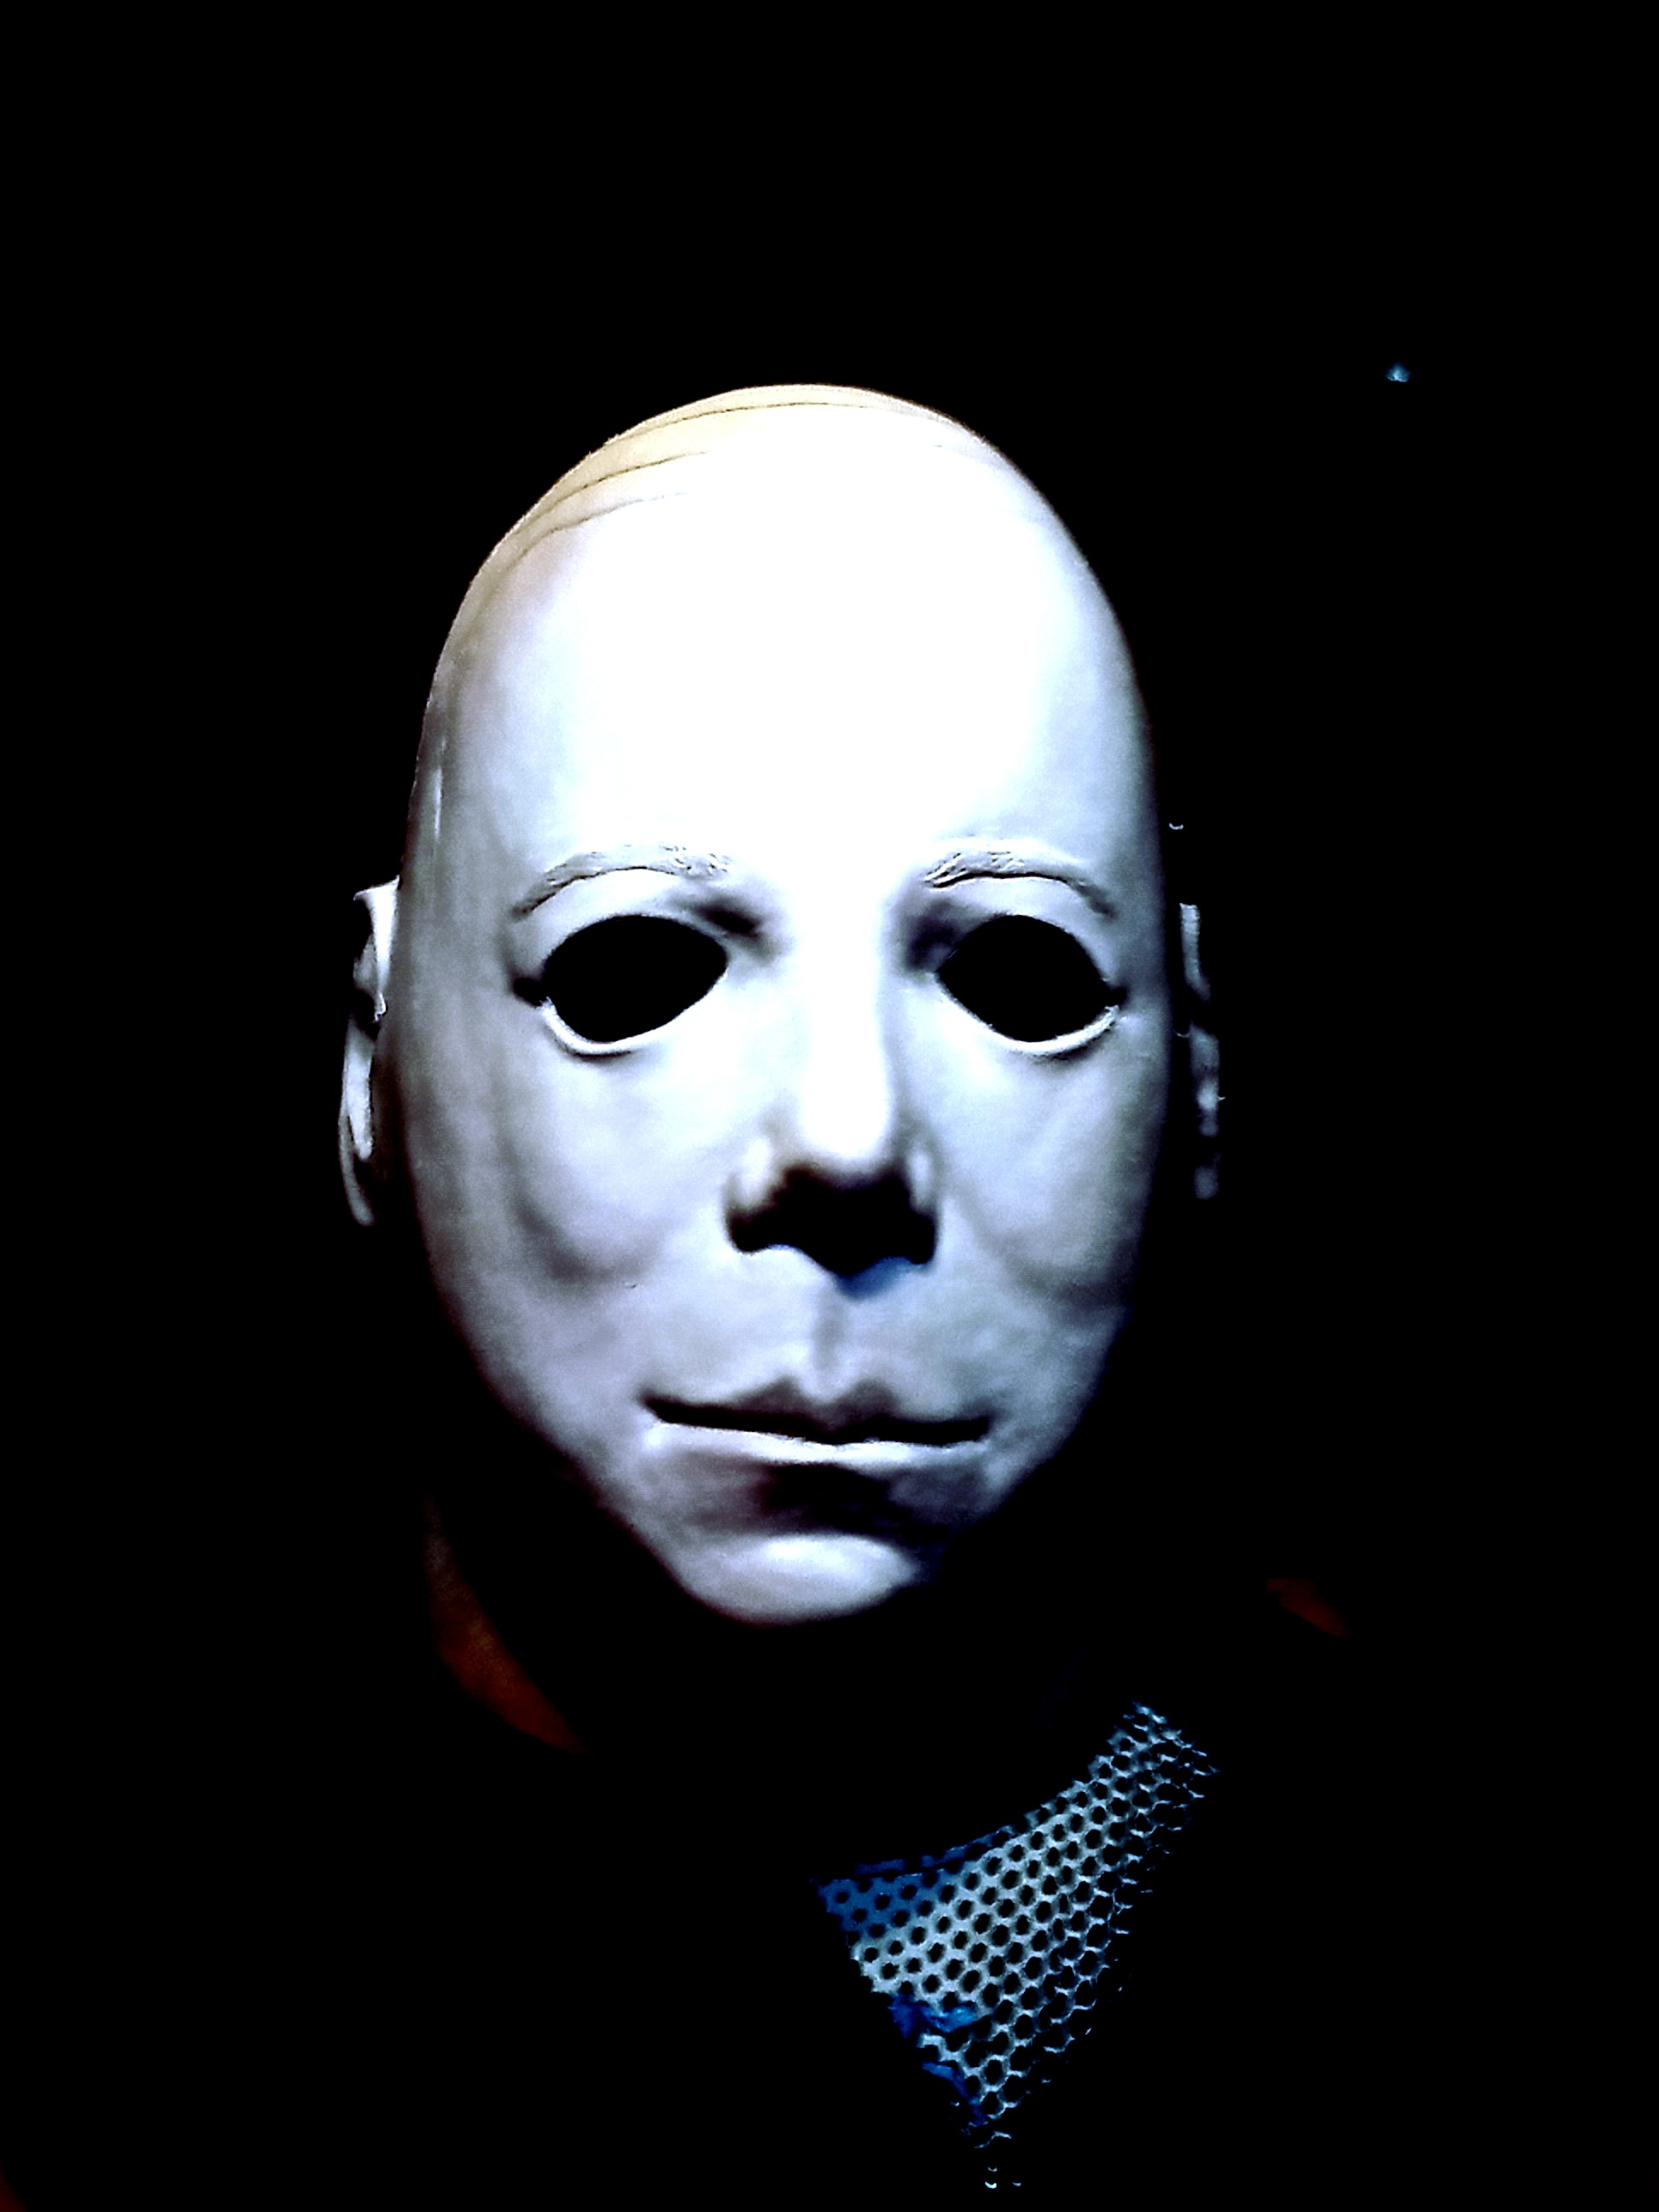
Im always struggling with the cracks. This is like the only example where it looks okay. Idk if Im dry brushing wrong? It also has a rough feel after i drybrush too. I feel like im stuck in a corner of my skill
Sent from my iPhone using Tapatalk
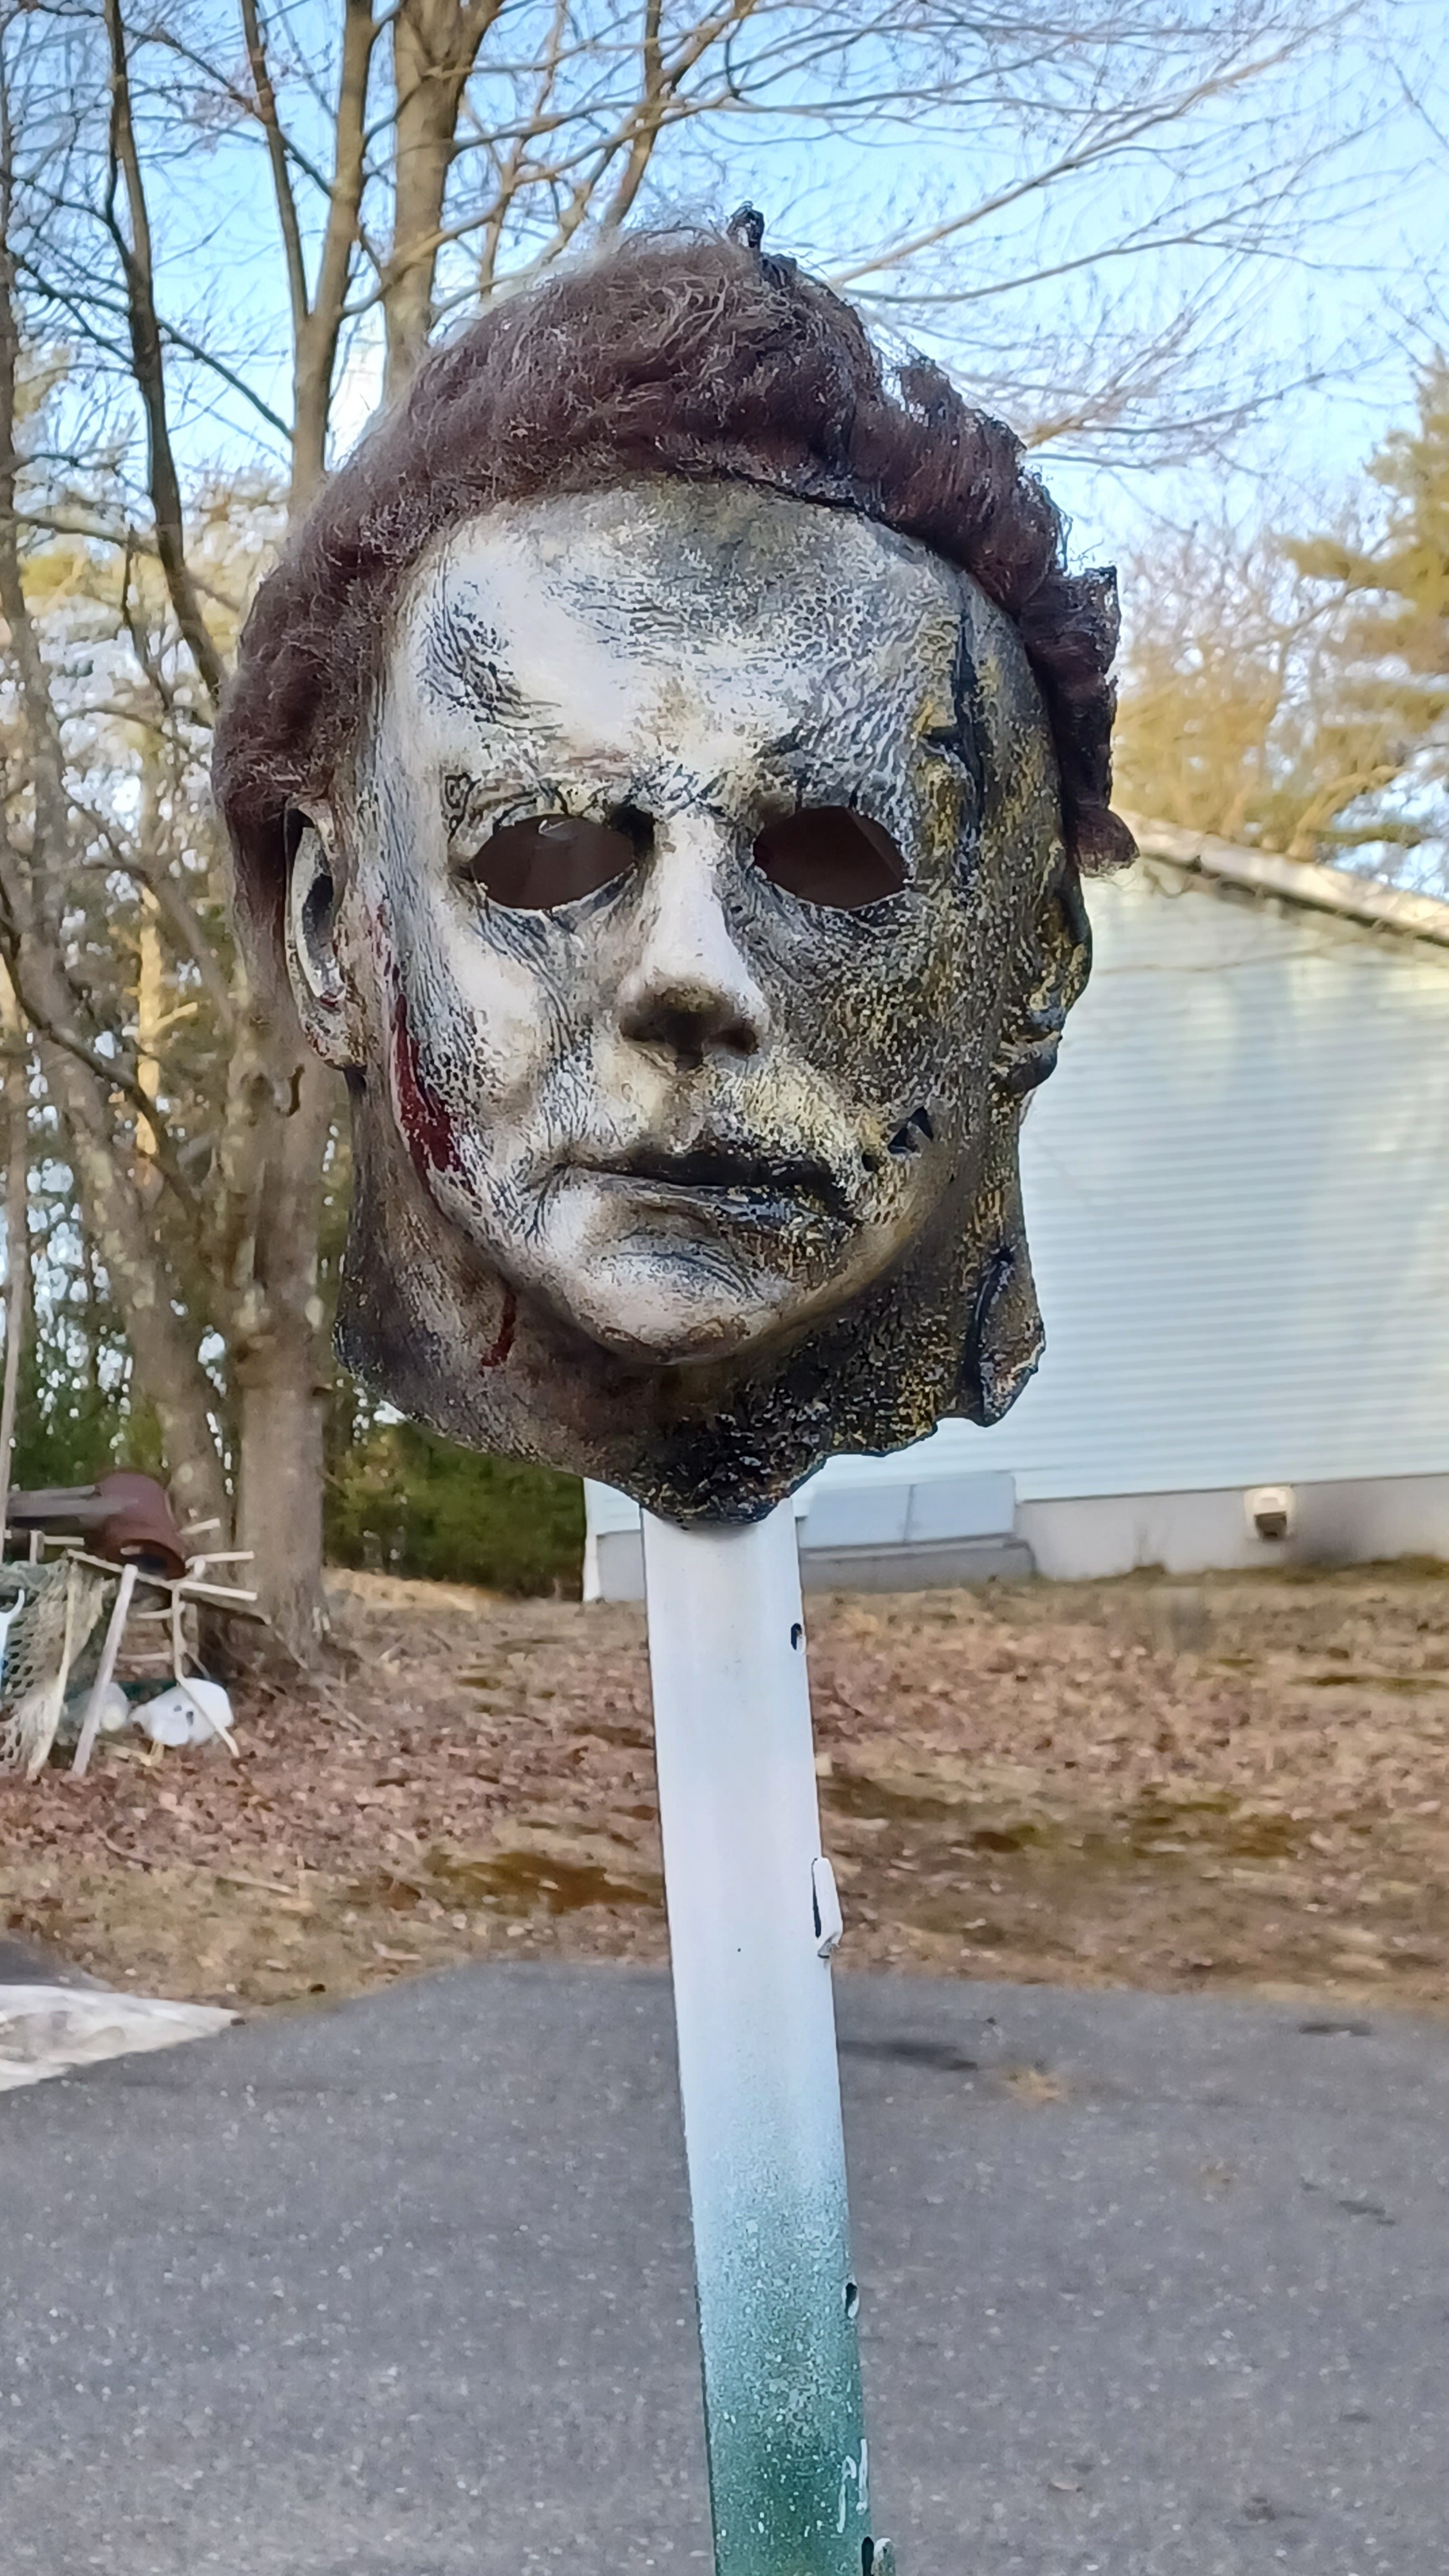
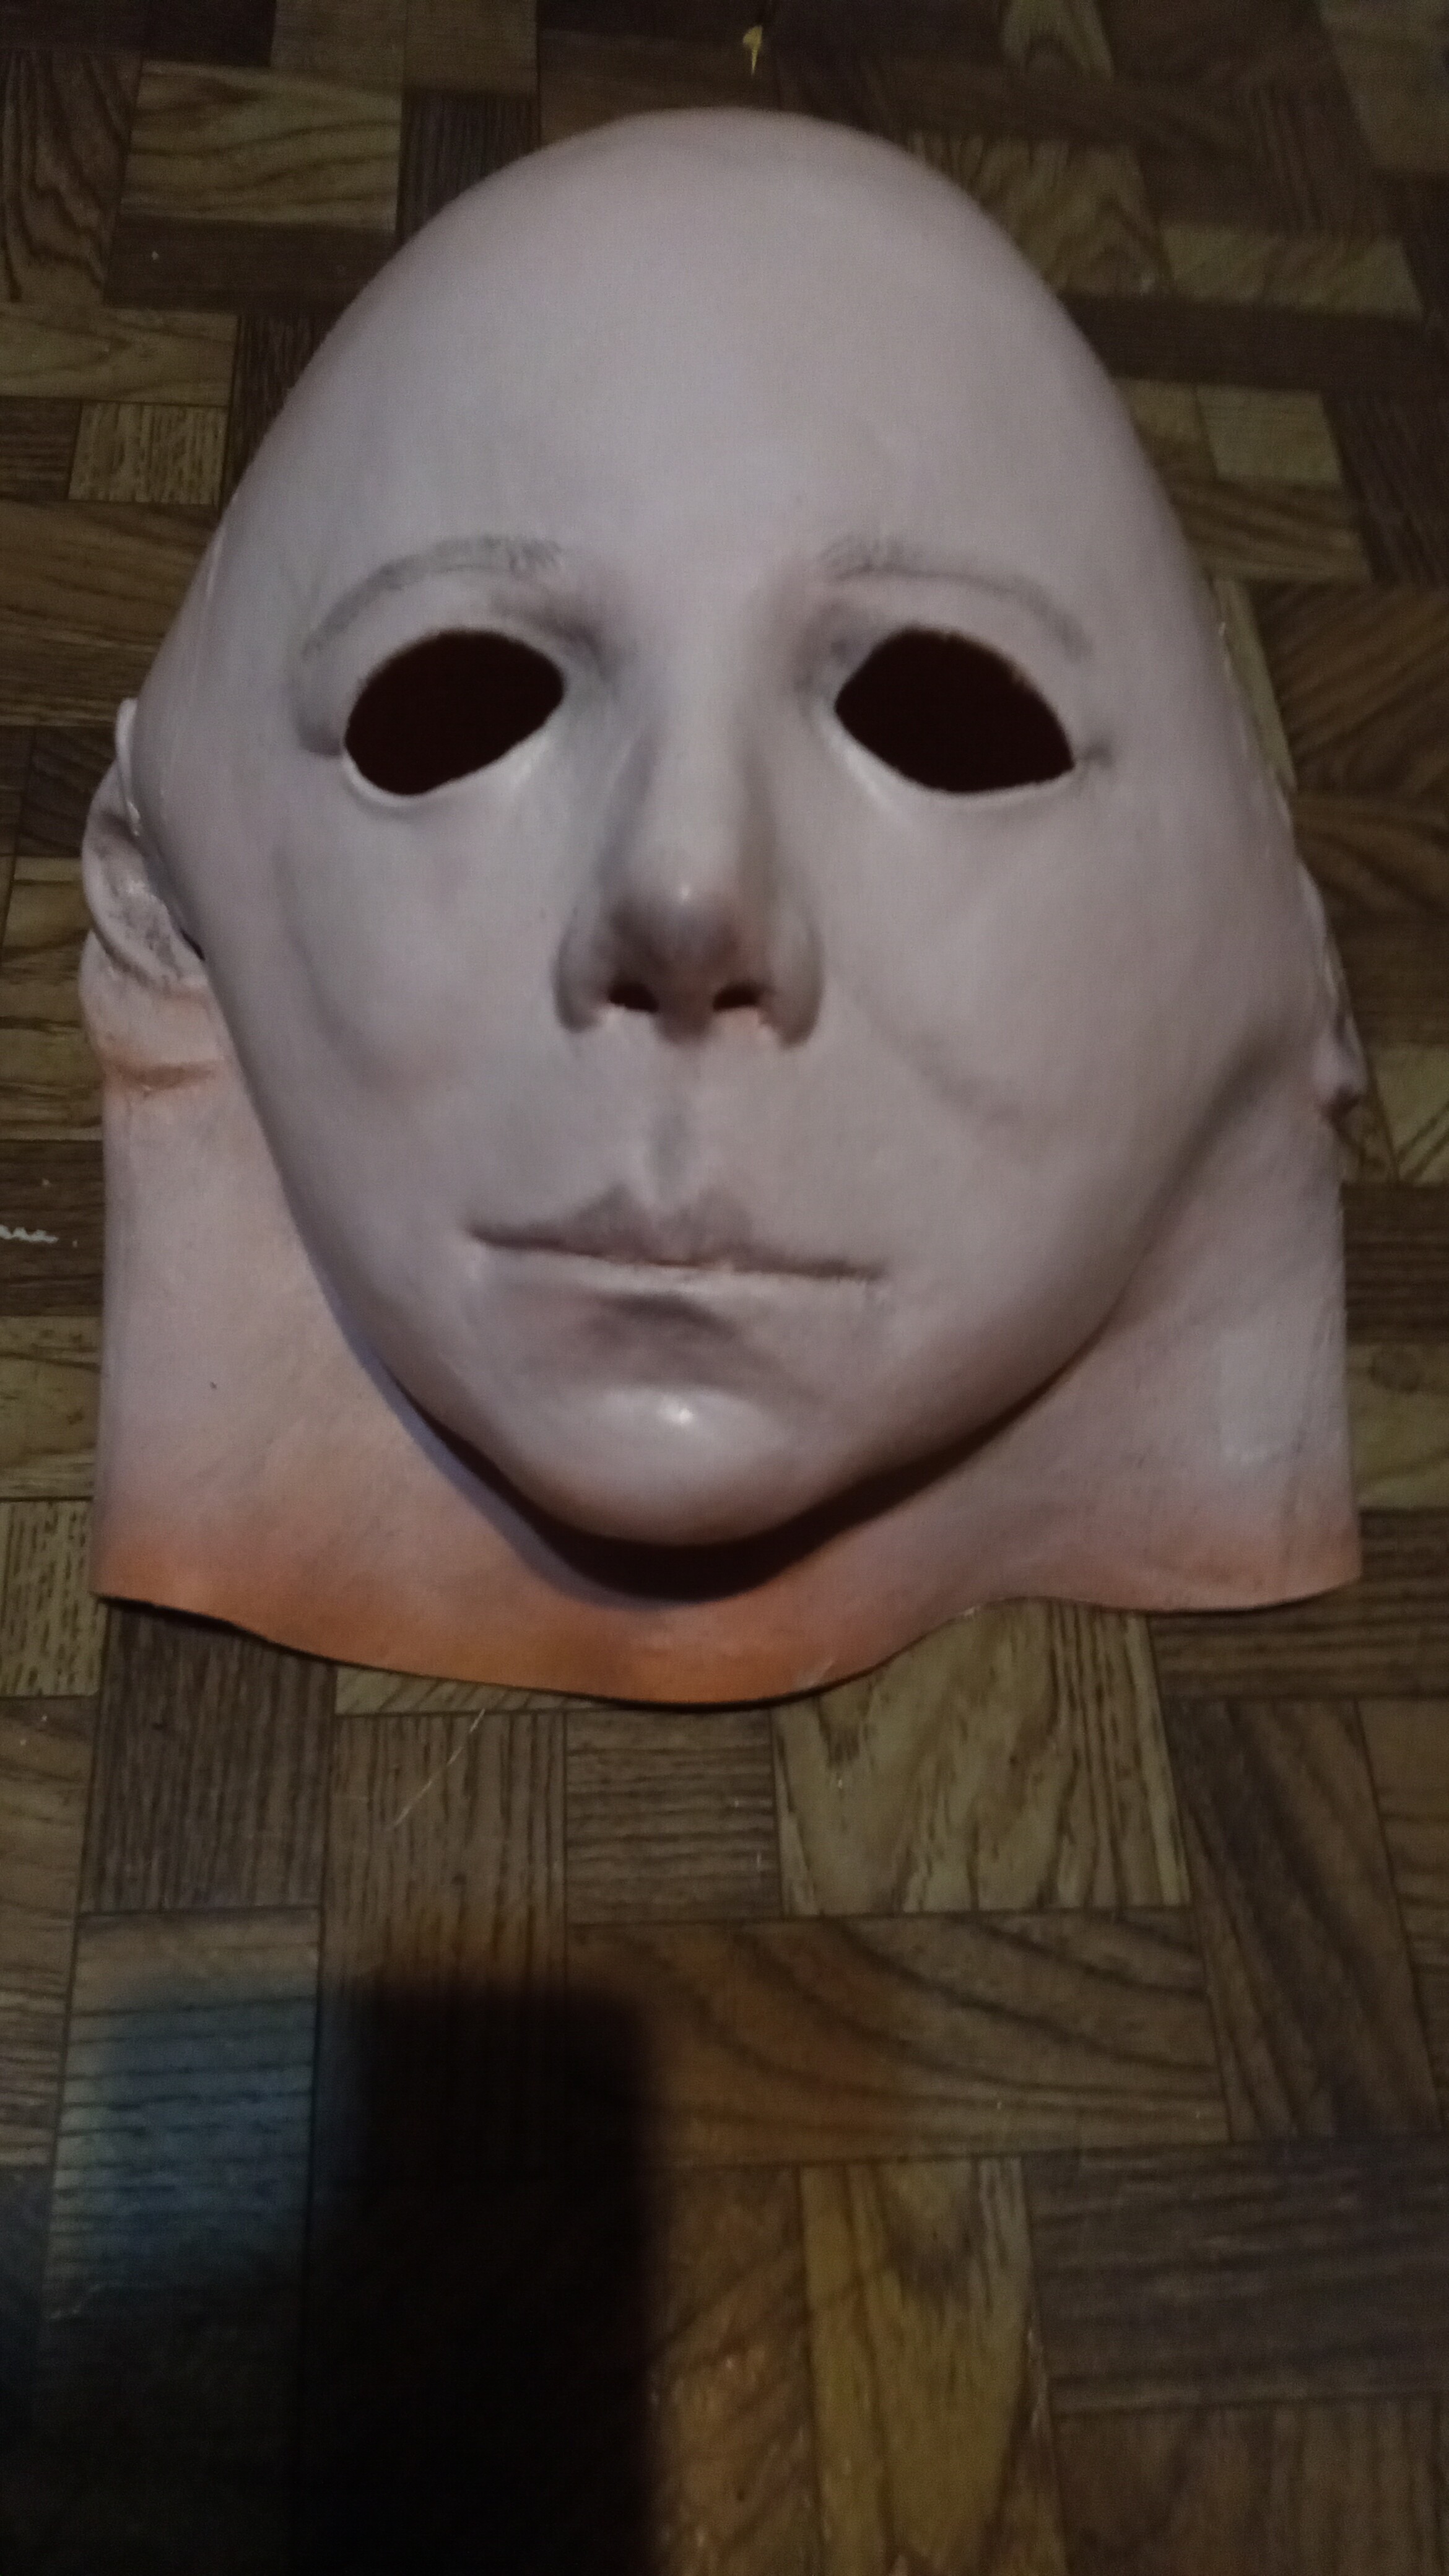
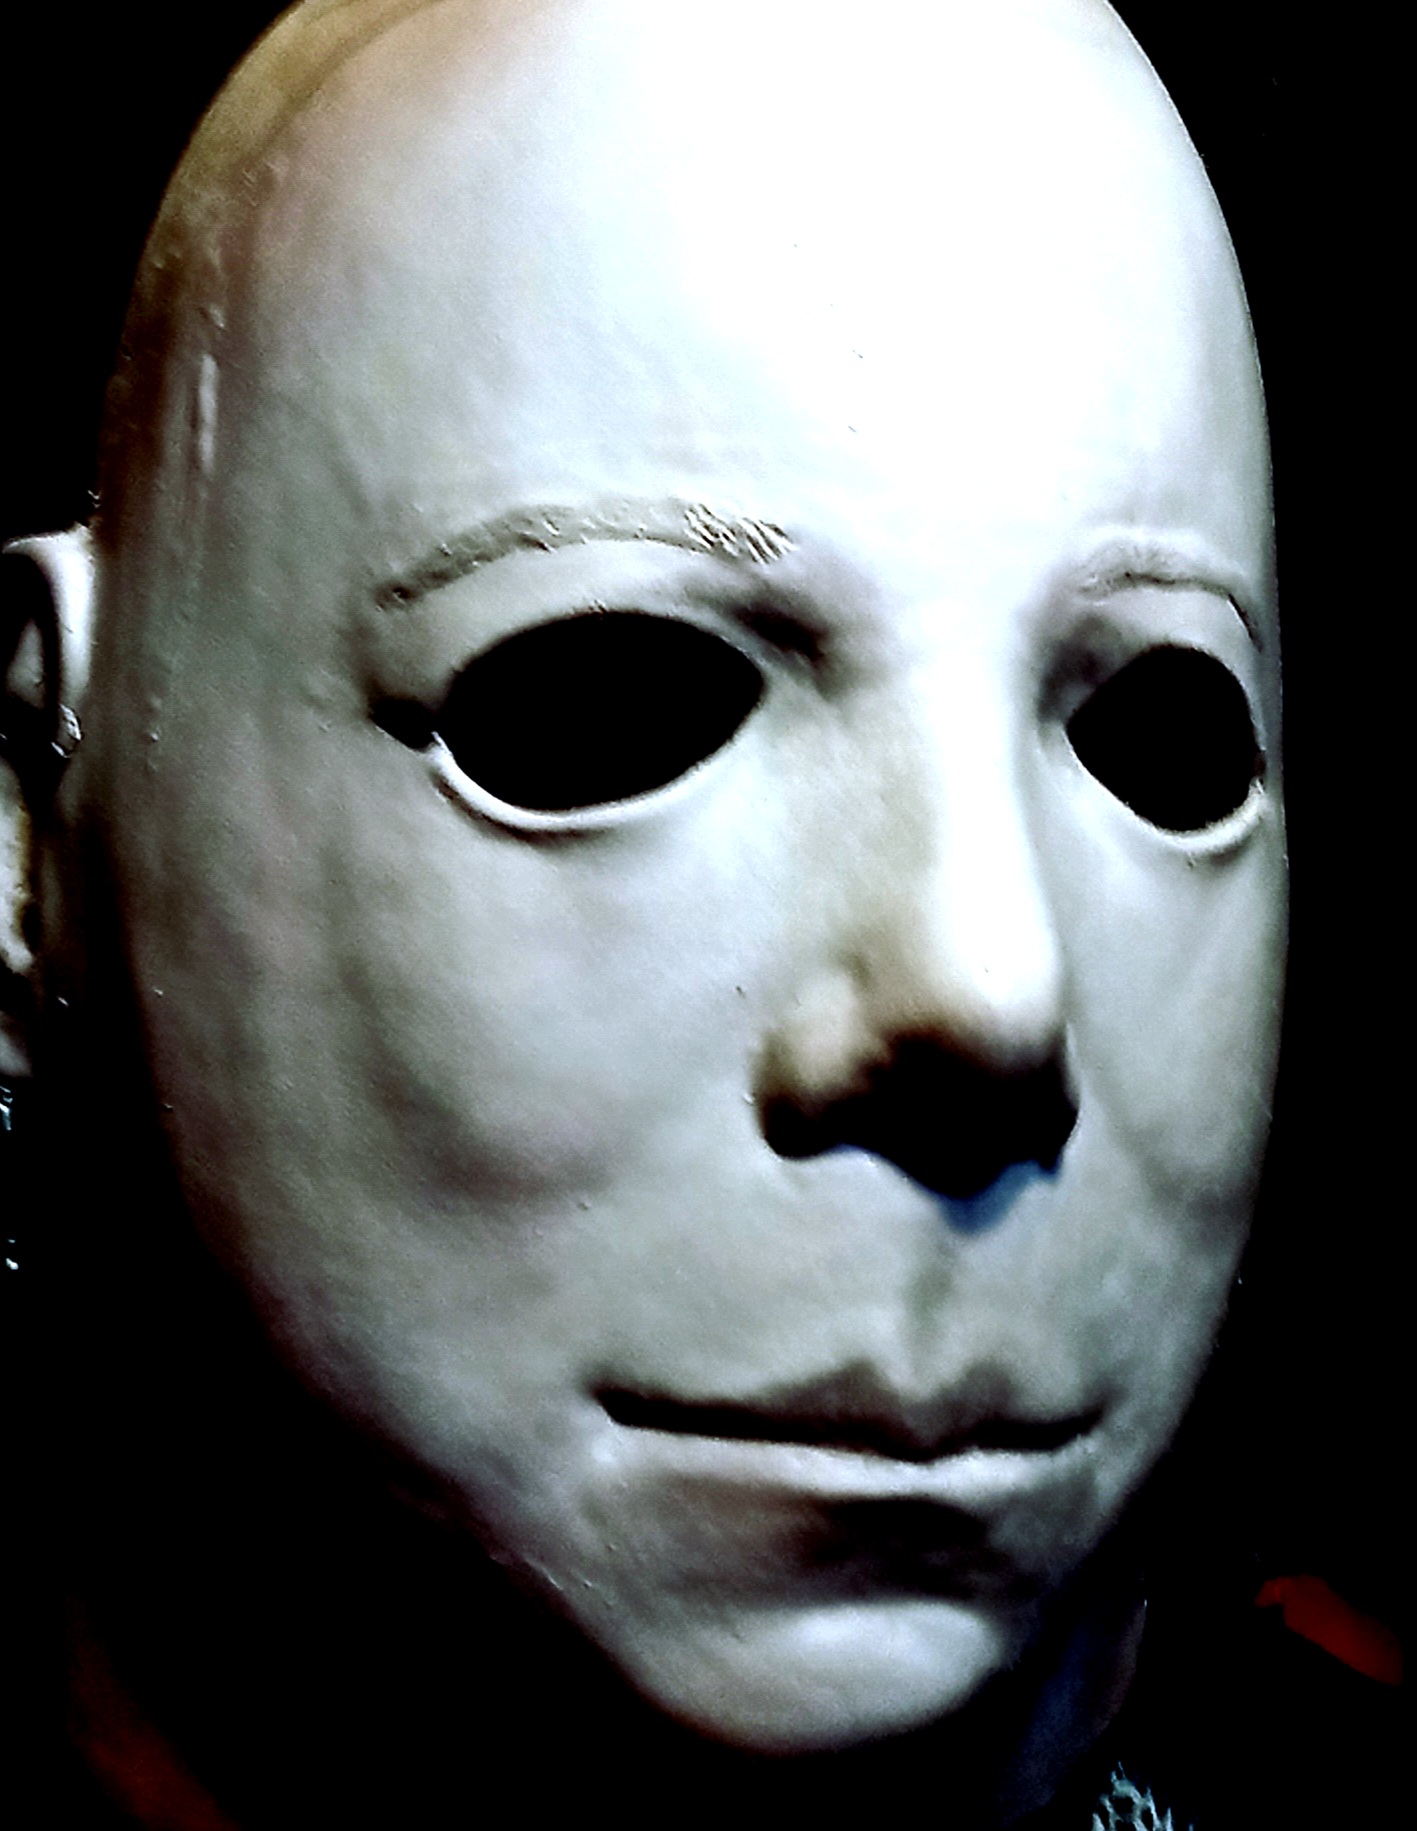
Don’t know what method you use but I like to do a brown wash over the stock paint and let it dry. Then do a black wash in all the cracks and let dry. Then I’ll usually dry brush a slightly offwhite all over it very lightly. This should not get into any cracks if the brush is dry. Once it’s got the base white down I’ll dry brush the yellows and greens. It’s important to use very little paint and keep it subtle. Use a lot of reference pictures. All the small sections with dirt and grime really add up. Once done with all that I’ll paint in any cracks that are more defined than the others. These masks are all about the fine detail and do require some patience. Here’s the last one I did.
I watched a good portion of closetmonstercreations rehaul live stream and learned alot and alot of it was advice you gave me too. A big issue is I figured out that I was using a wet-ish brush to dry brush. I also didnt build layers like i SHOULD have. I am going to completely change up how i was doing it. I have a 2018 mask so im gonna try to do better on it!
Sent from my iPhone using Tapatalk
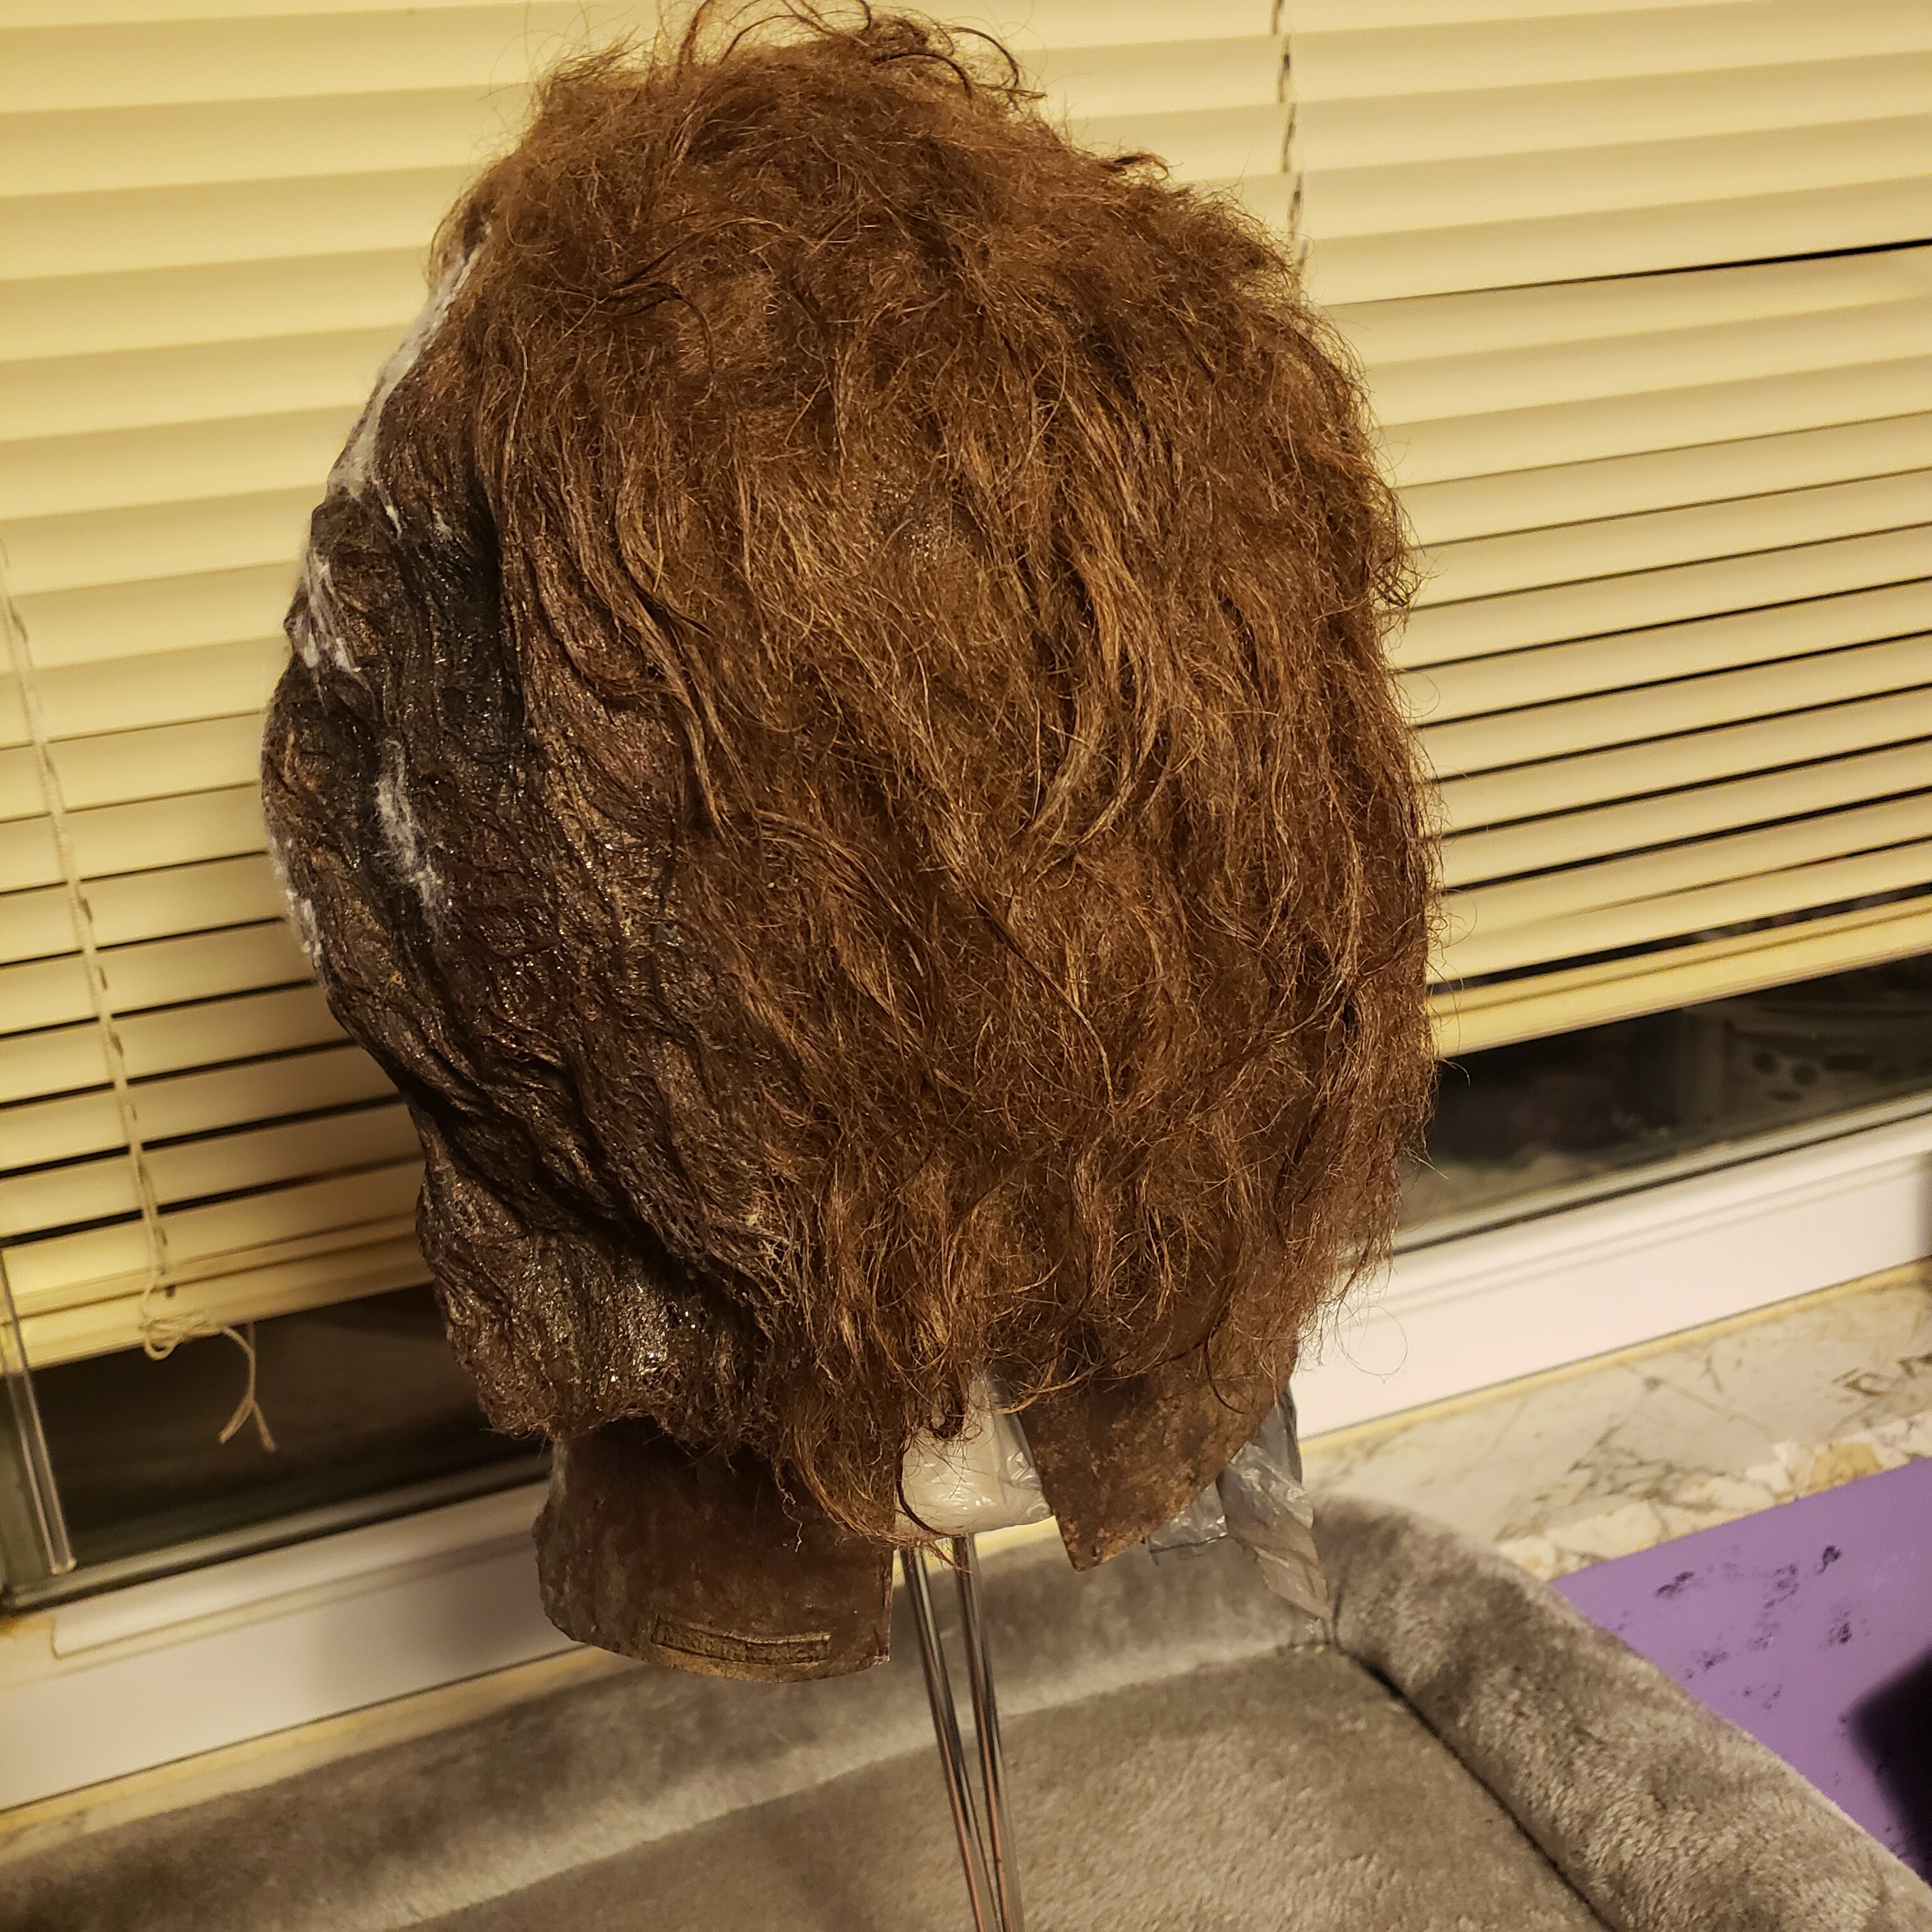
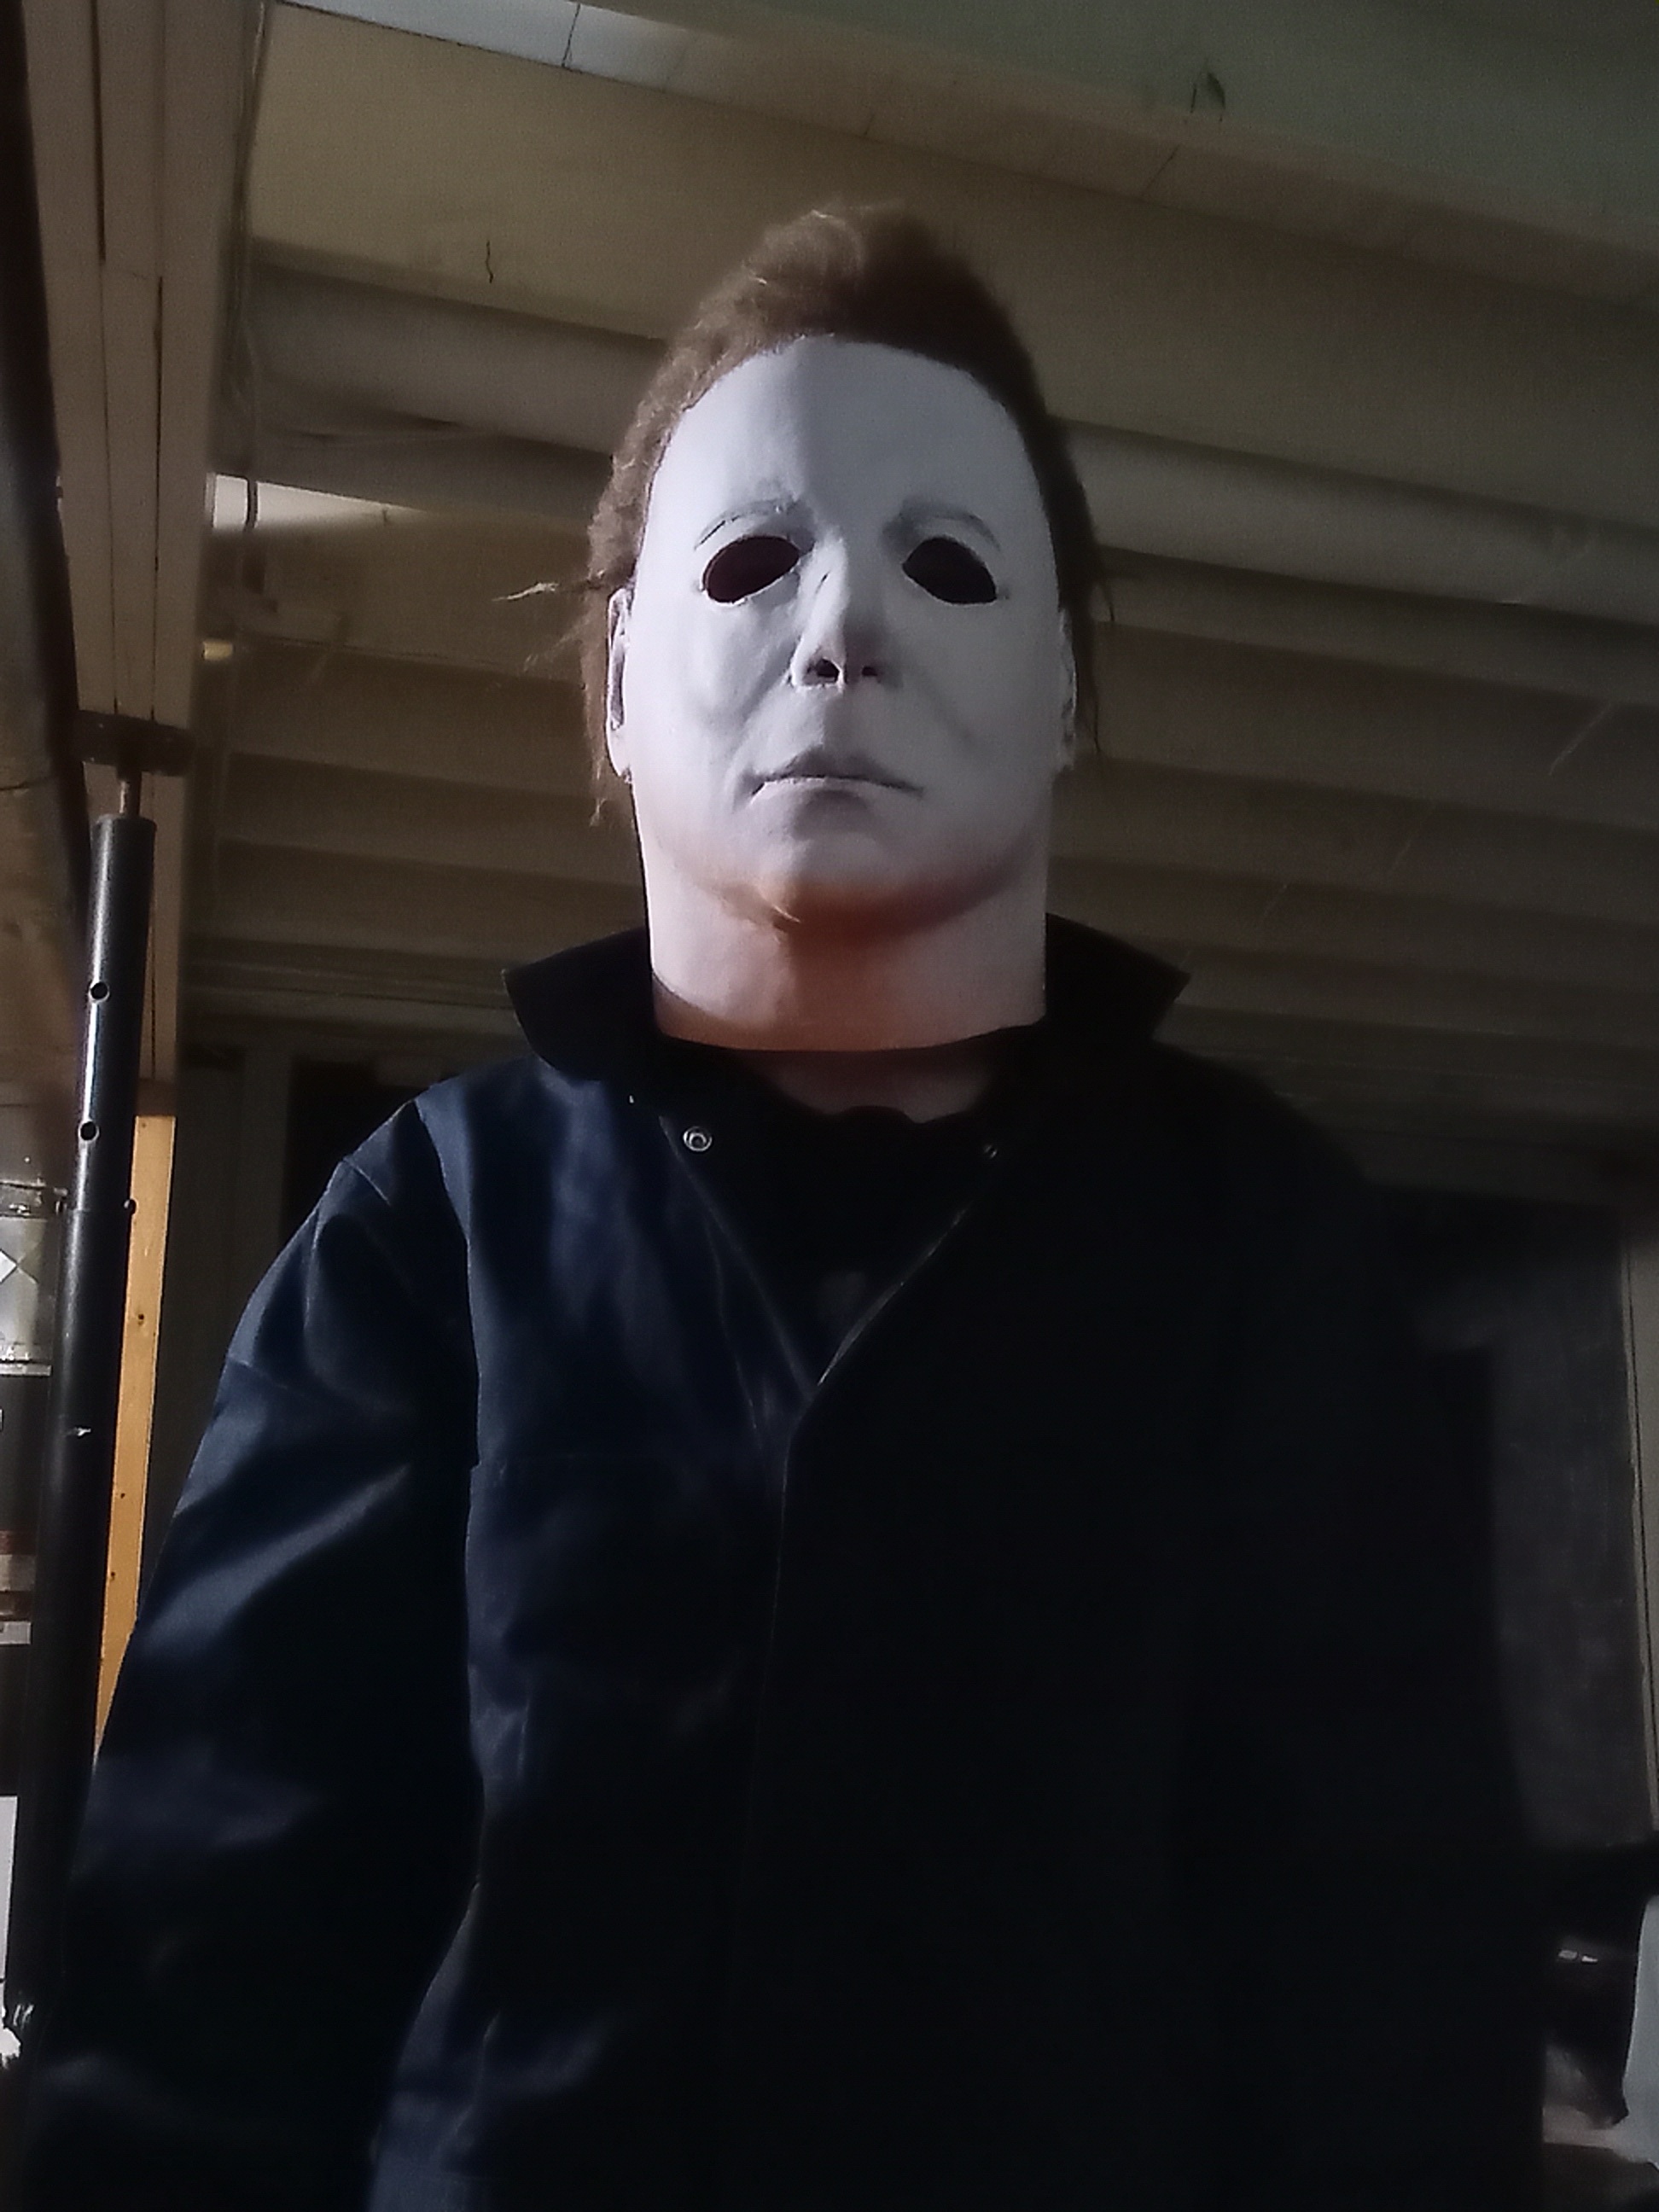
My most screen accurate rehaul thus far. My personal Ends mask, currently selling it though, trying to get more rehauls done as opposed to my collection lol
Updated photos on the Ends rehaul
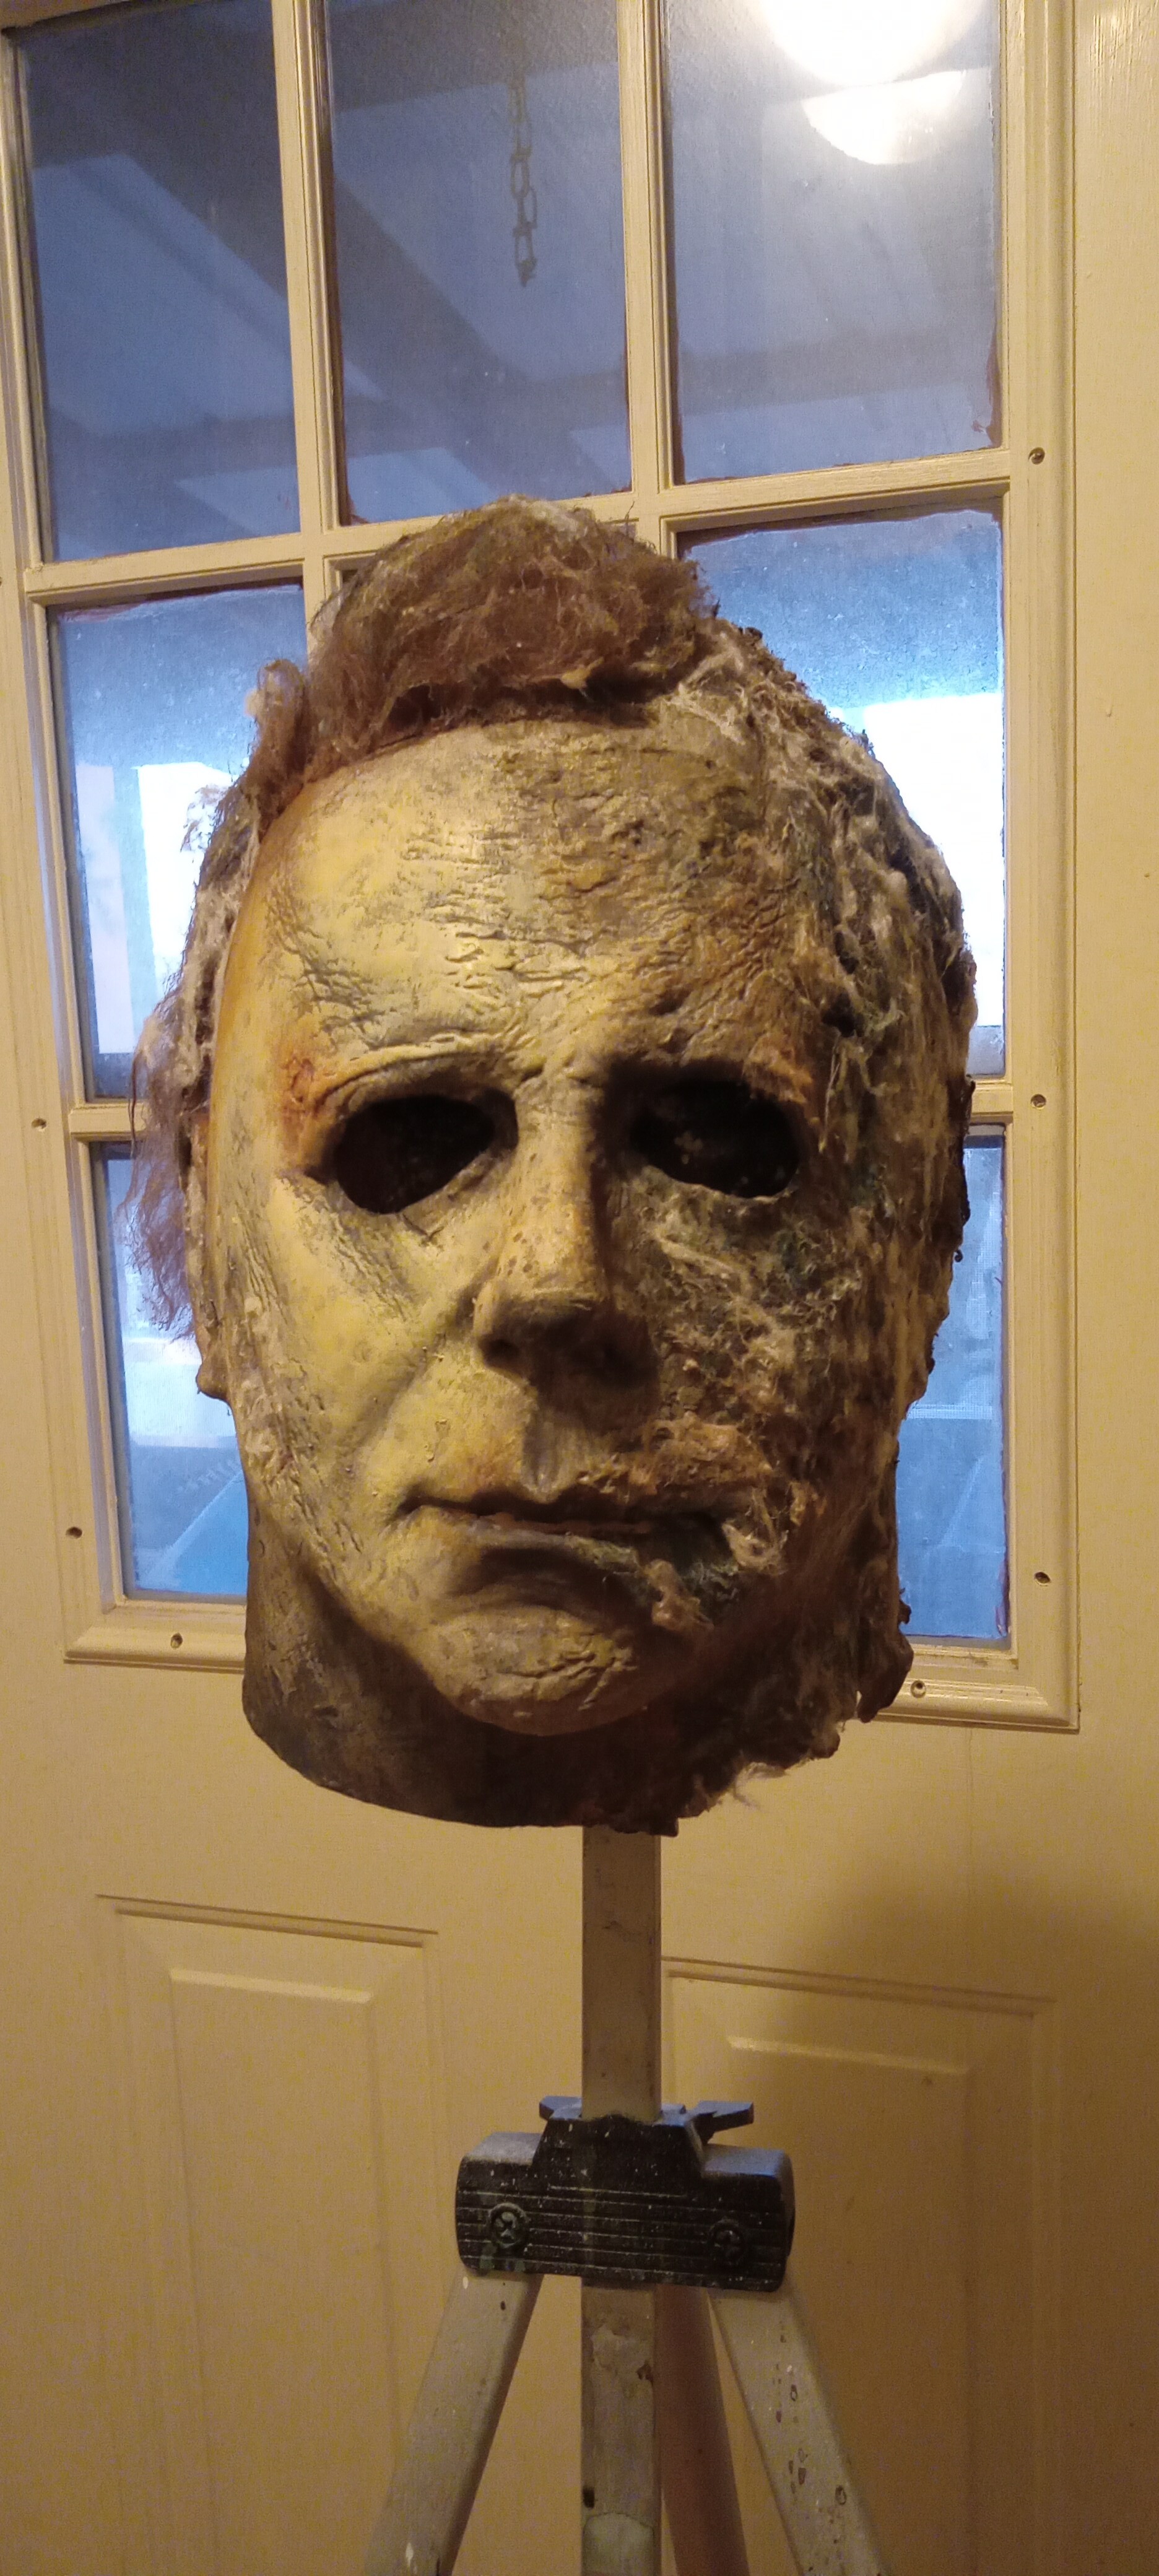
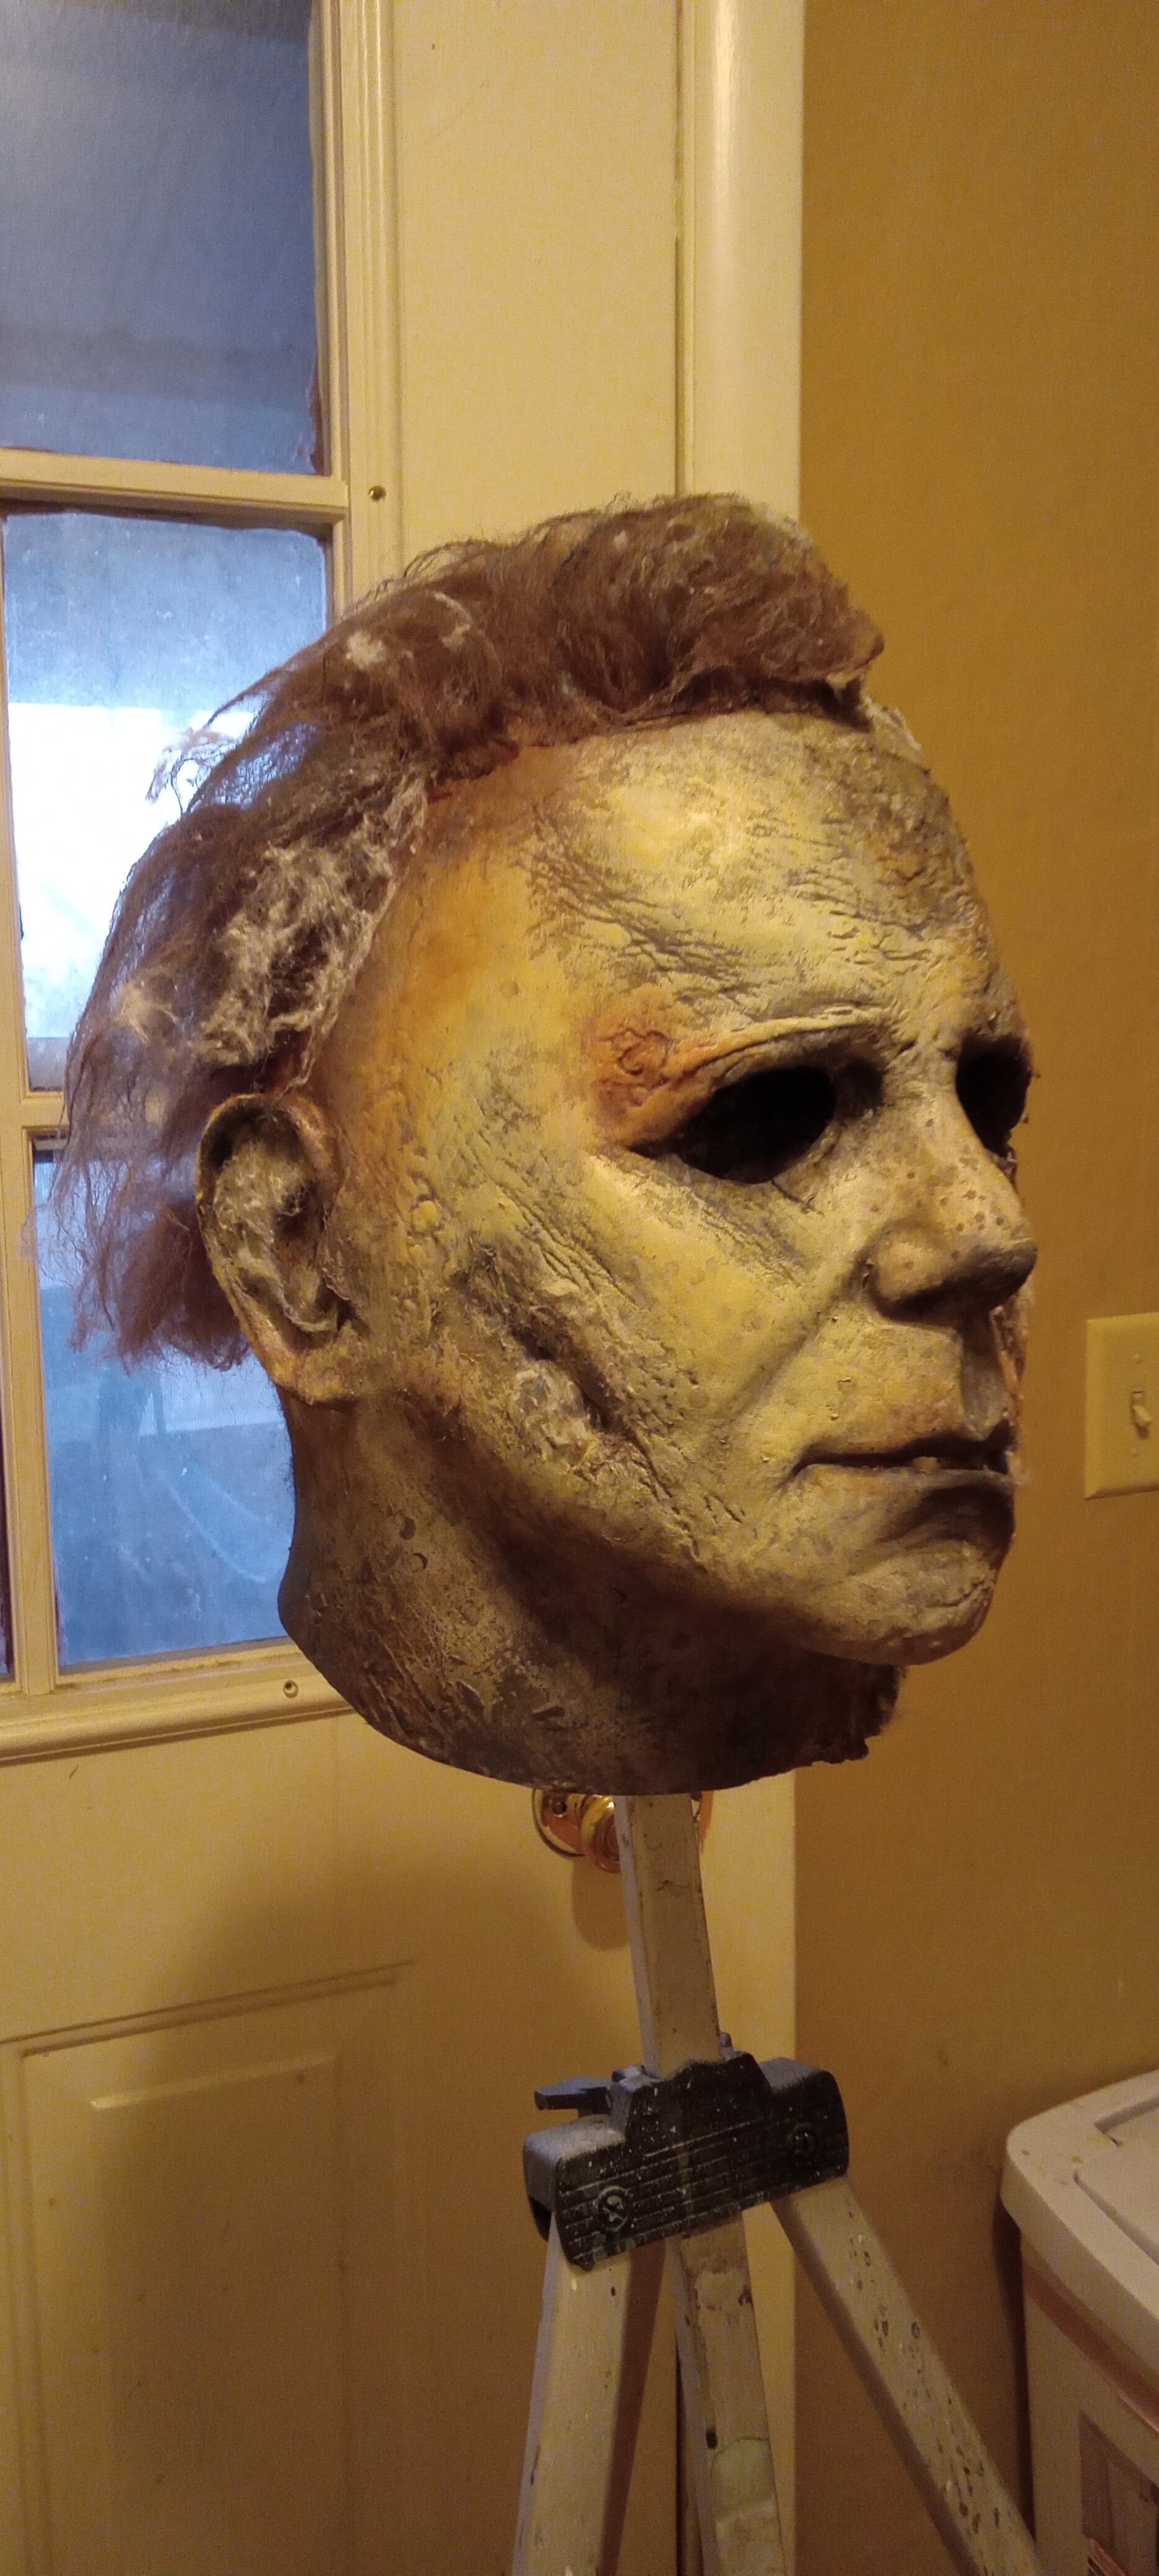
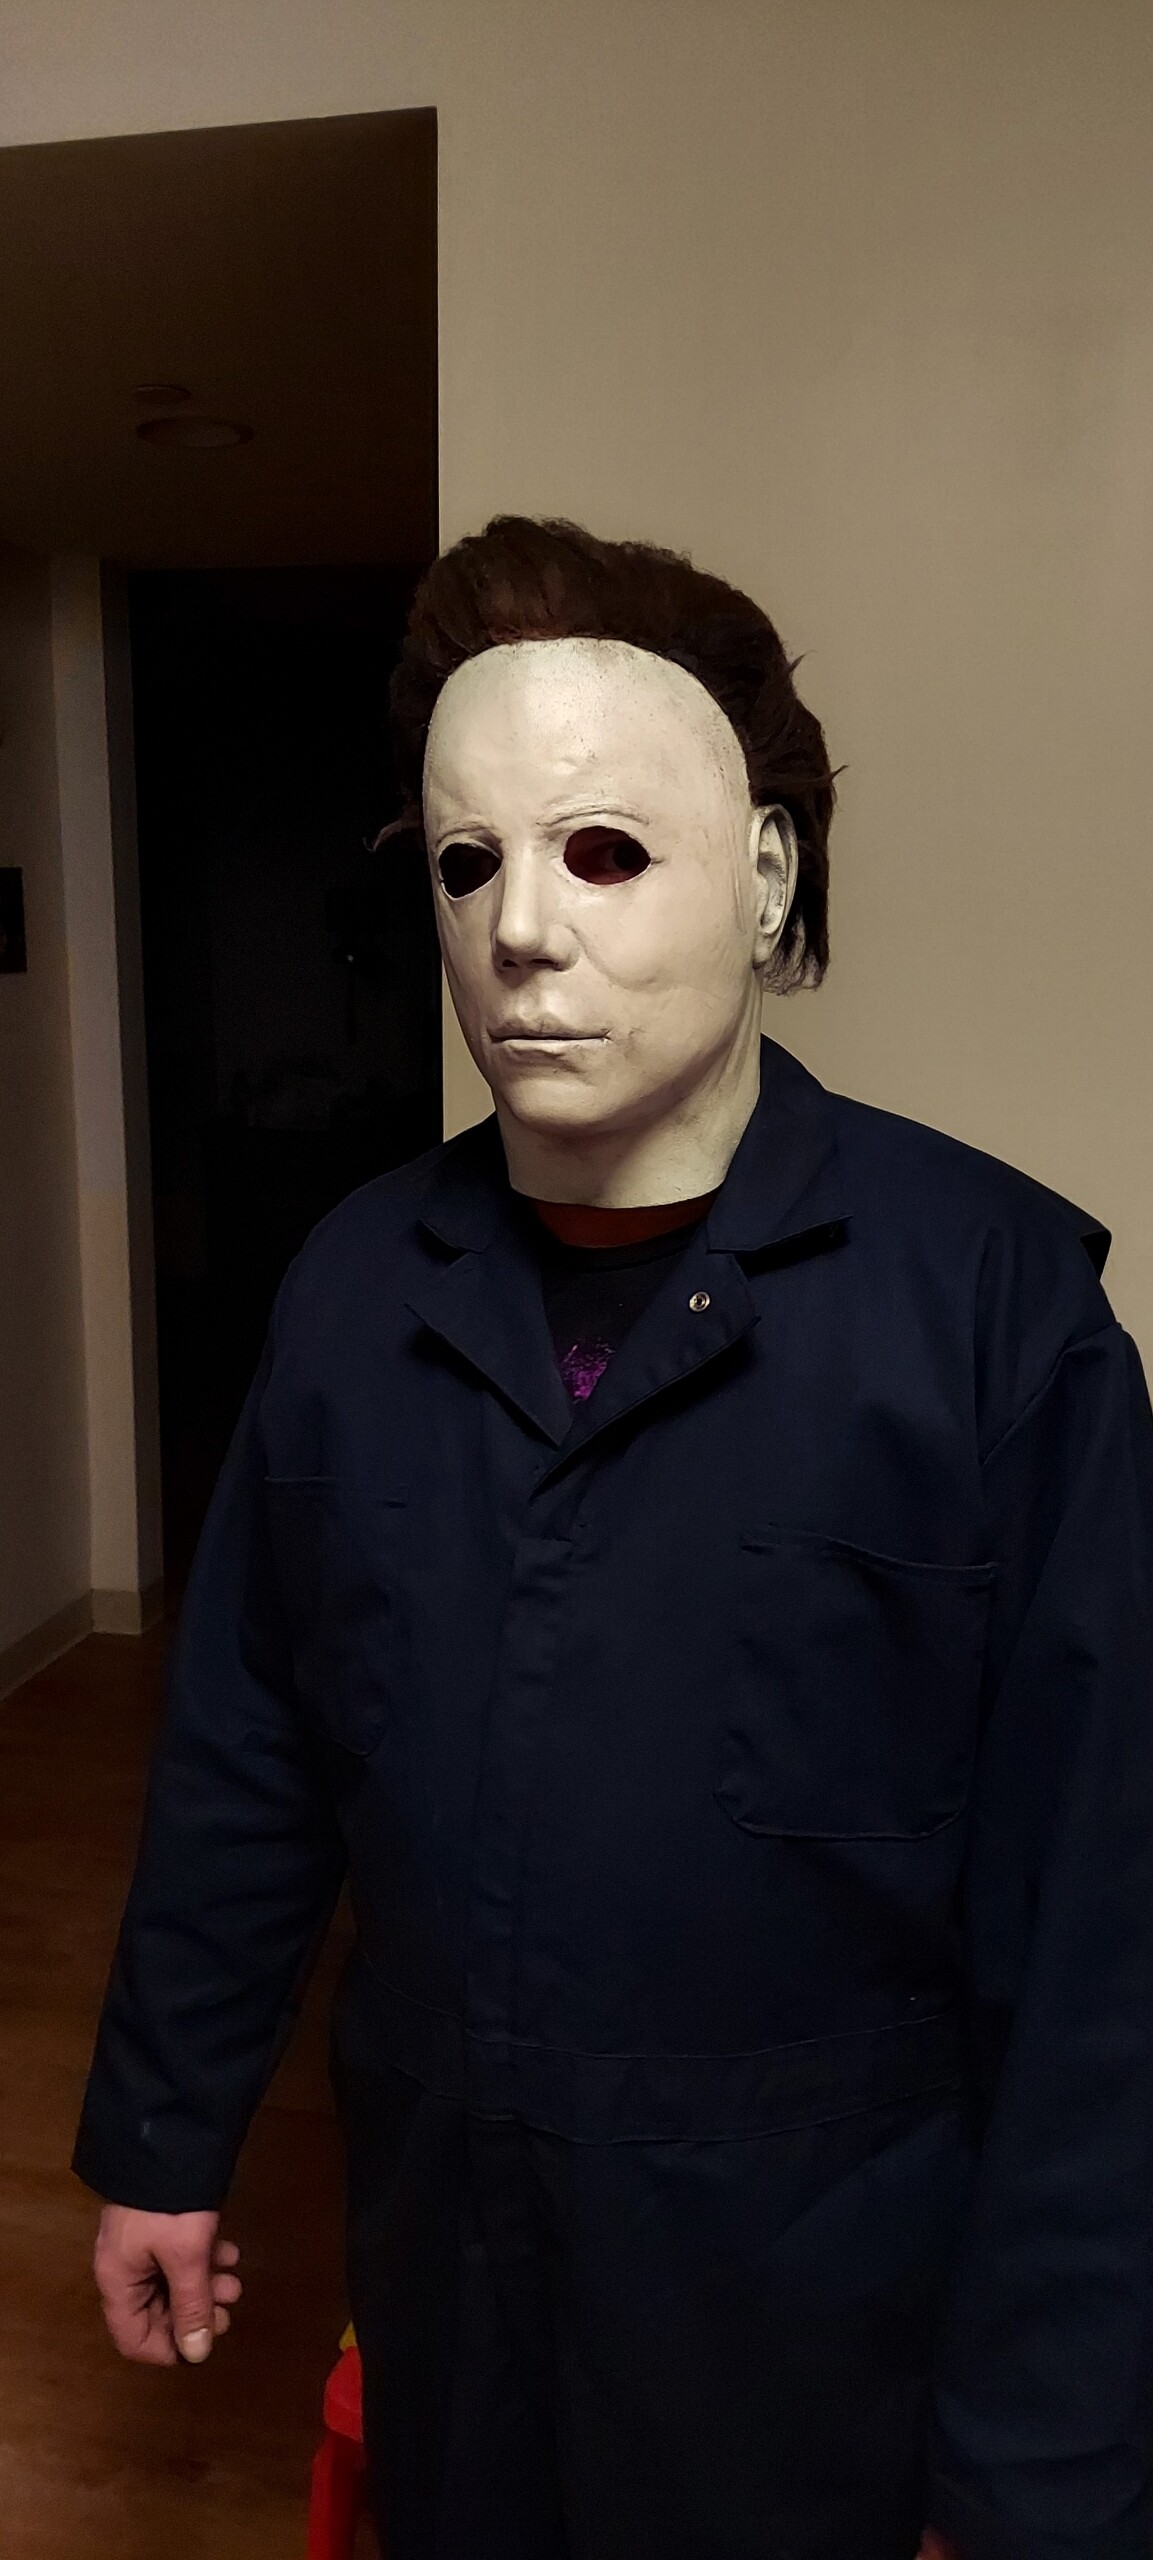
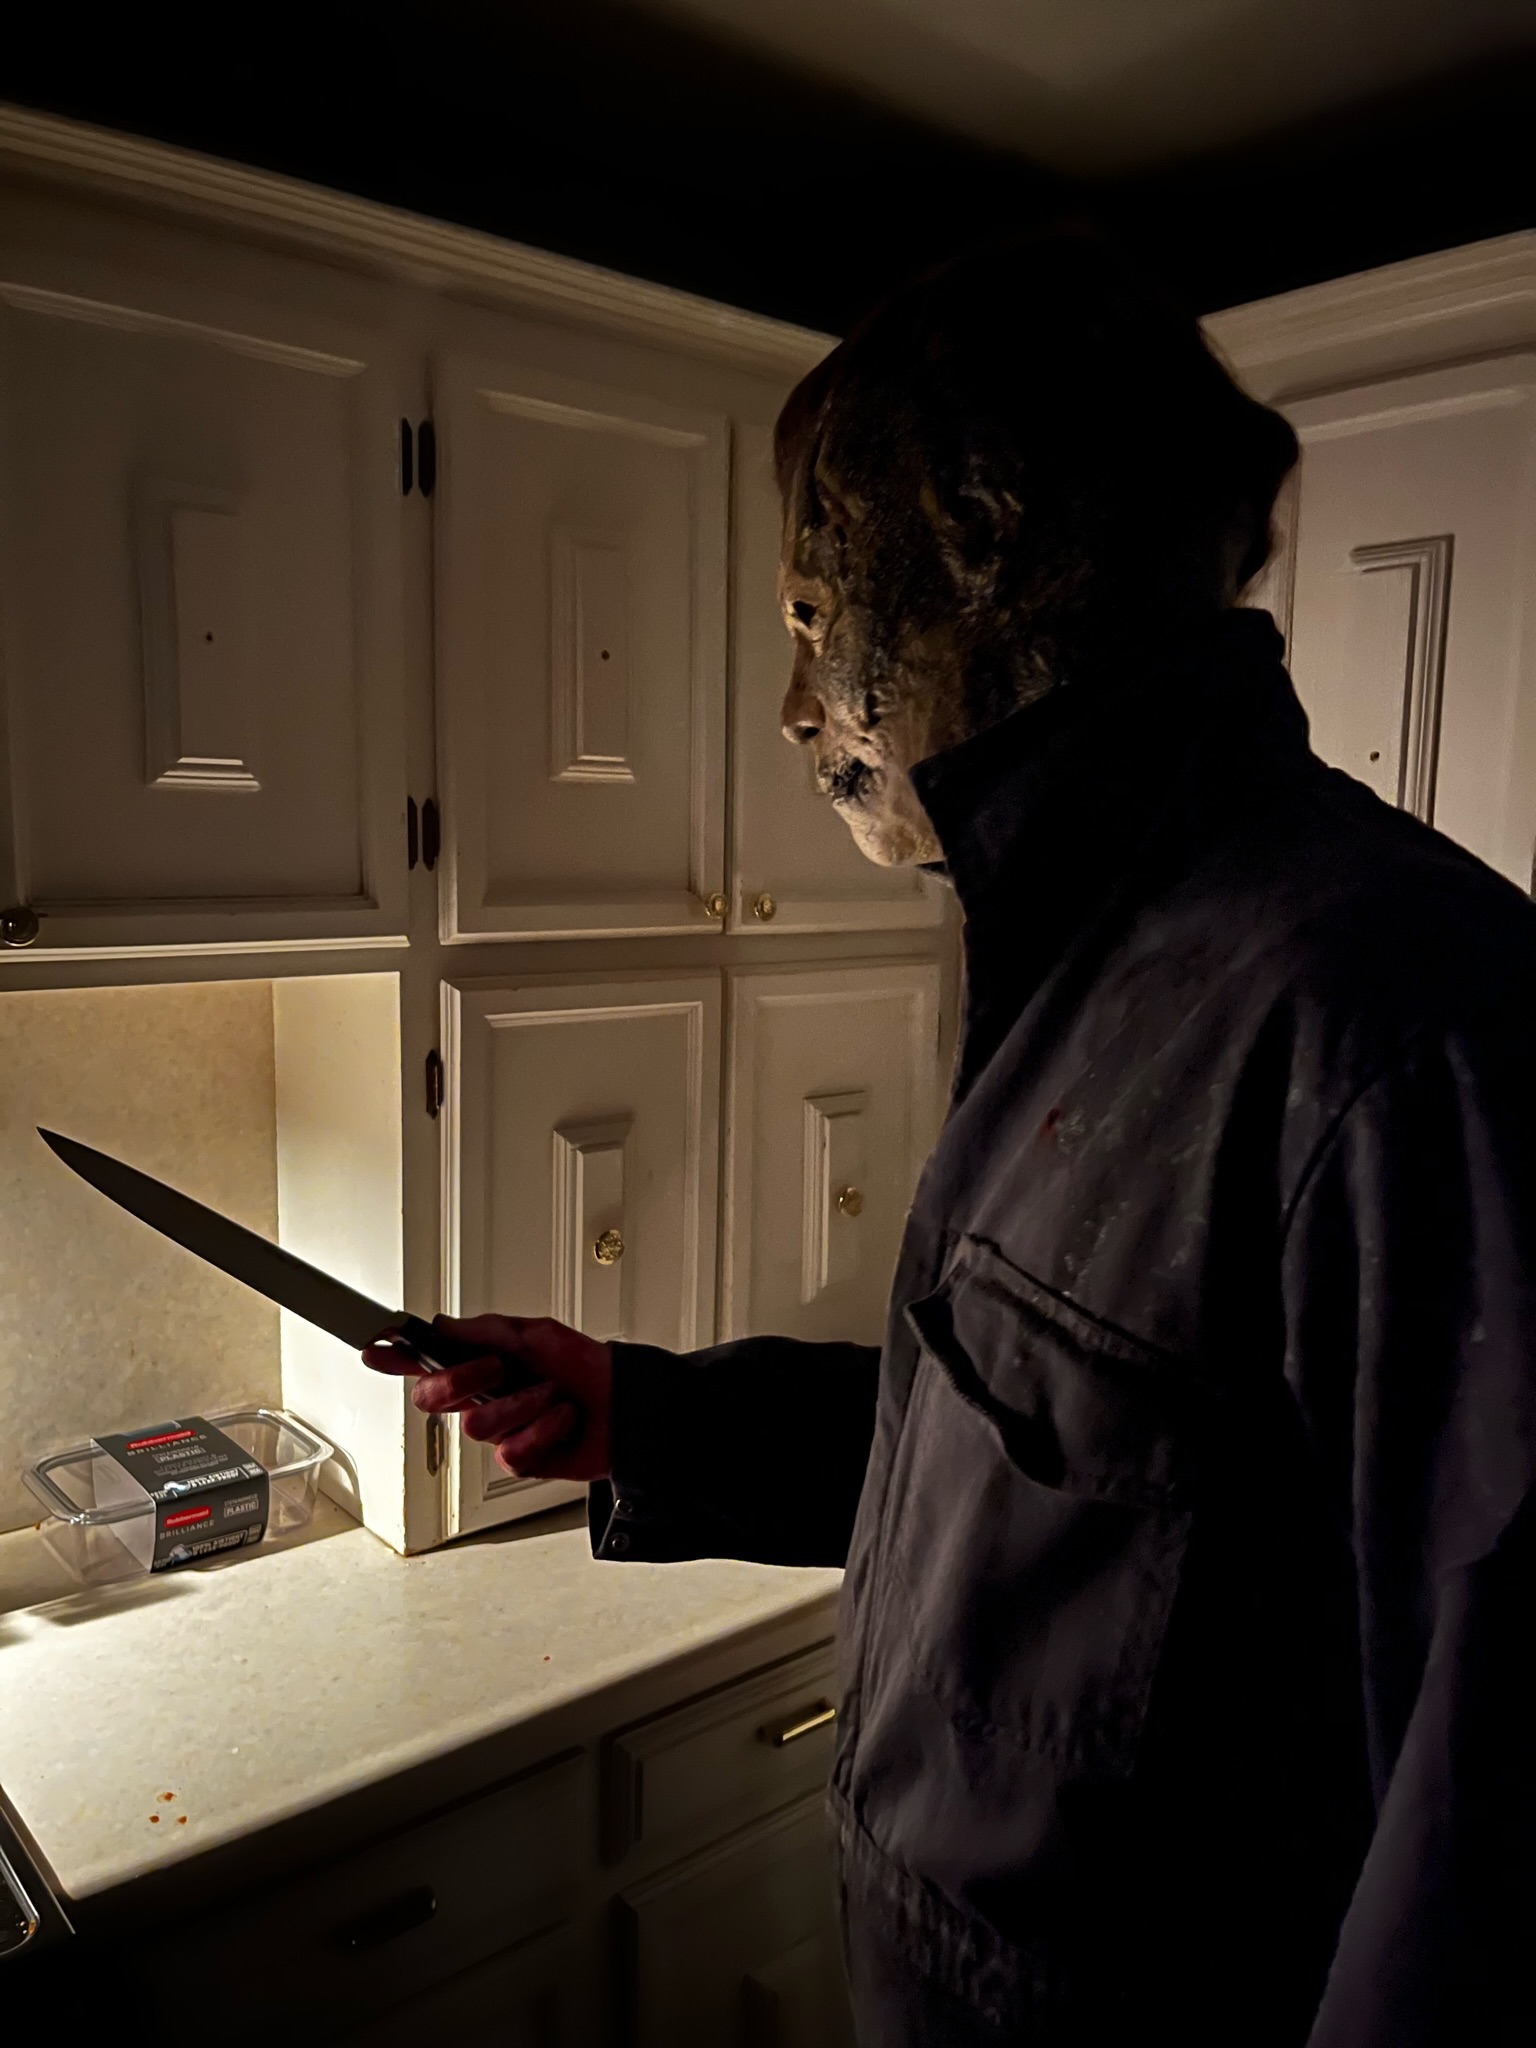
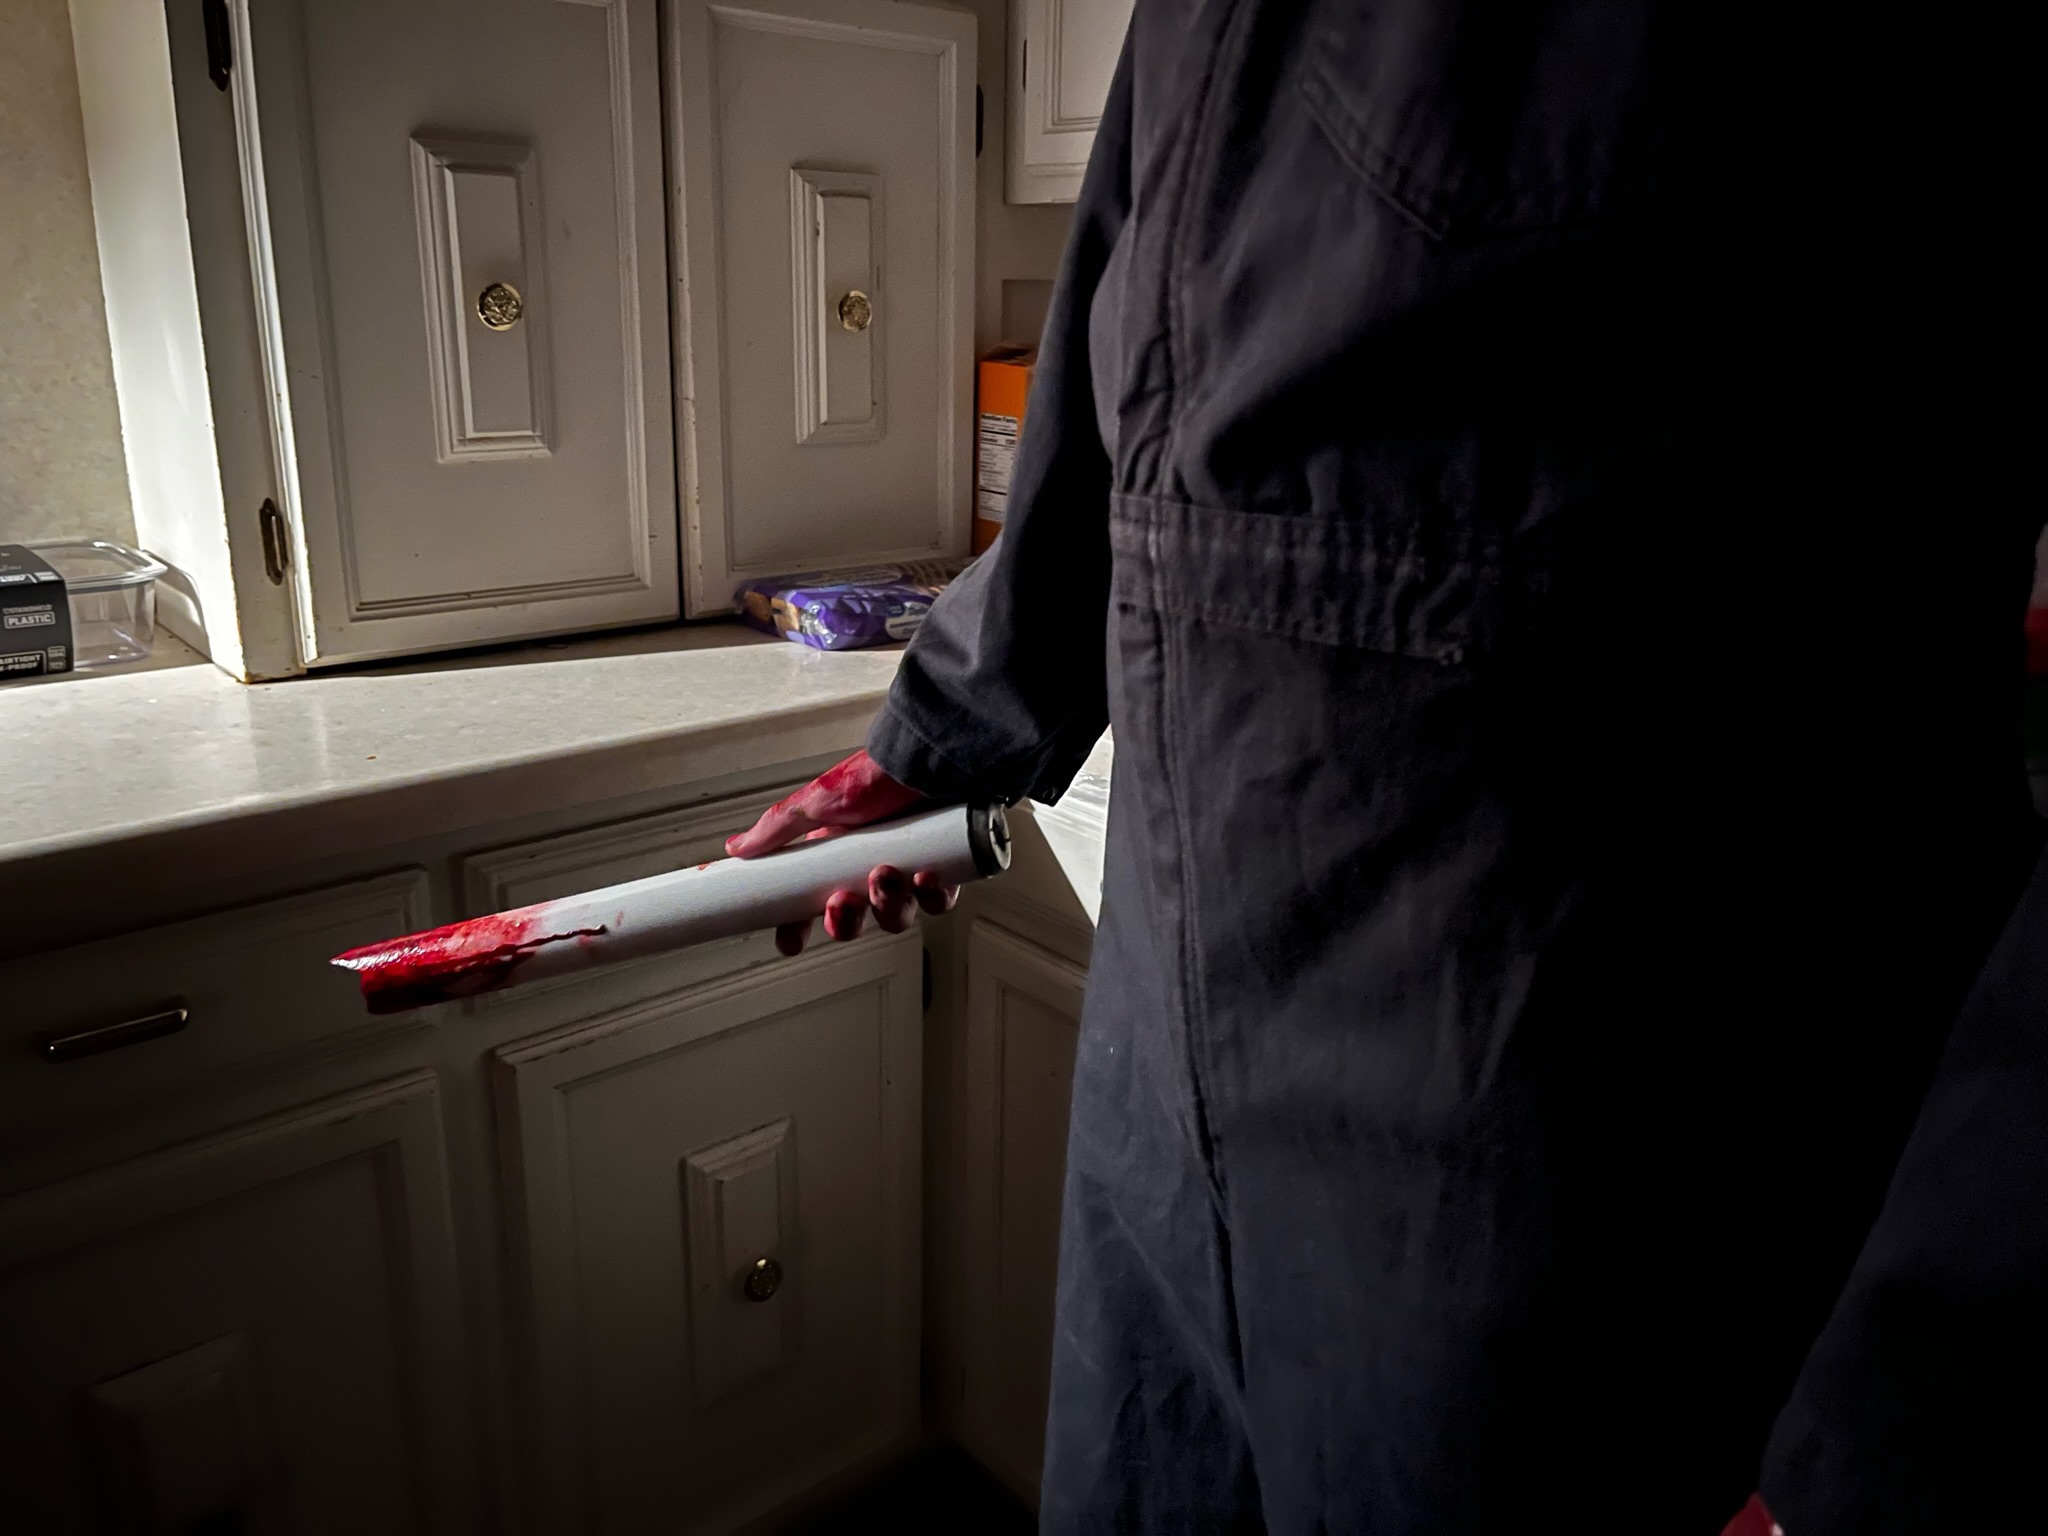
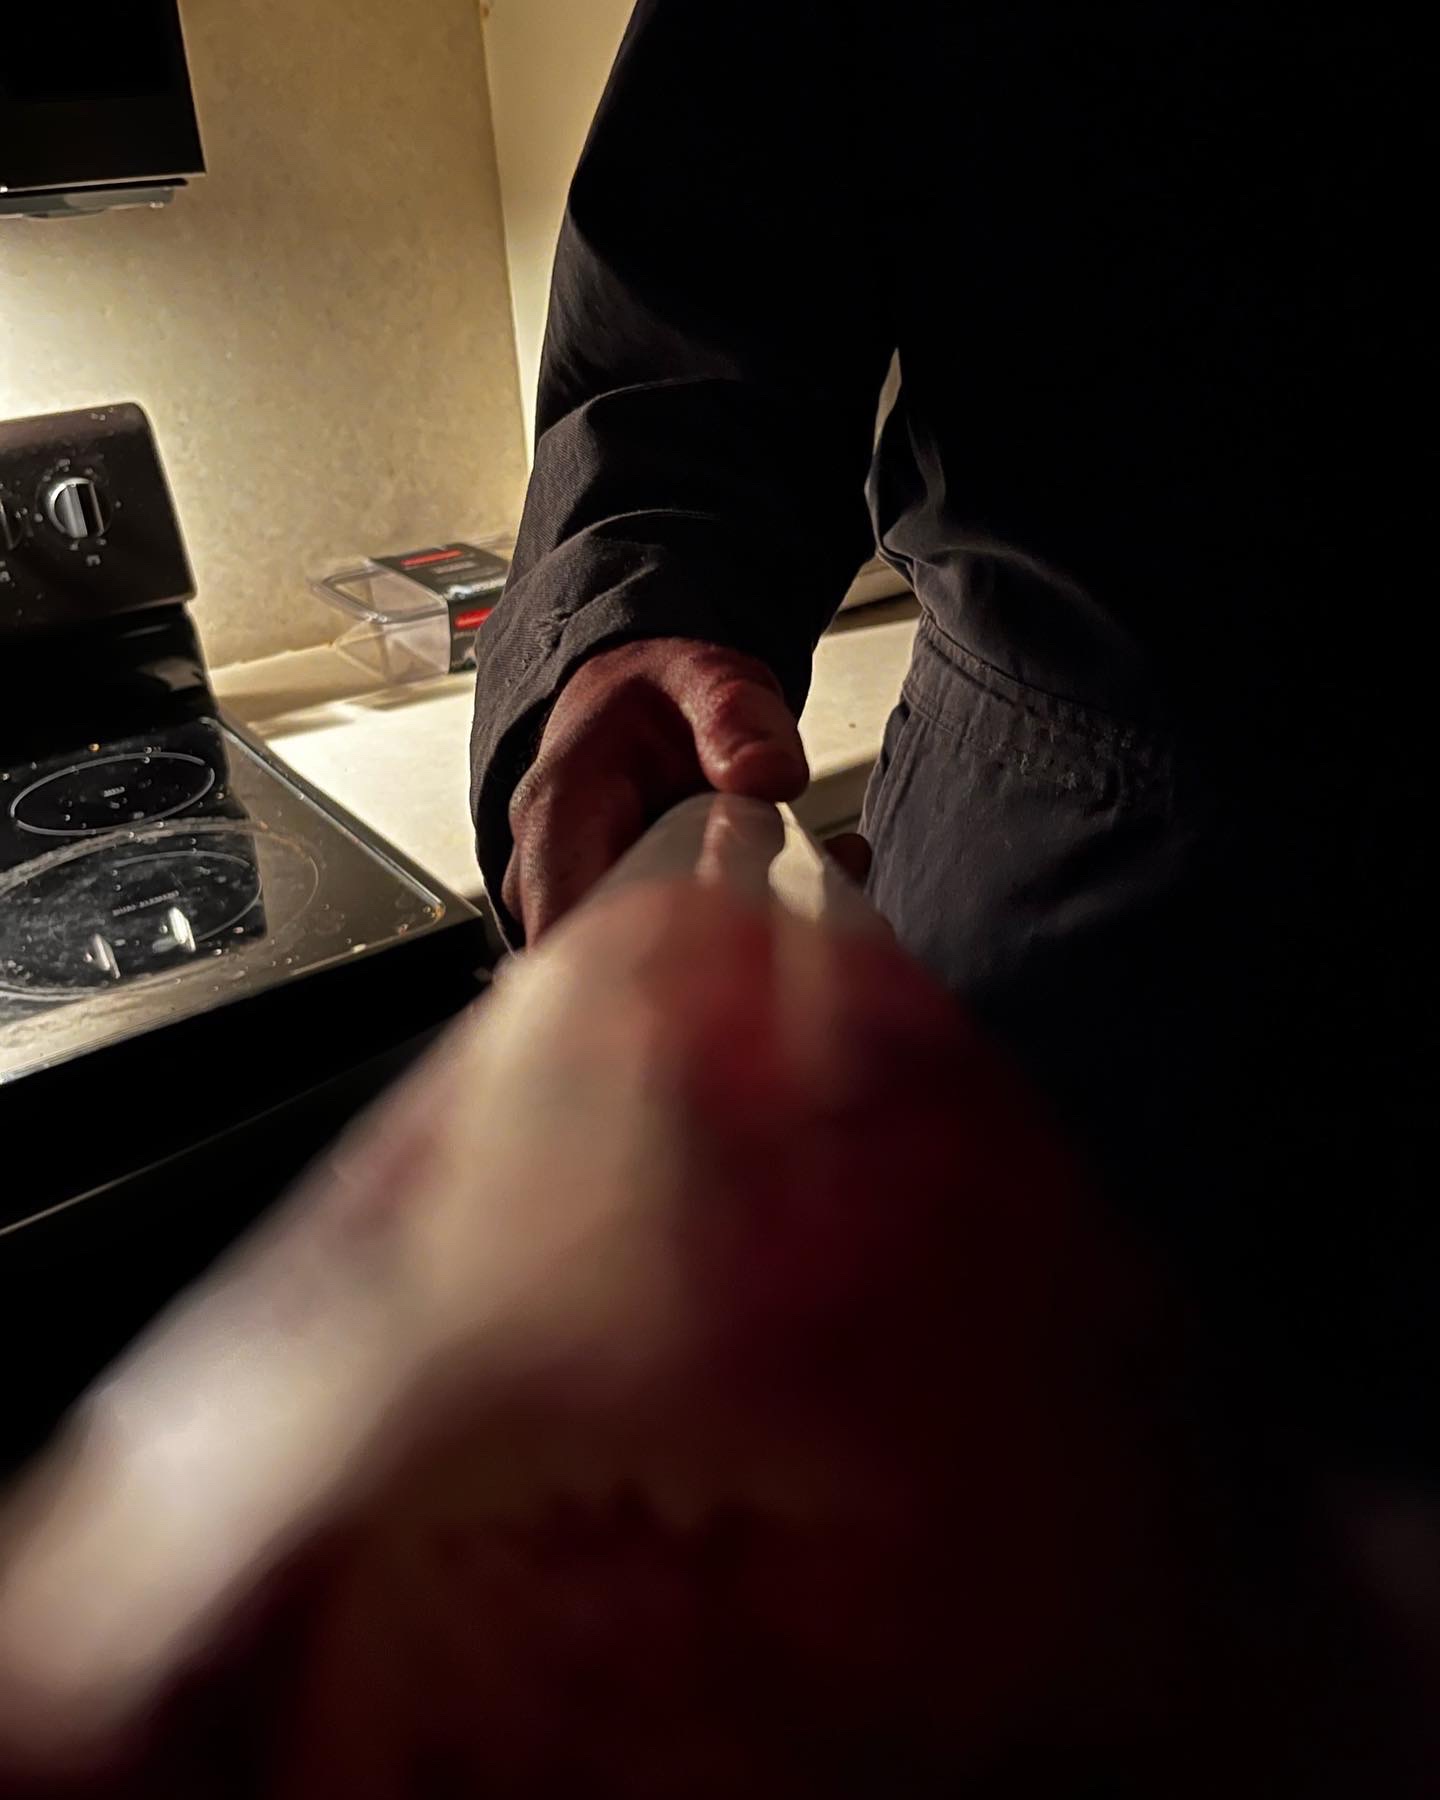
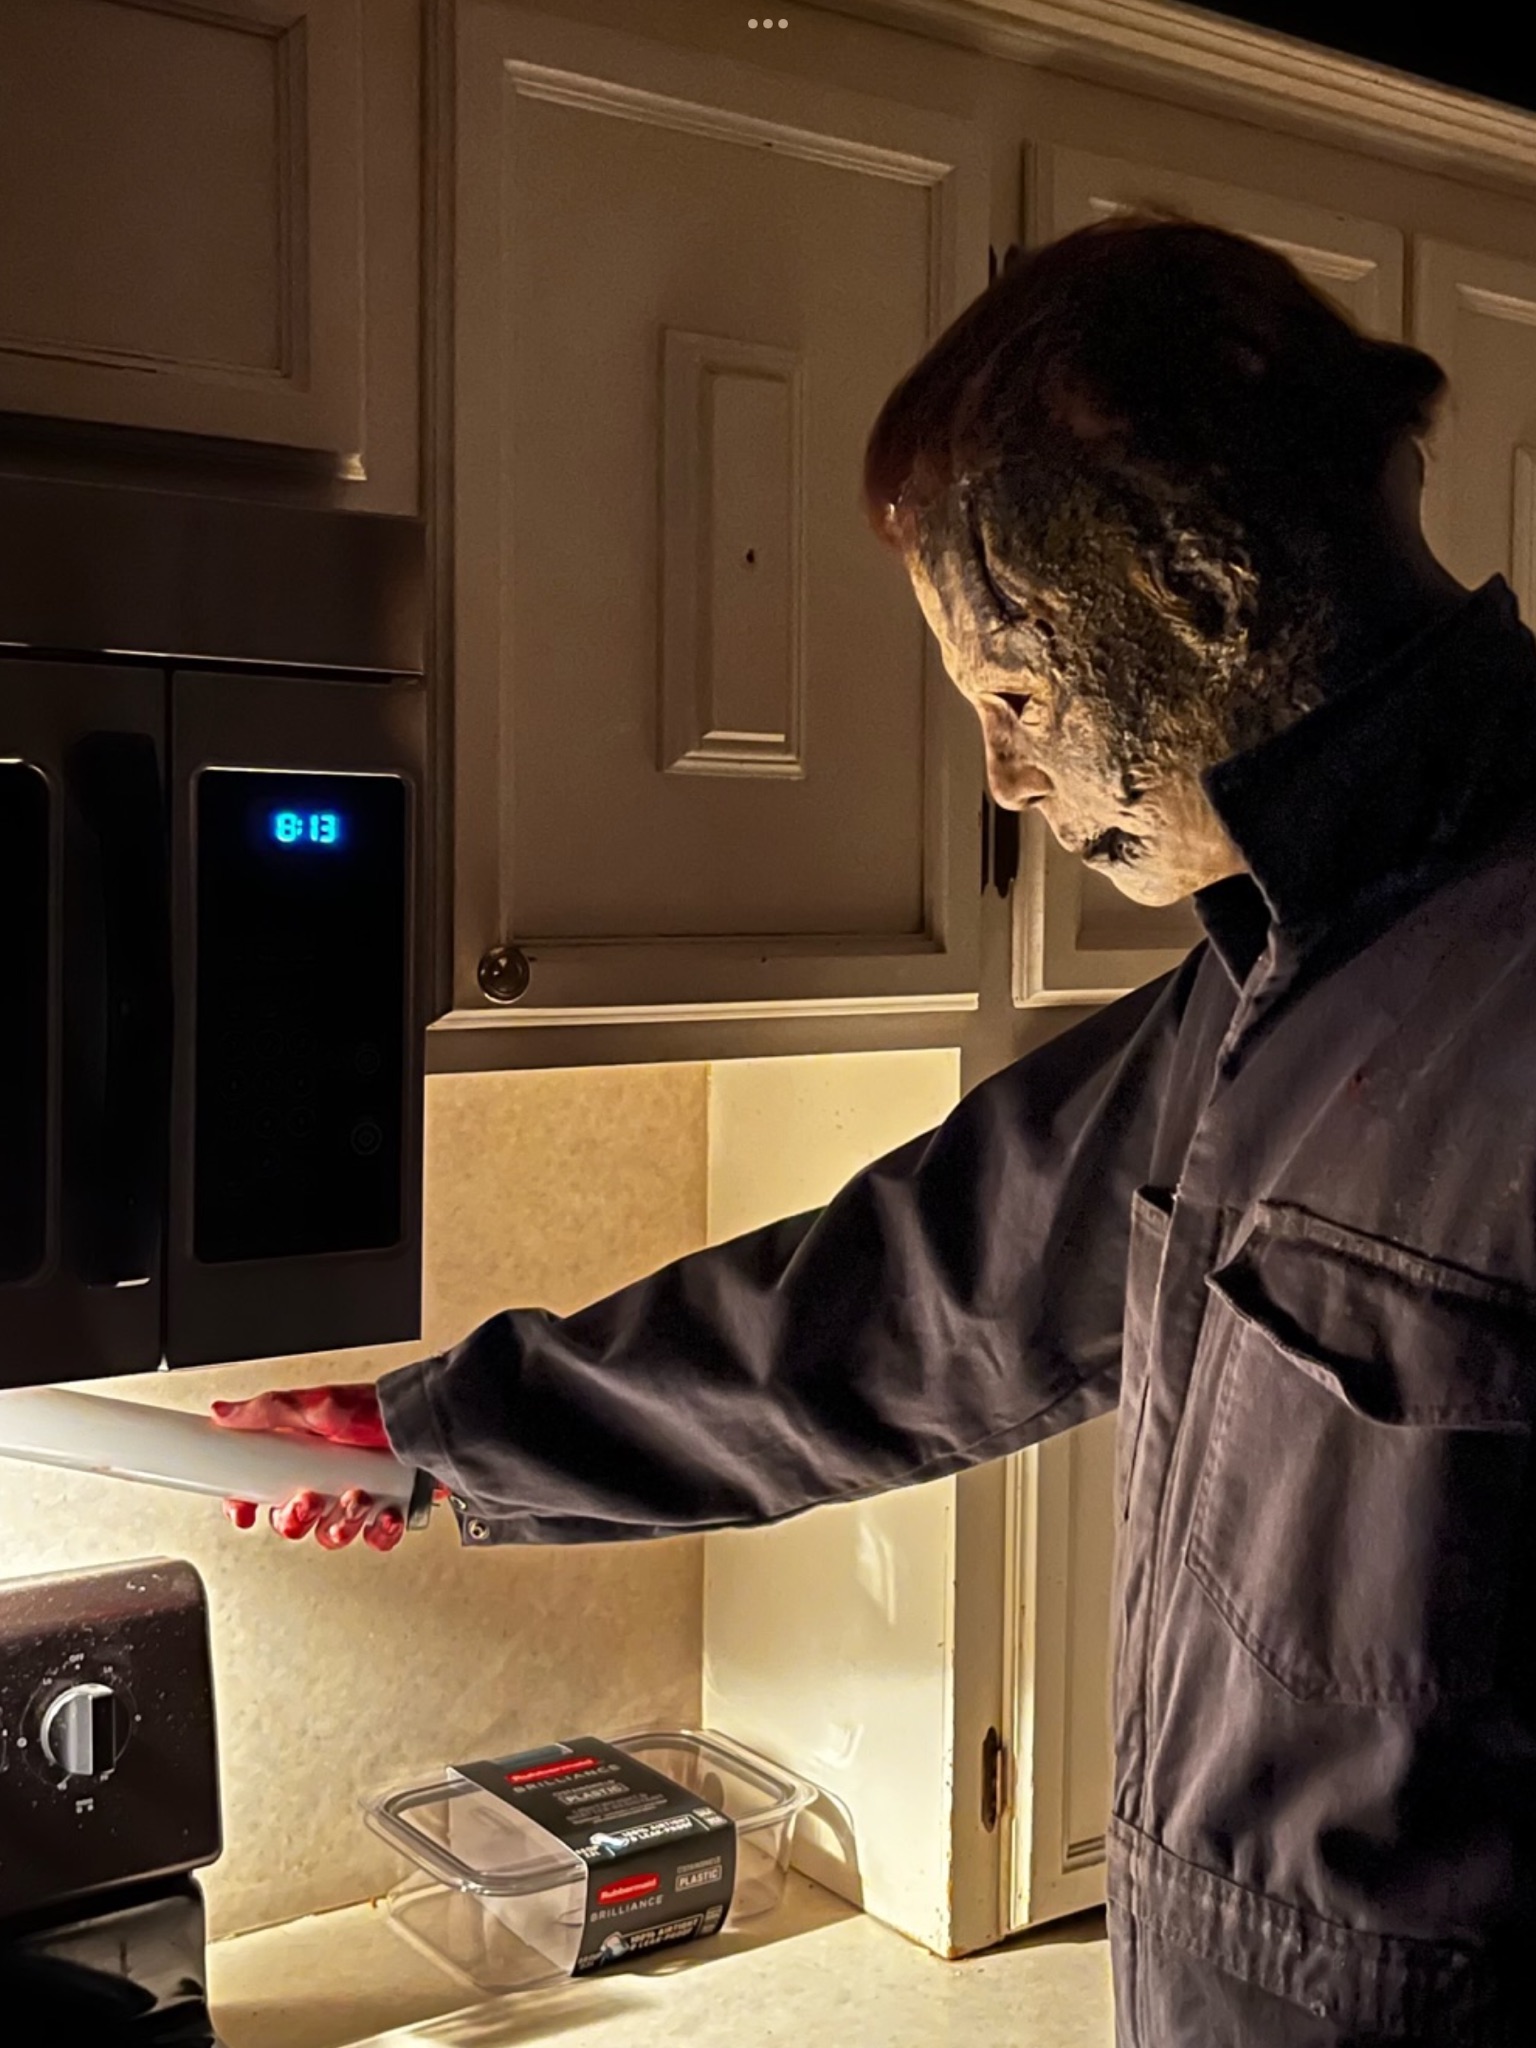
So I just realized I forgot to post shots here of my Remzap Halloween Ends mask from this Halloween. Been so busy I completely forgot about it. Anyway here are a few shots from Halloween night. So the coveralls are Legion Safety’s Version 2’s that were weathered by me literally on Halloween morning and I spent only about two hours weathering them so I know they aren’t perfect. The mold weathering on the legs needs more work and what not, but I was so pressed for time and I figured they turned out decent enough considering the time I put into them anyway.
I do plan on doing more weathering on the coveralls sometime to get them totally finished of course.
As for the mask I believe this is one of the first Ends masks Reme did. I don’t know for sure if it’s the second one he did or maybe as late as the fourth one but it was certainly one of the first few he put out before Halloween anyway and I think he did a great job. Anyway here’s a look and I hope you are all well!
[emoji316][emoji380]


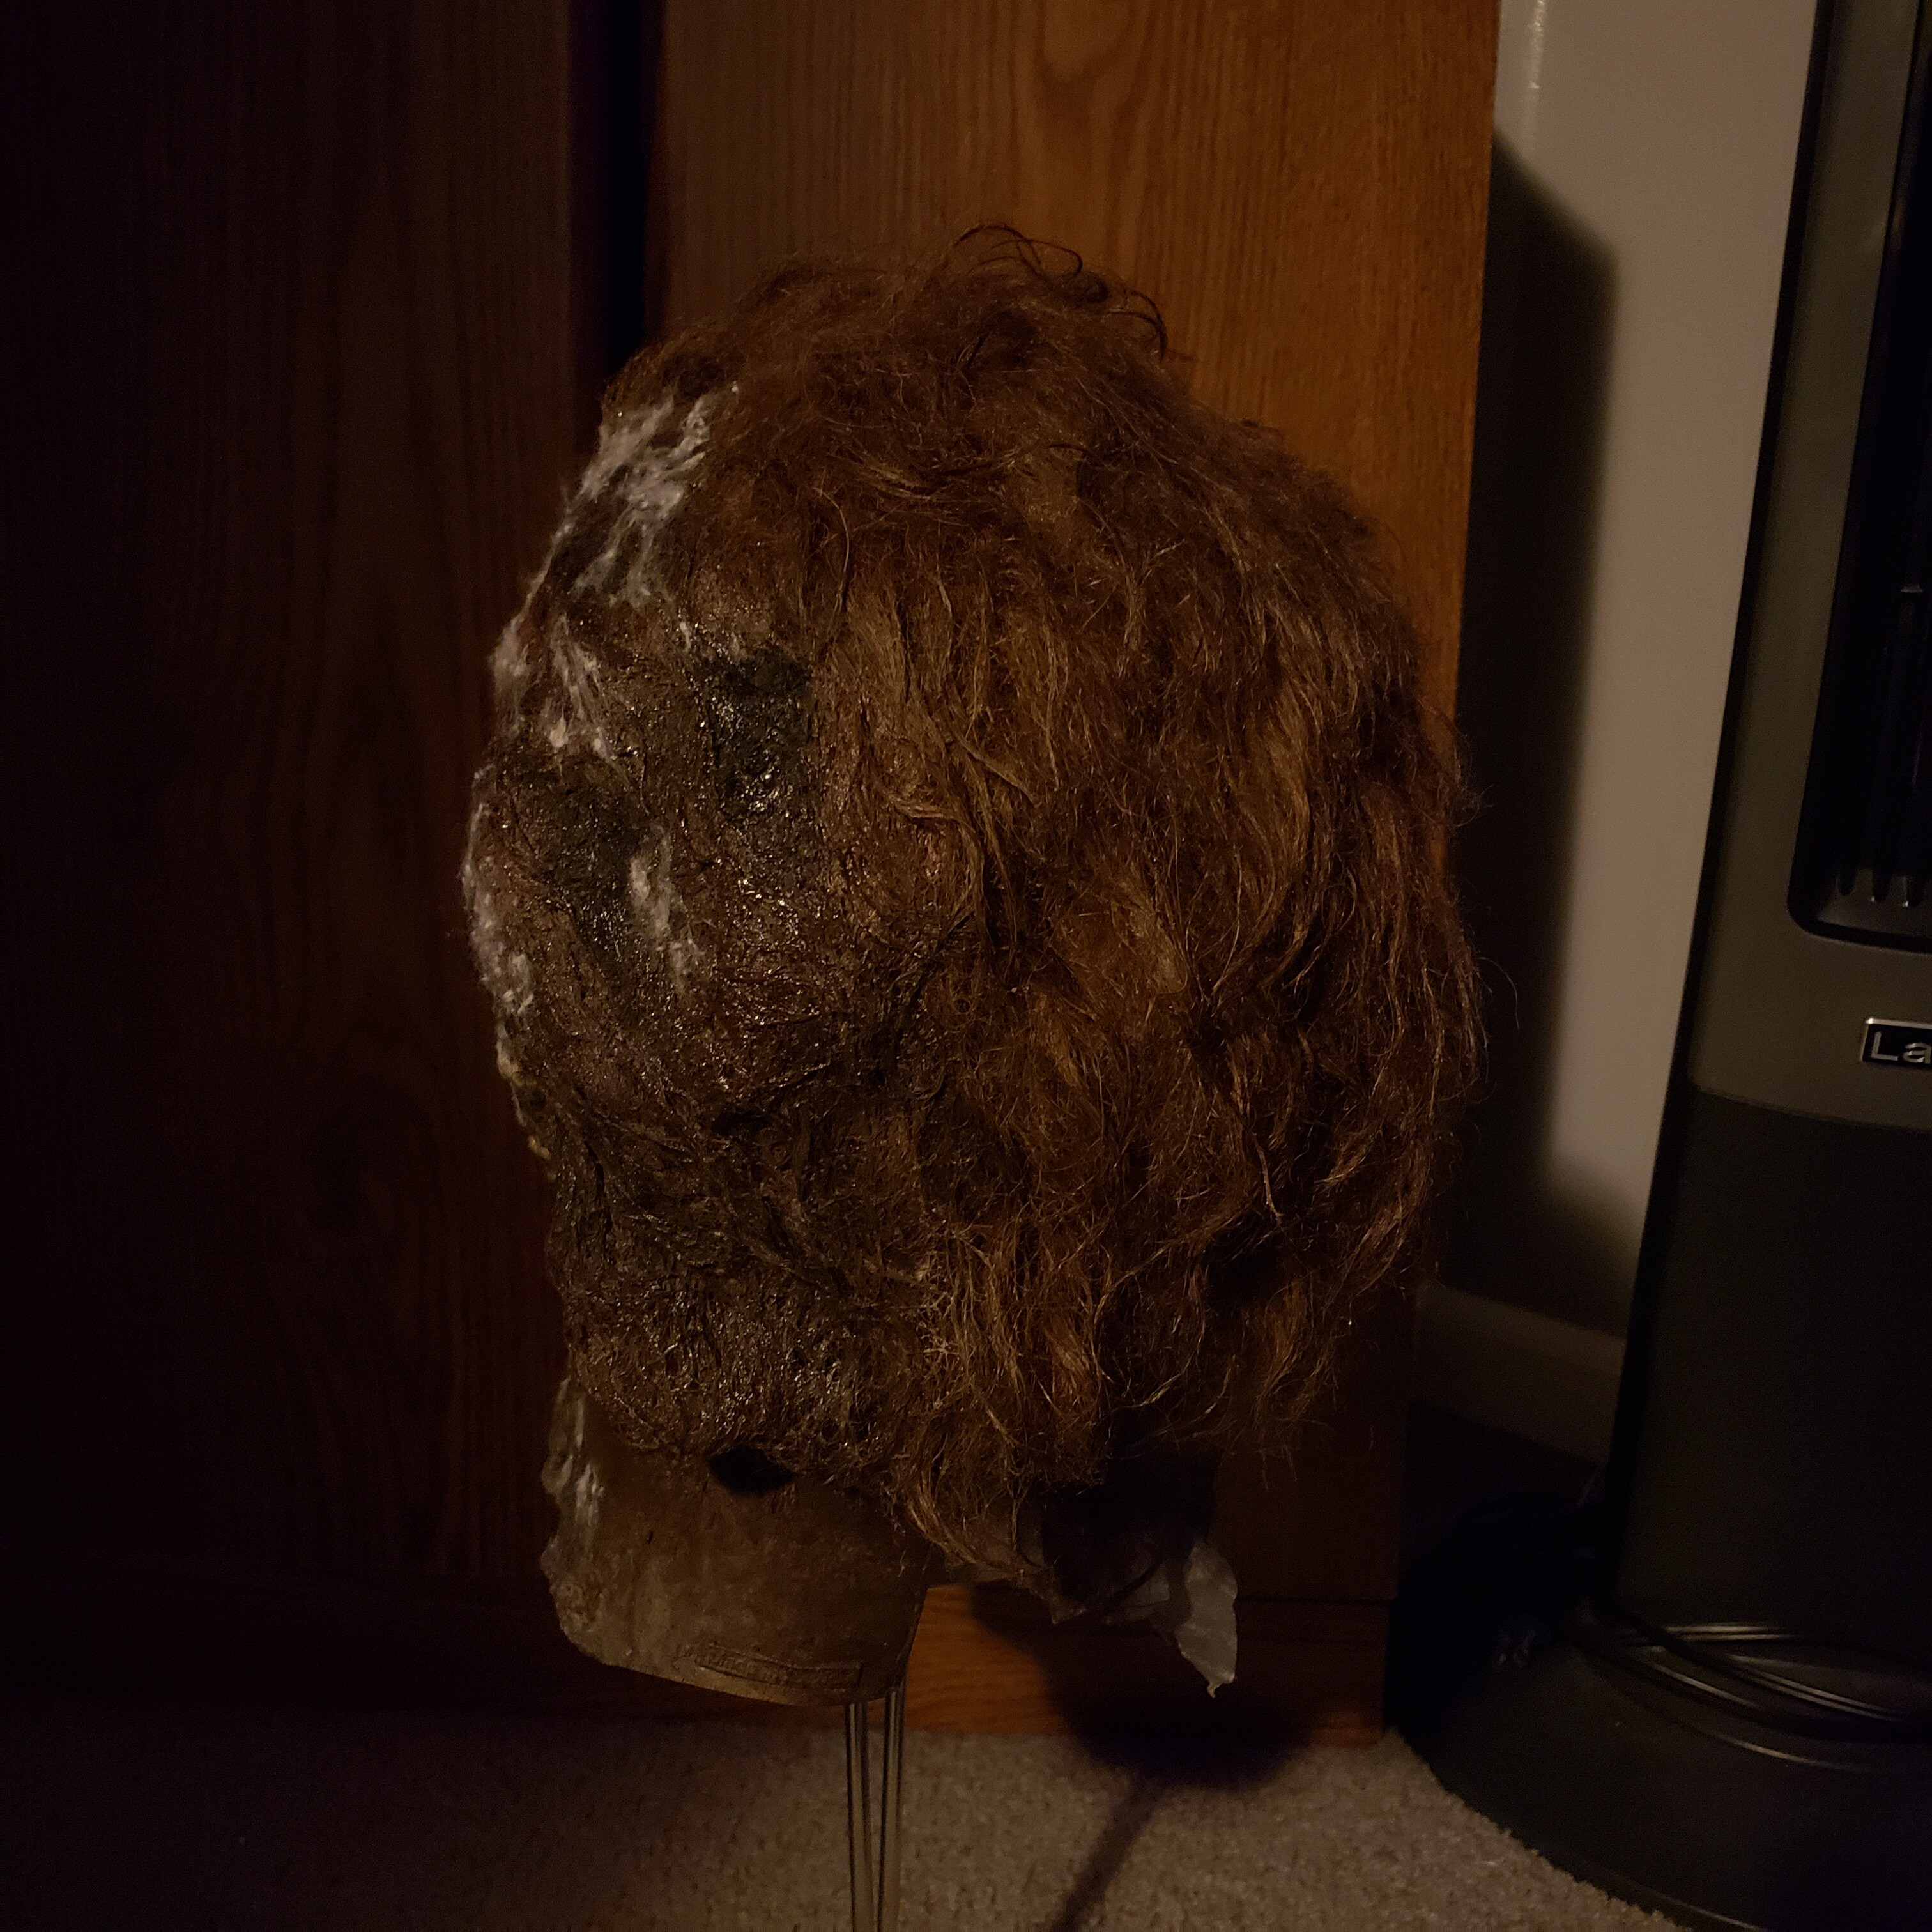
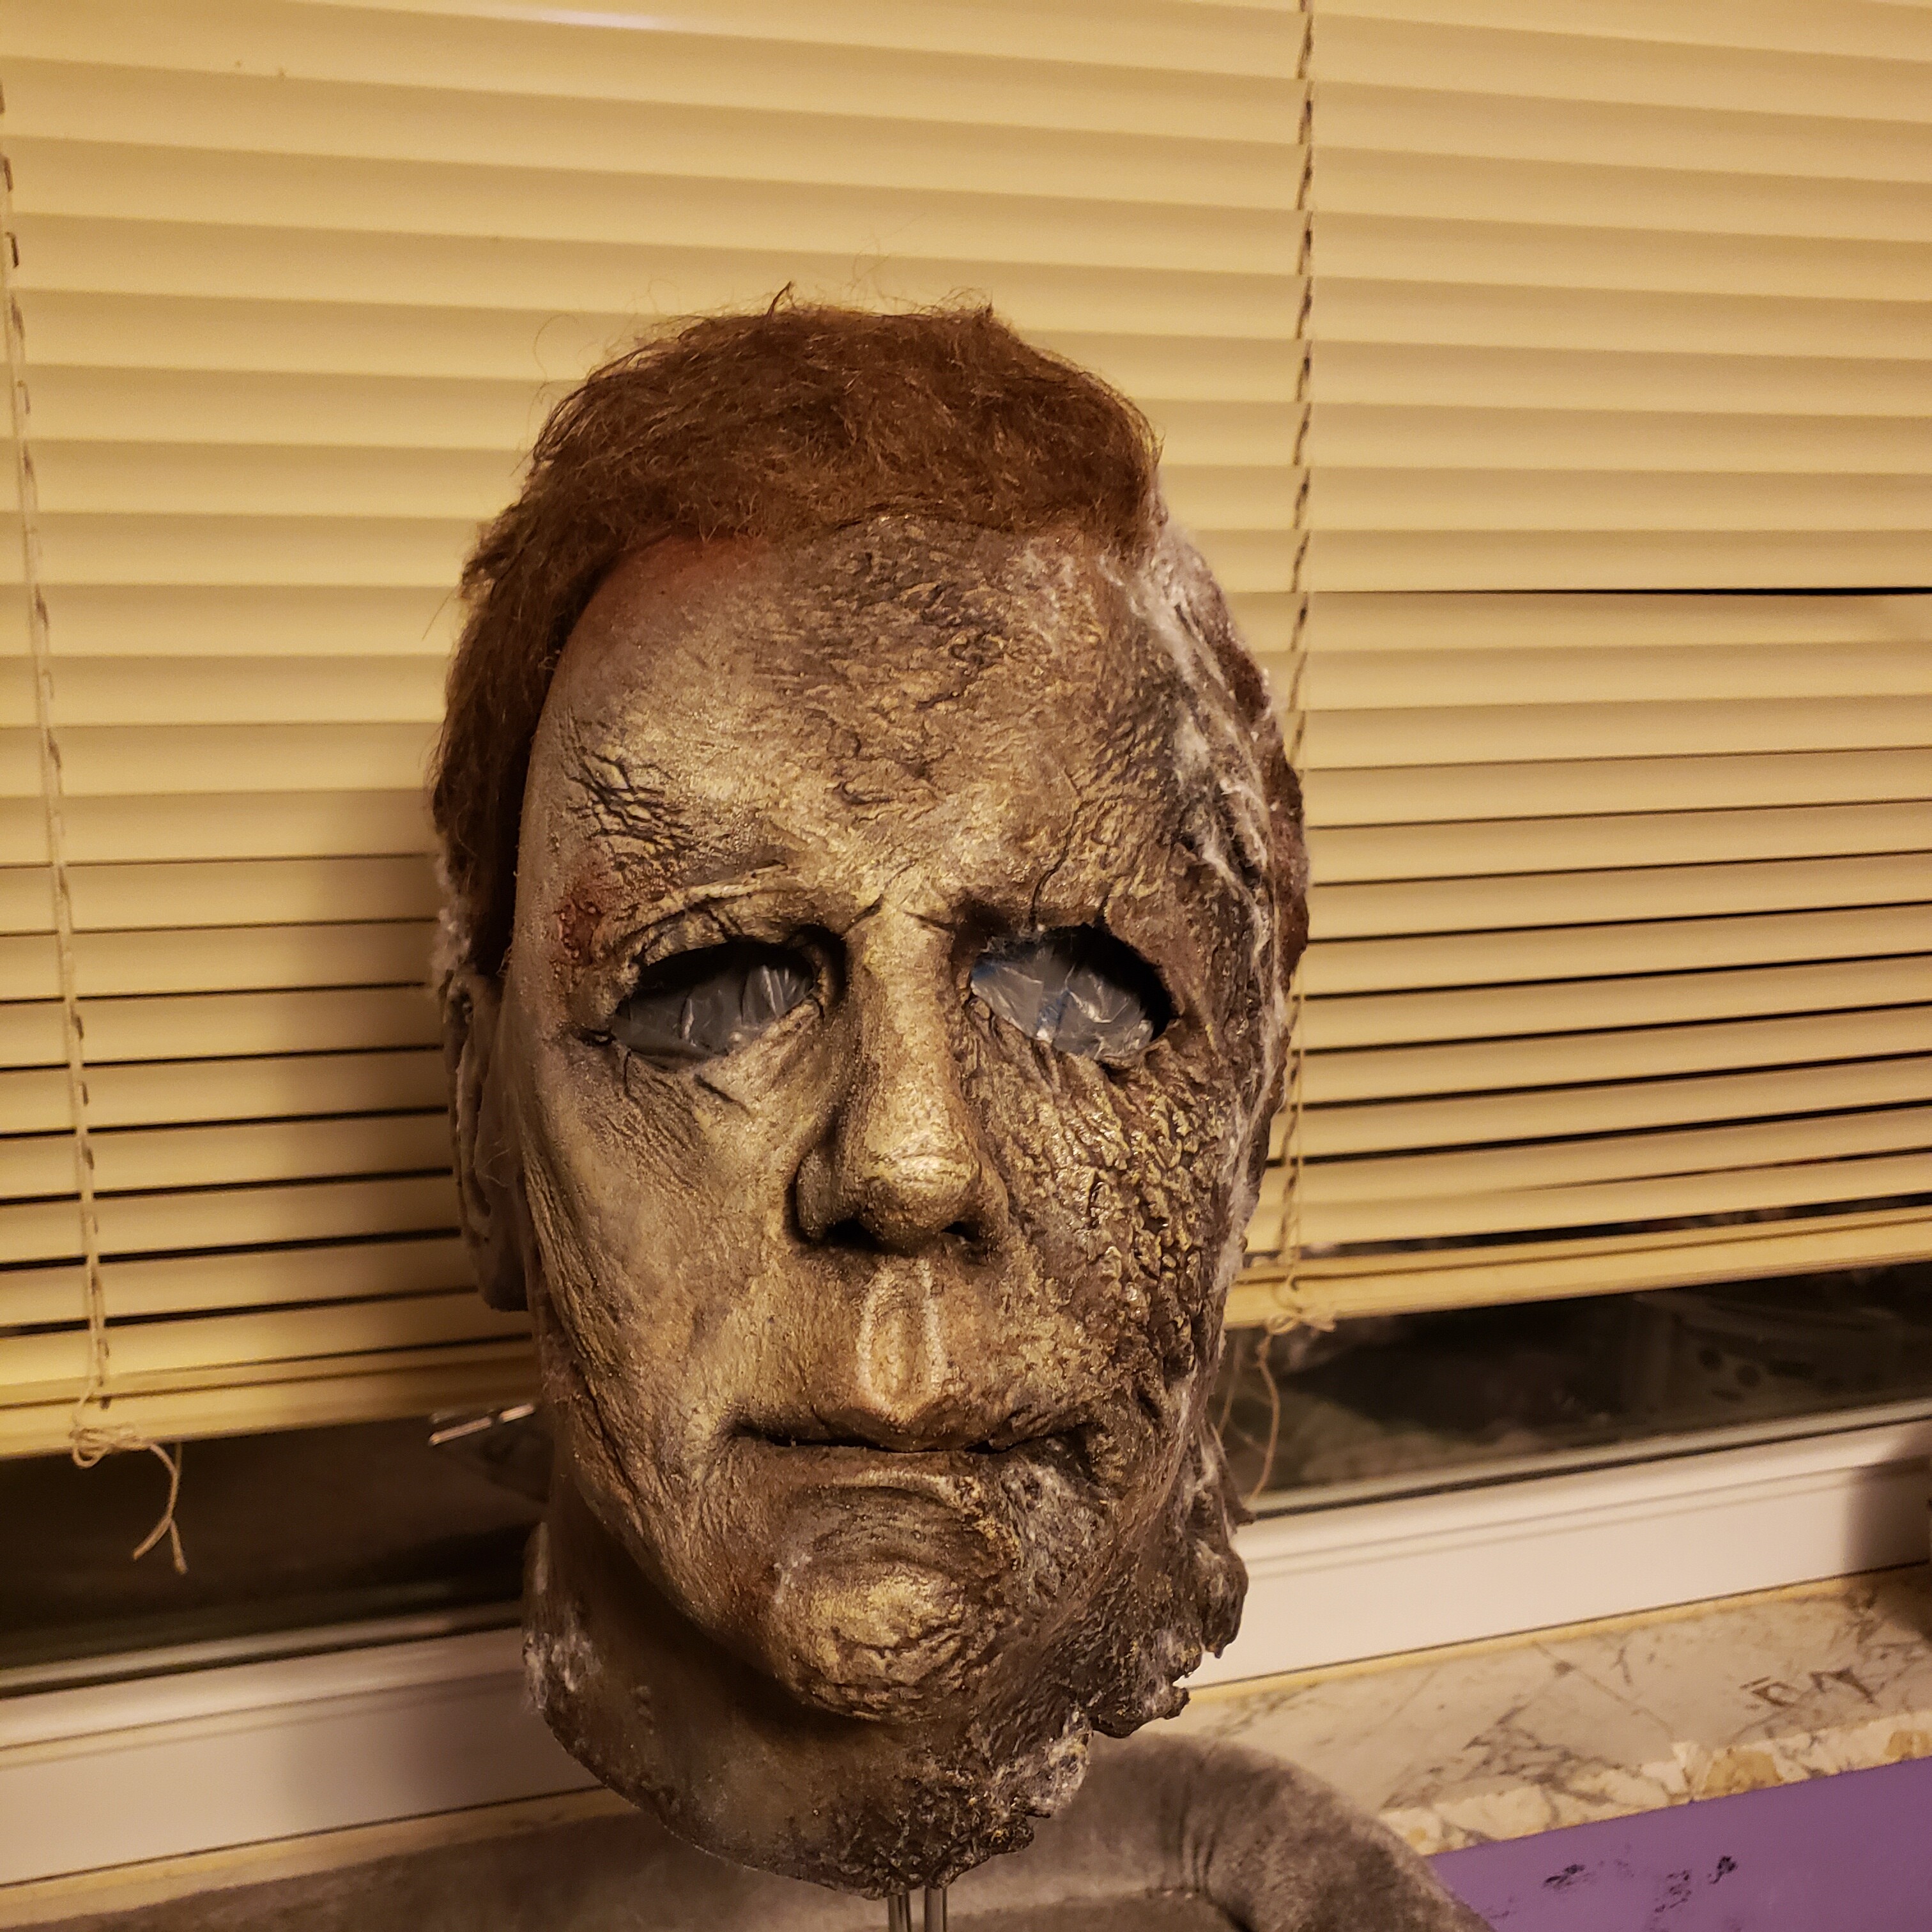
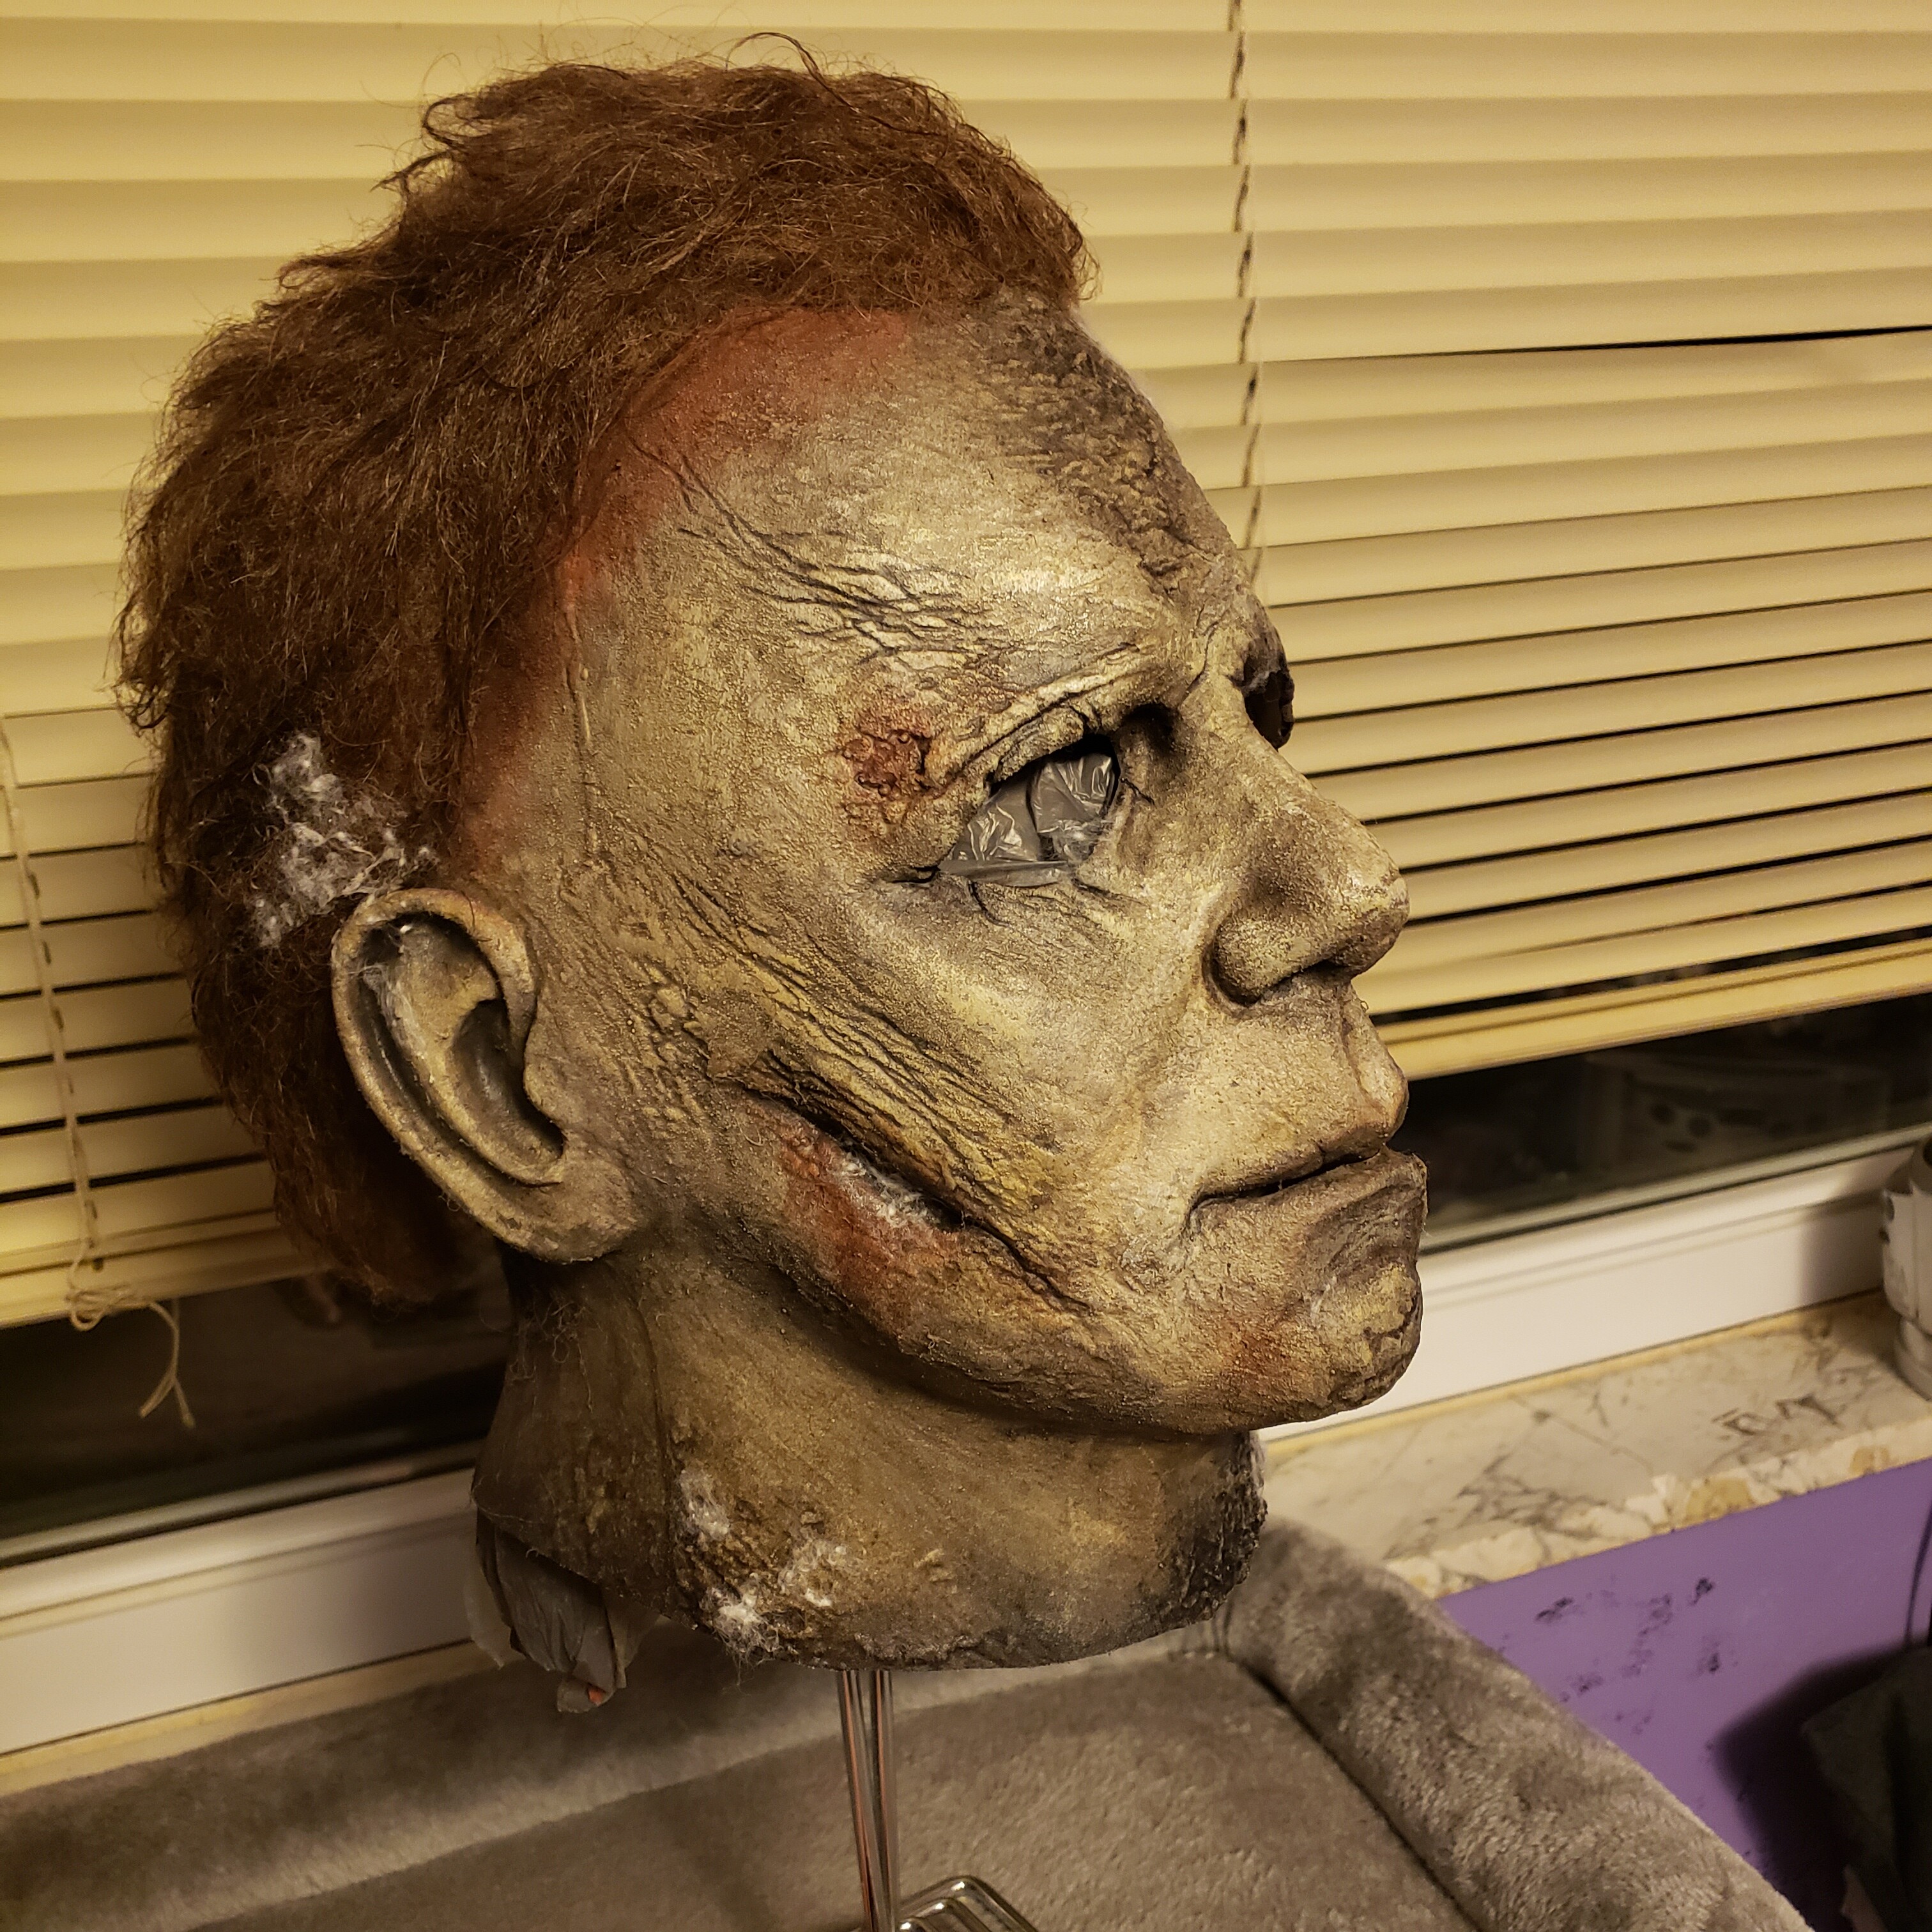
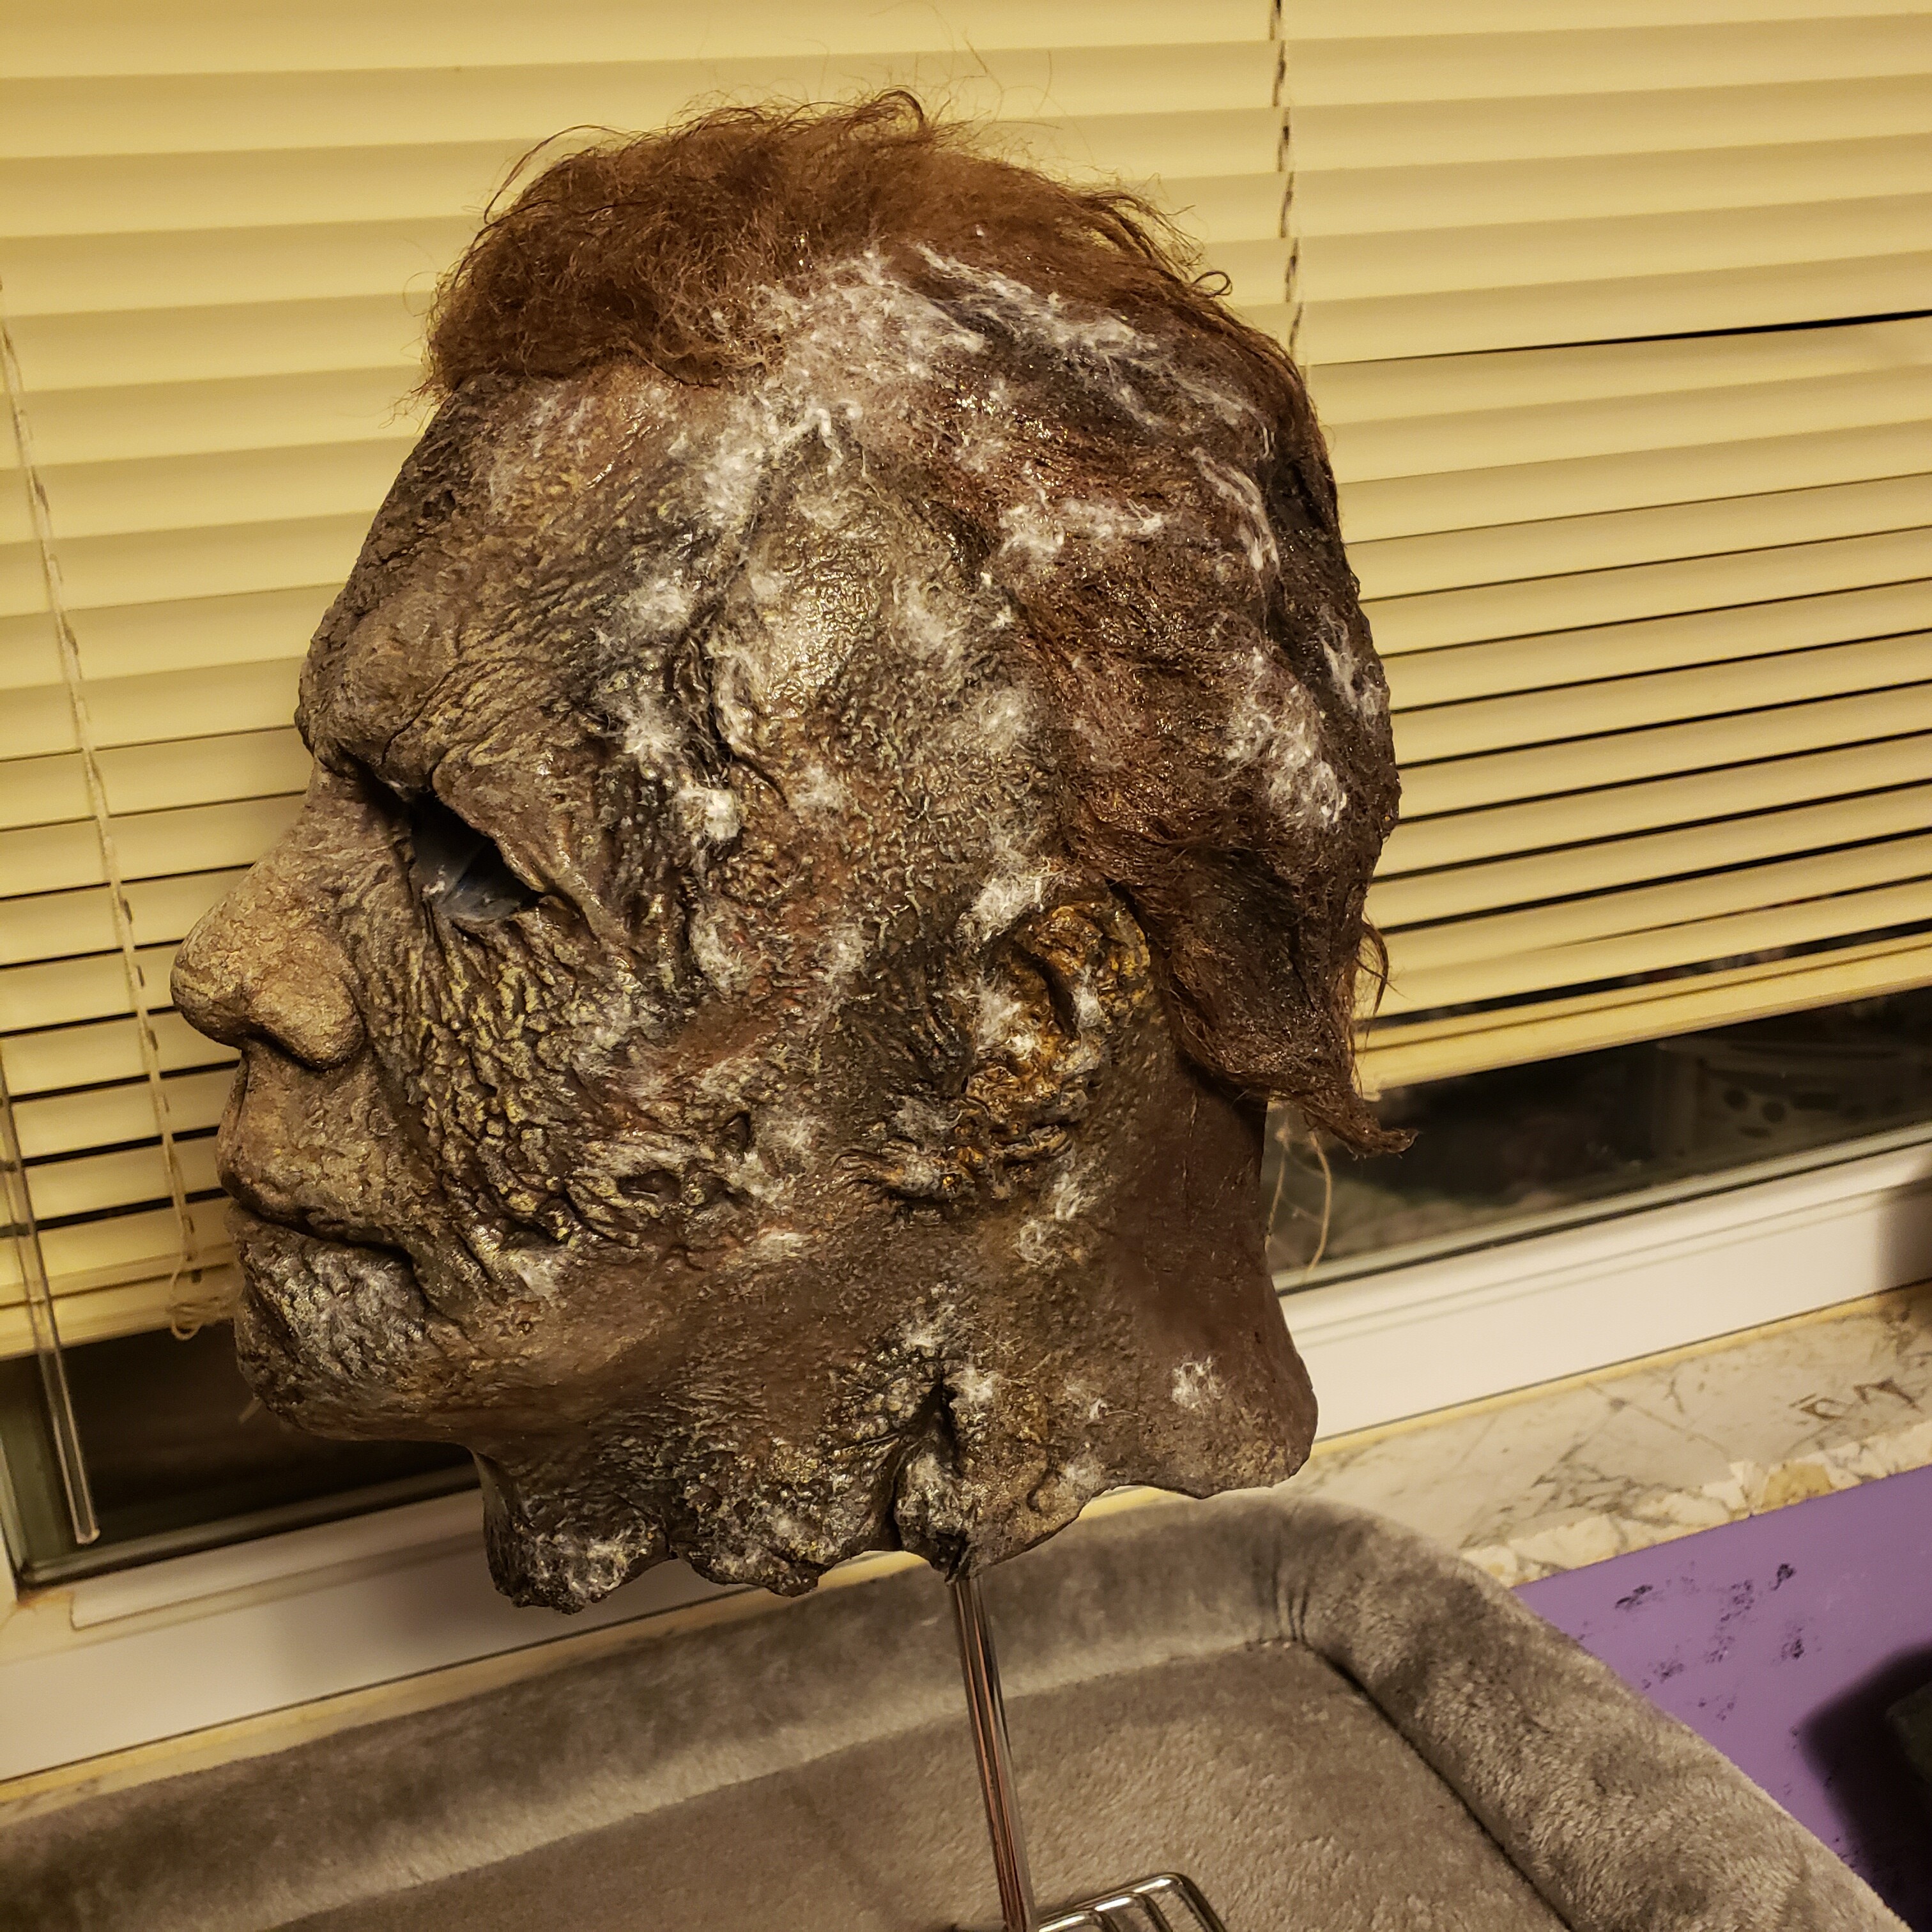
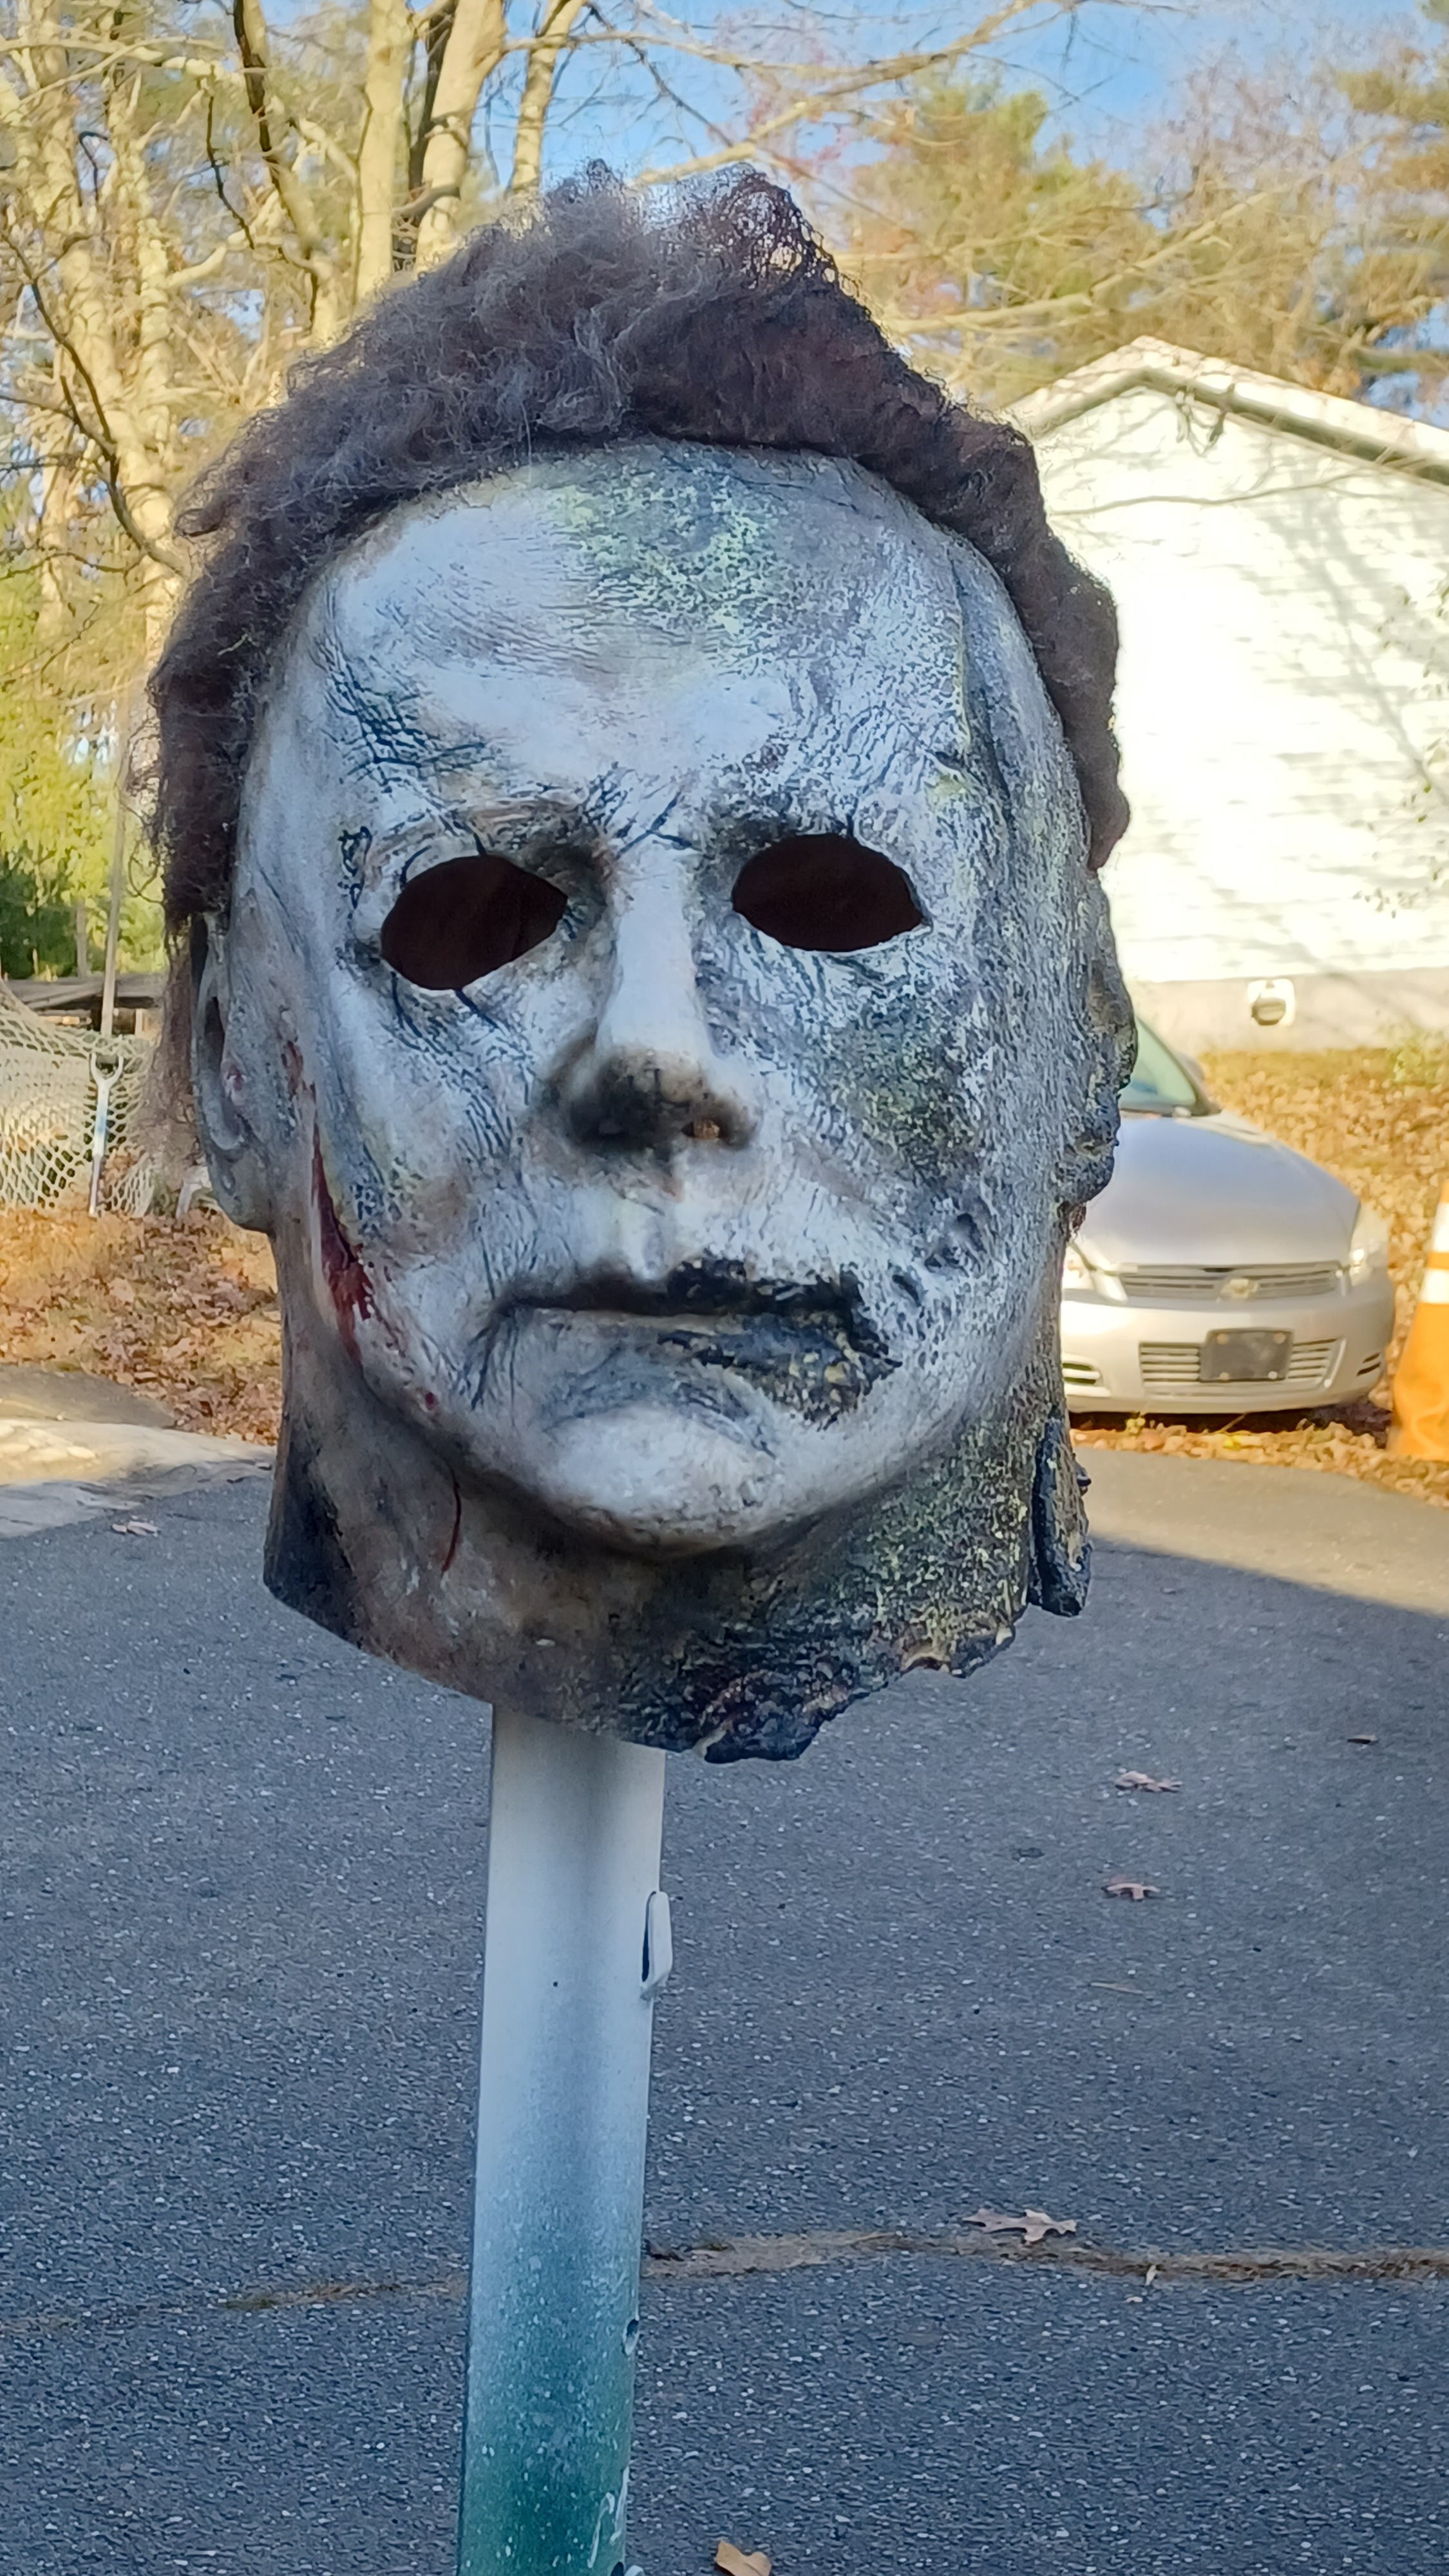
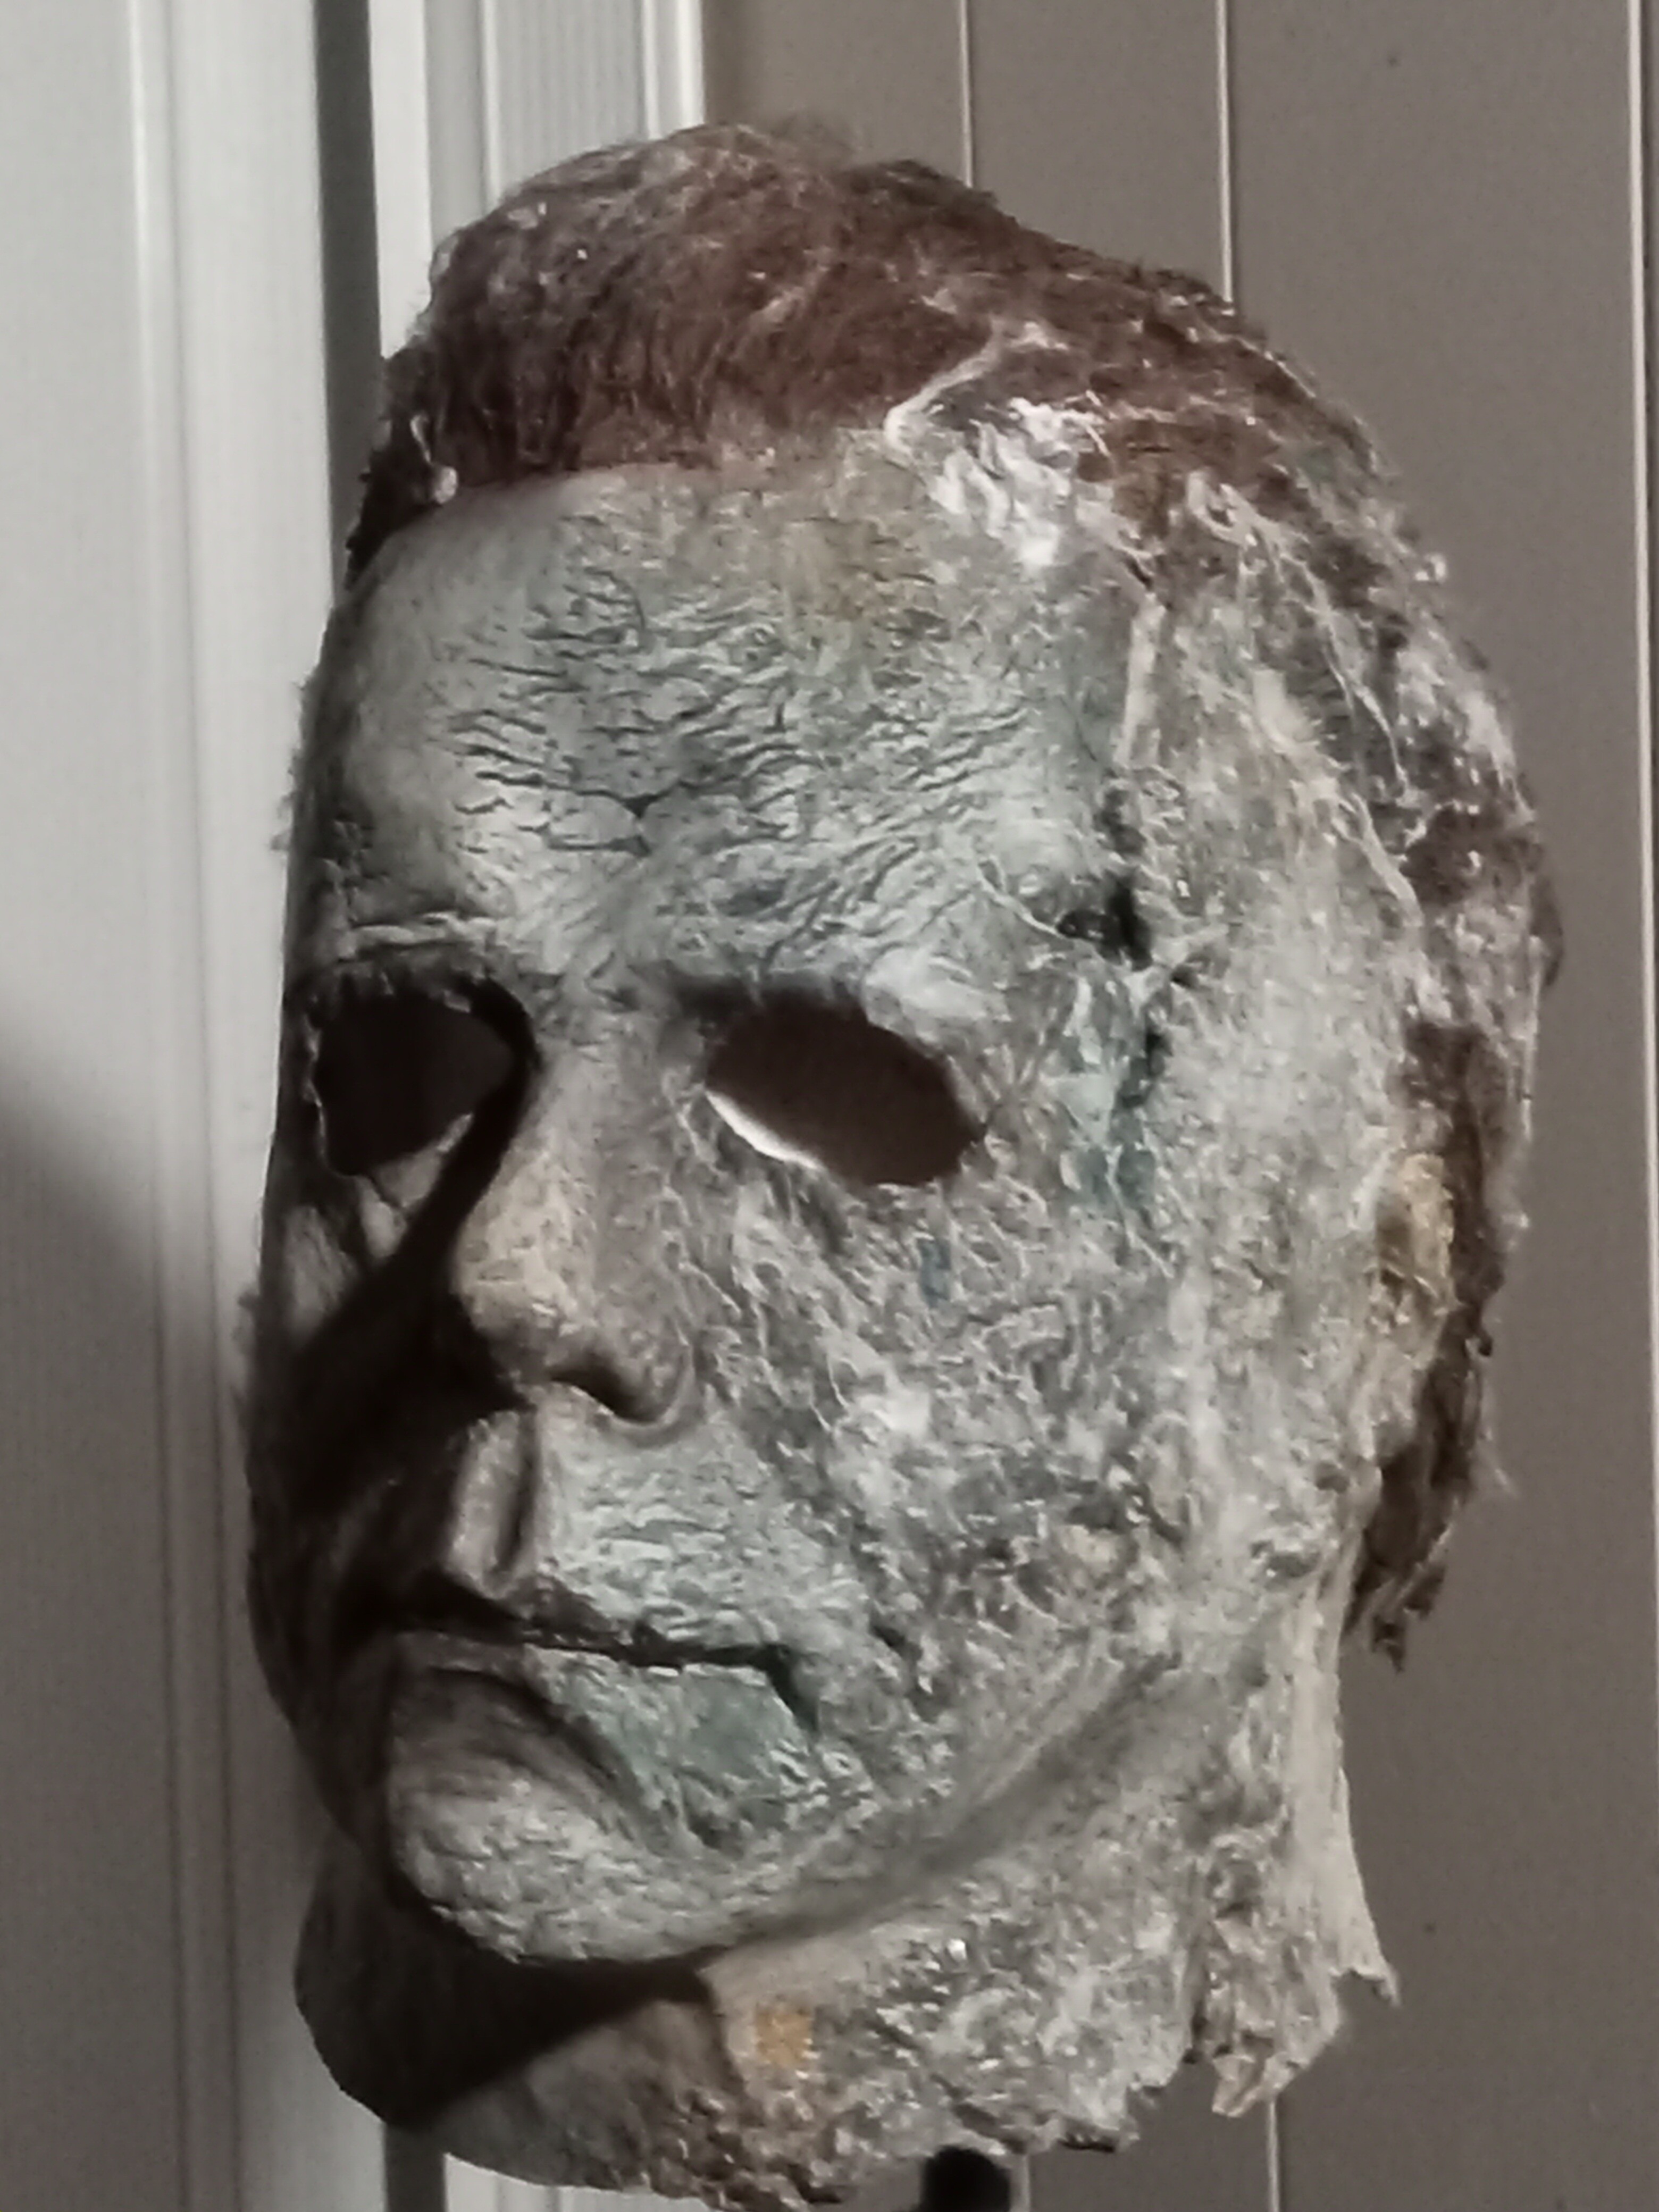
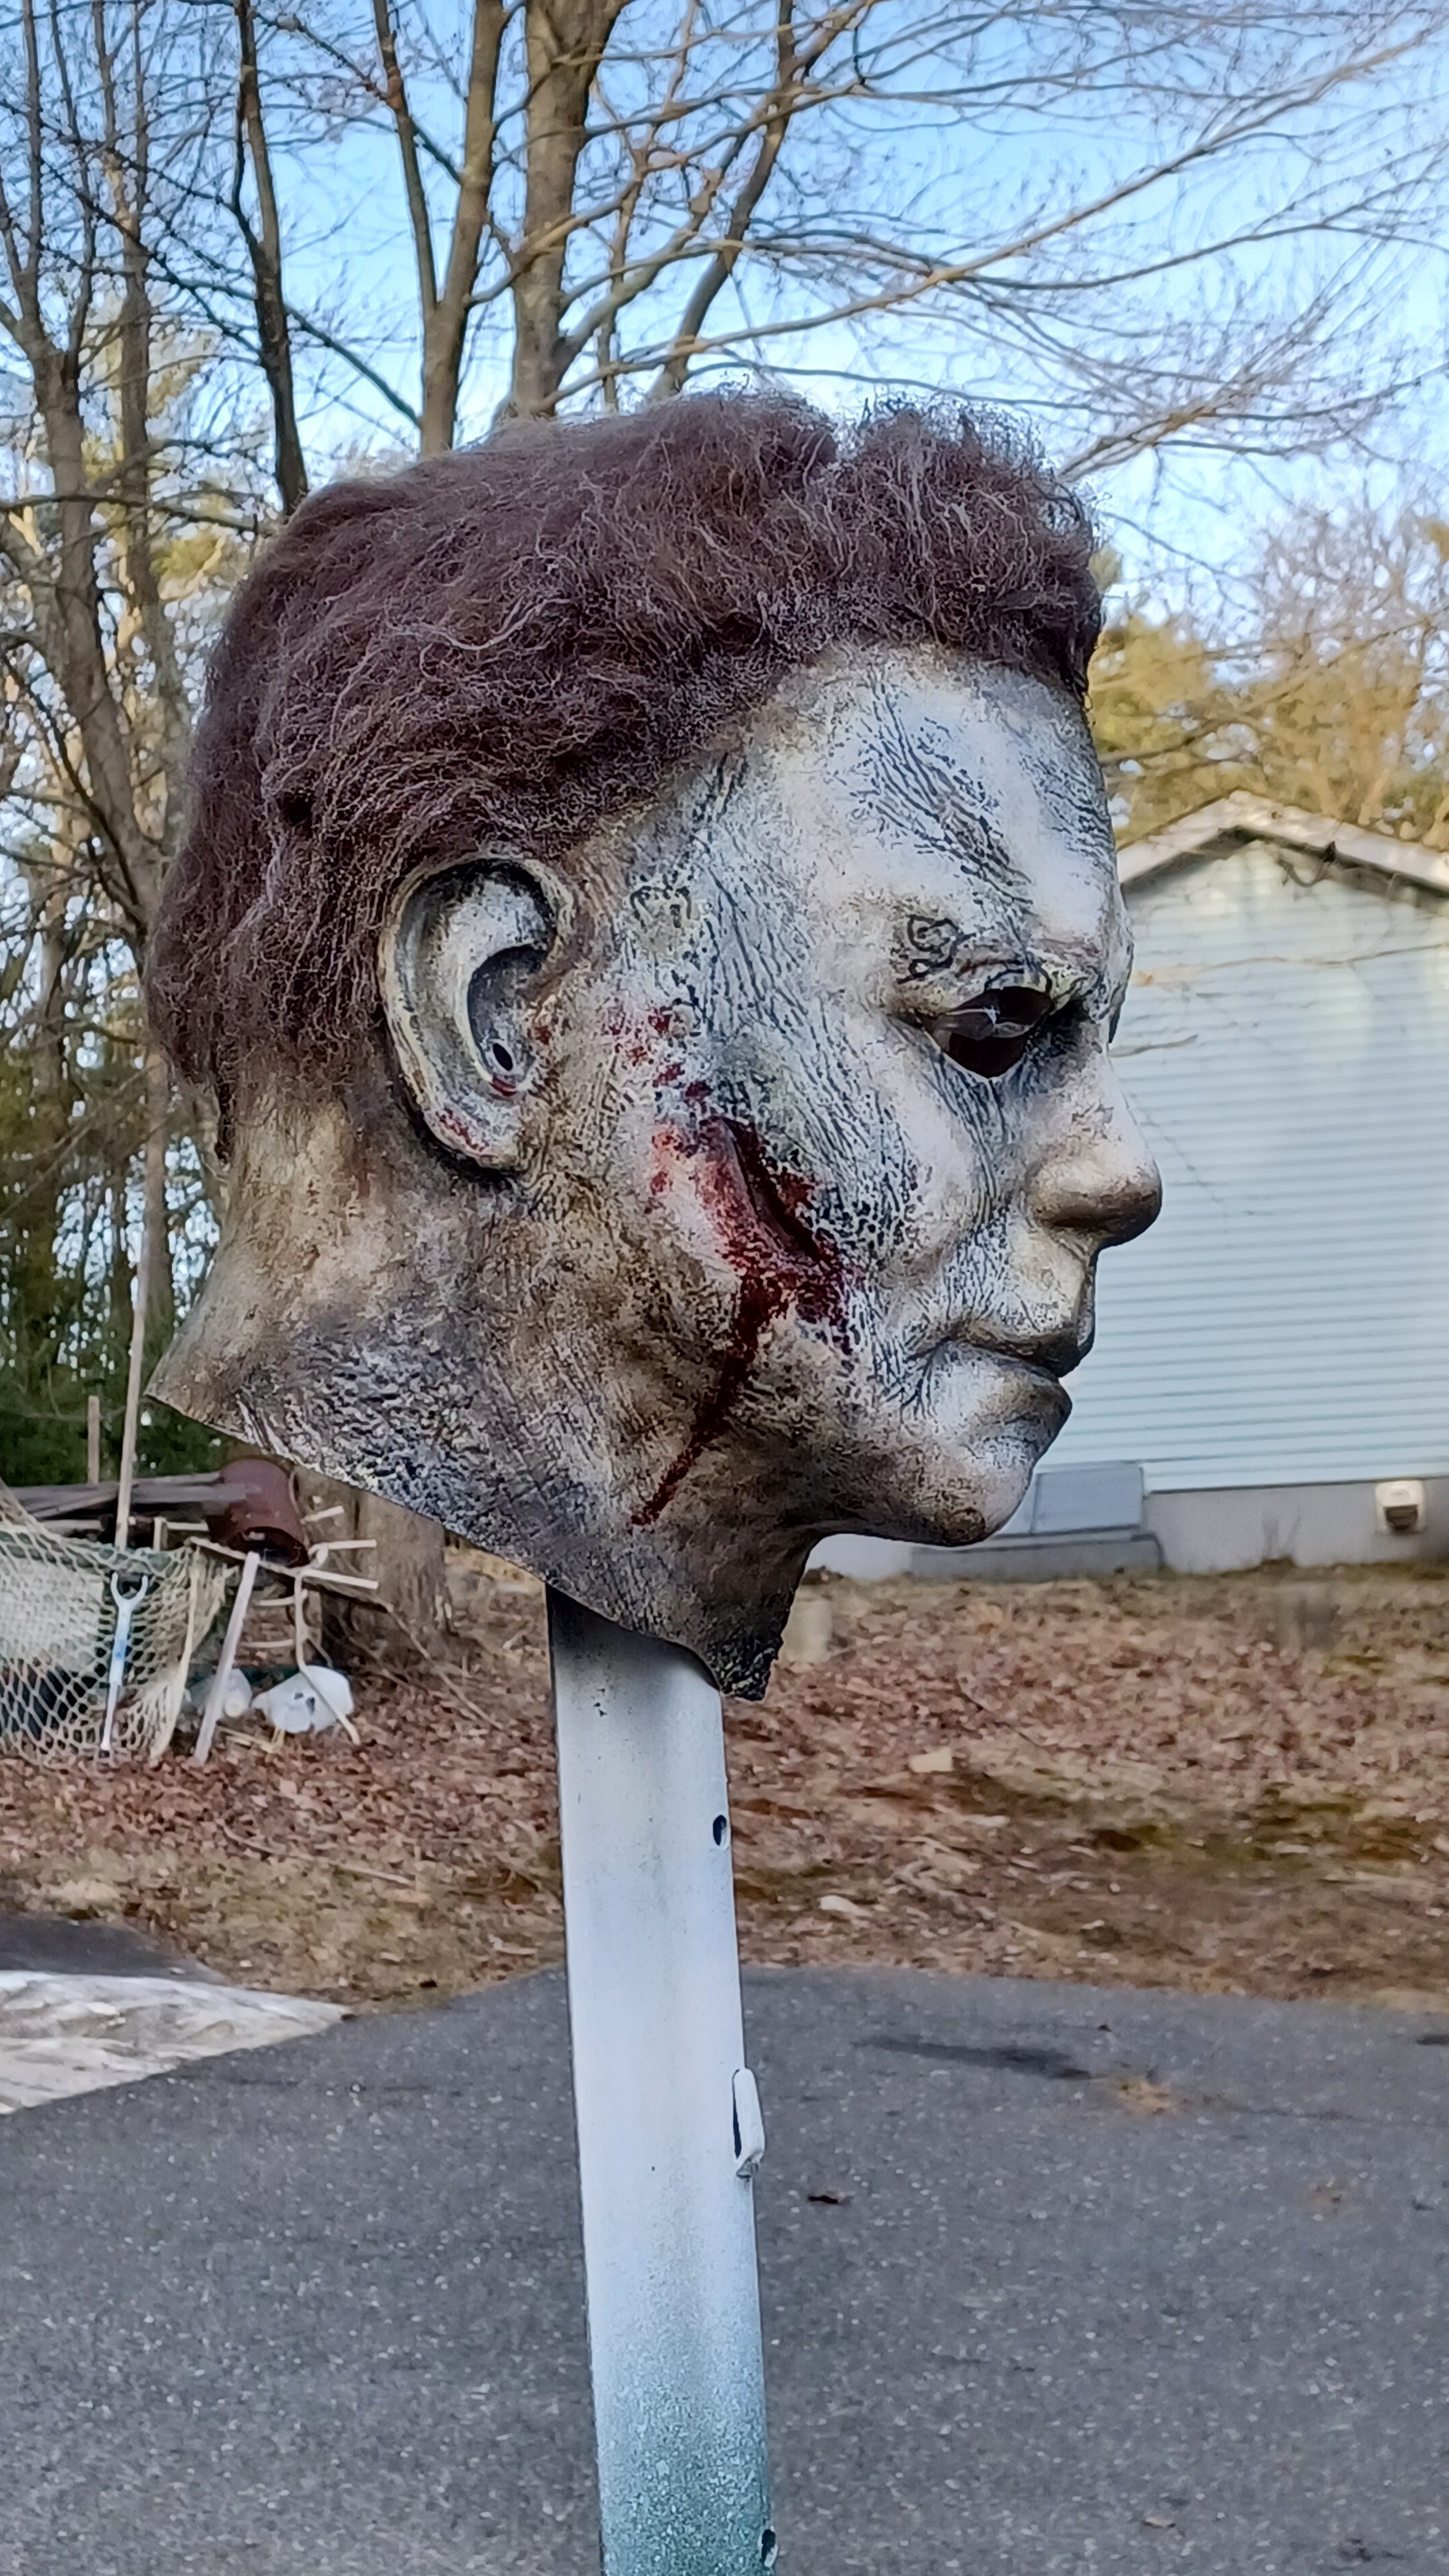
Almost finished Ends


Made some progress on my rehauling. Still need some feedback! Let me know what you think ![]()


Sent from my iPhone using Tapatalk
I cannot give any feedback other than on the Ends mask there’s a part of the back end in the hair that sticks out a bit on the right side of the head of the mask.
Other than that very minute and honestly not even important detail, phenomenal. The mold effect looks REALLY dead on, I cannot imagine the struggle to do that!
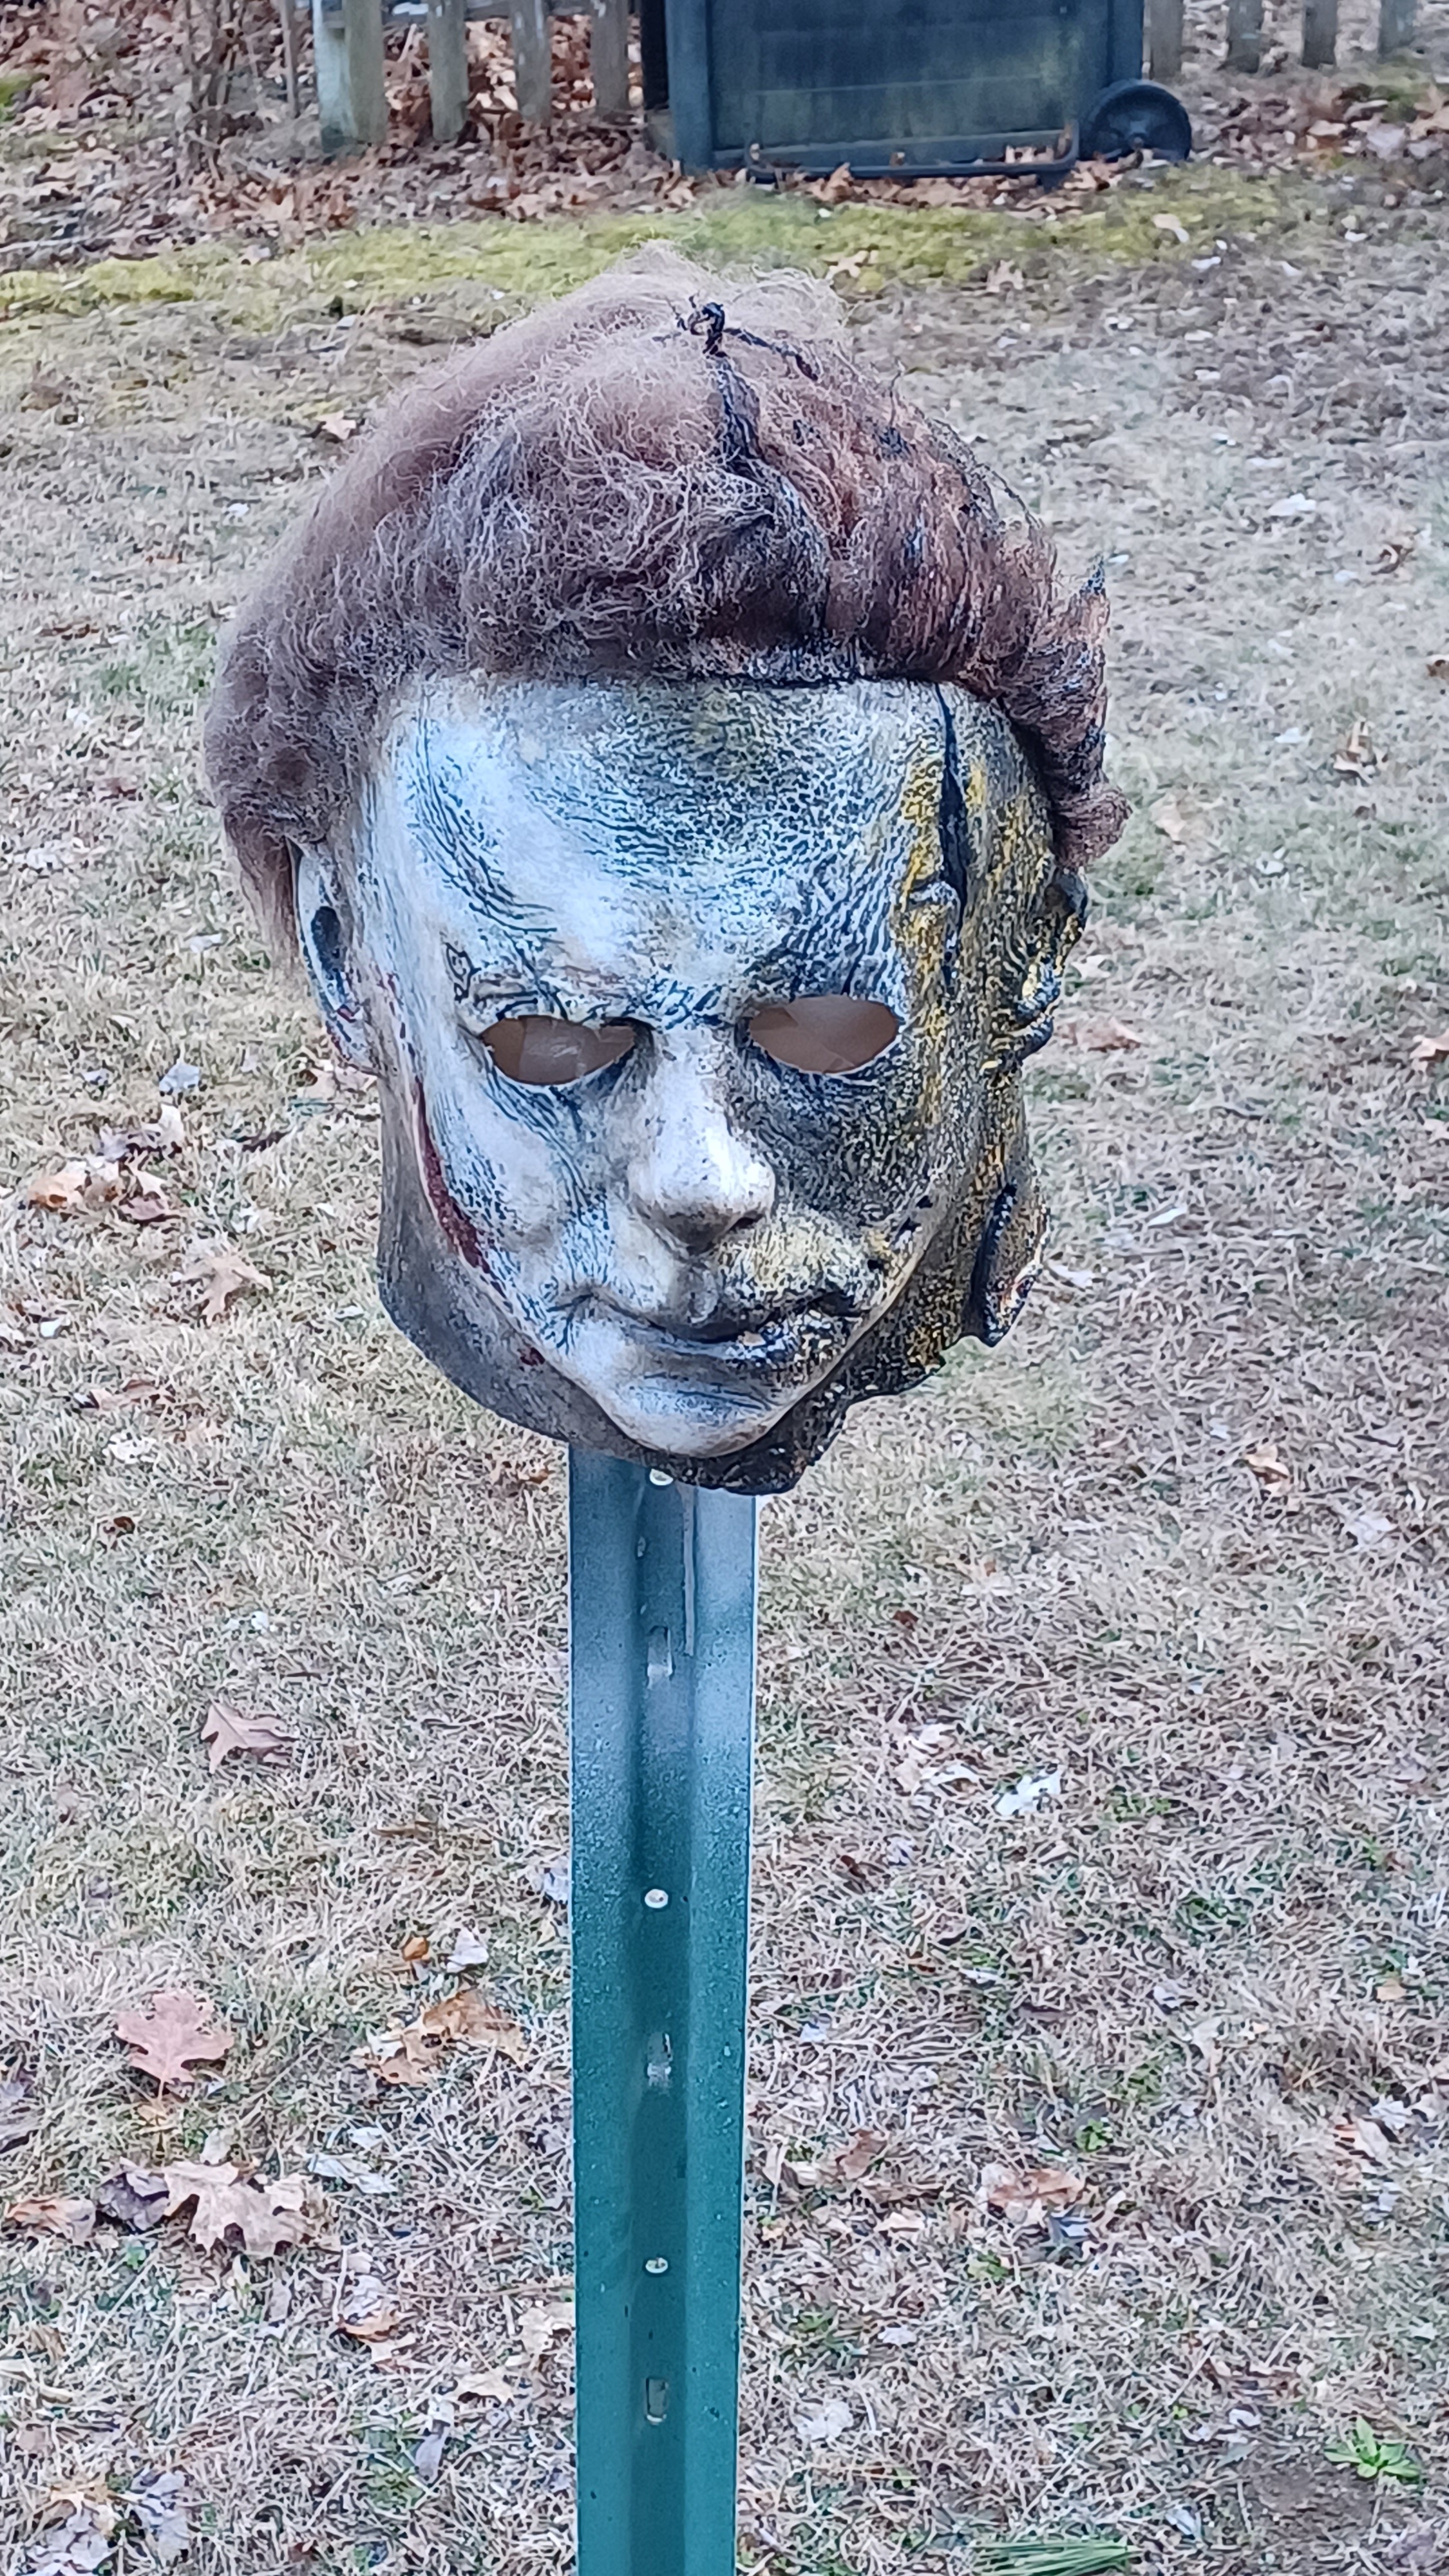
Finally went after eye cut mod to the TOTS Boogeyman repaint…
Used a felt tip for the dremel. Overall I like it, but the right eye needs more subtraction I think…


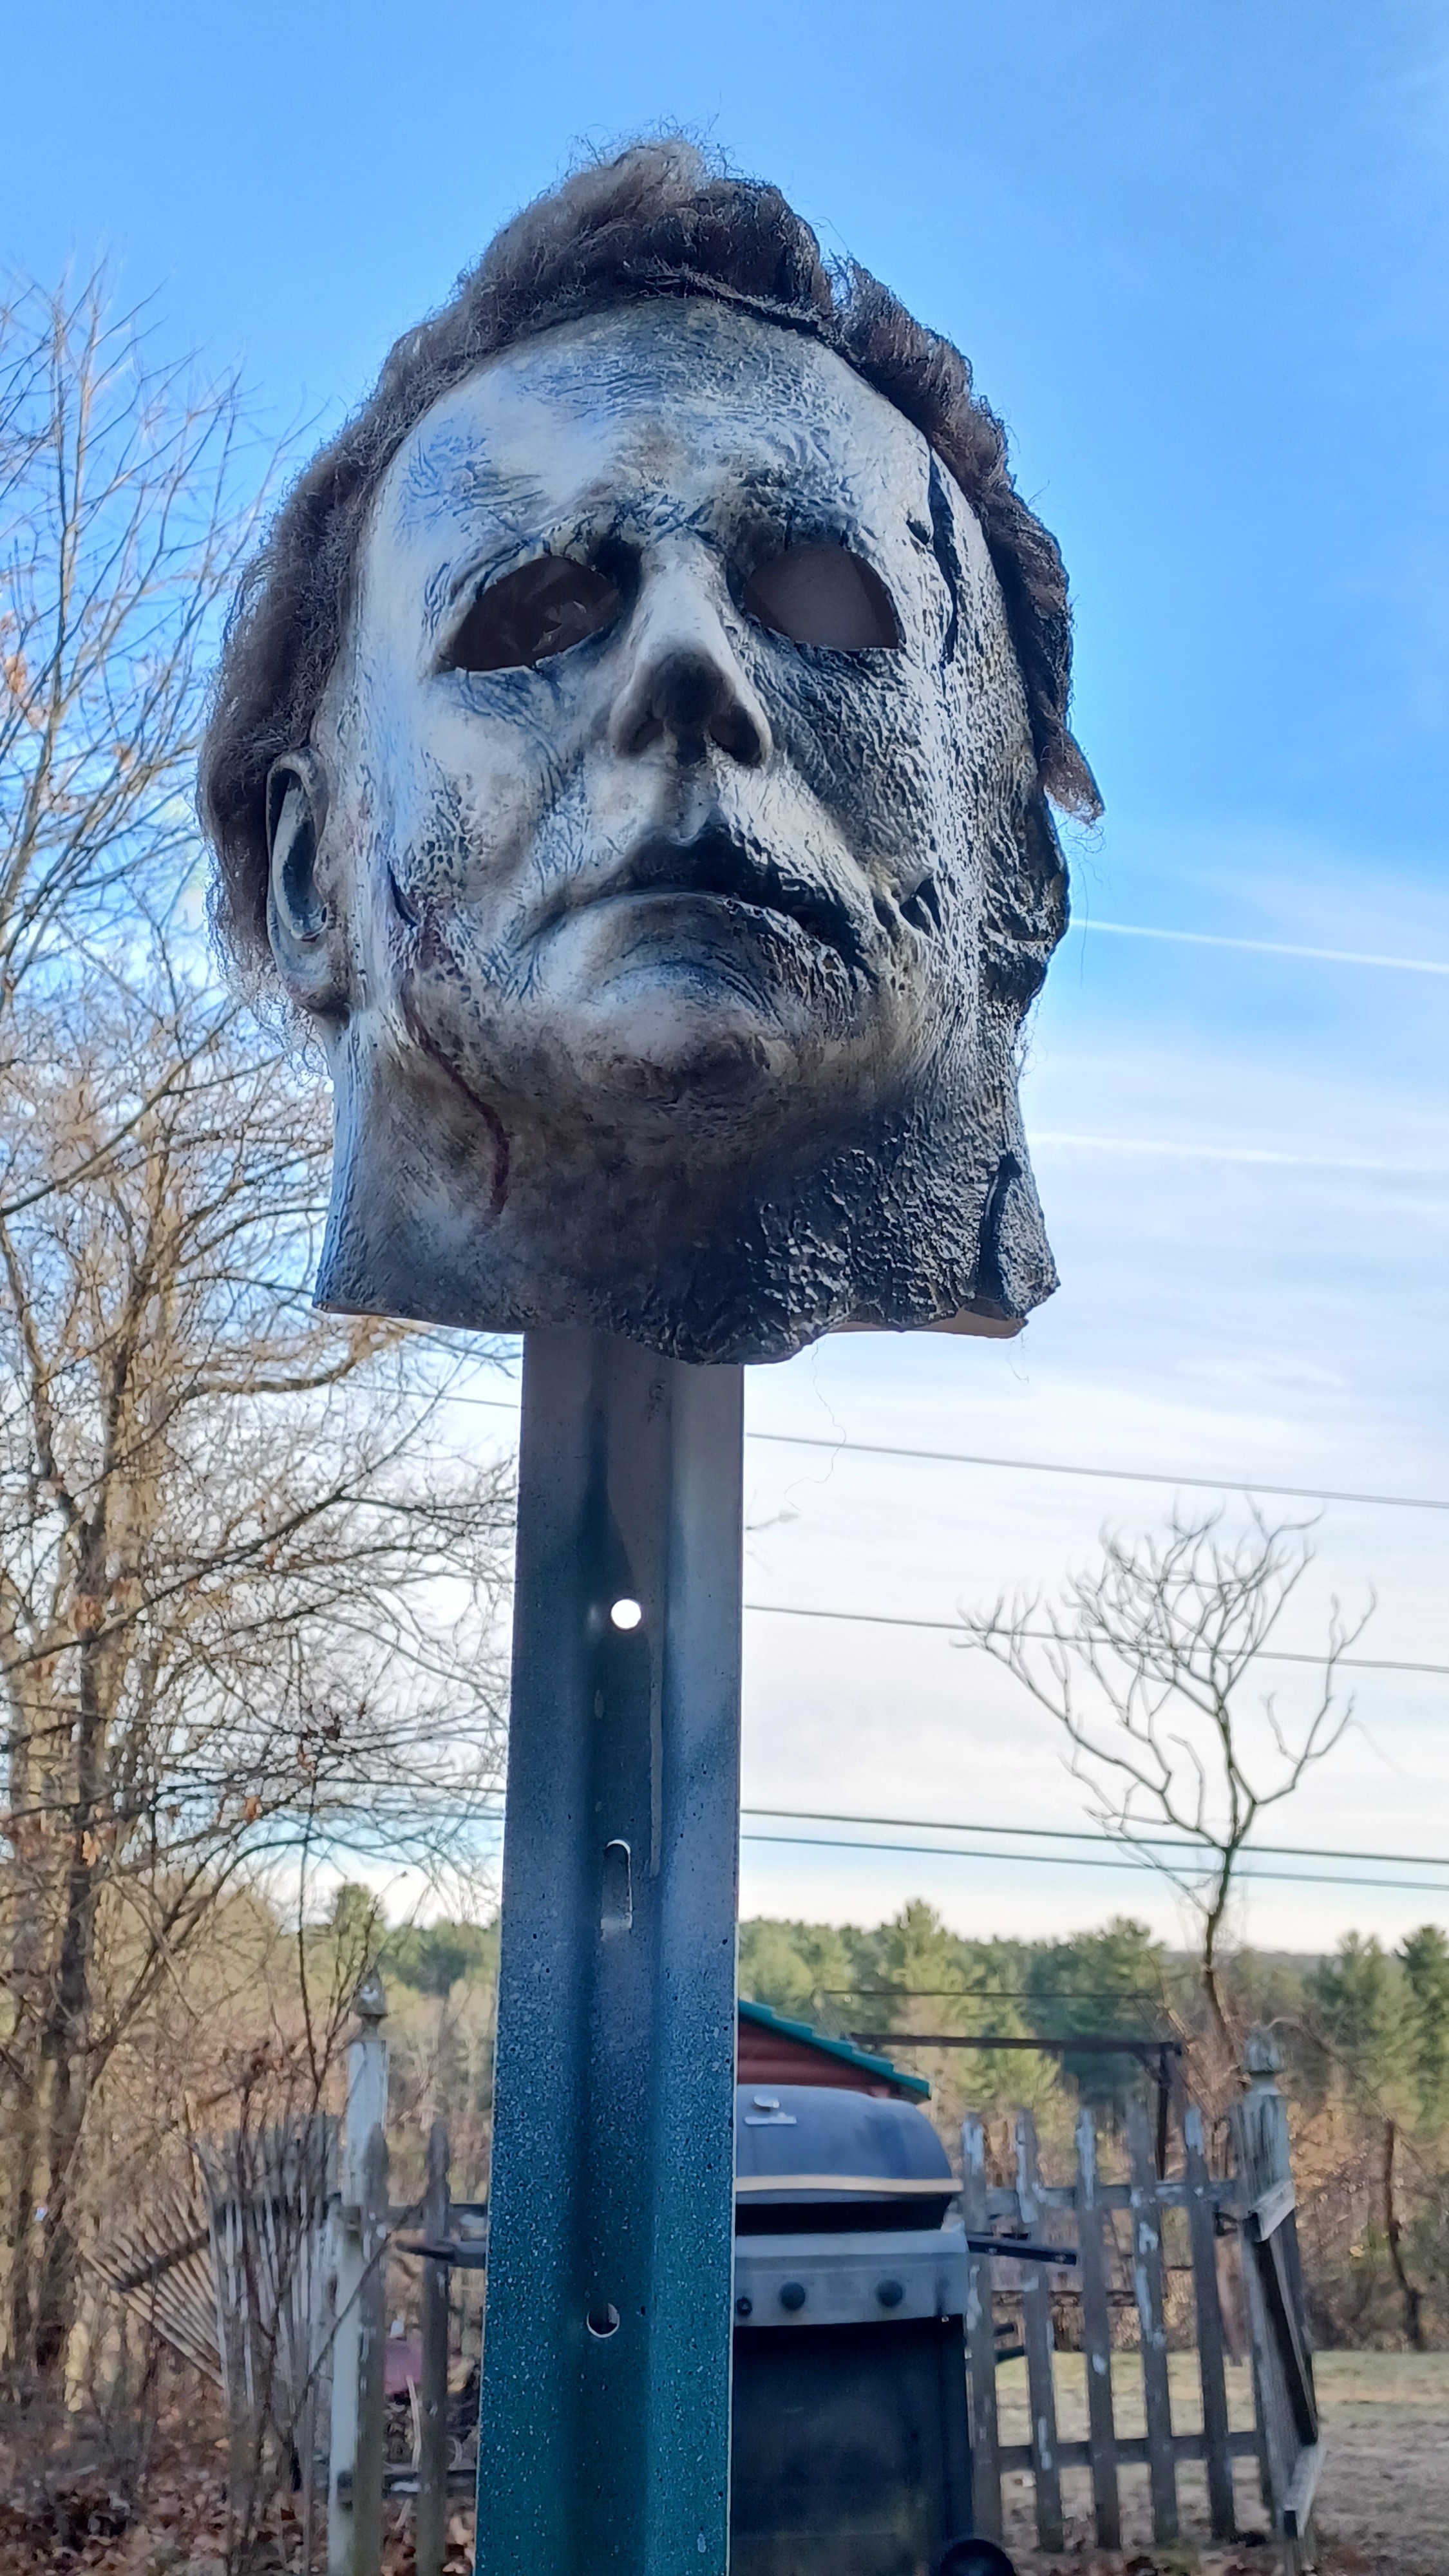
A TOTS Kills I finished up recently.
Tots boogeyman rehaul almost done. I’ve been on a very long break from masks, nice to get back to this personal one for Halloween this year

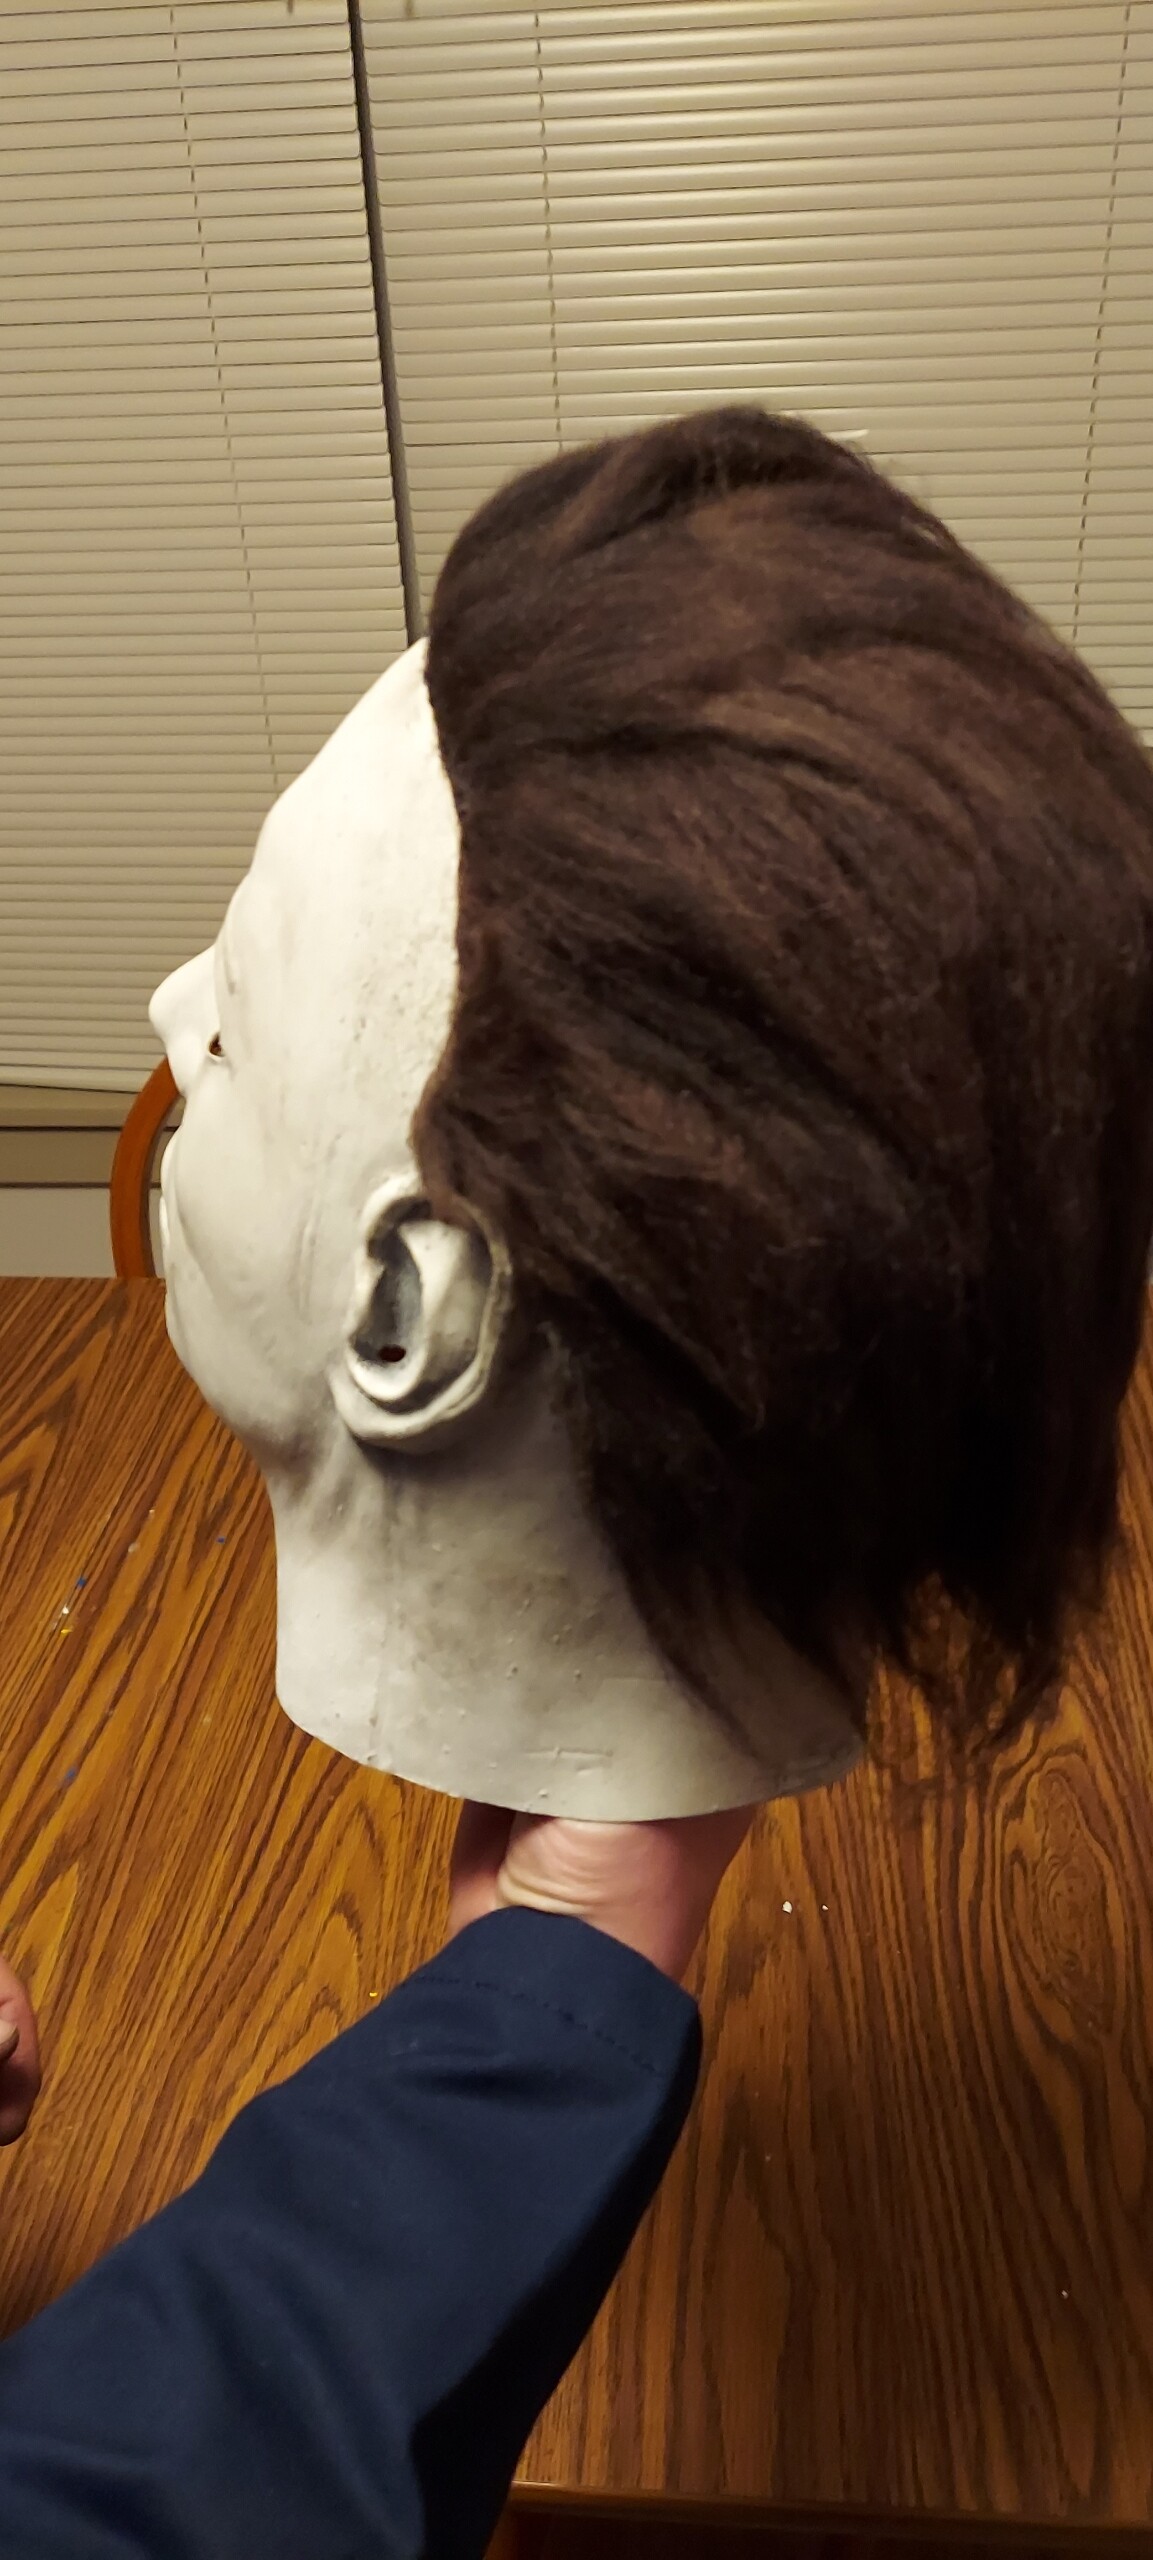
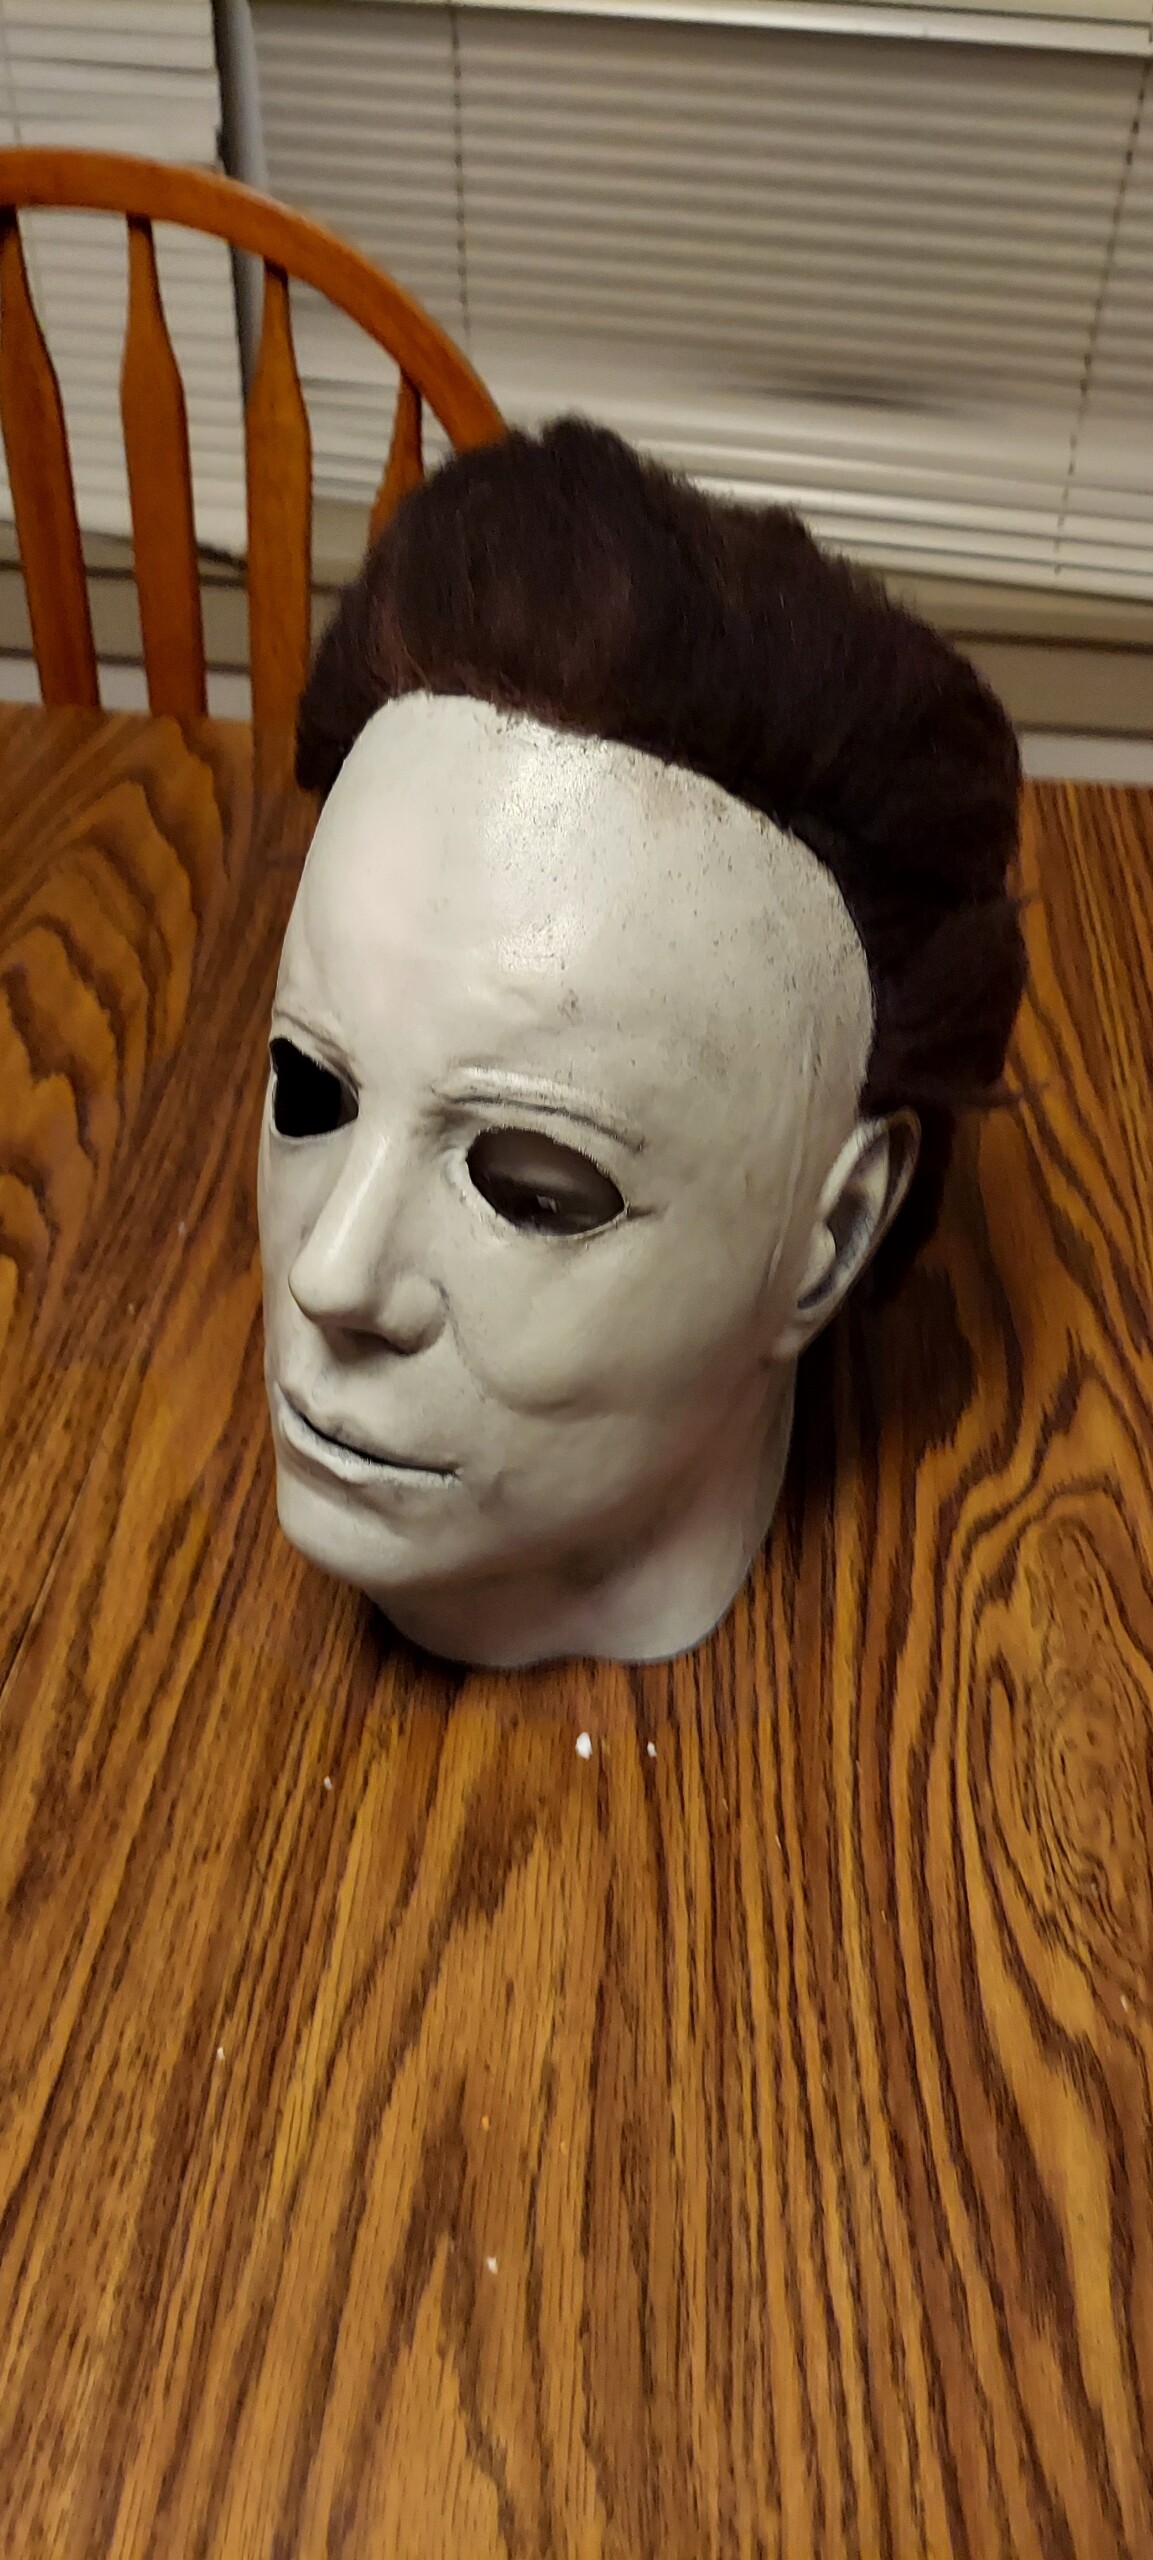
Before I got hair on it

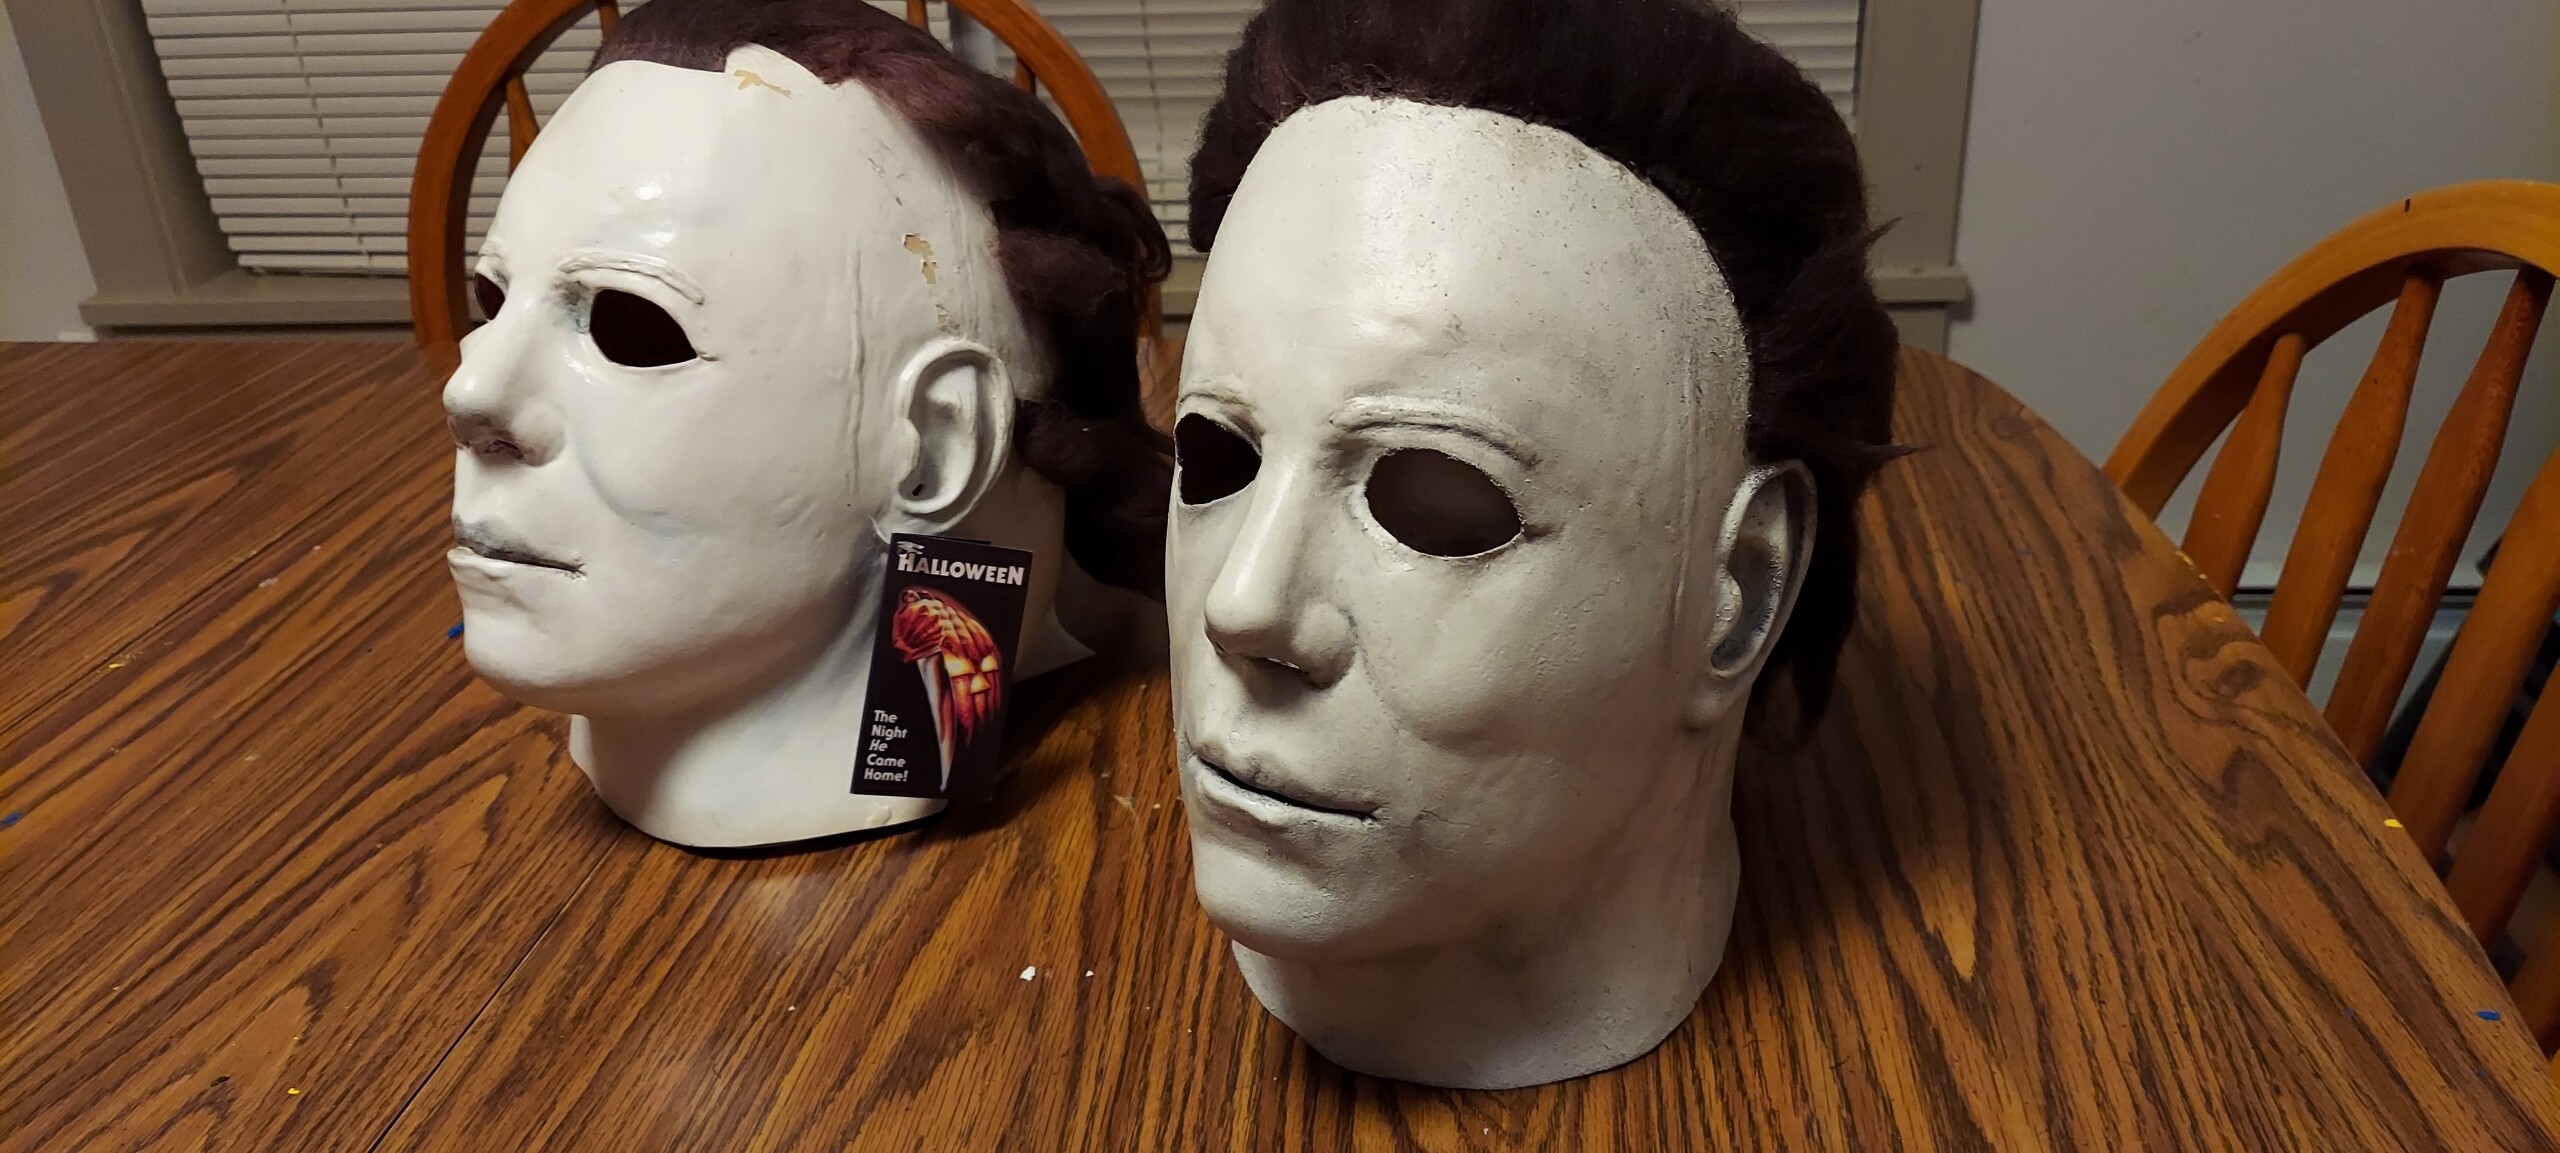
Some finished boogeyman pics