Thanks so much for that info! I’ve heard about this technique. Would you recommend painting the entire mask black or just focus on the areas with cracks/weathering?
[/quote]
I would actually recommend doing the darks first for the cracks with the 50/50 water mixture. Then dry brush the offwhite over the cracks. Make sure theres barely any paint on the brush. You’ll want to build up layers. You don’t really have to be that careful when doing this, the paint should avoid all the cracks if it’s completely dry. I myself tried many times the black wash over the white and like you, it always came out as a gray mess.
[/quote]
Hey! Glad to know there is hope with us “brush fellas”. Two questions on the black wash - what sort of mixture with paint and water should I use? Also, how long am I letting it dry? I either end up wiping everything in the cracks off using a pillow case or everything ends up grey. Thanks!
I would actually recommend doing the darks first for the cracks with the 50/50 water mixture. Then dry brush the offwhite over the cracks. Make sure theres barely any paint on the brush. You’ll want to build up layers. You don’t really have to be that careful when doing this, the paint should avoid all the cracks if it’s completely dry. I myself tried many times the black wash over the white and like you, it always came out as a gray mess.
[/quote]
[/quote]
I usually do a brown wash over the entire mask for a dirt layer then blow dry it. I’ll then do the black wash over the prominent crack areas and blow dry it as well. Once it’s all dry I’ll dry brush the white. Once it’s got a decent off white layer I’ll also dry brush a little brown, green, yellow and other colors into the sections that are grimey. Use many reference photos for which colors are where. I’ll also use a thin brush and highlight some of the deeper cracks to make it pop more. This is a slimmed down version of what I usually do. Here’s my latest kills I rehauled. Happy to answer any other questions.
Looks amazing! Definitely love that stoney looking white just like the movie. It certainly looks legit.
So you’re saying to do the black and brown wash first on top of the stock paint, then dry brush the off white while adding browns and greens back in? Seems pretty straightforward. We’ll see what I come up with.
By the way… is there a way to strip the stock paint off the mask or is it really just too much of a hassle? Thanks again!
[/quote]
I usually do a brown wash over the entire mask for a dirt layer then blow dry it. I’ll then do the black wash over the prominent crack areas and blow dry it as well. Once it’s all dry I’ll dry brush the white. Once it’s got a decent off white layer I’ll also dry brush a little brown, green, yellow and other colors into the sections that are grimey. Use many reference photos for which colors are where. I’ll also use a thin brush and highlight some of the deeper cracks to make it pop more. This is a slimmed down version of what I usually do. Here’s my latest kills I rehauled. Happy to answer any other questions.
[/quote]
I’m pretty new to the Myers mask world and this community but wanted to share these here. I recently made and shot videos for four TOTS Myers masks, being my first attempts at each of them. Learned a lot along the way and they’re far from perfect, but had a lot of fun. I’d love to hear some honest feedback from you guys regarding areas I can improve on. Give the videos a look if you’re interested.
I usually do a brown wash over the entire mask for a dirt layer then blow dry it. I’ll then do the black wash over the prominent crack areas and blow dry it as well. Once it’s all dry I’ll dry brush the white. Once it’s got a decent off white layer I’ll also dry brush a little brown, green, yellow and other colors into the sections that are grimey. Use many reference photos for which colors are where. I’ll also use a thin brush and highlight some of the deeper cracks to make it pop more. This is a slimmed down version of what I usually do. Here’s my latest kills I rehauled. Happy to answer any other questions.
[/quote]
[/quote]
I haven’t really found an easy way to strip the paint I just rough it up with a bit of fine sandpaper to get rid of the shine.
Great job on those, man! Definitely not overdone on the painting. I too have noticed it’s all about layers with the H40 mask. And you have me thinking I may want to add some yellow into it!
By the way, love the skits as well. Keep it up! Subscribed!
i black wash one half first and then wipe it then do the same on the other side. as for drying time its really trial and error as far as the paint your using goes. i usually let it dry for a few minutes at most. never longer than 5. as far as the mask being grey, it should be a very, very slight tint of grey afterwards but not too noticeable, but it should have that distinct h40 look. if you havent already i recommend giving the whole mask a rub down with lacquer thinner. it cleans the surface of the mask real well and lets your paint really stick so that when you got to black wash, the stuff you want to stay will.
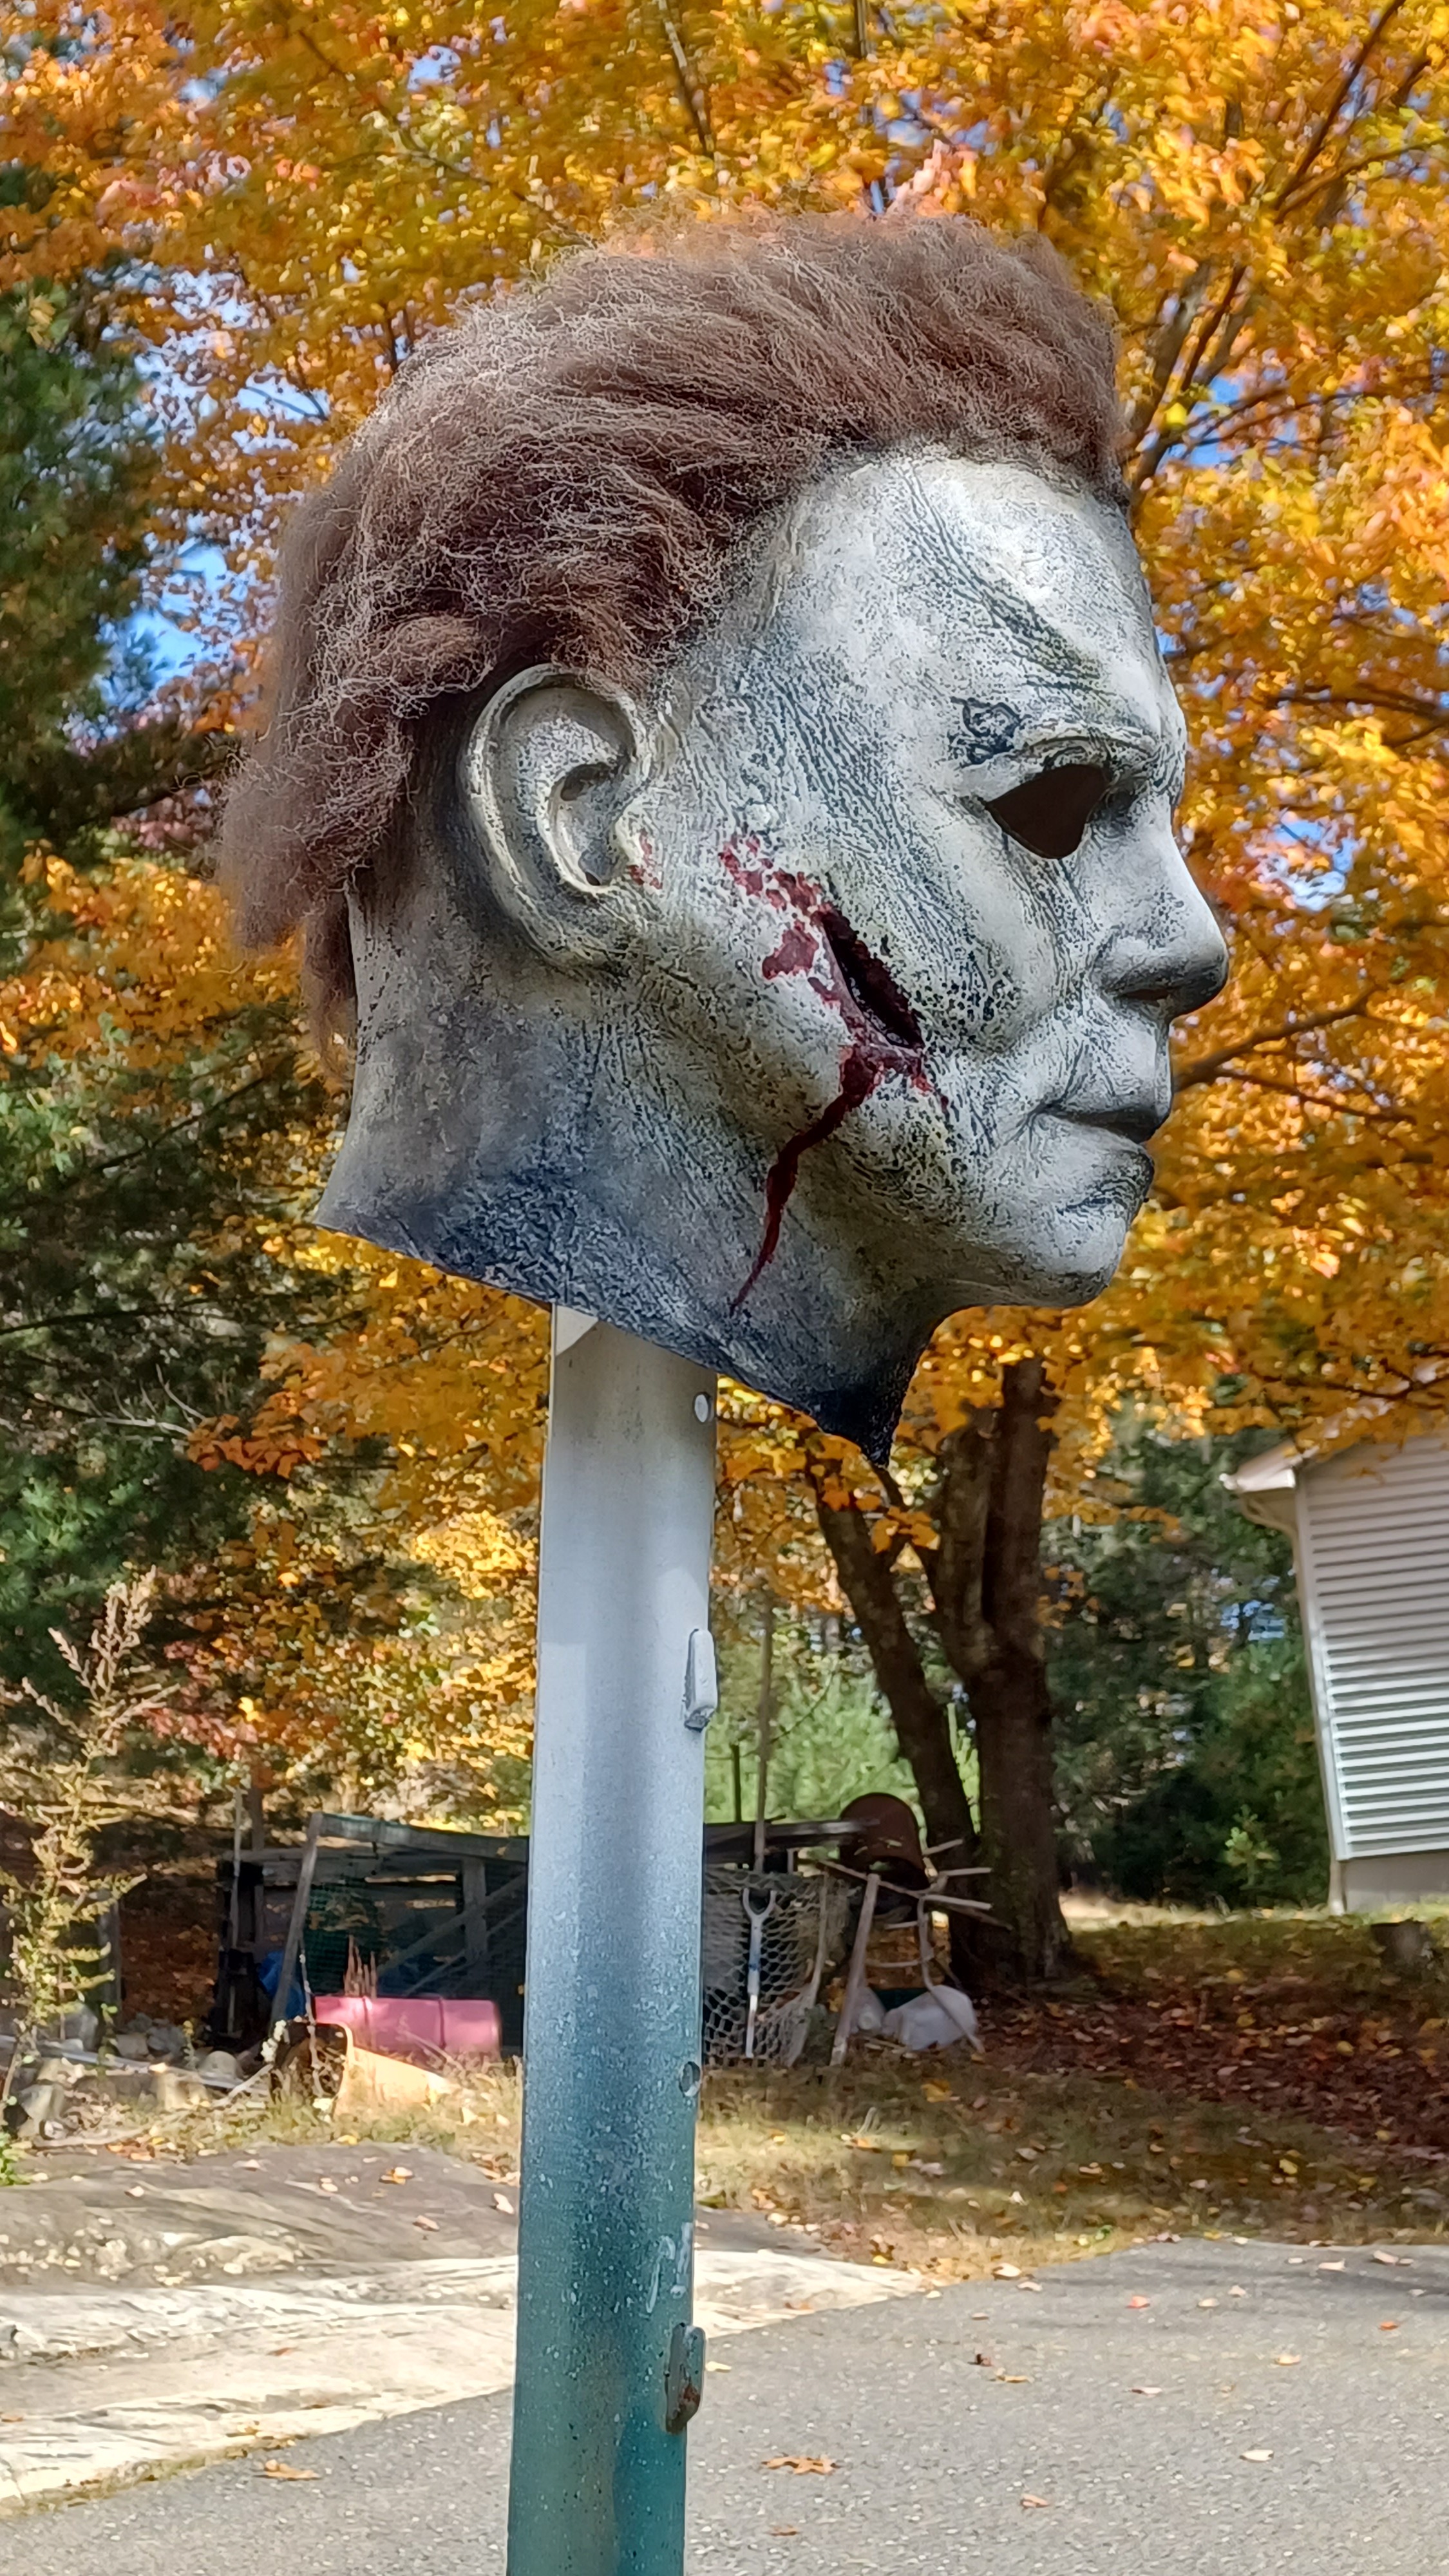
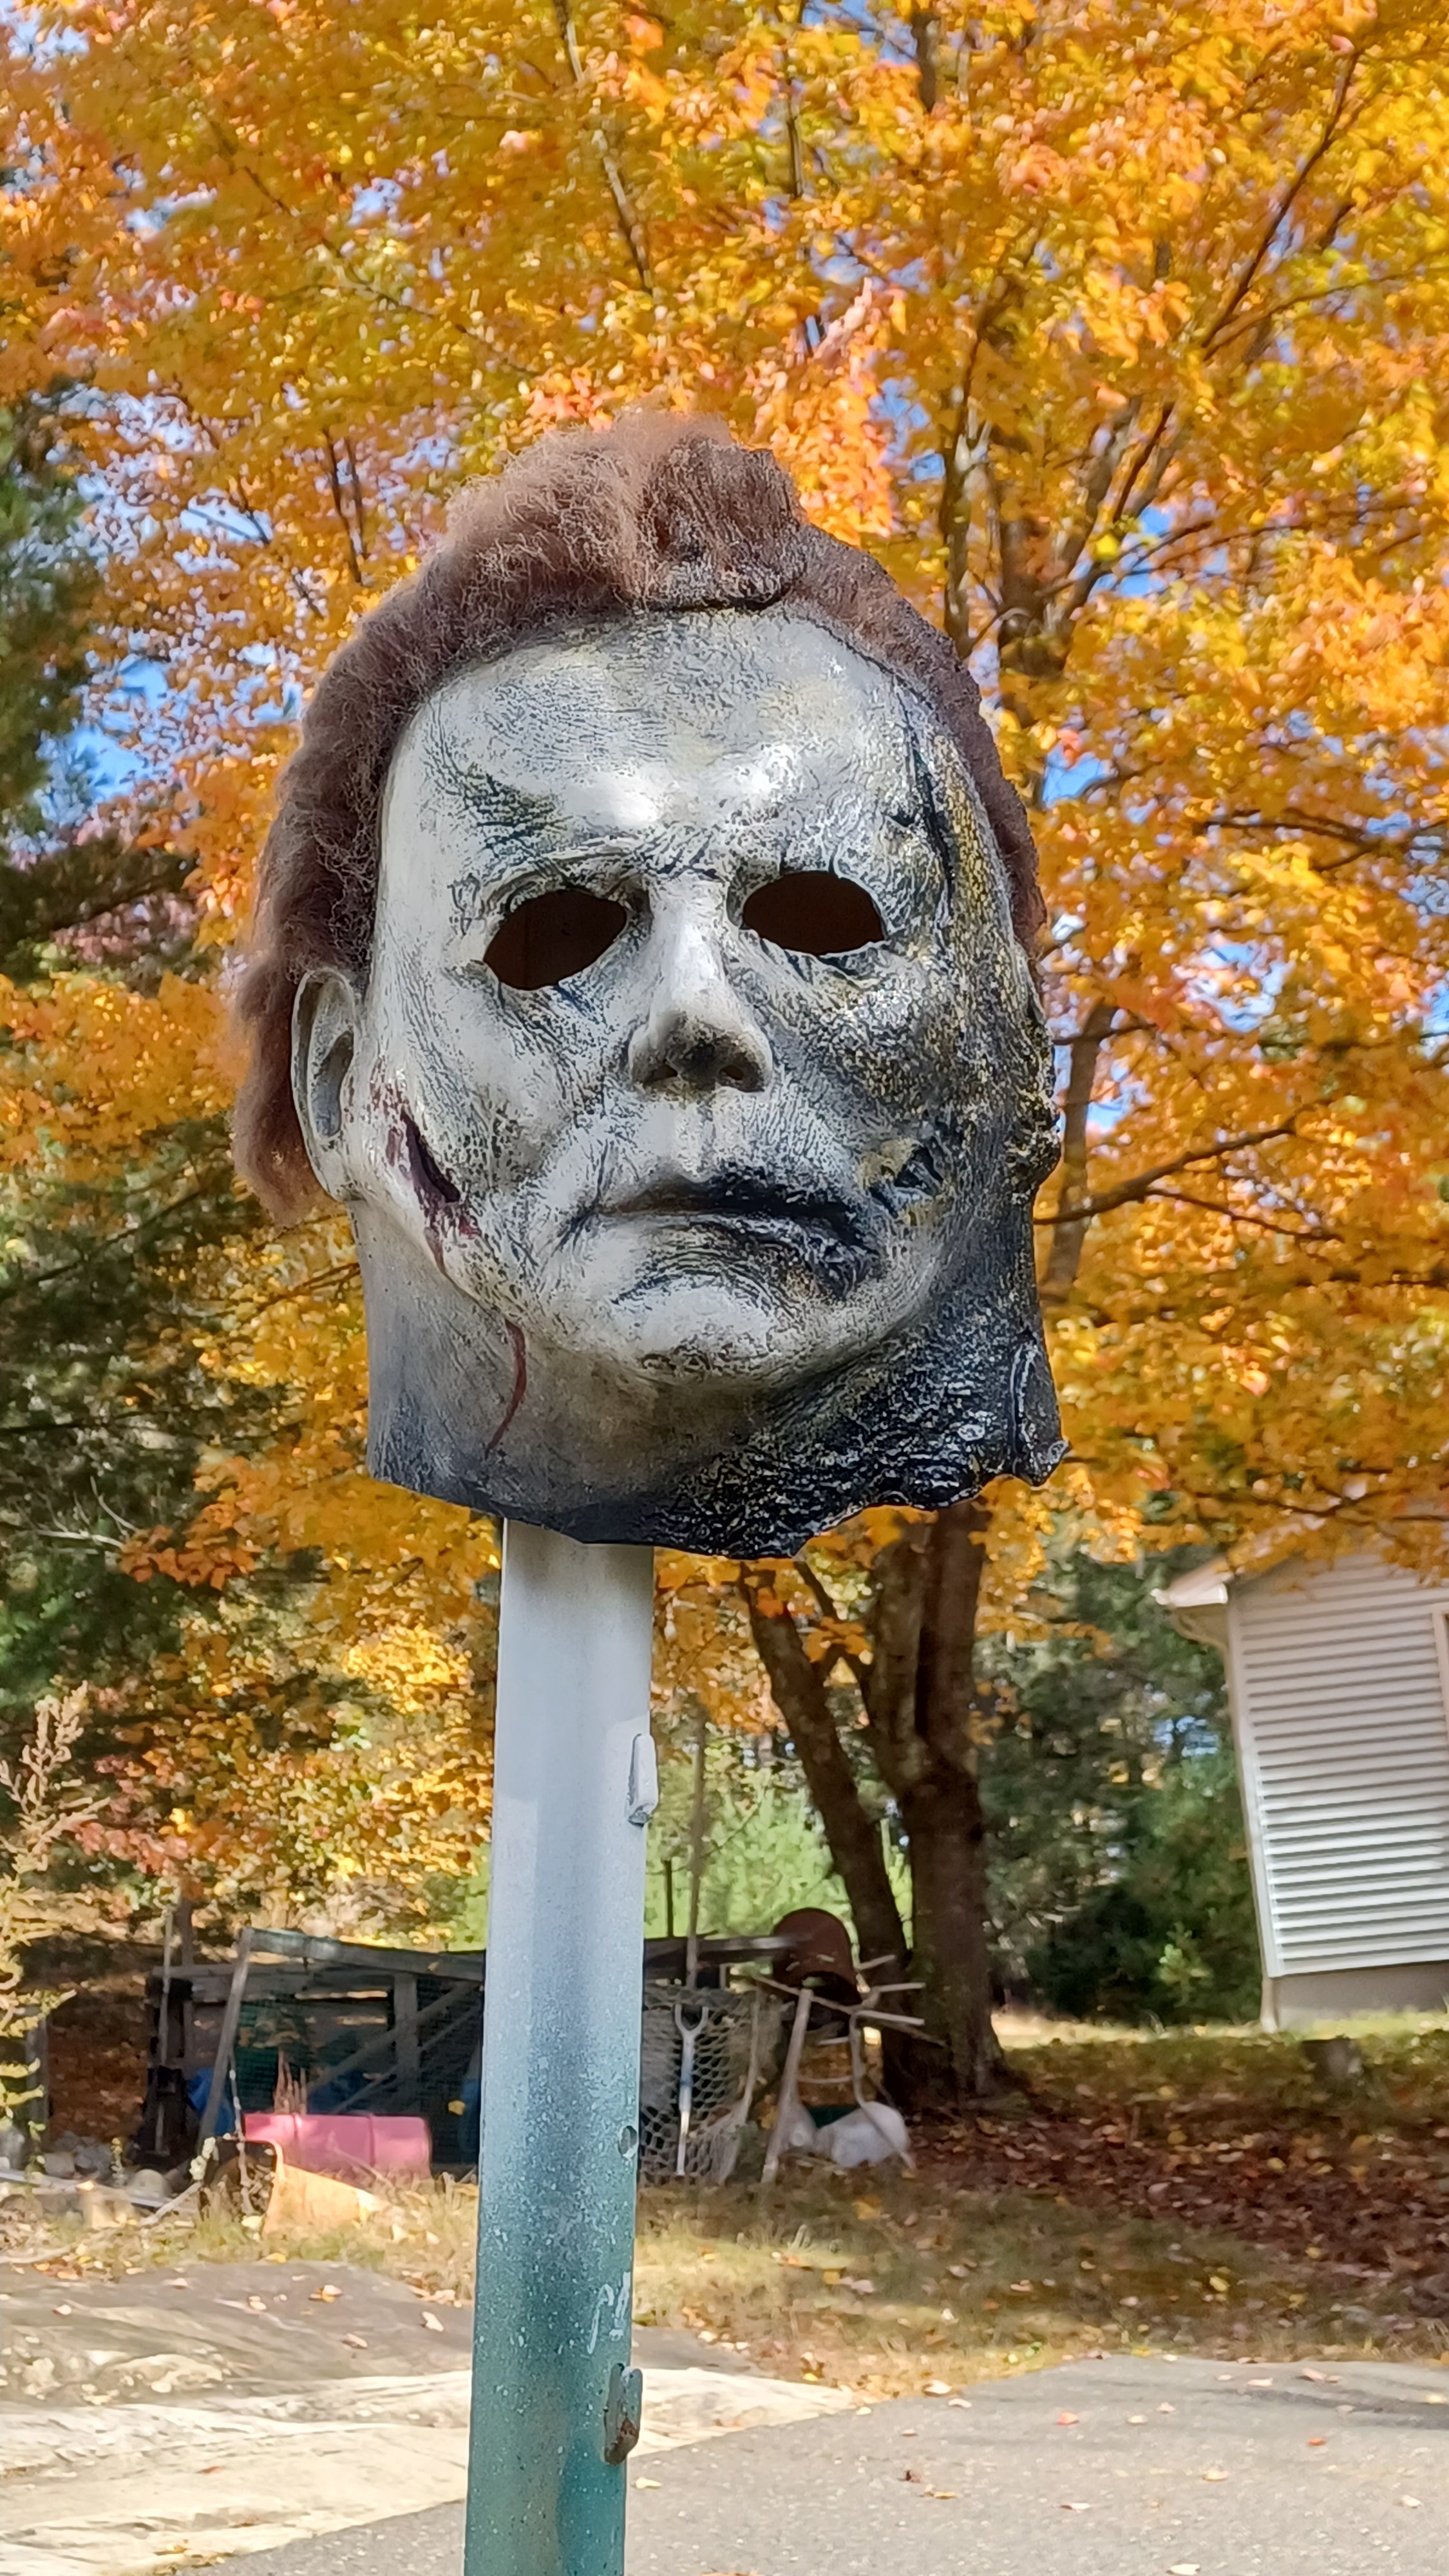
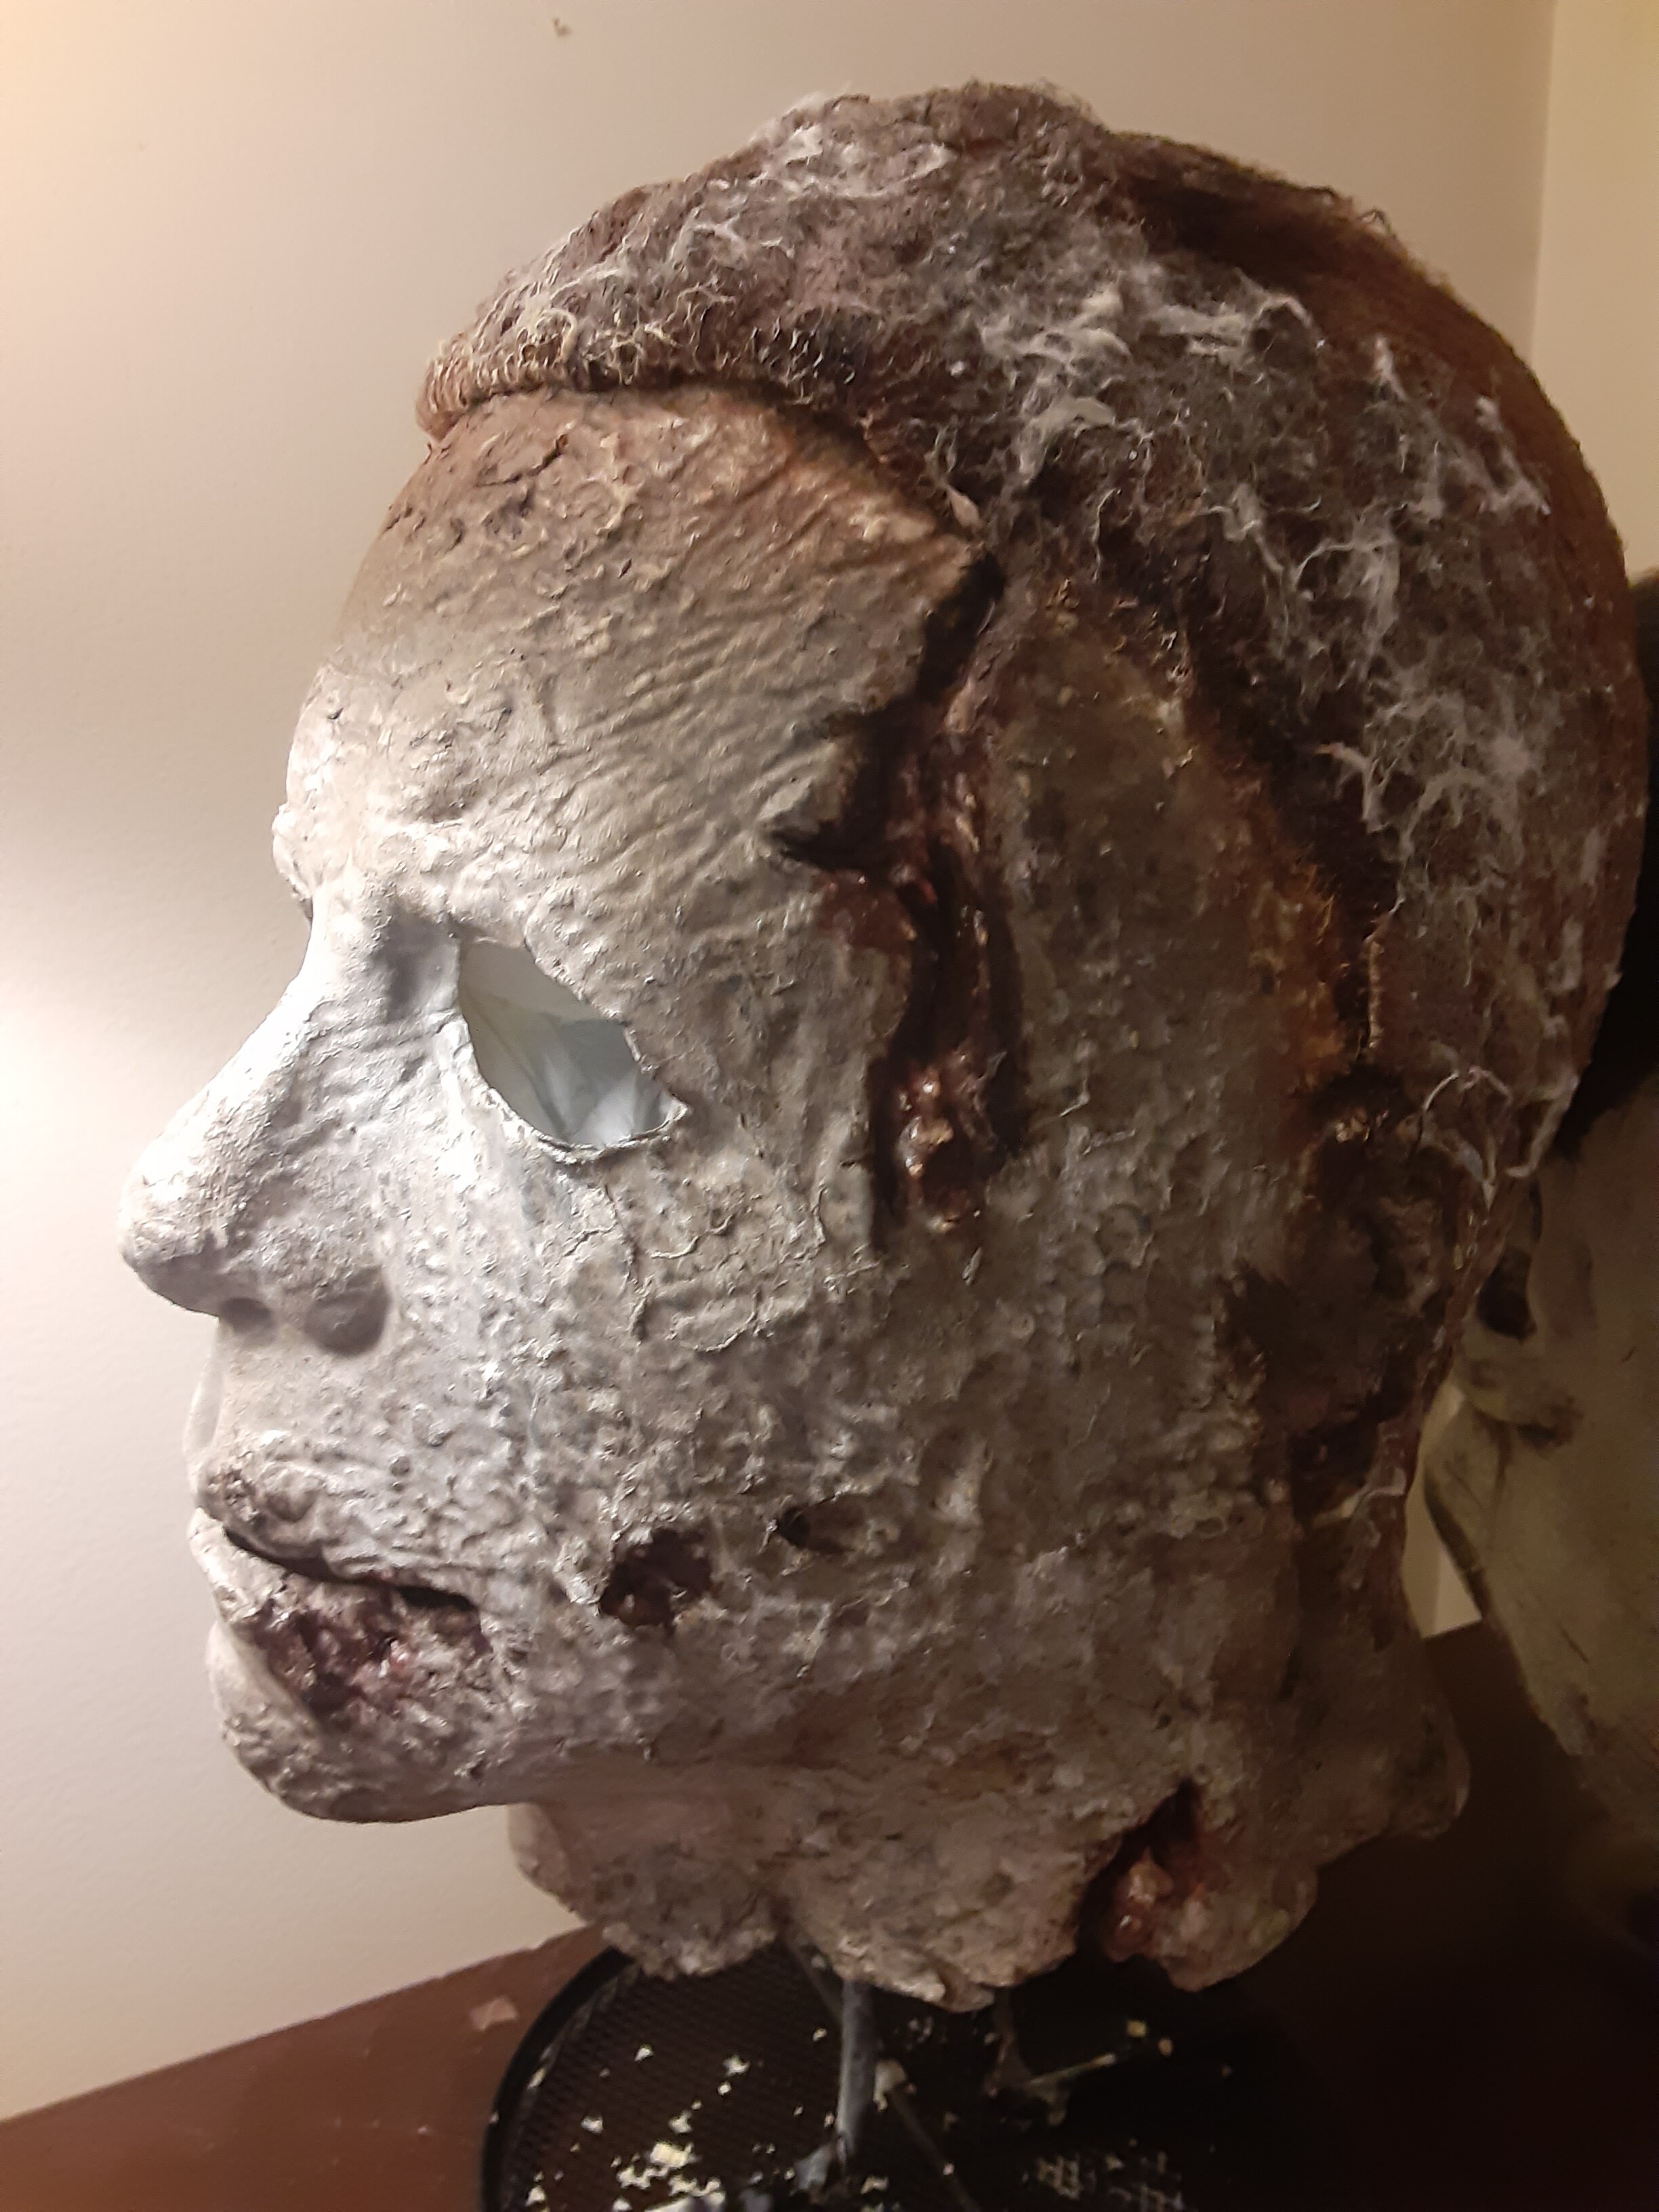
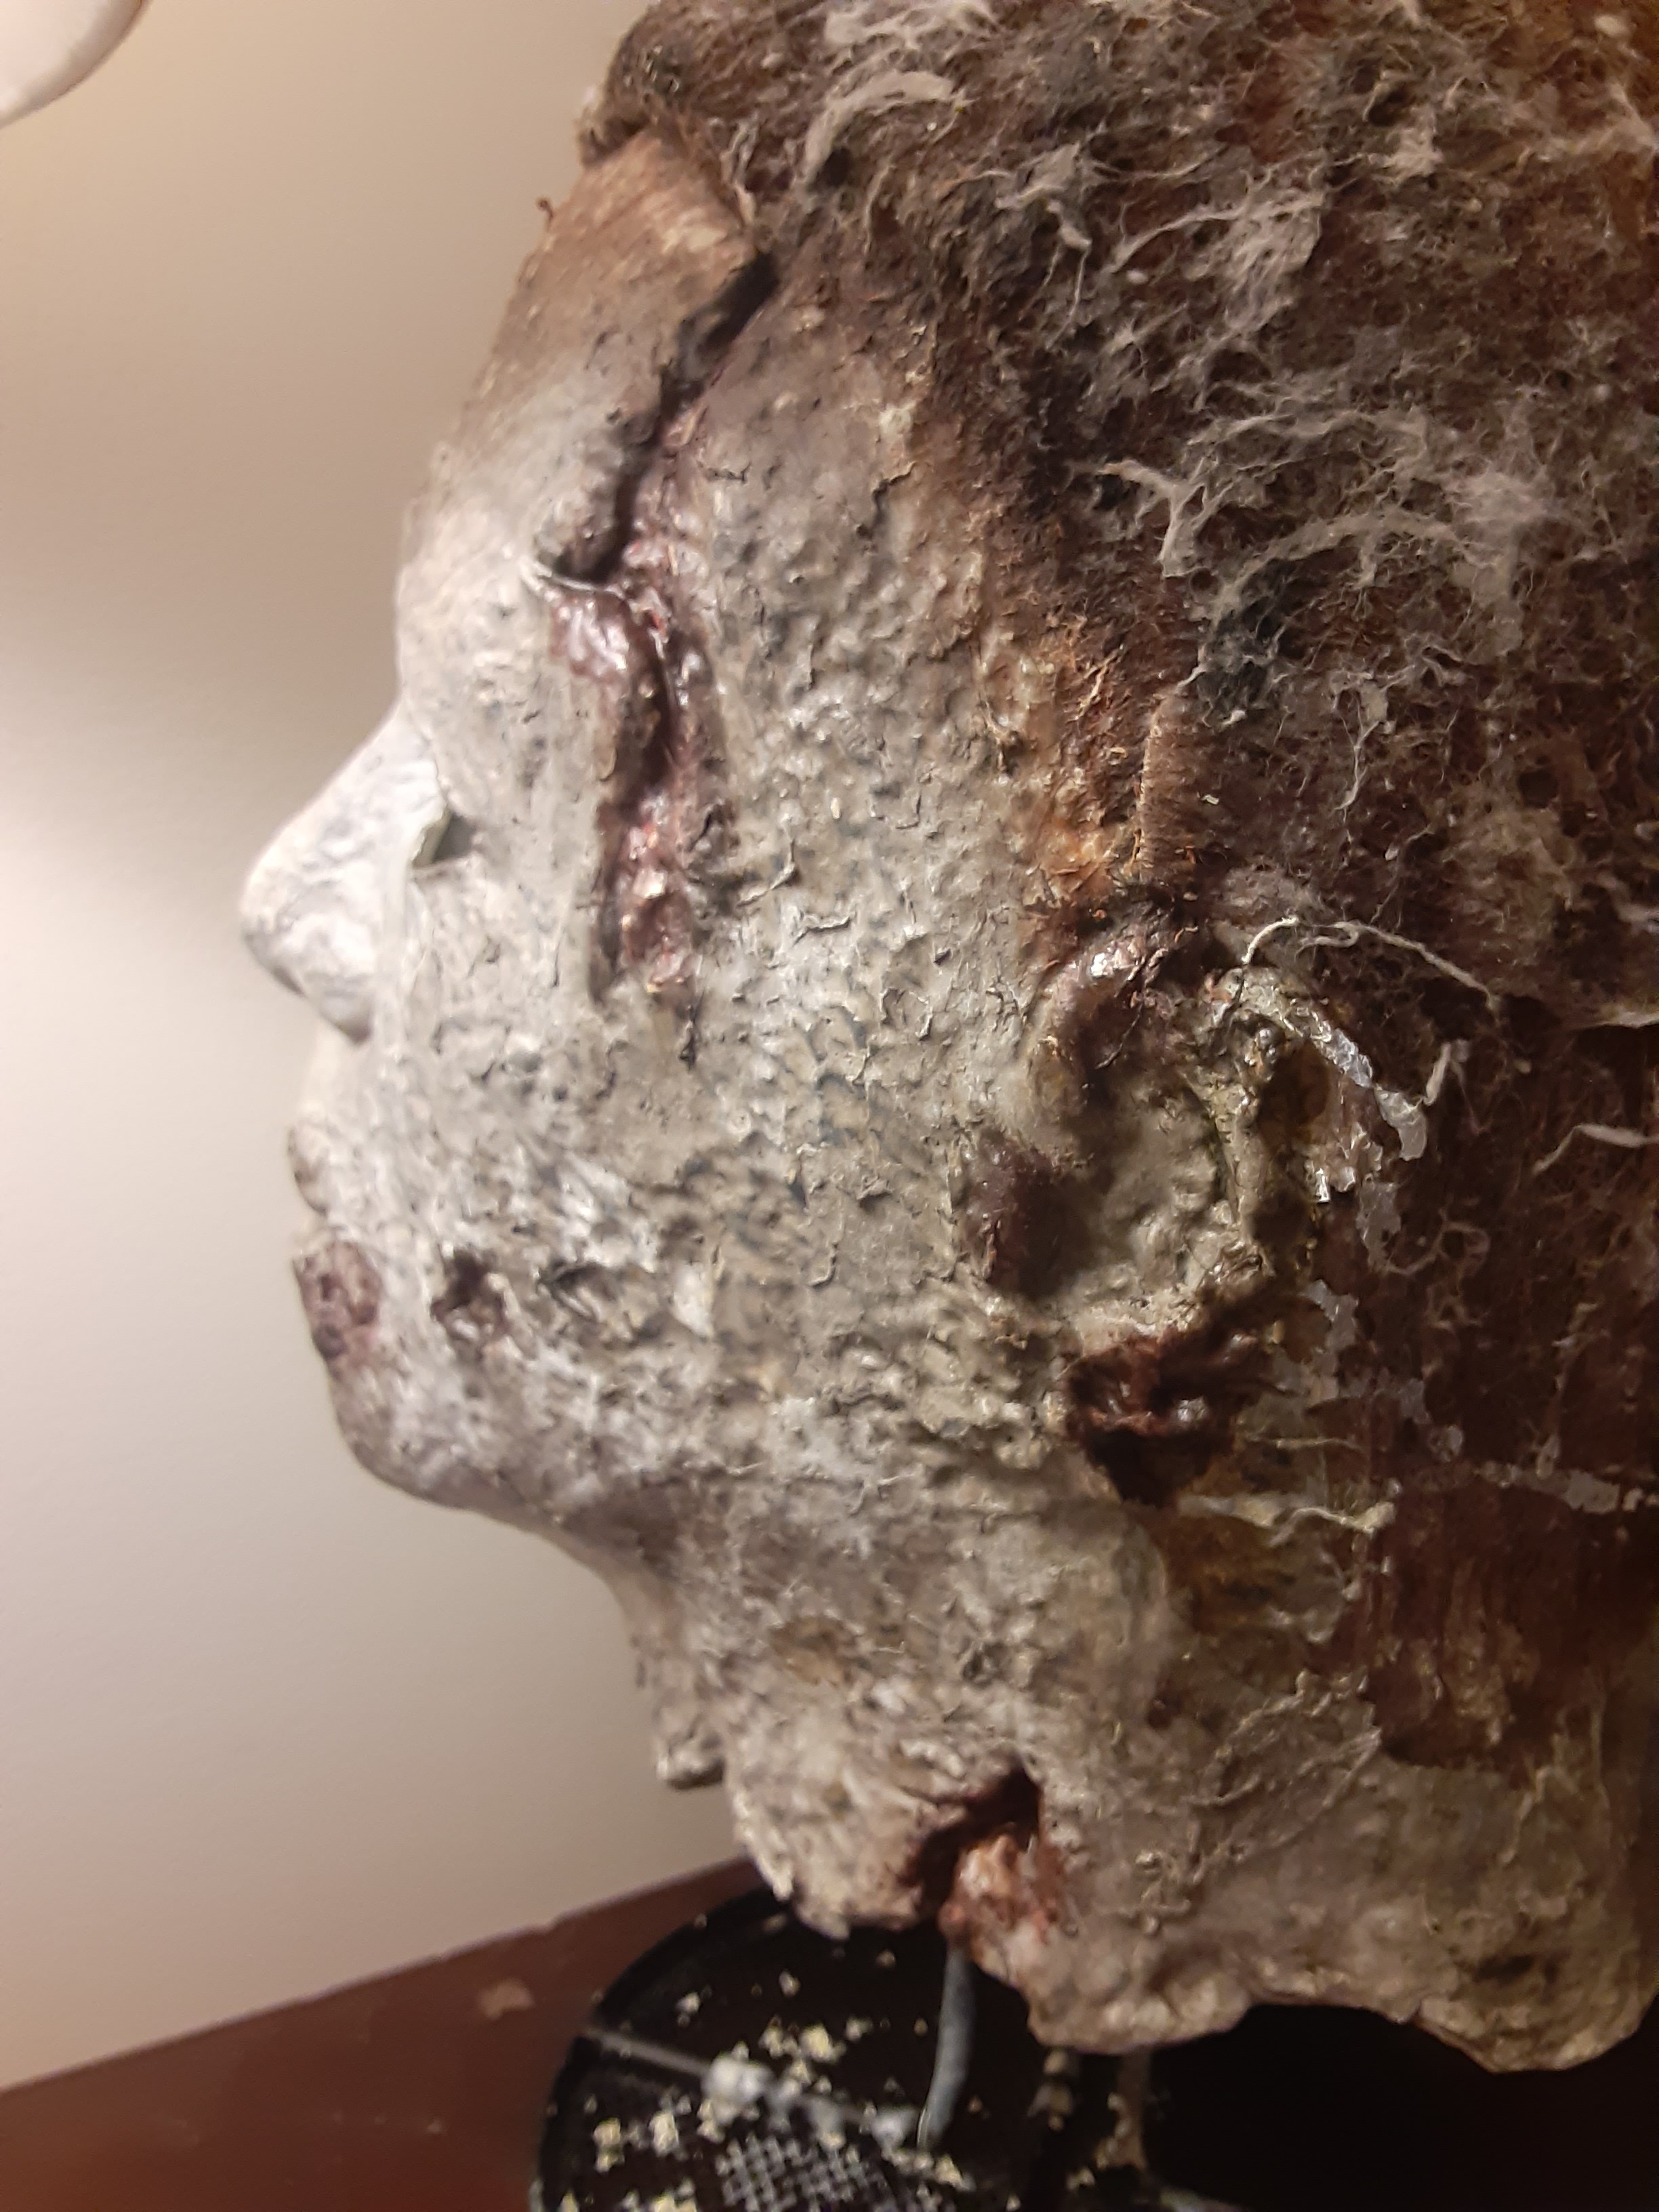
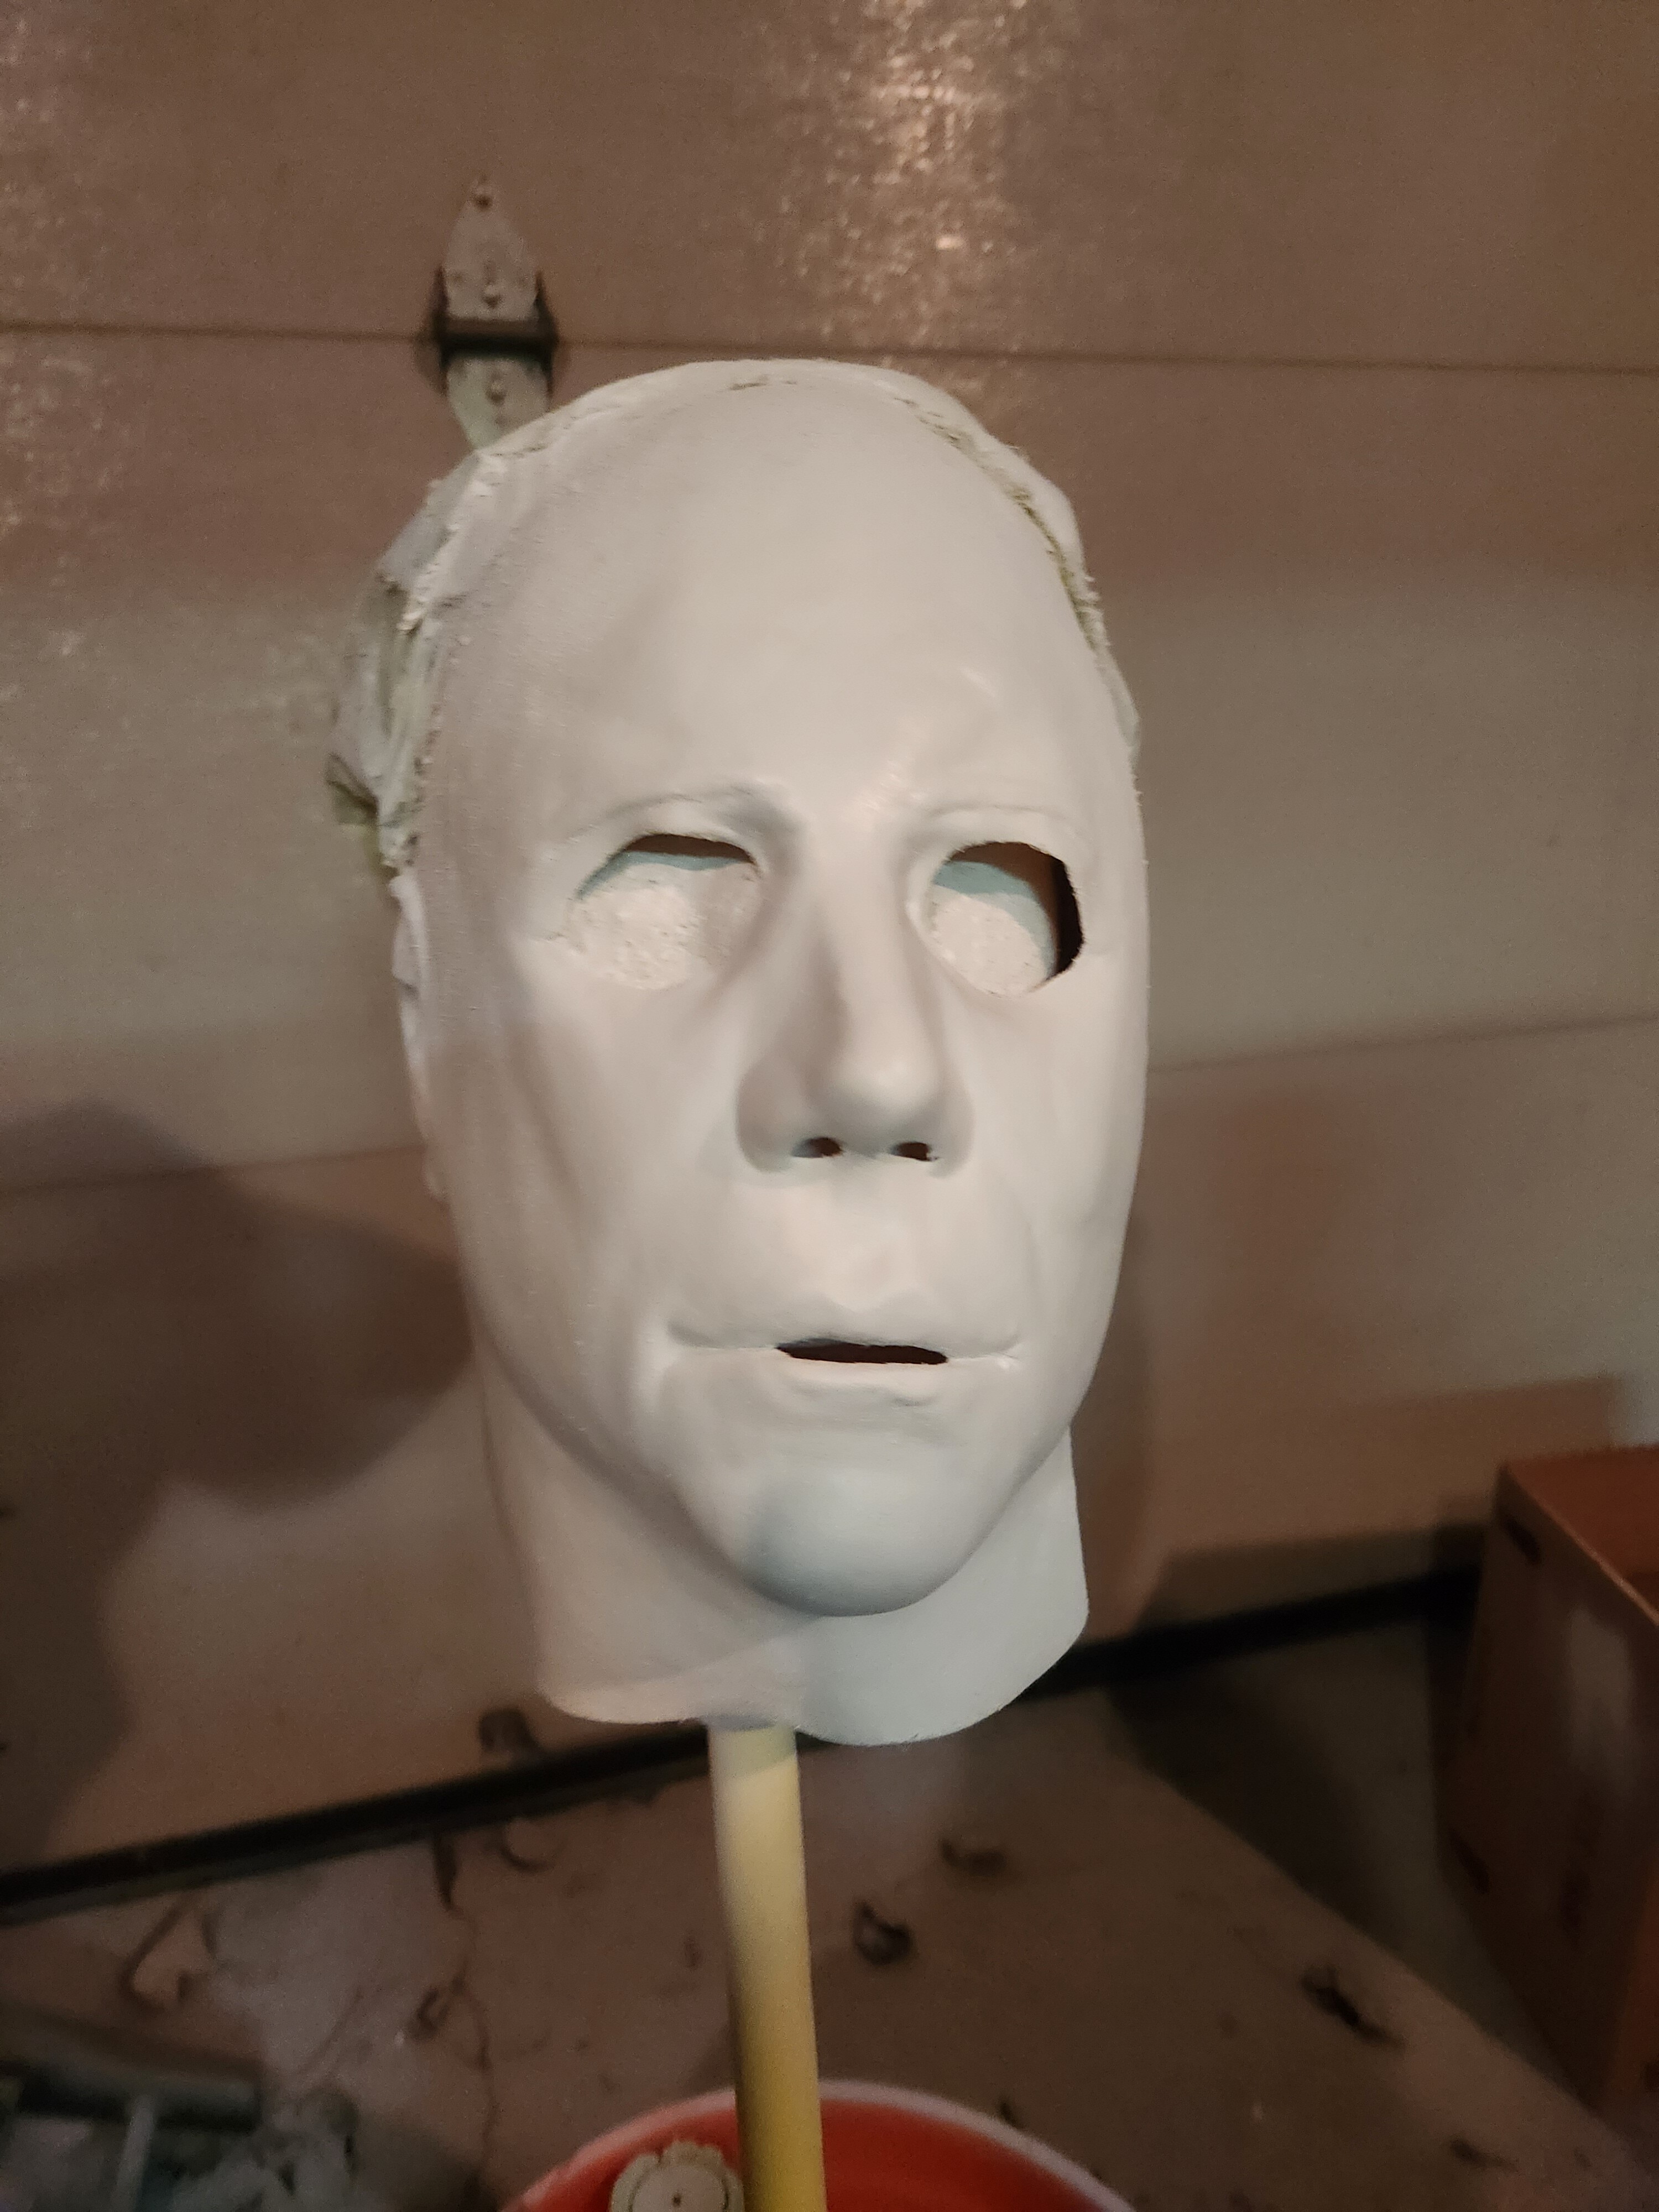
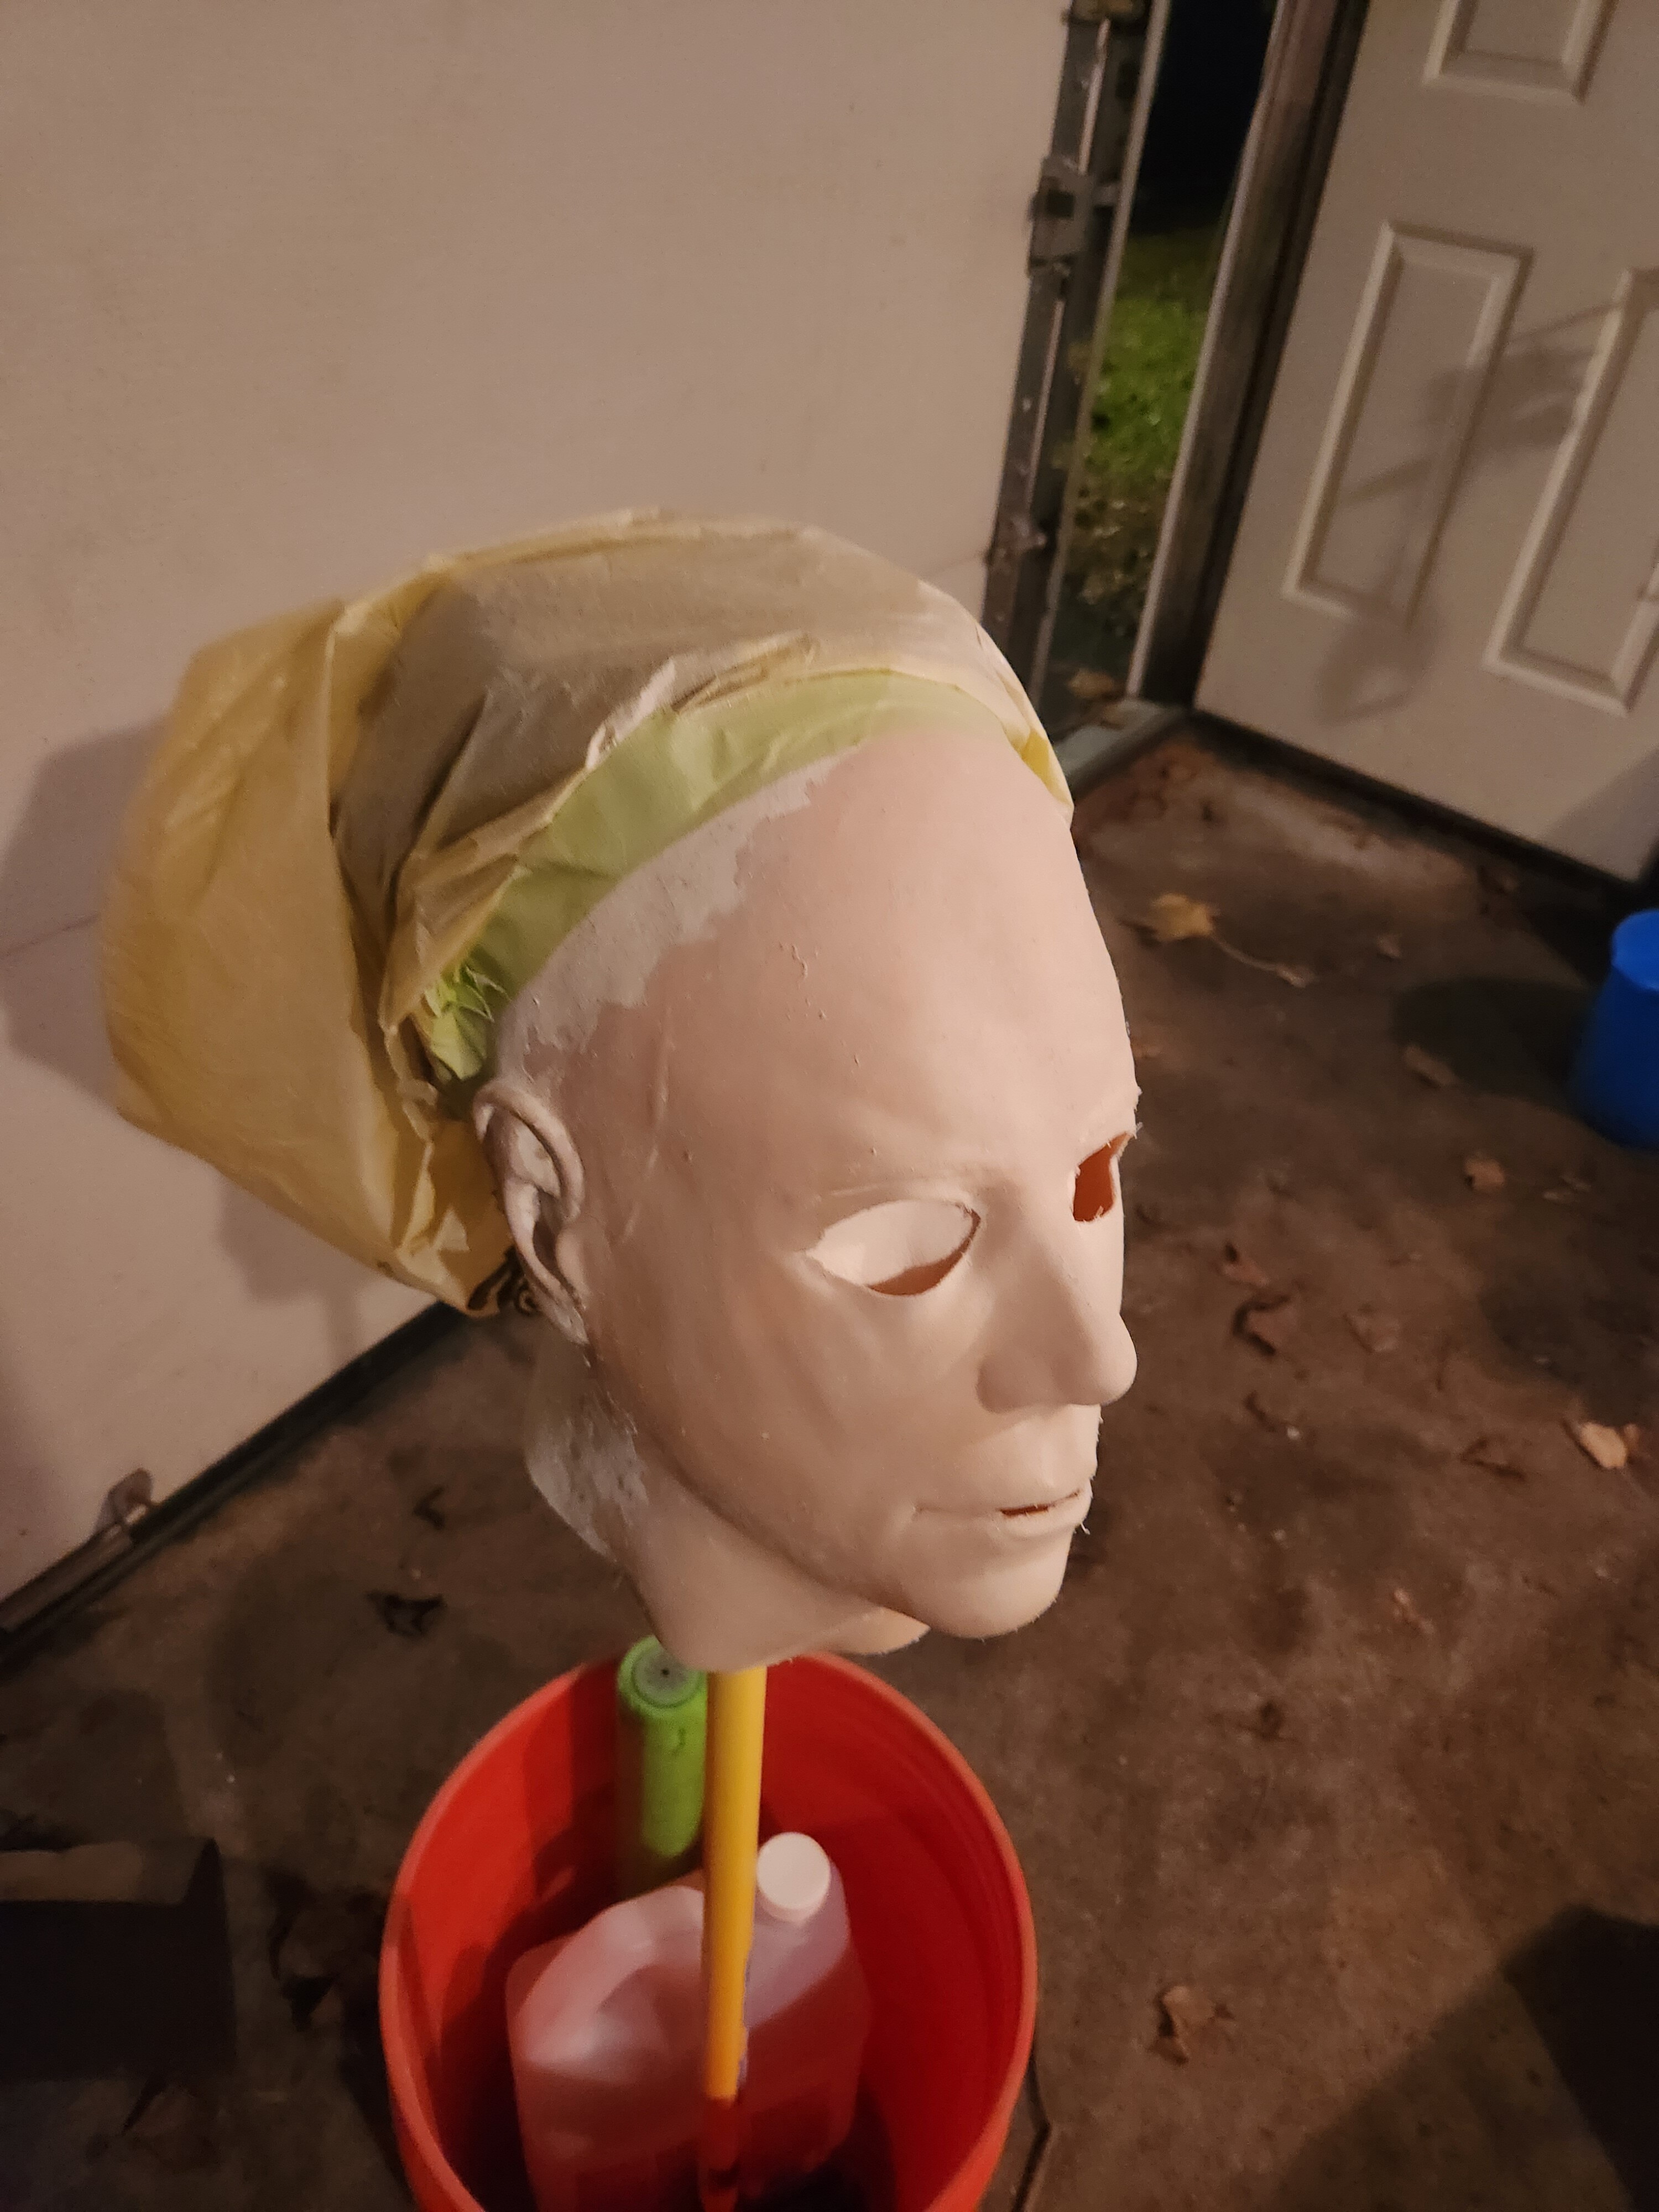
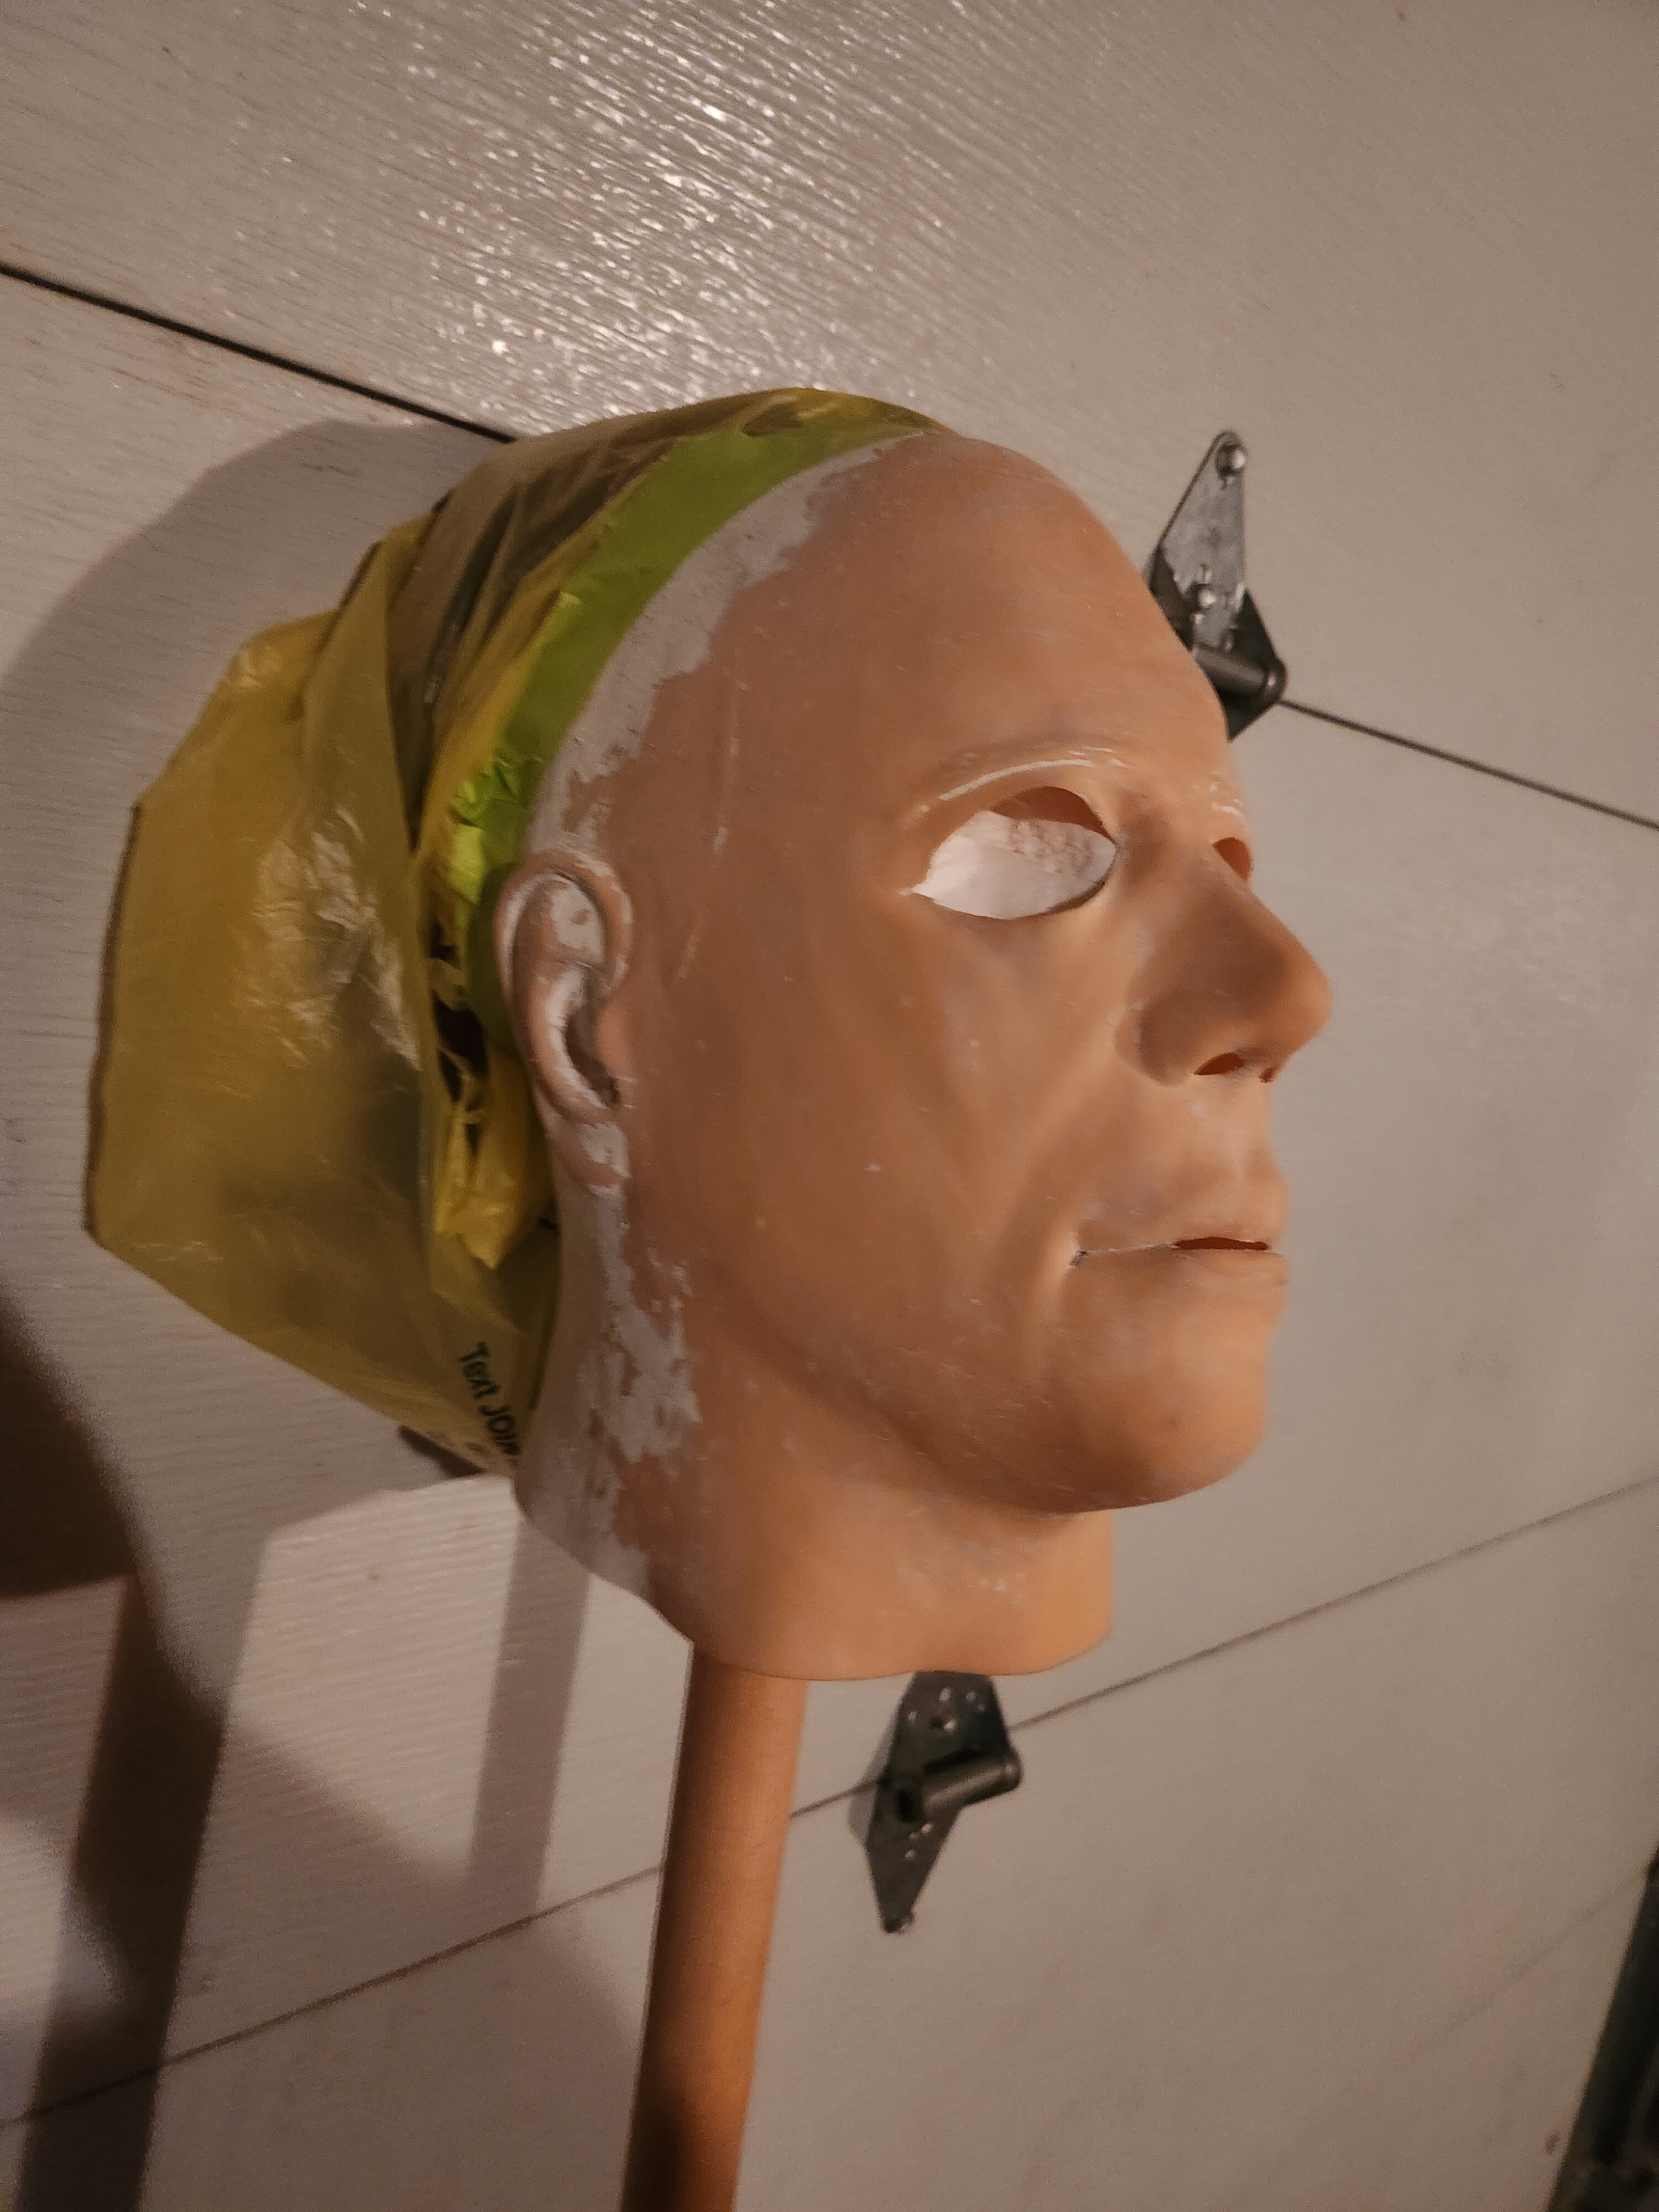
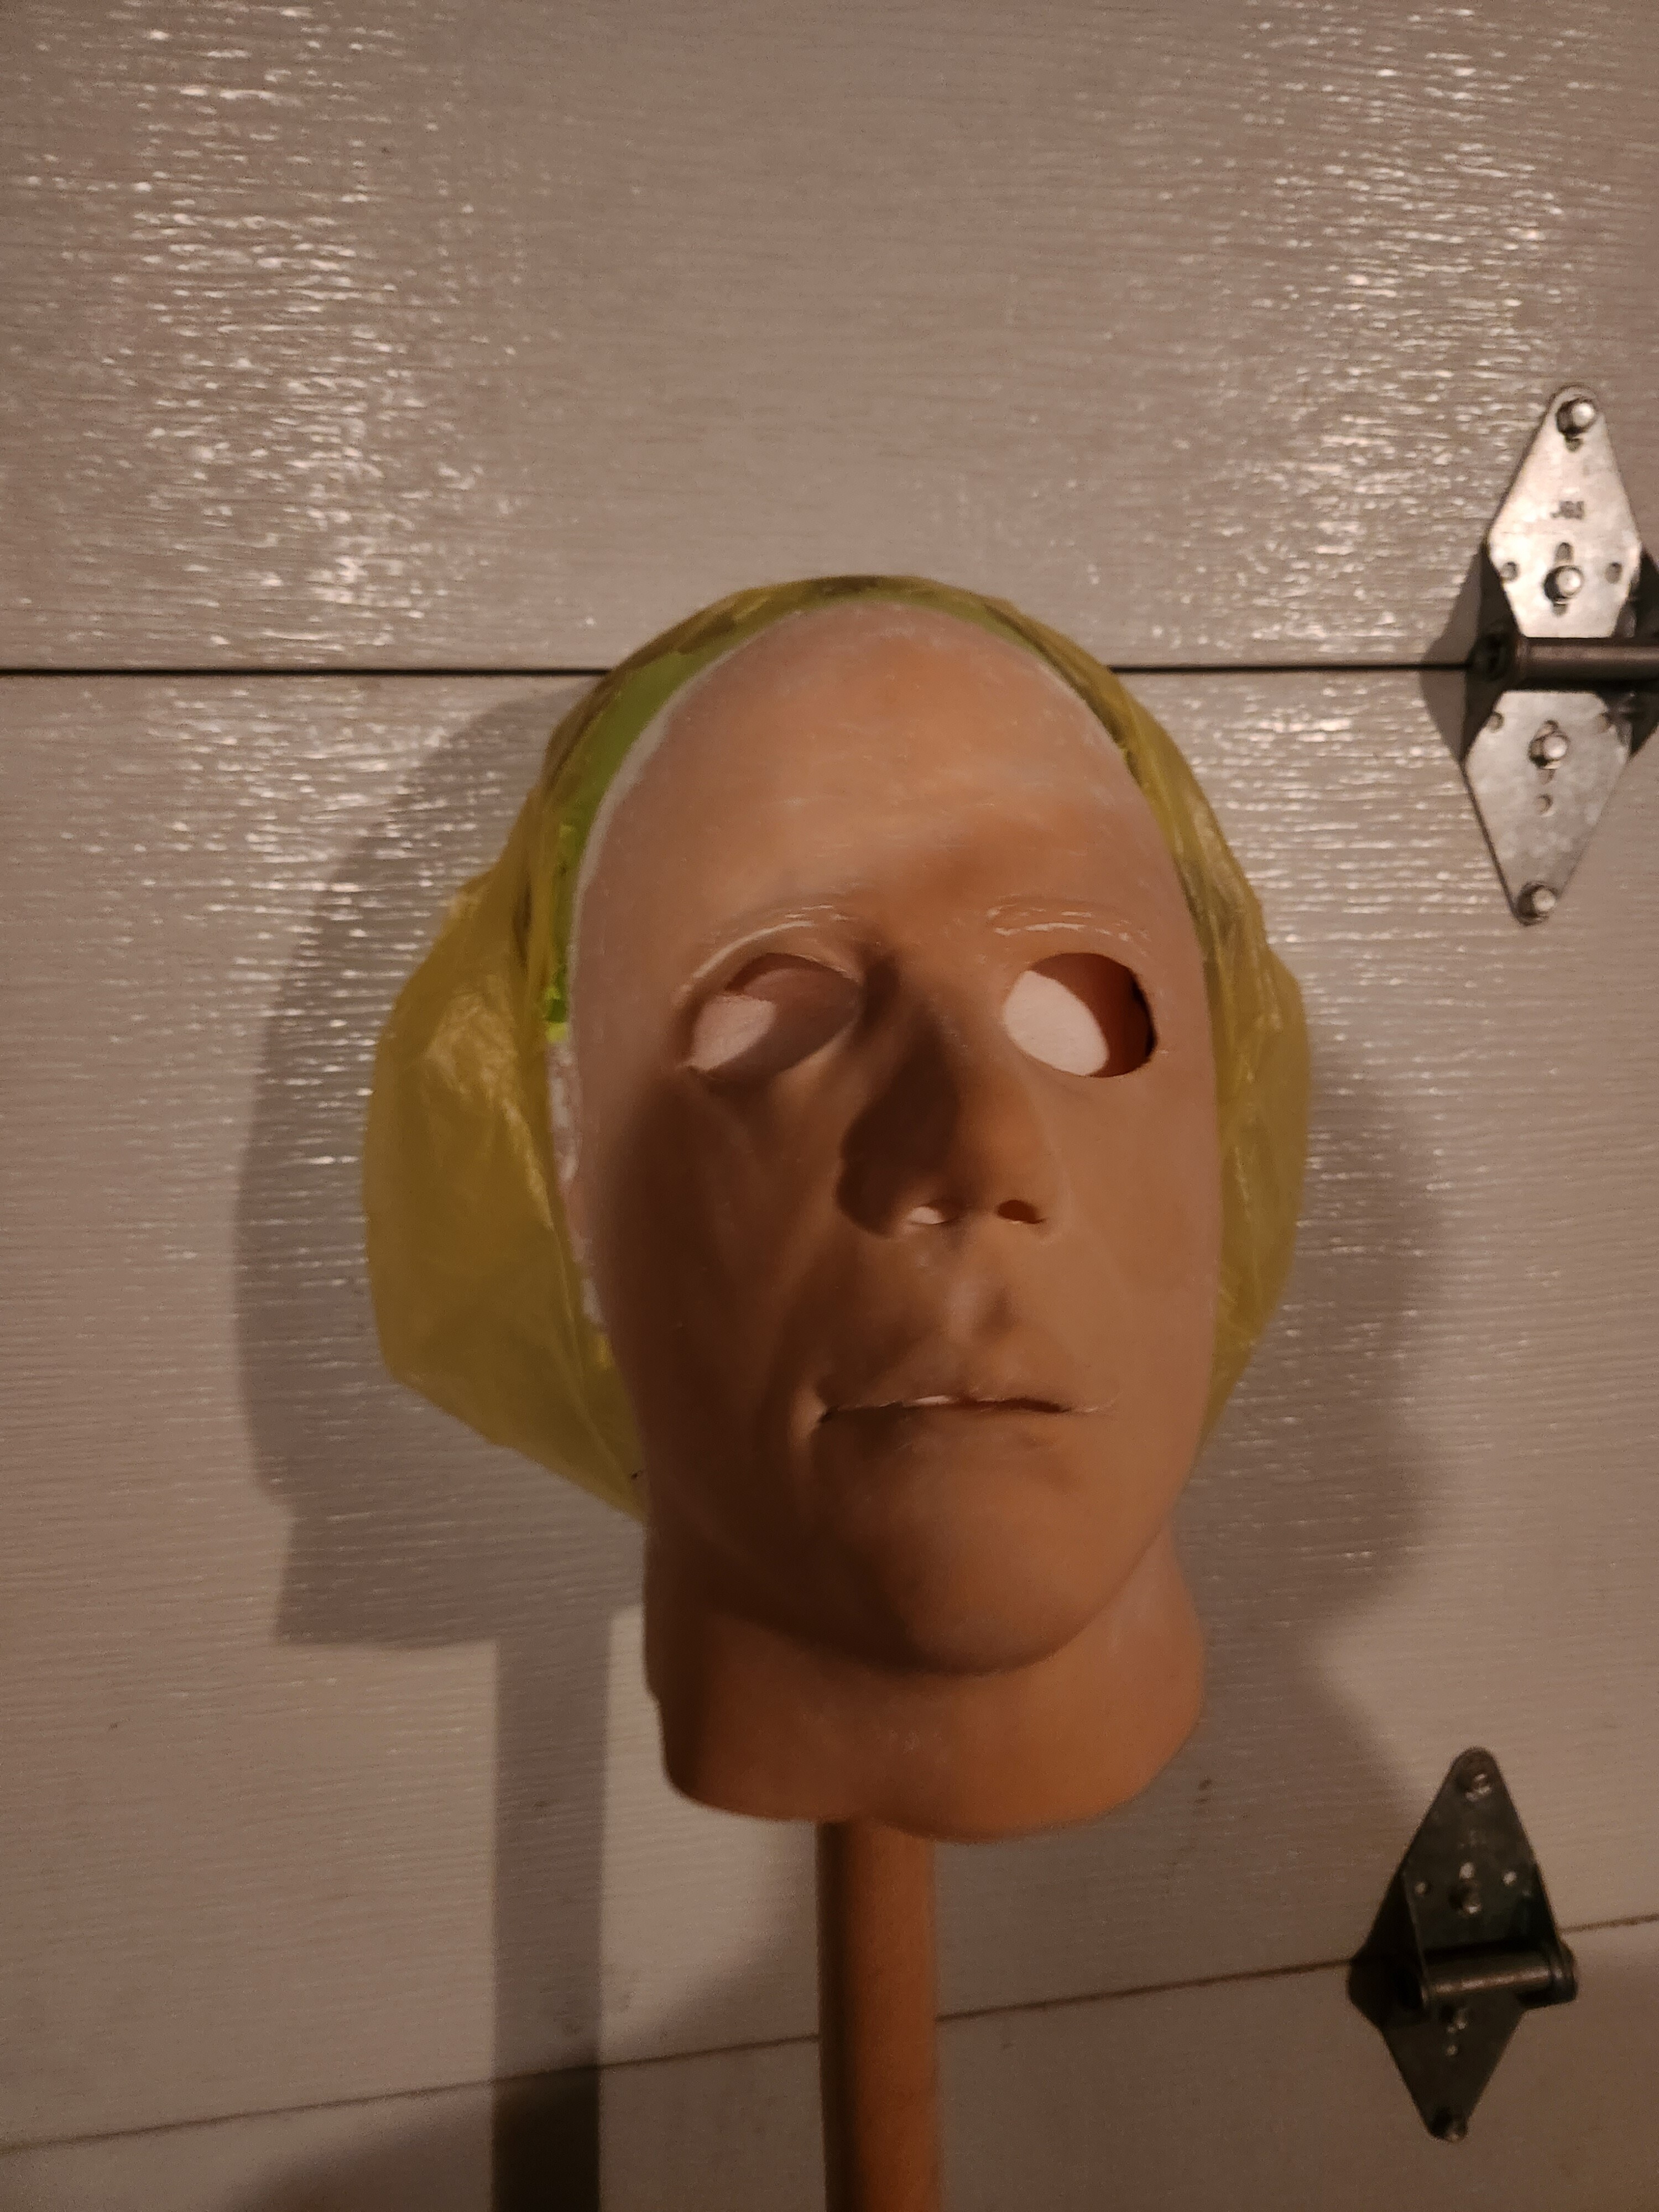
After some arduous work, and help from various members here especially DrMixter, I worked on two TOTS H6’s to get them ready for Halloween and just for my own personal collection.
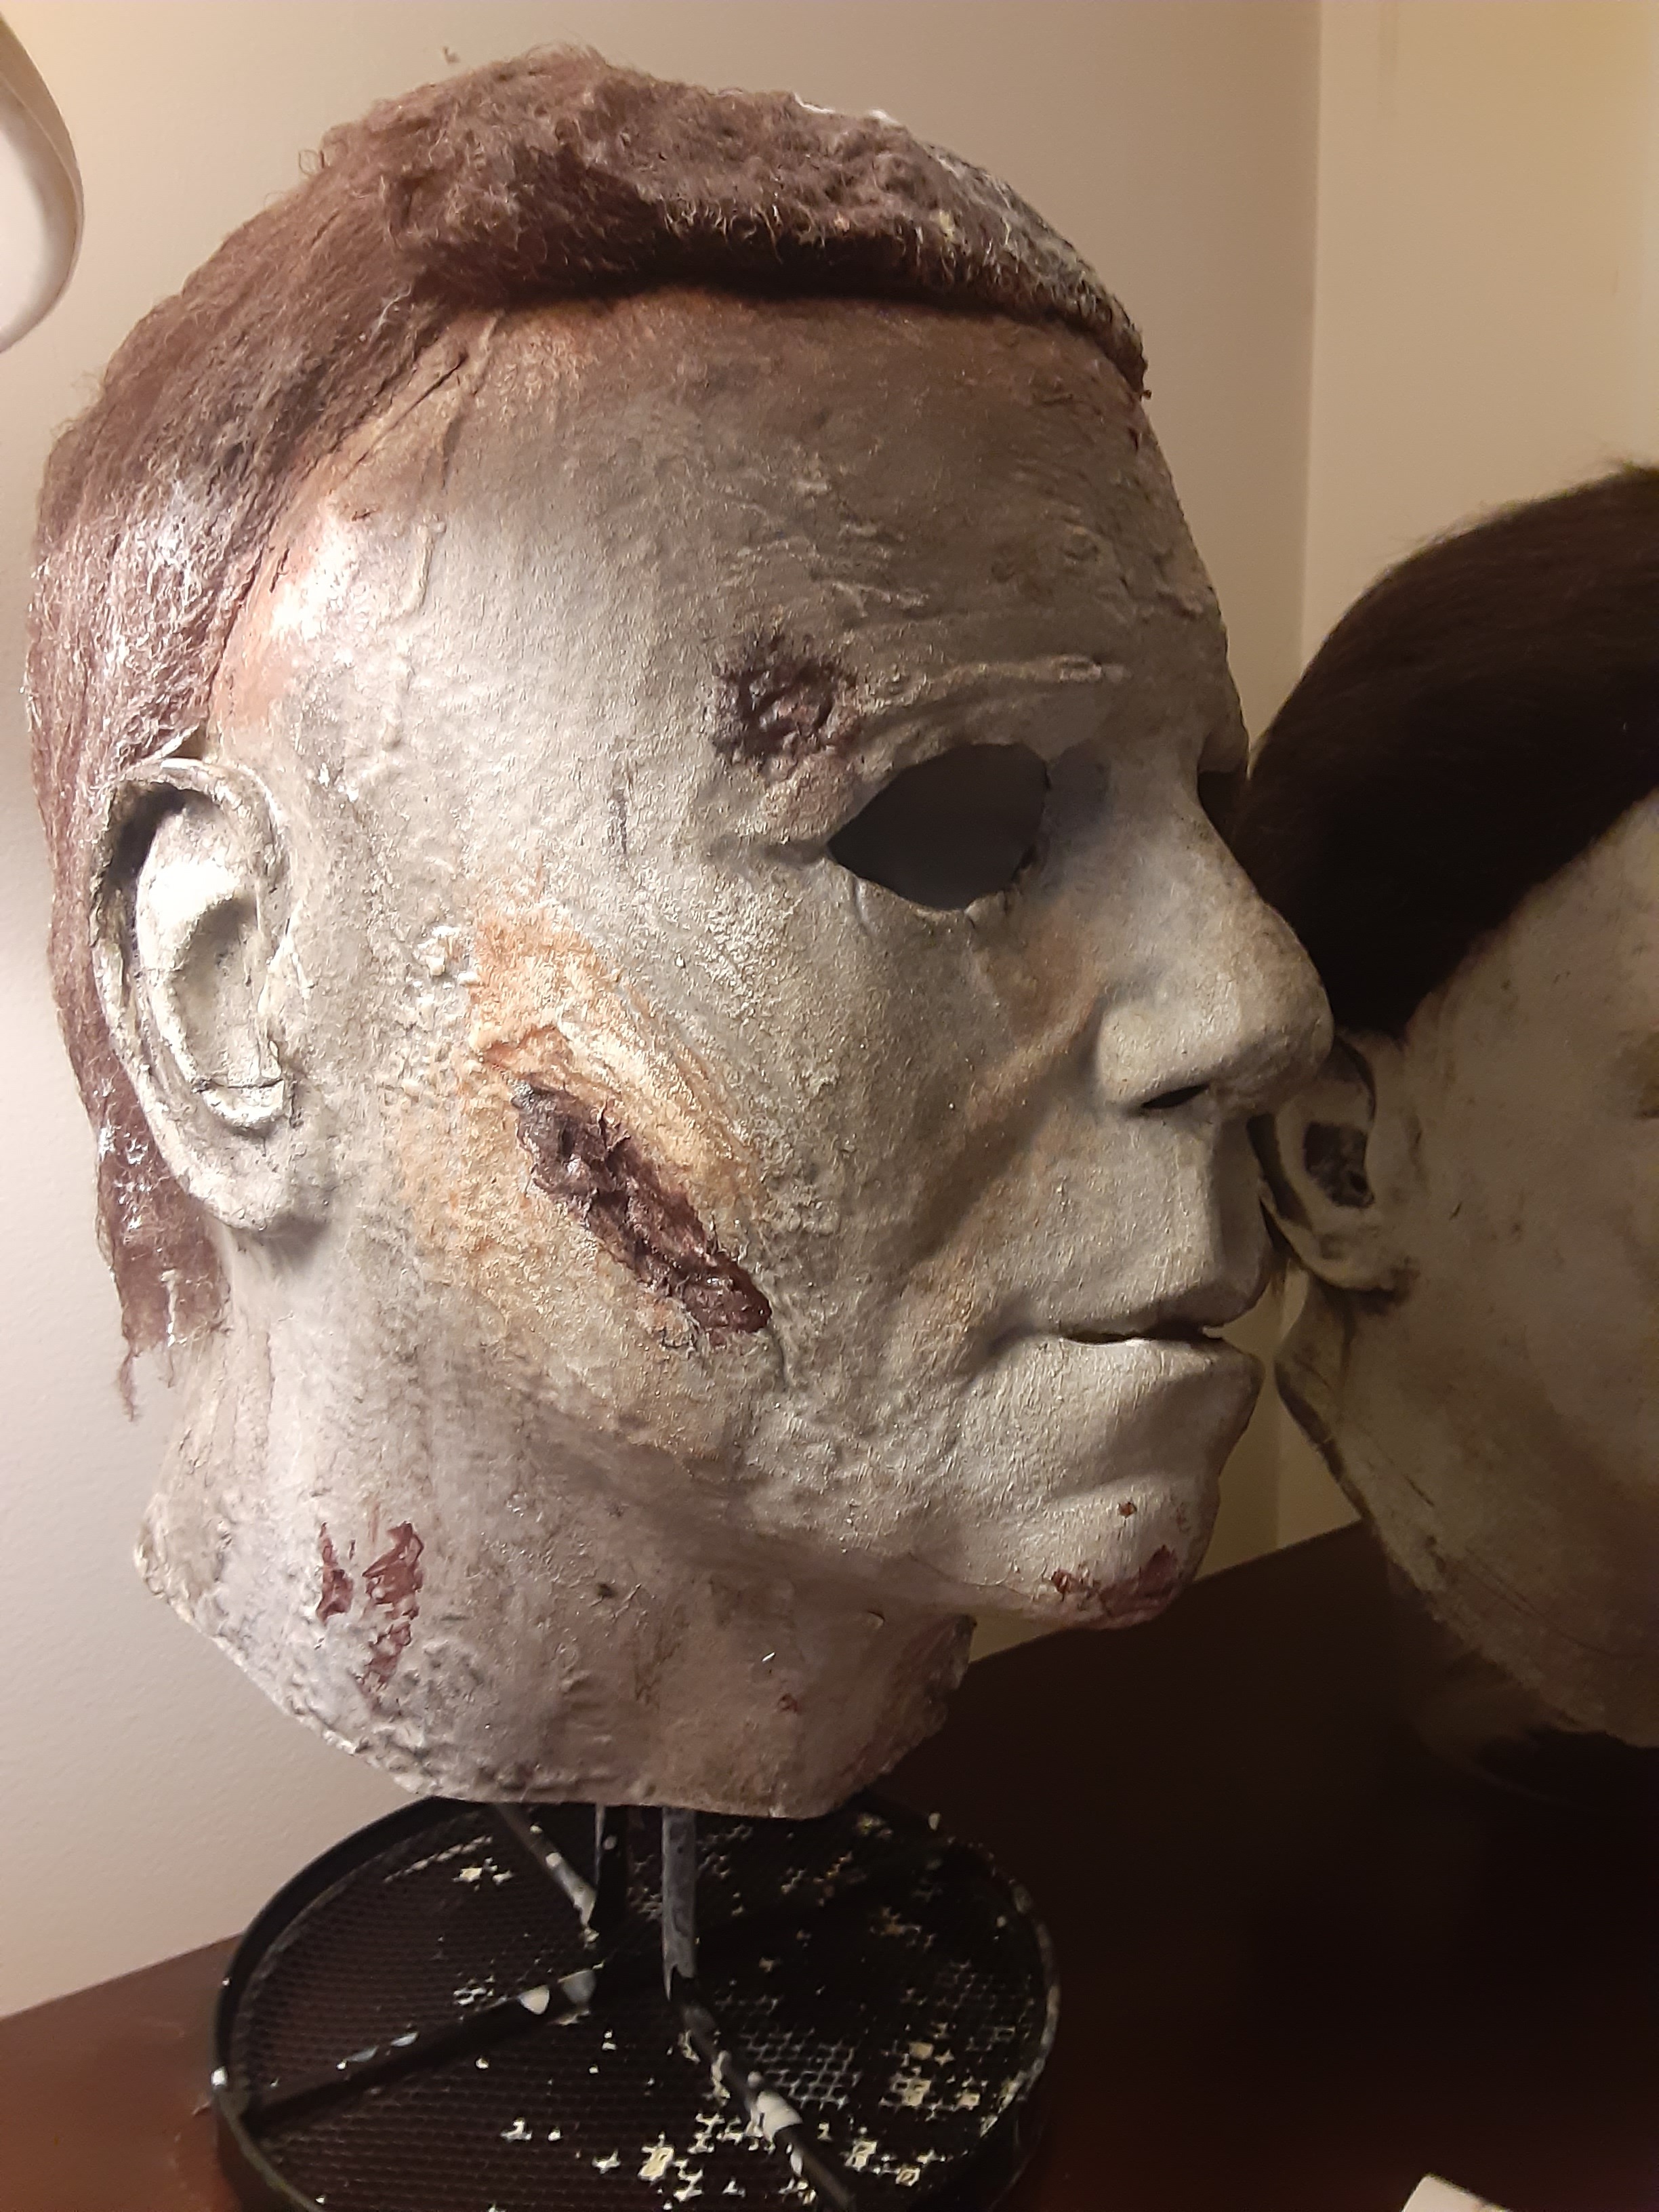
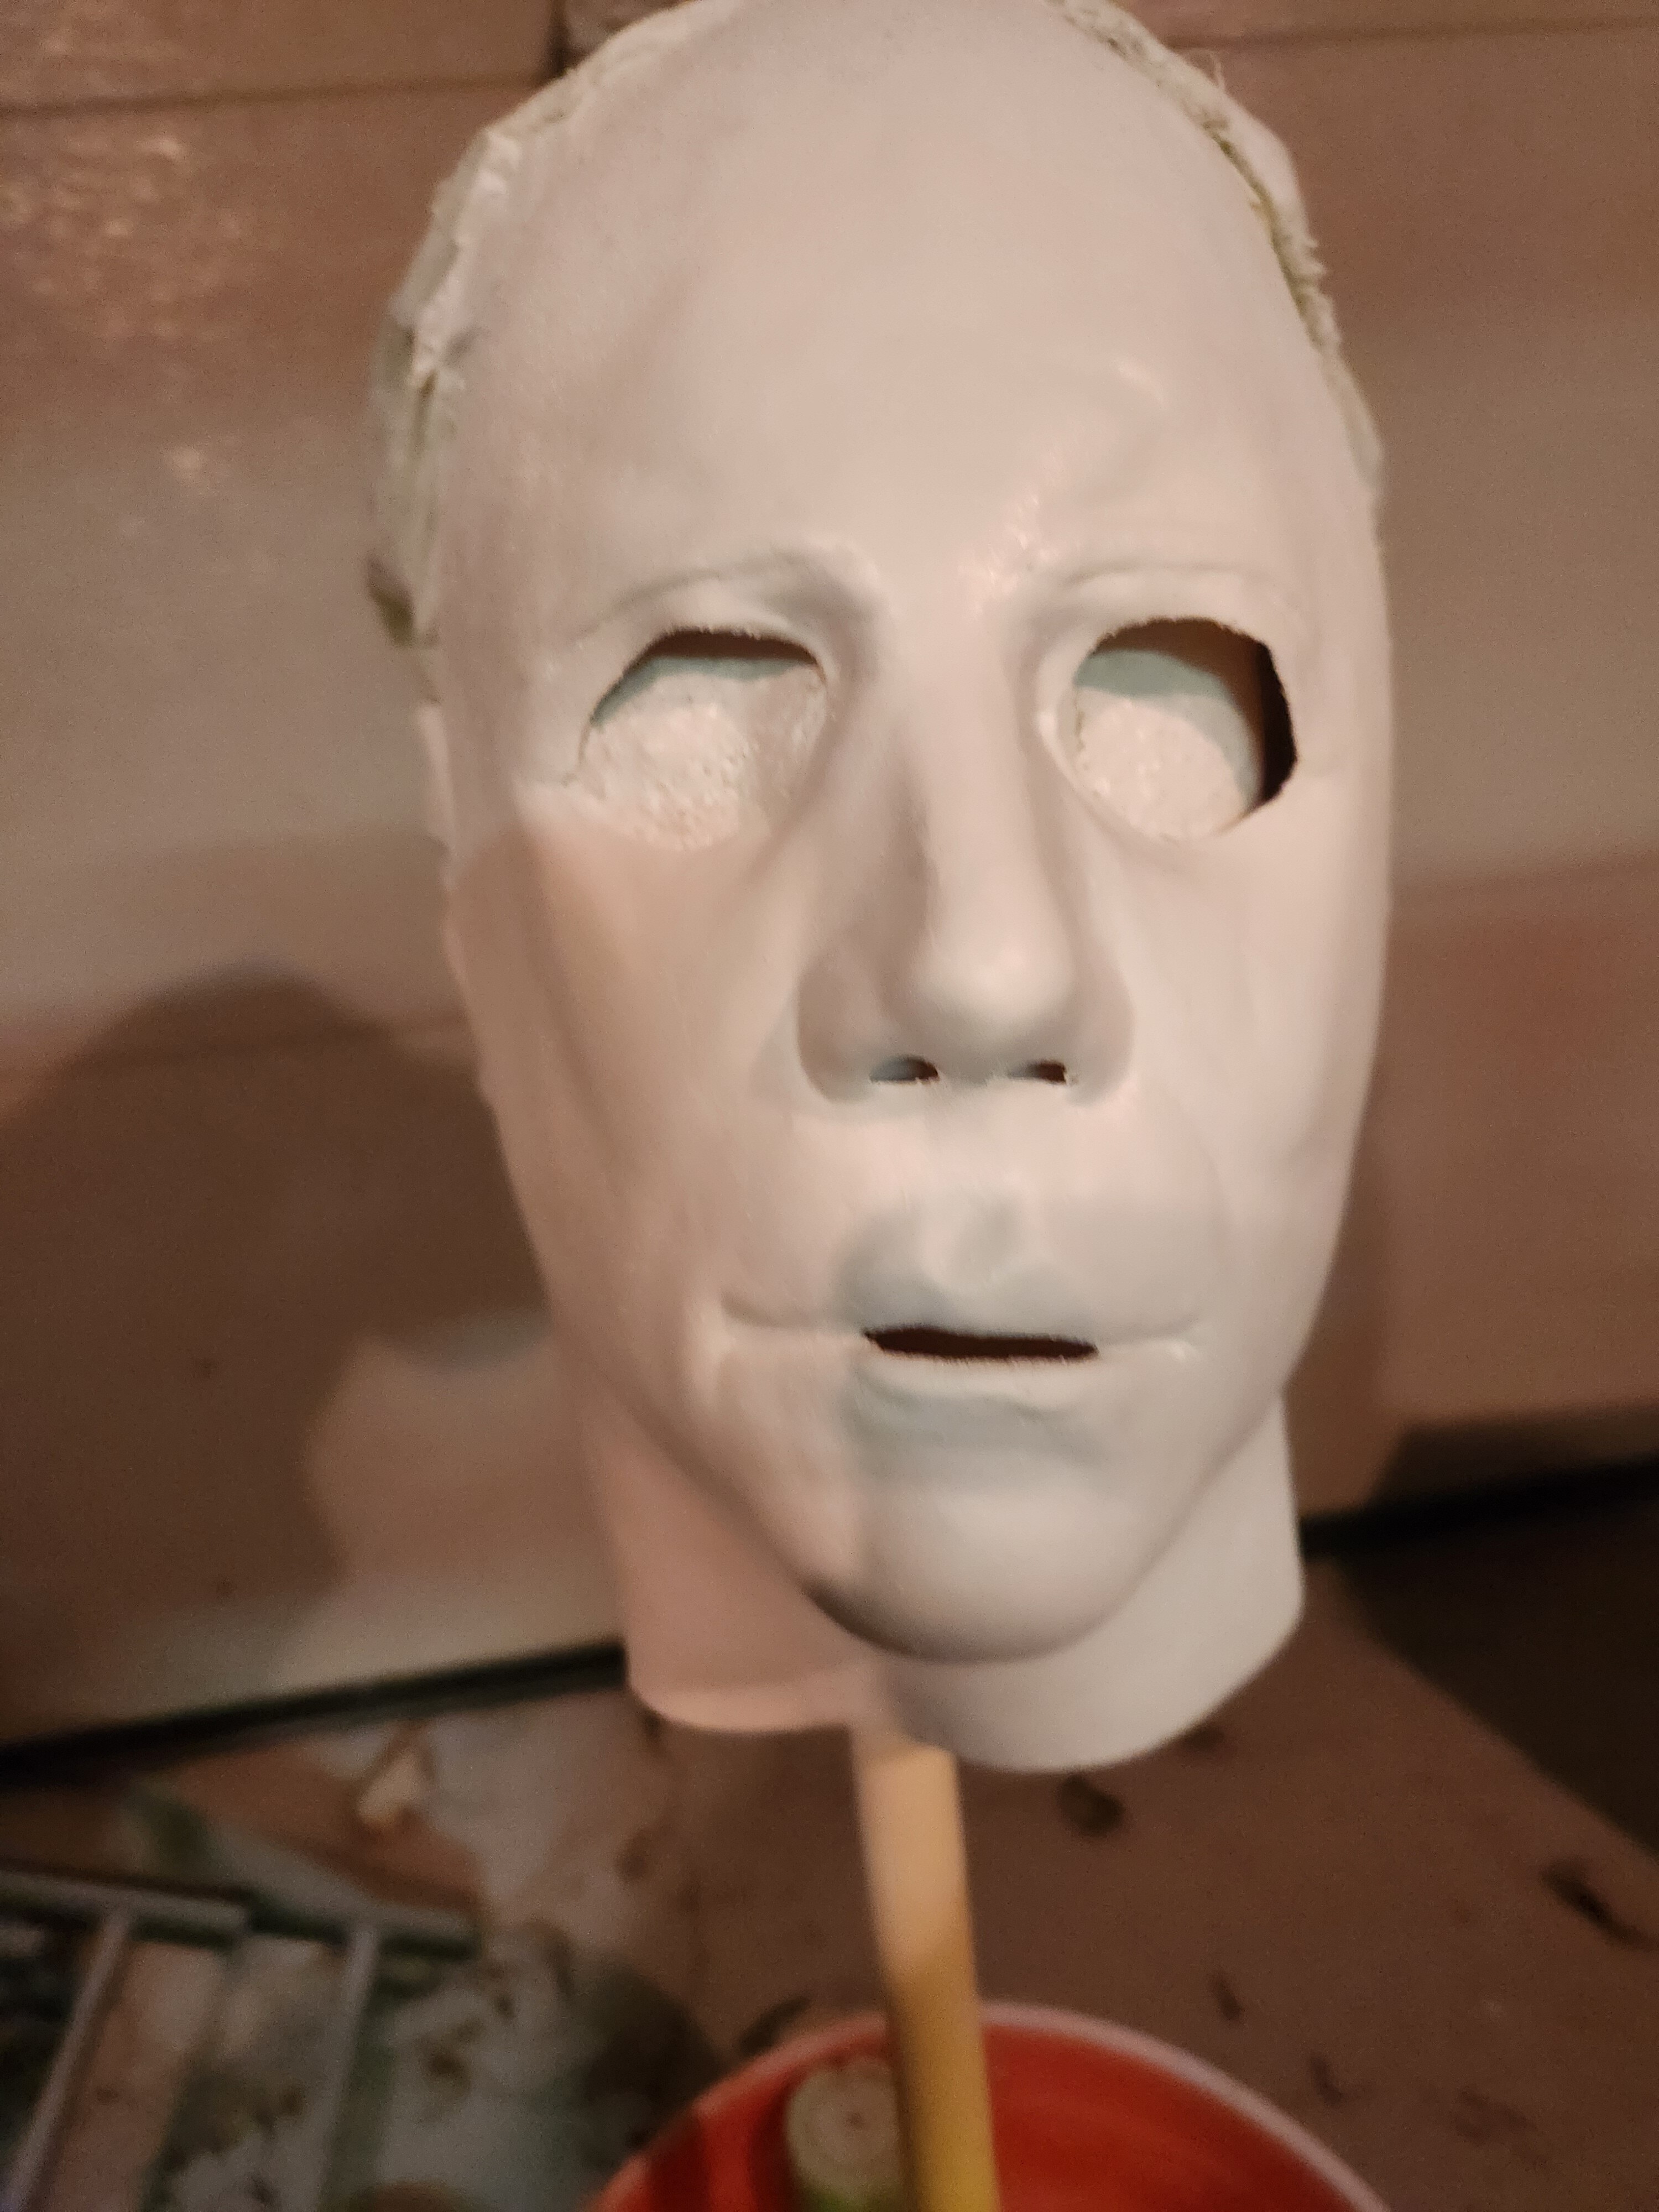
Here’s my test mask, though it came out pretty solid! The undertones are more visible here which looks great but It’s also not 100% movie accurate, maybe? Regardless, most people says it looks really cool.
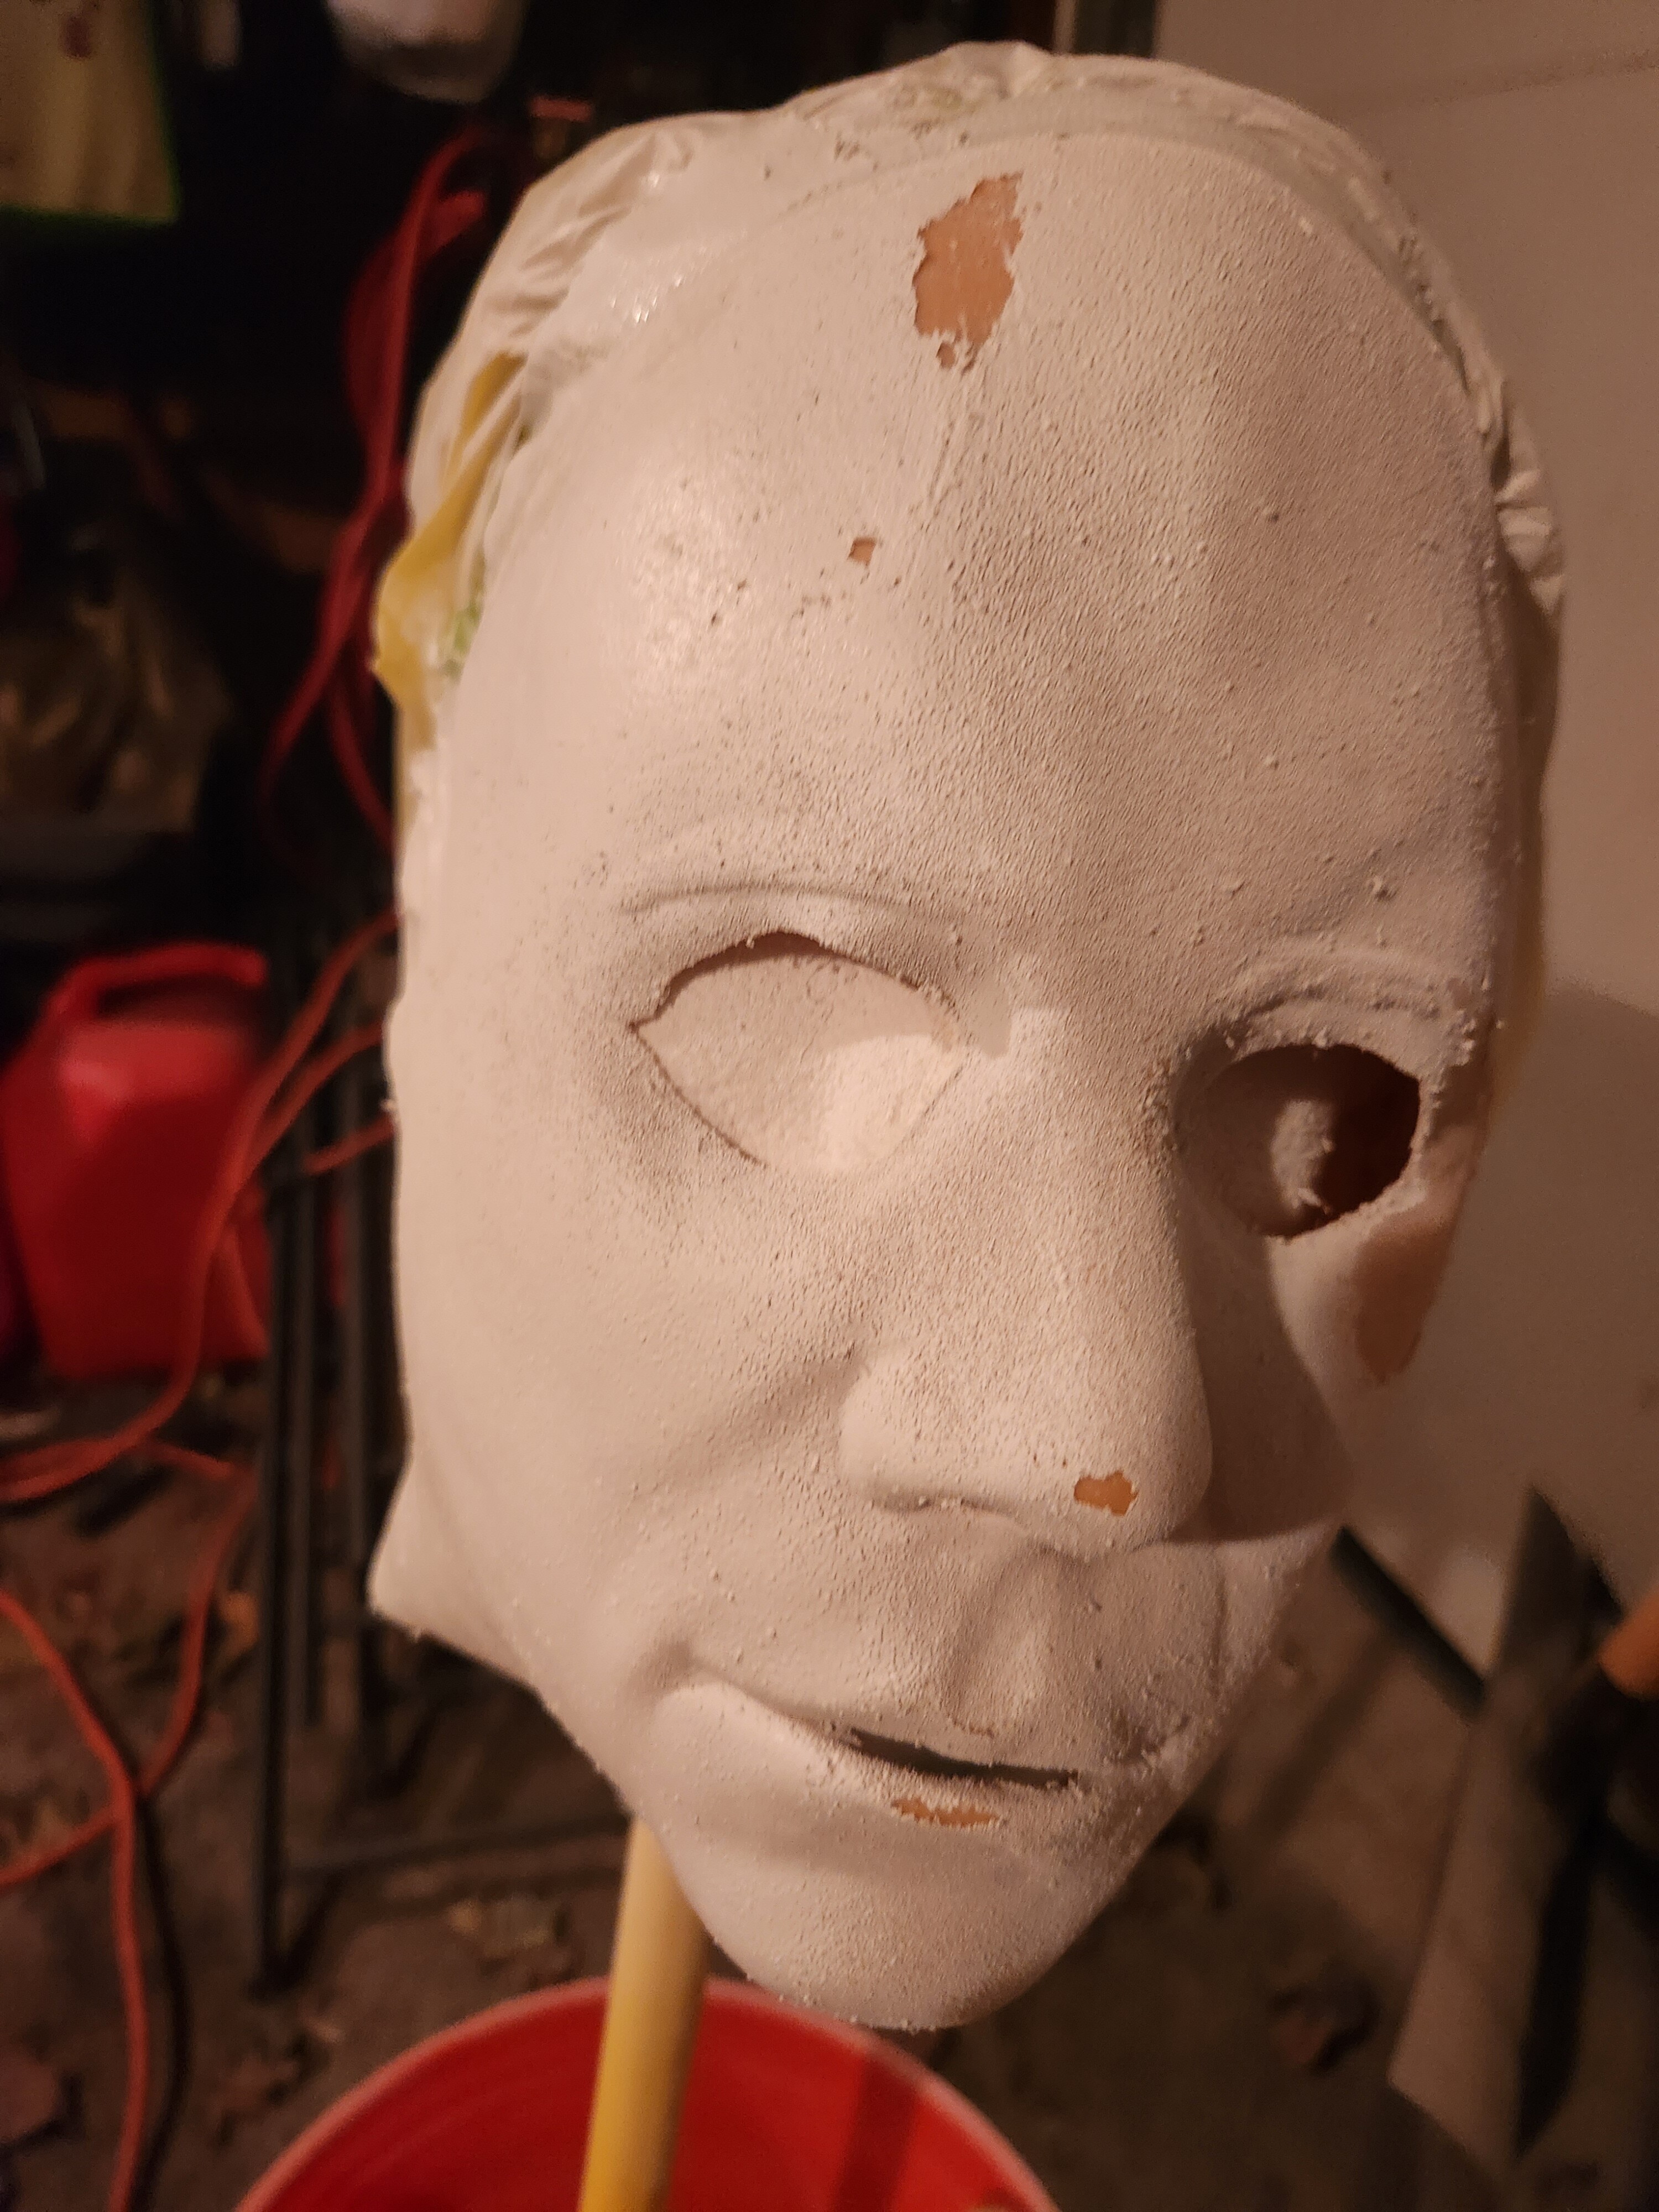
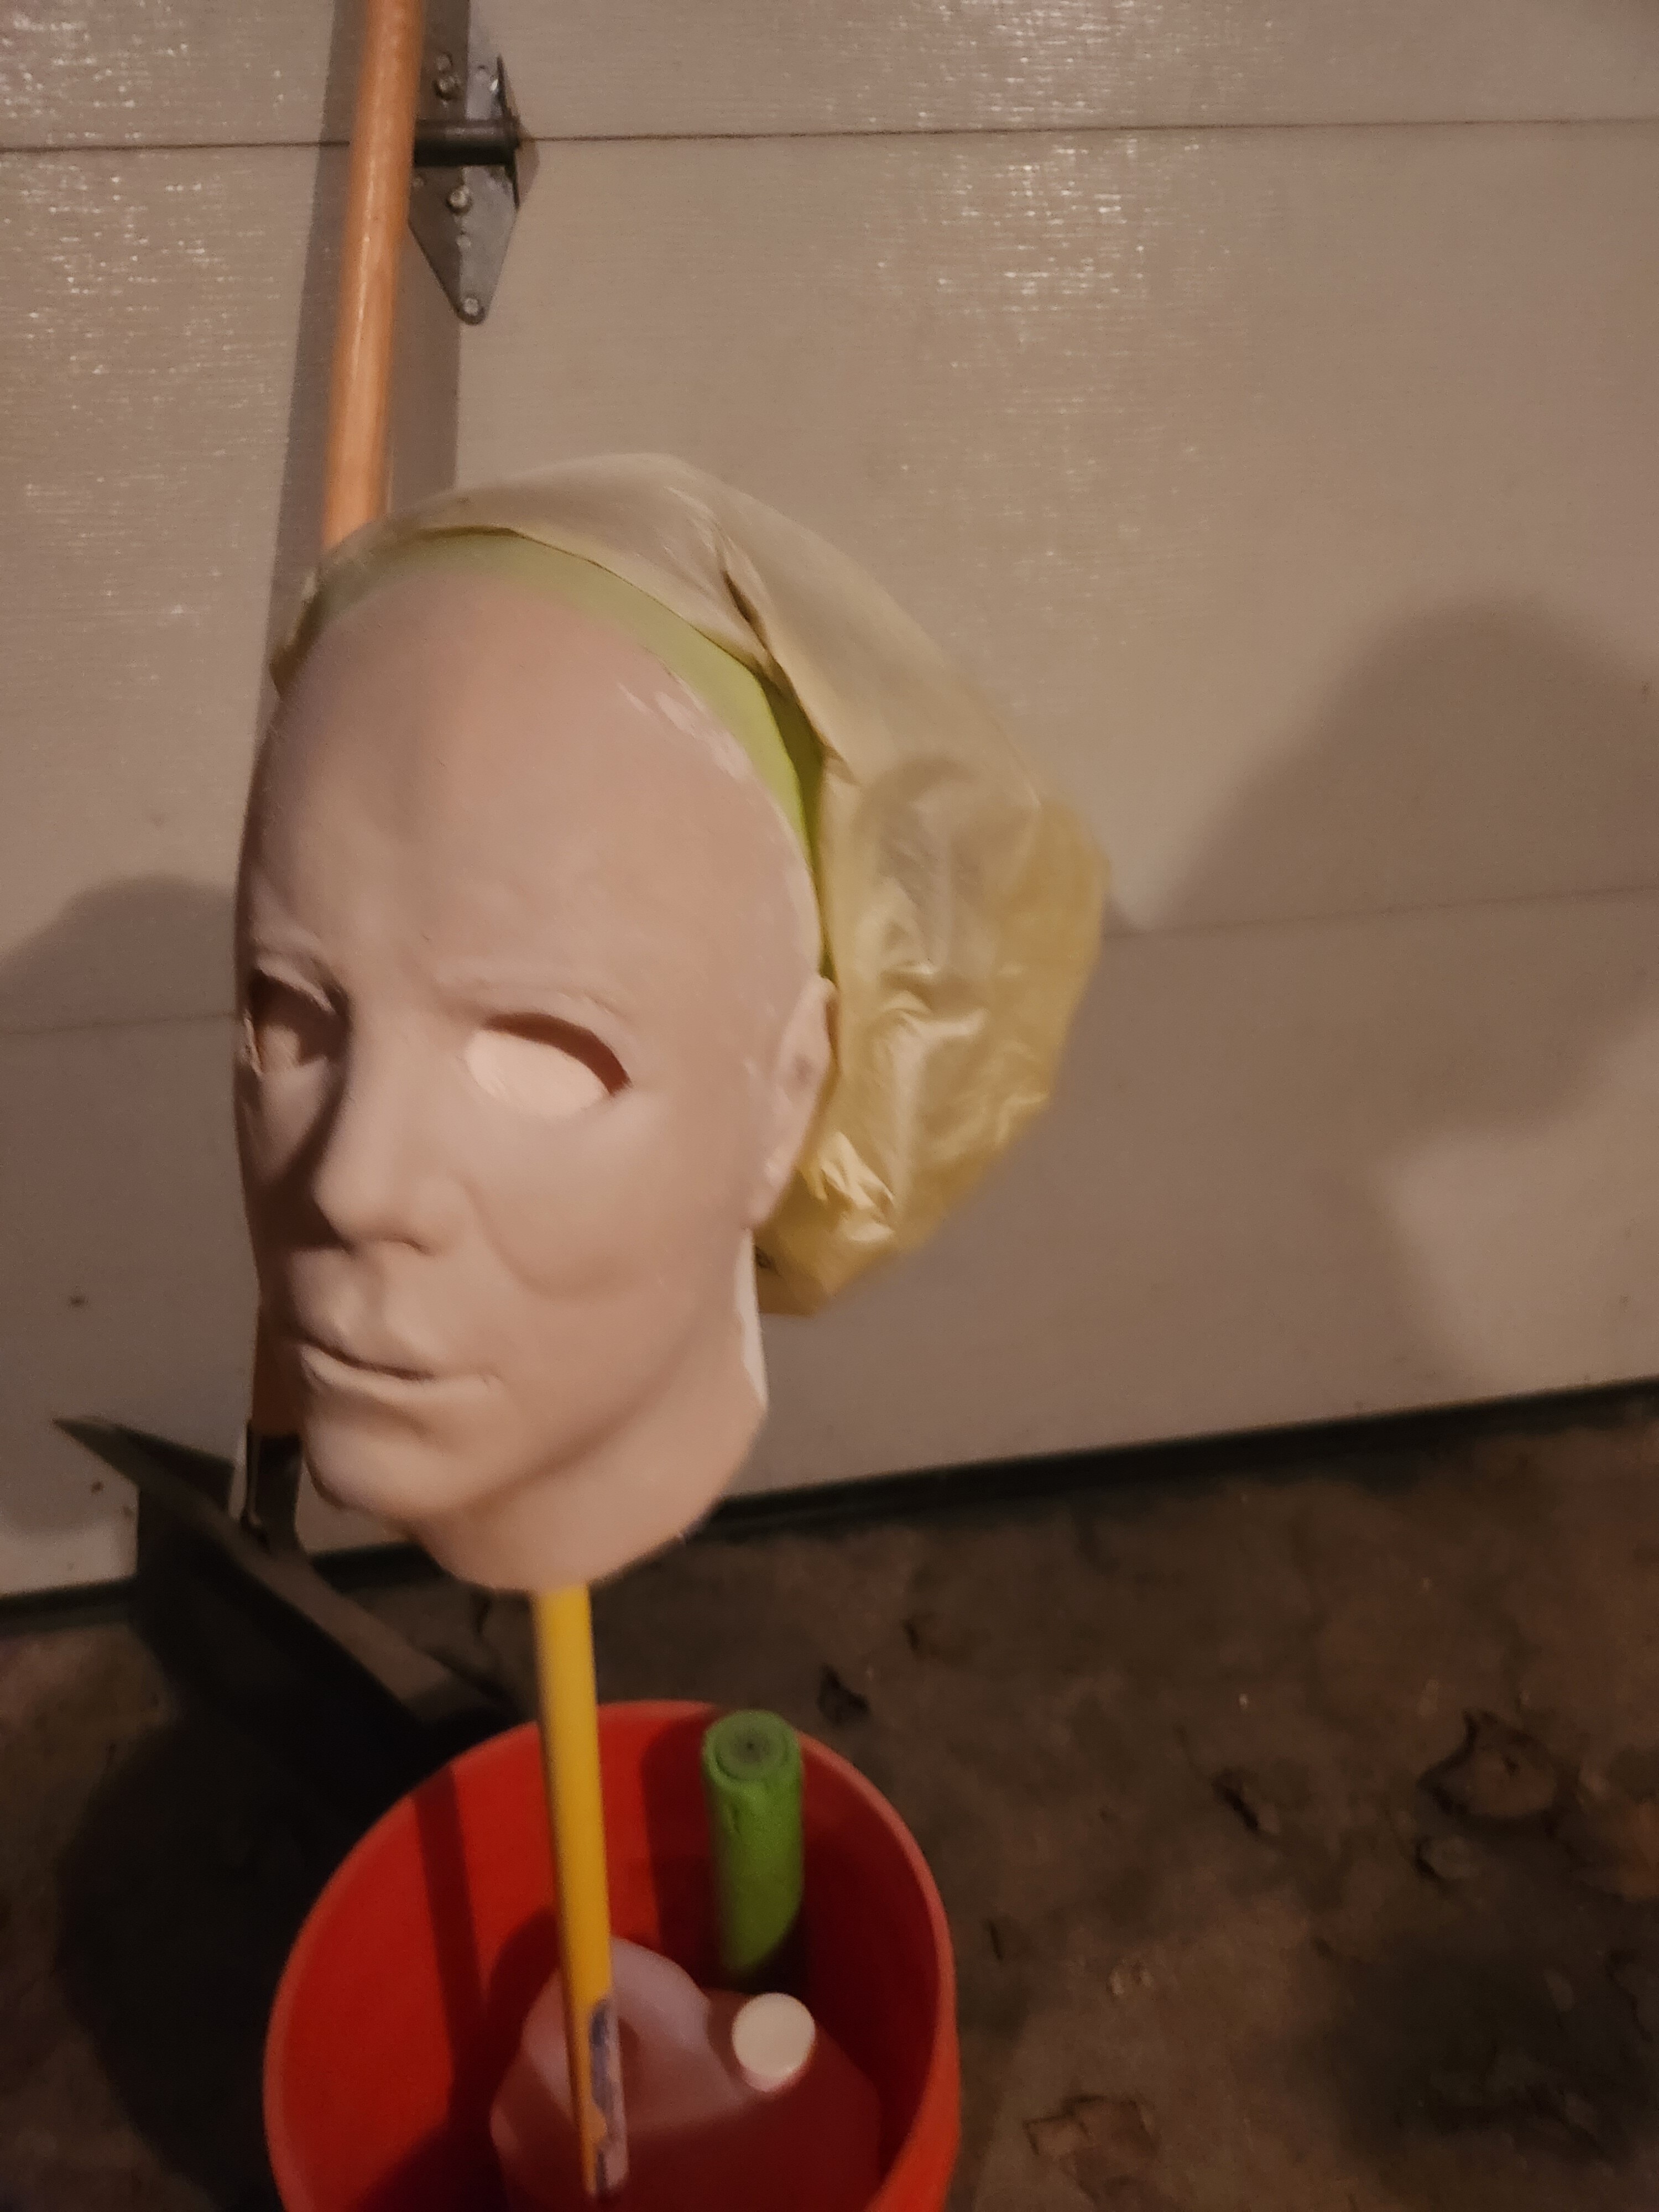
So here is mask 2. This was to be my main mask despite being a bit bigger on my head but there’s less imperfections compared to the other one. However, my first rehaul attempt on this was a disaster and I tried to salvage it. I scrubbed off as much of the prior paint app. Ironically the test mask, with it’s imperfections and rushed nature, came out slicker. This however has an added layer of white over the undertone being slightly more white and movie accurate (probably).
I still have to do some washes (maybe) and detailing and dry brushing but I figured these WIPs were cool enough to share!
An update! Seems my dry brushing/weathering/etc was more fruitful than I thought. Most of my friends really like the right side mask, and I’m leaning onto it also but what do you all think?
What do you guys mix to get the Zombie flesh m color for the white basecoat on the 2018-Ends masks ? Im debating just buying the real deal but the price + shipping is insane compare to regular acrylic or monster makers paint.
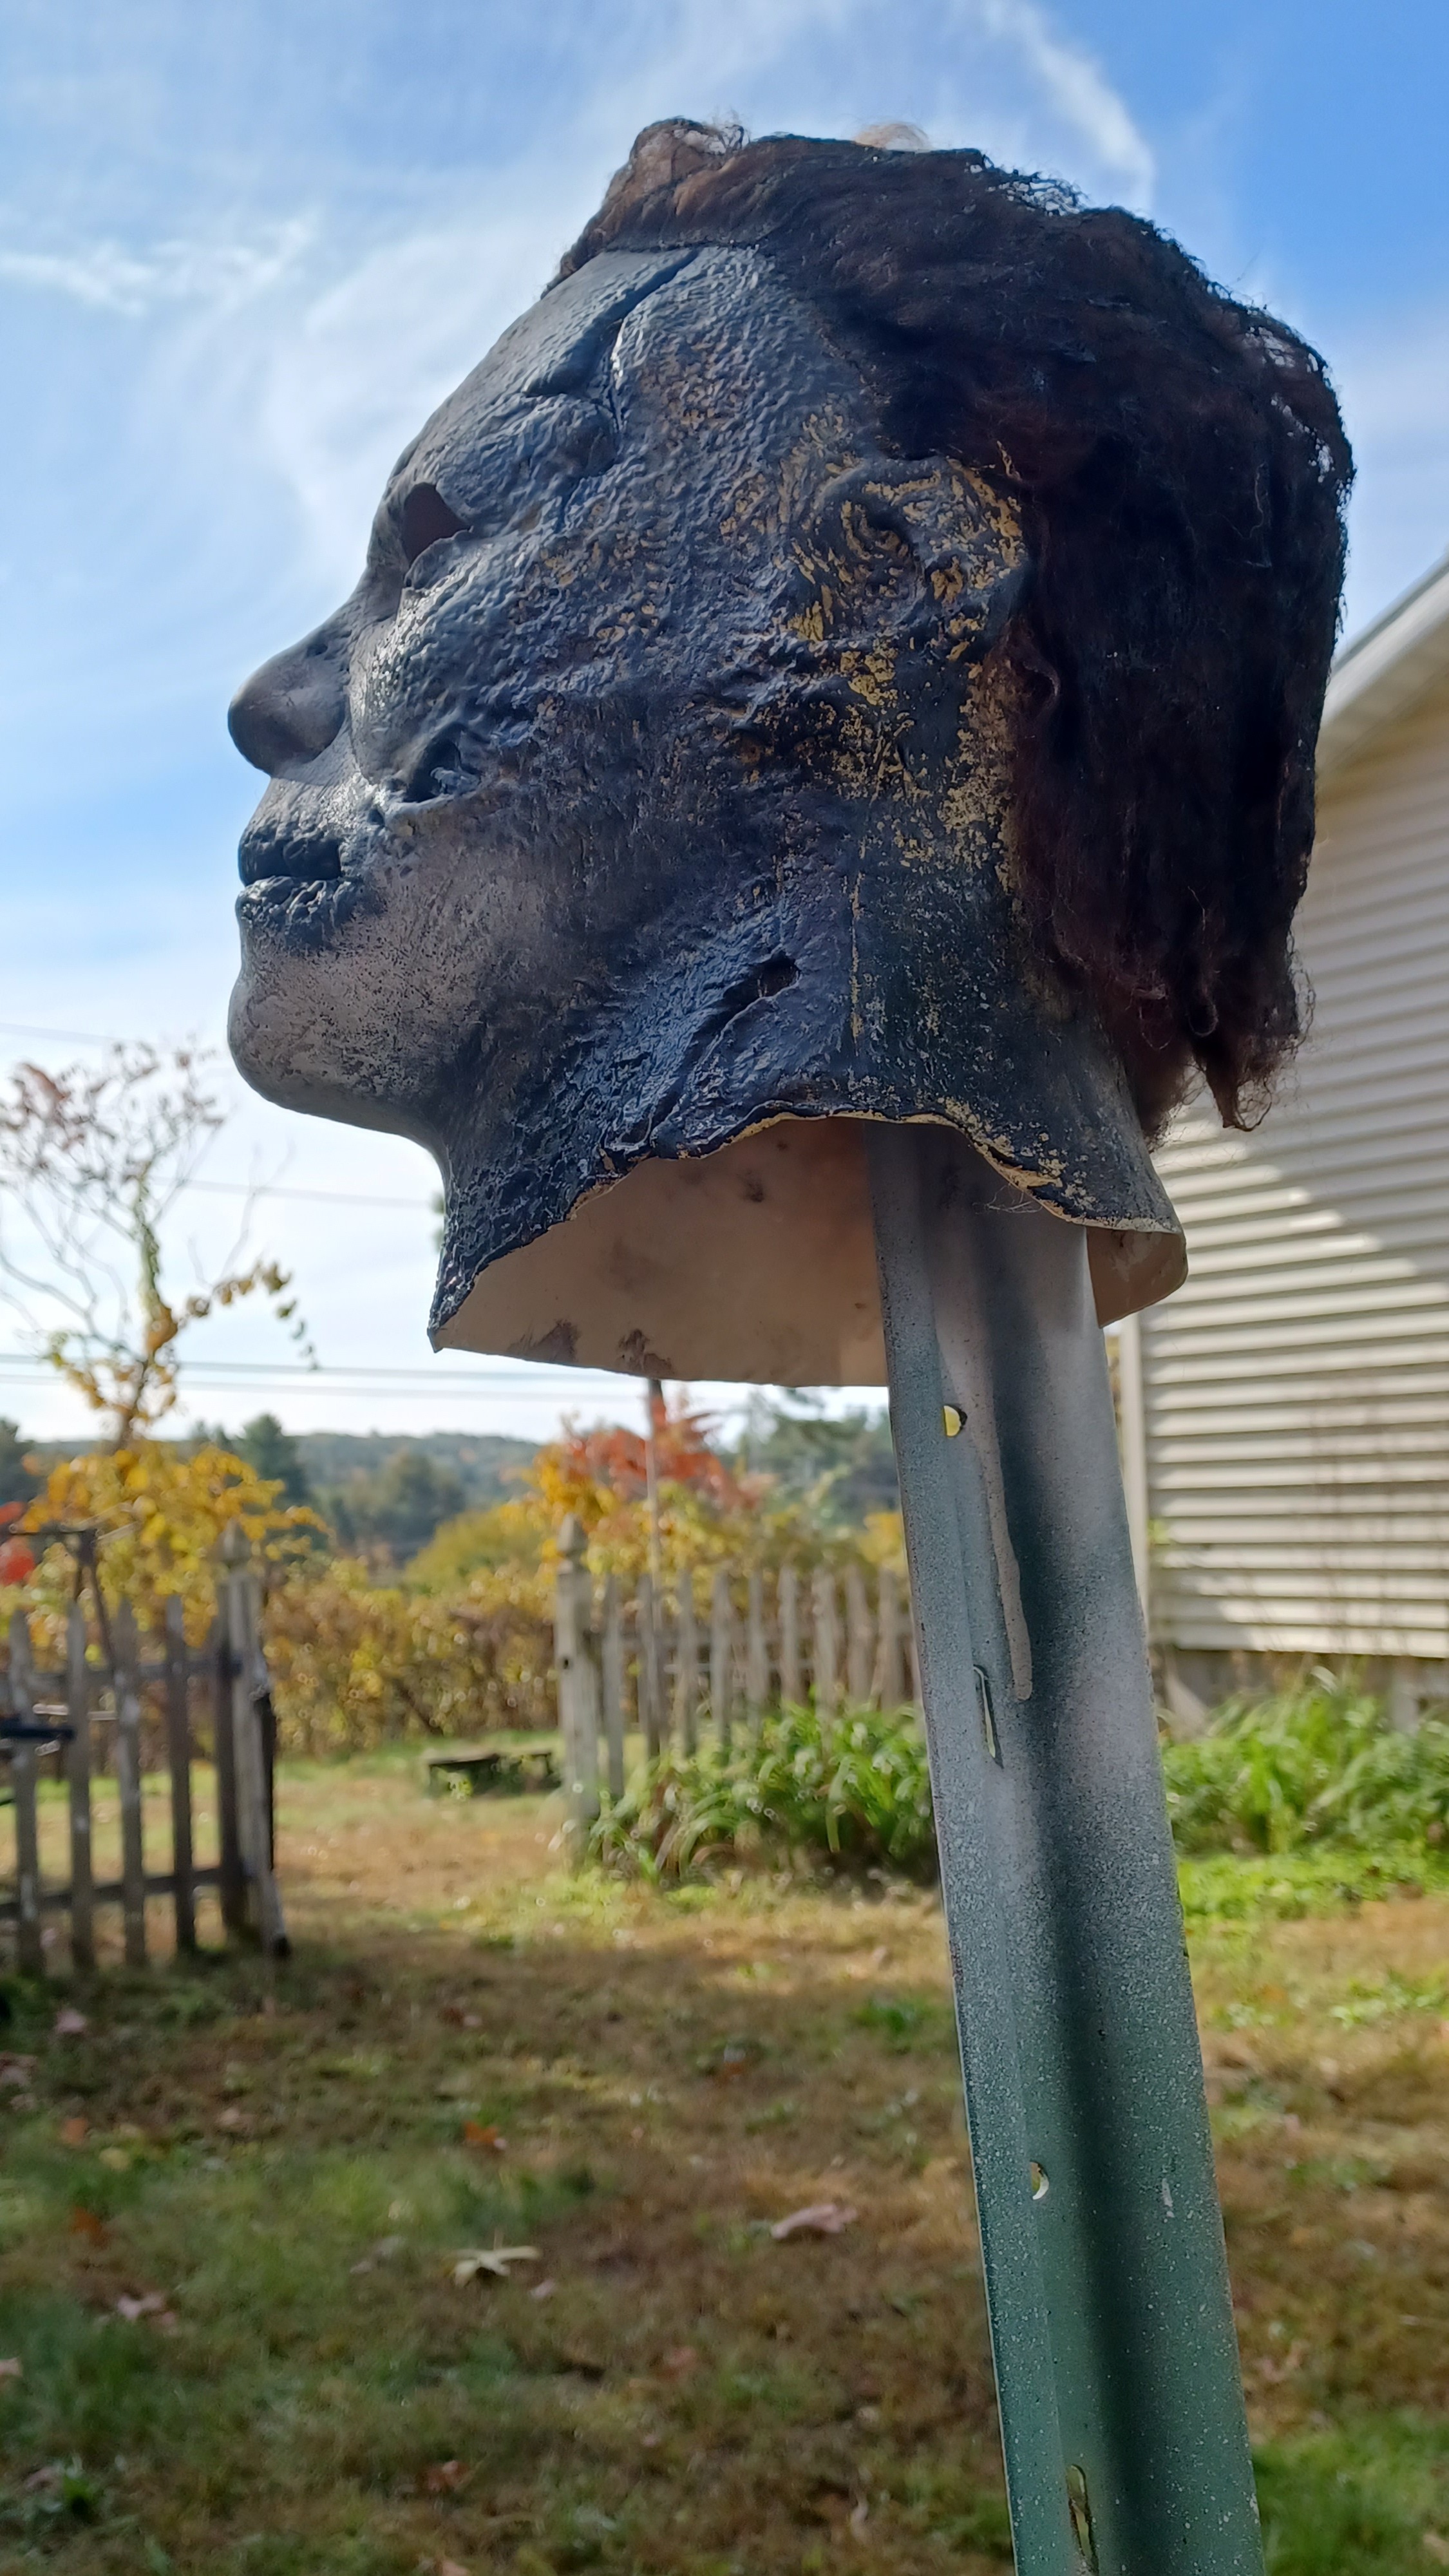
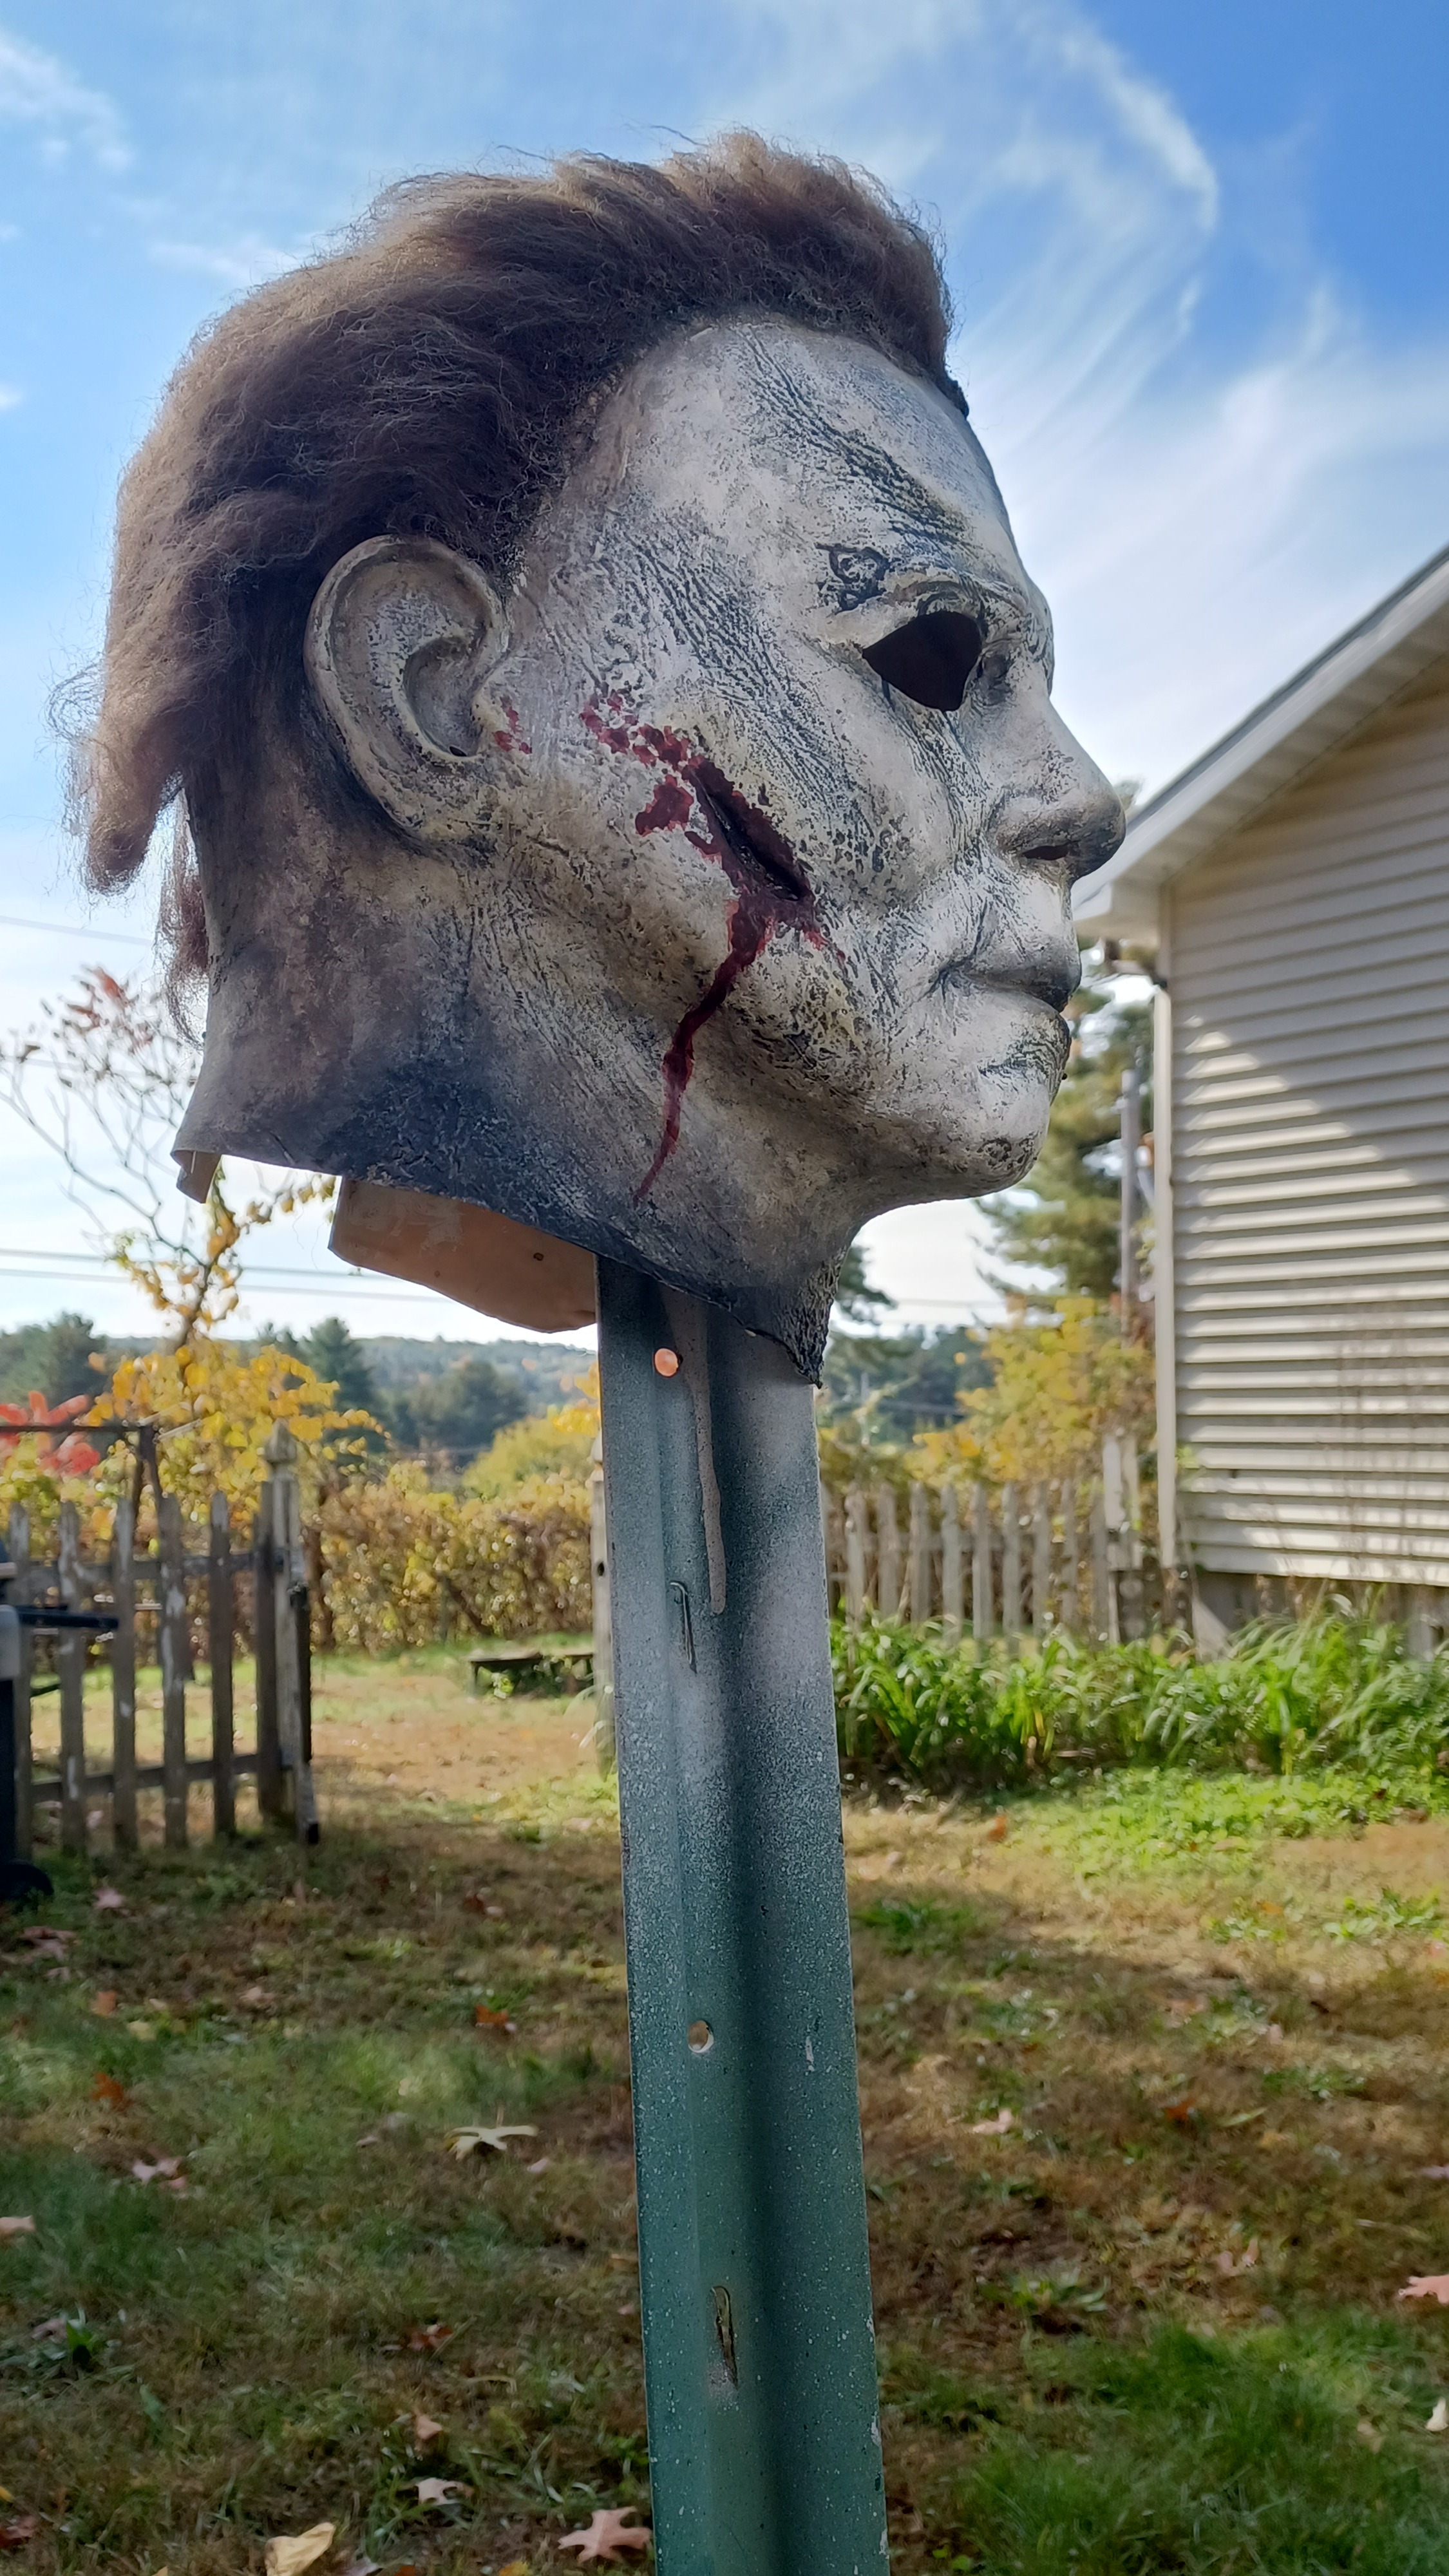
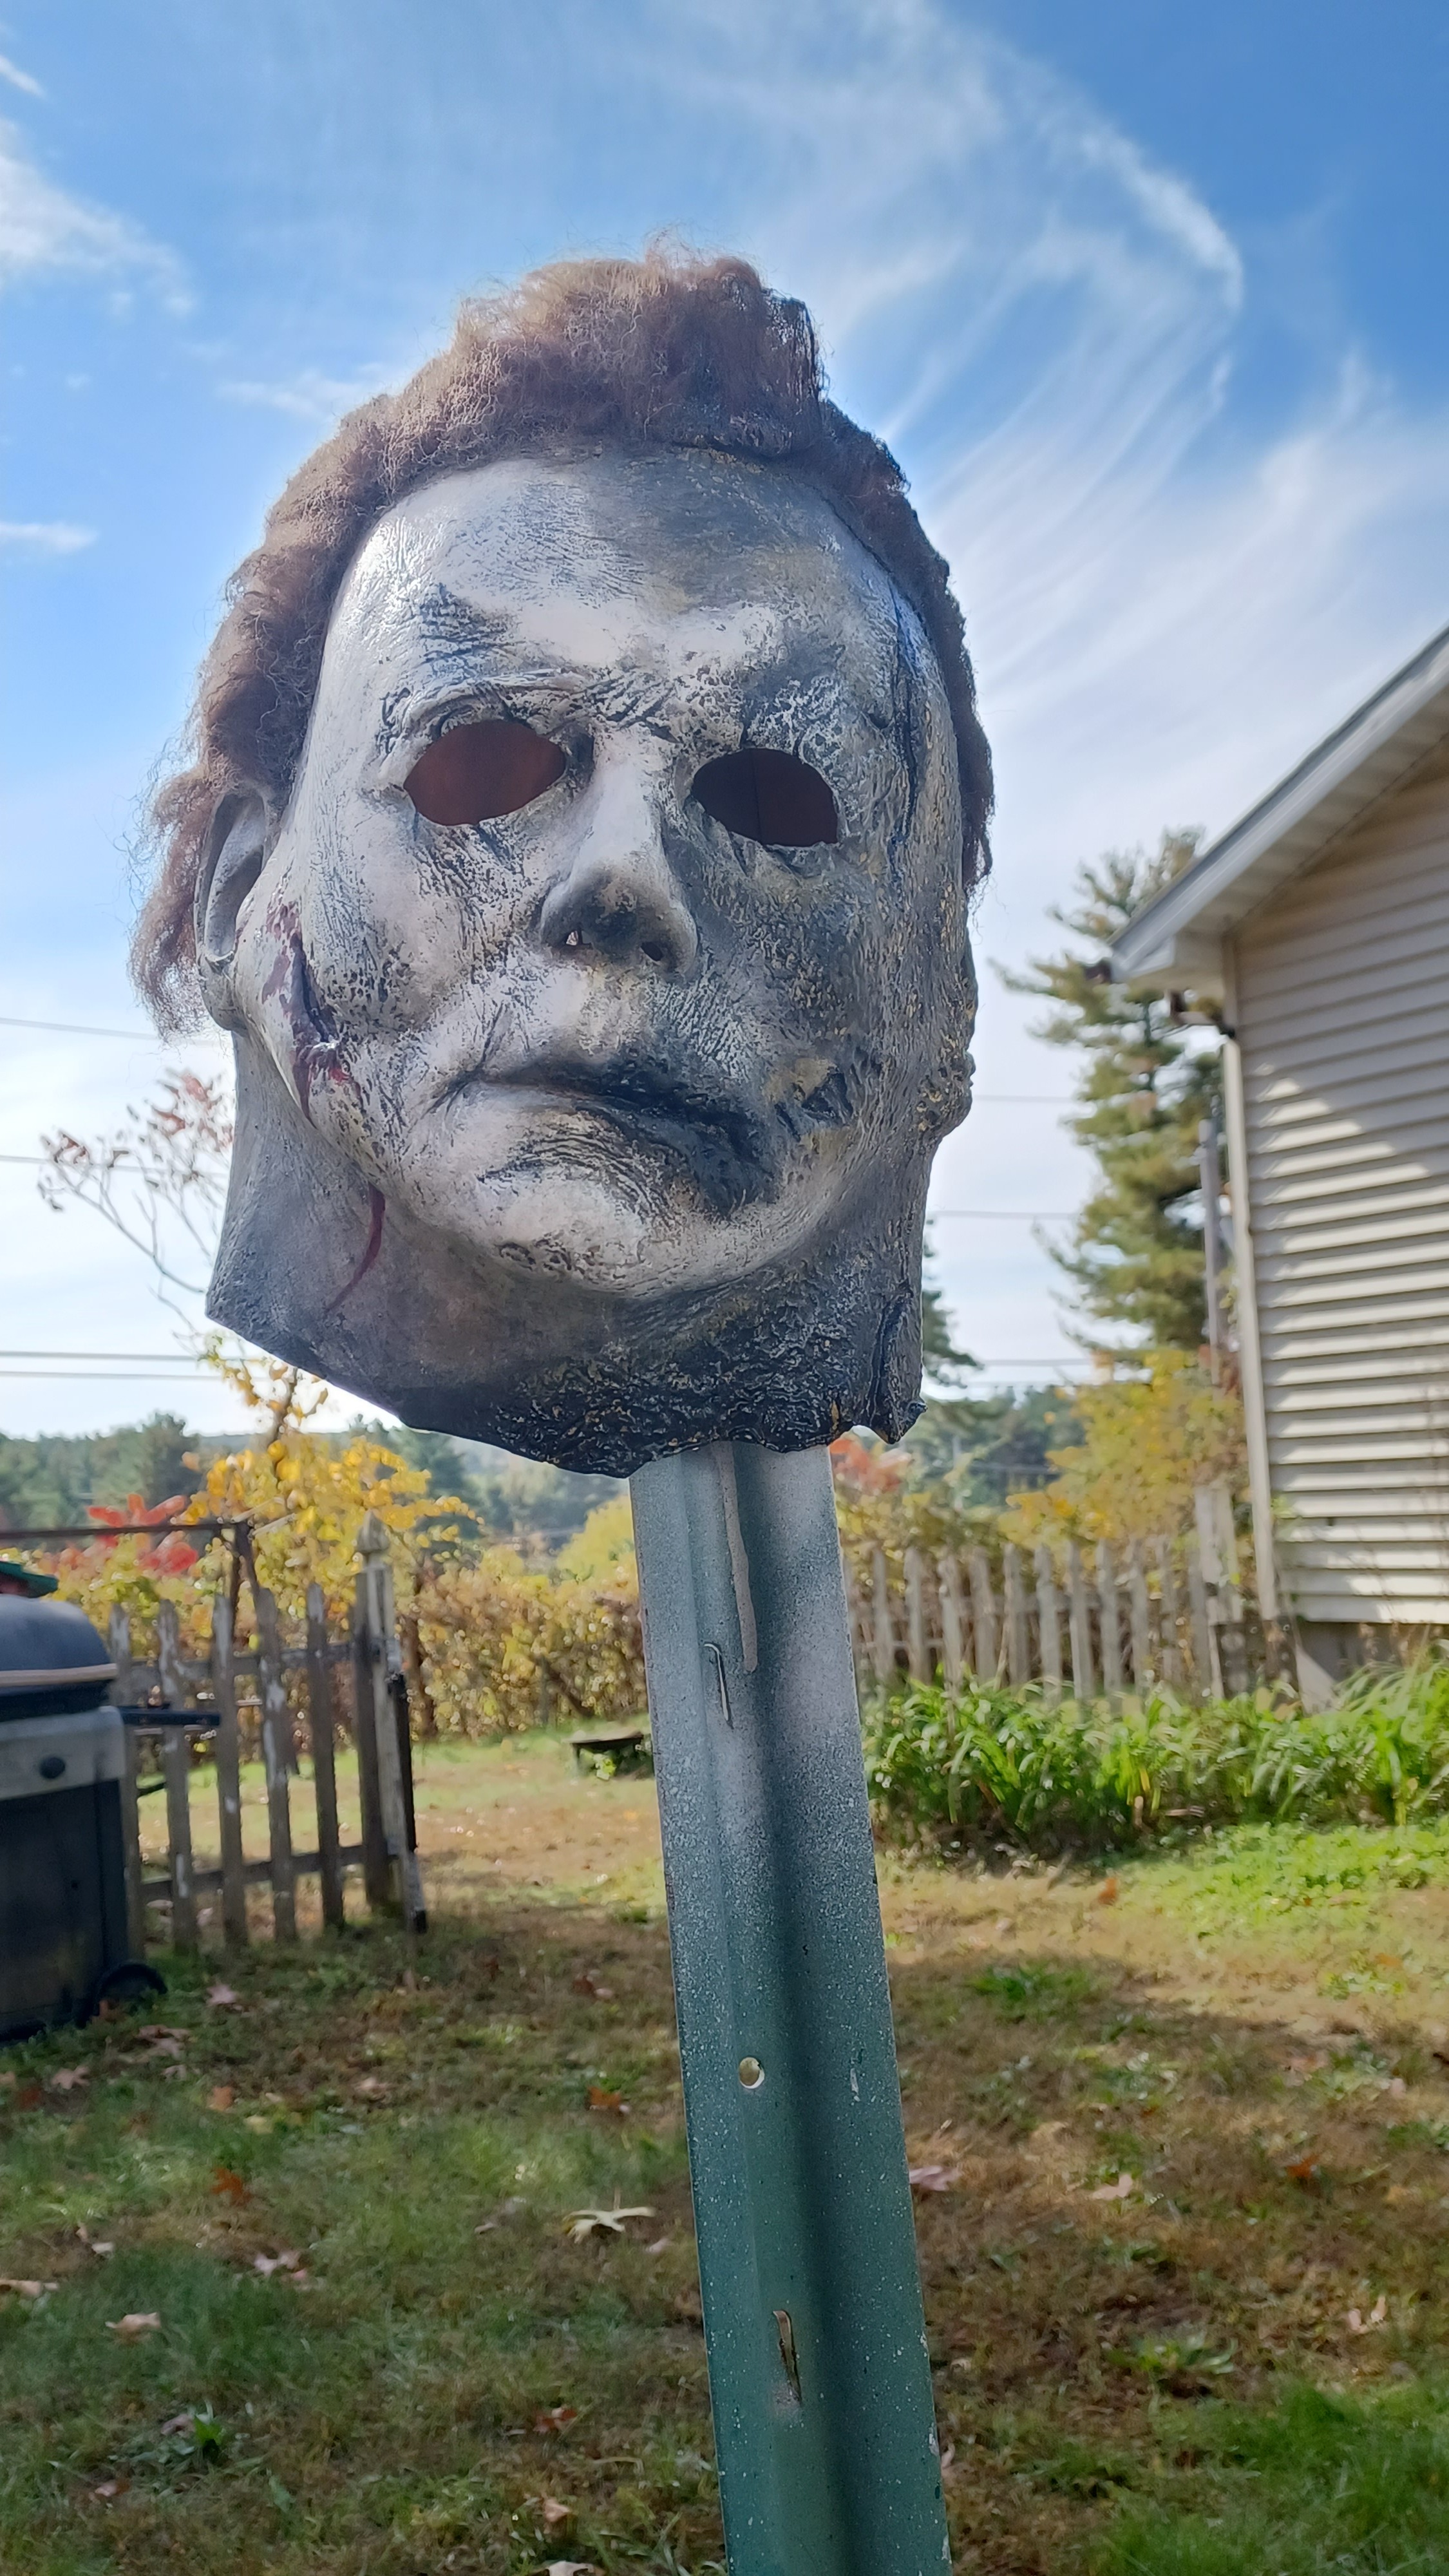
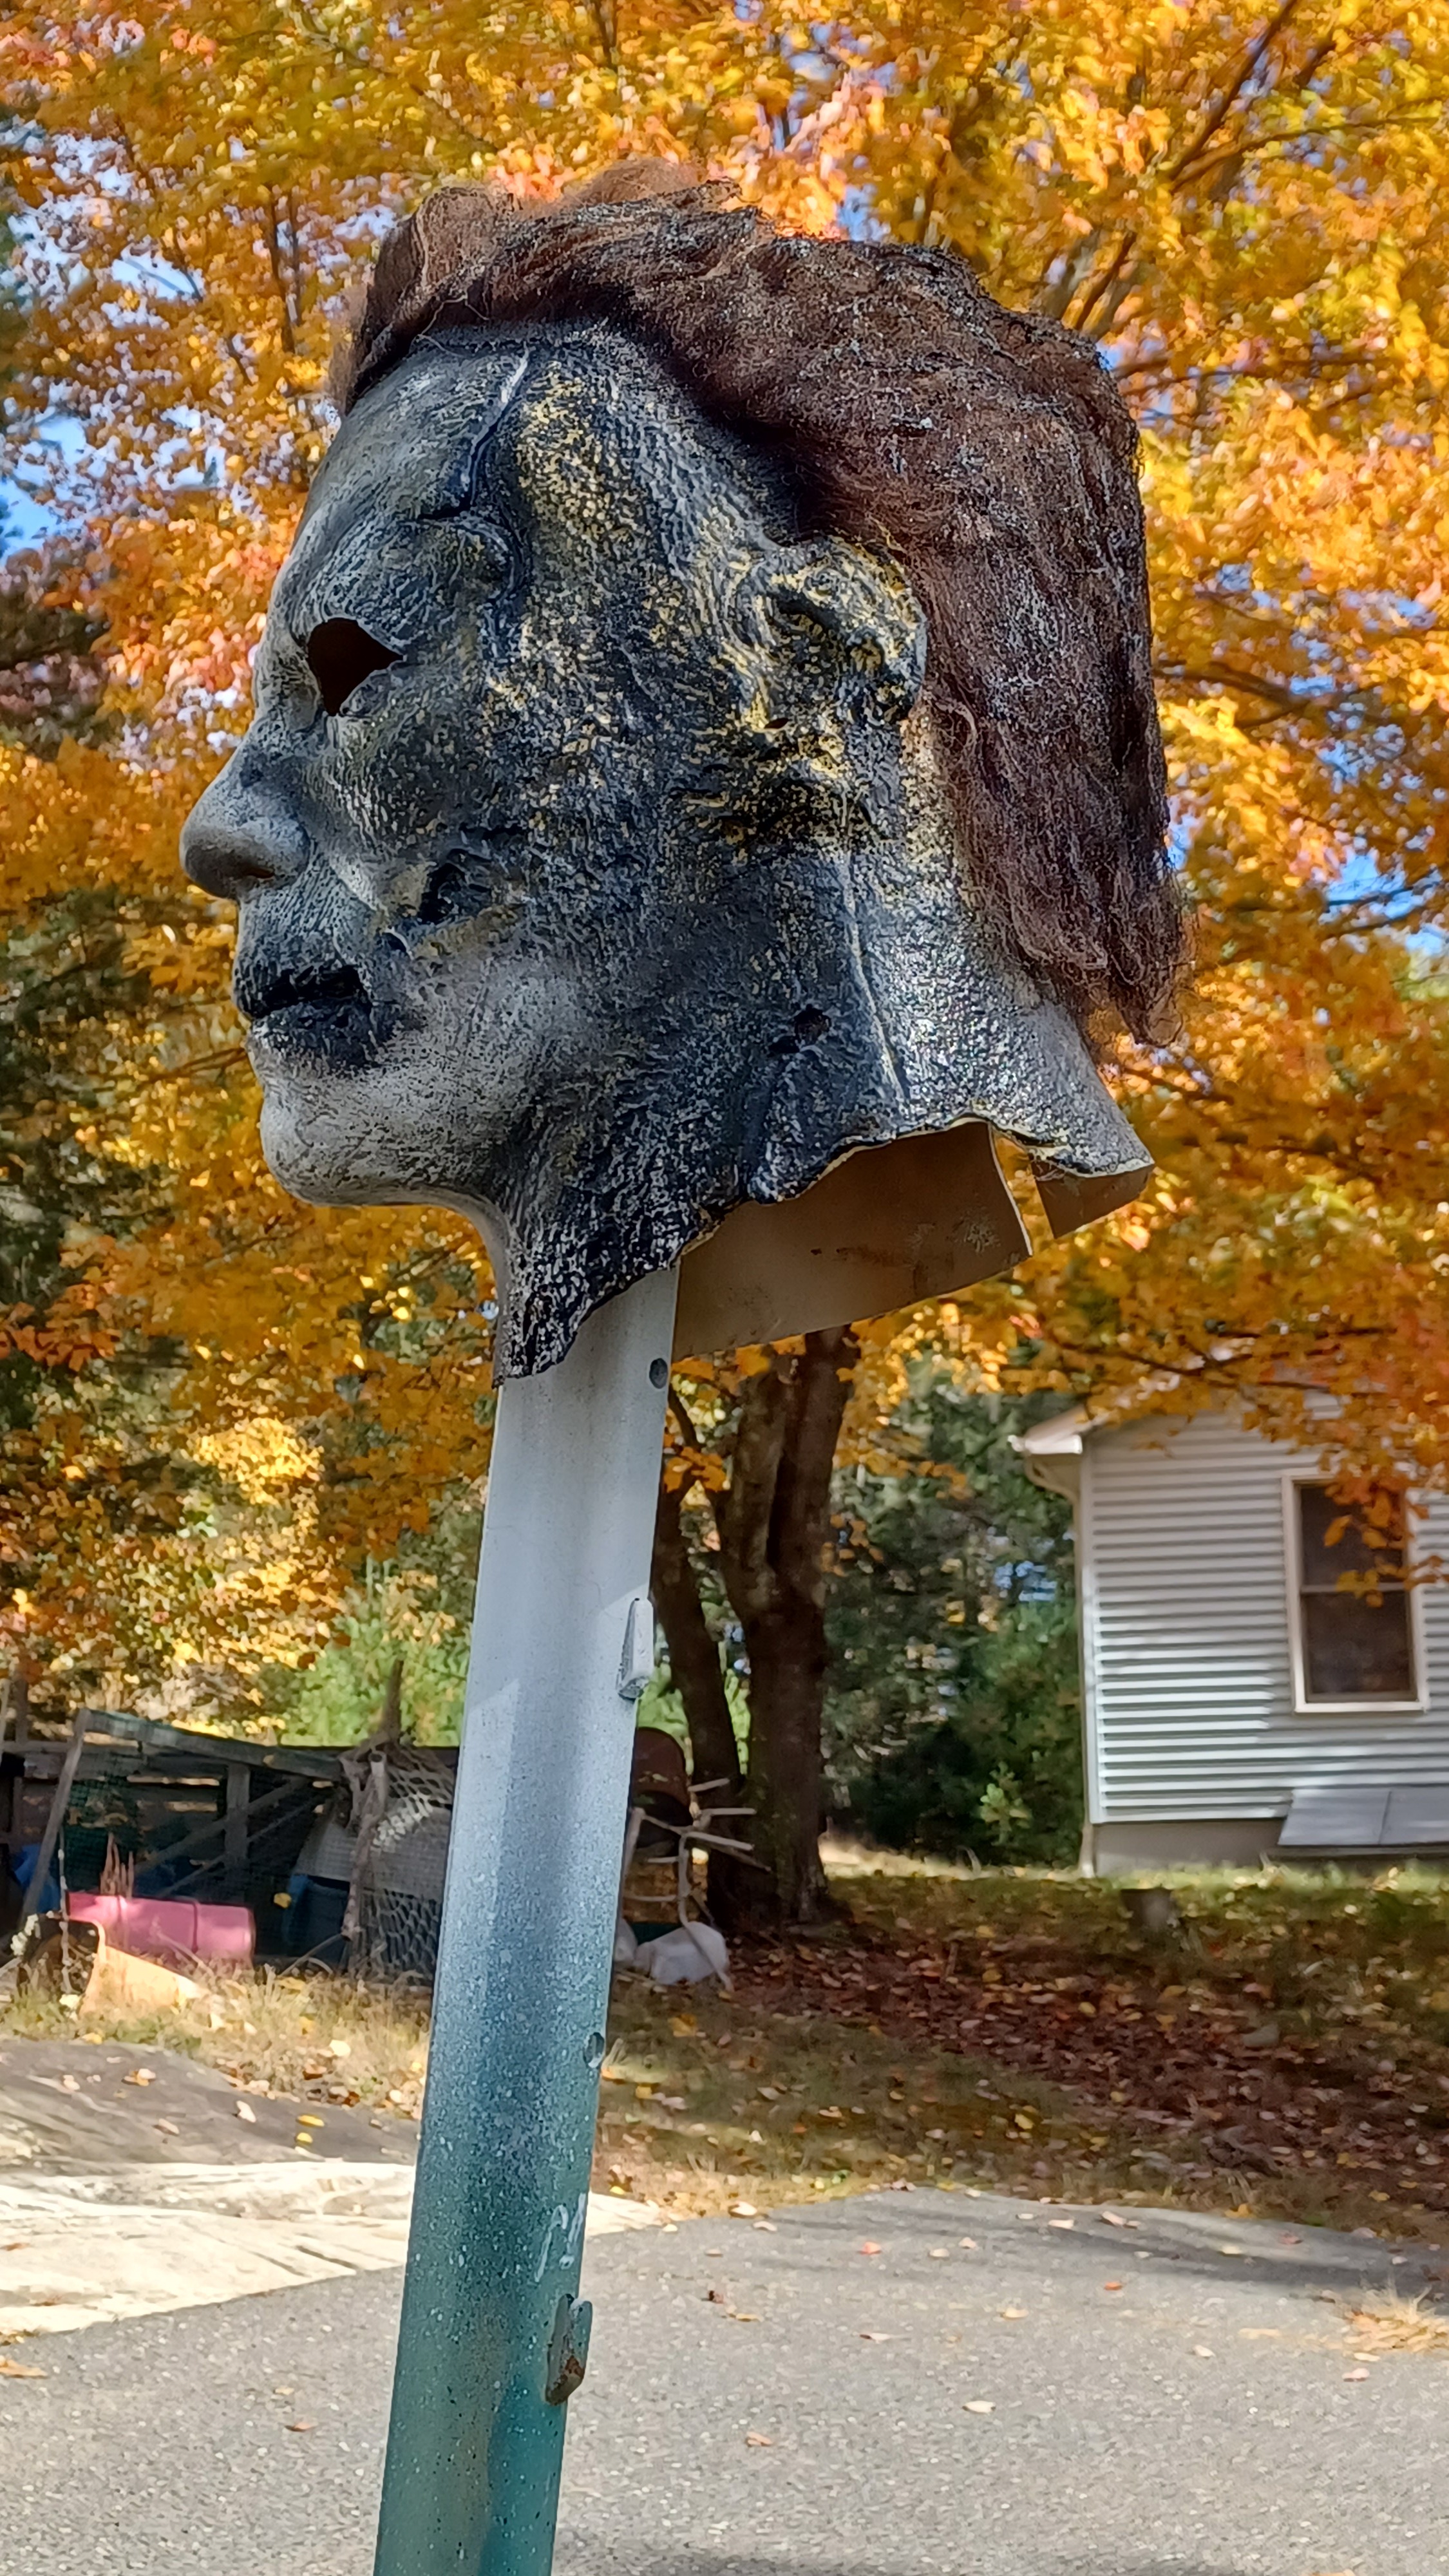
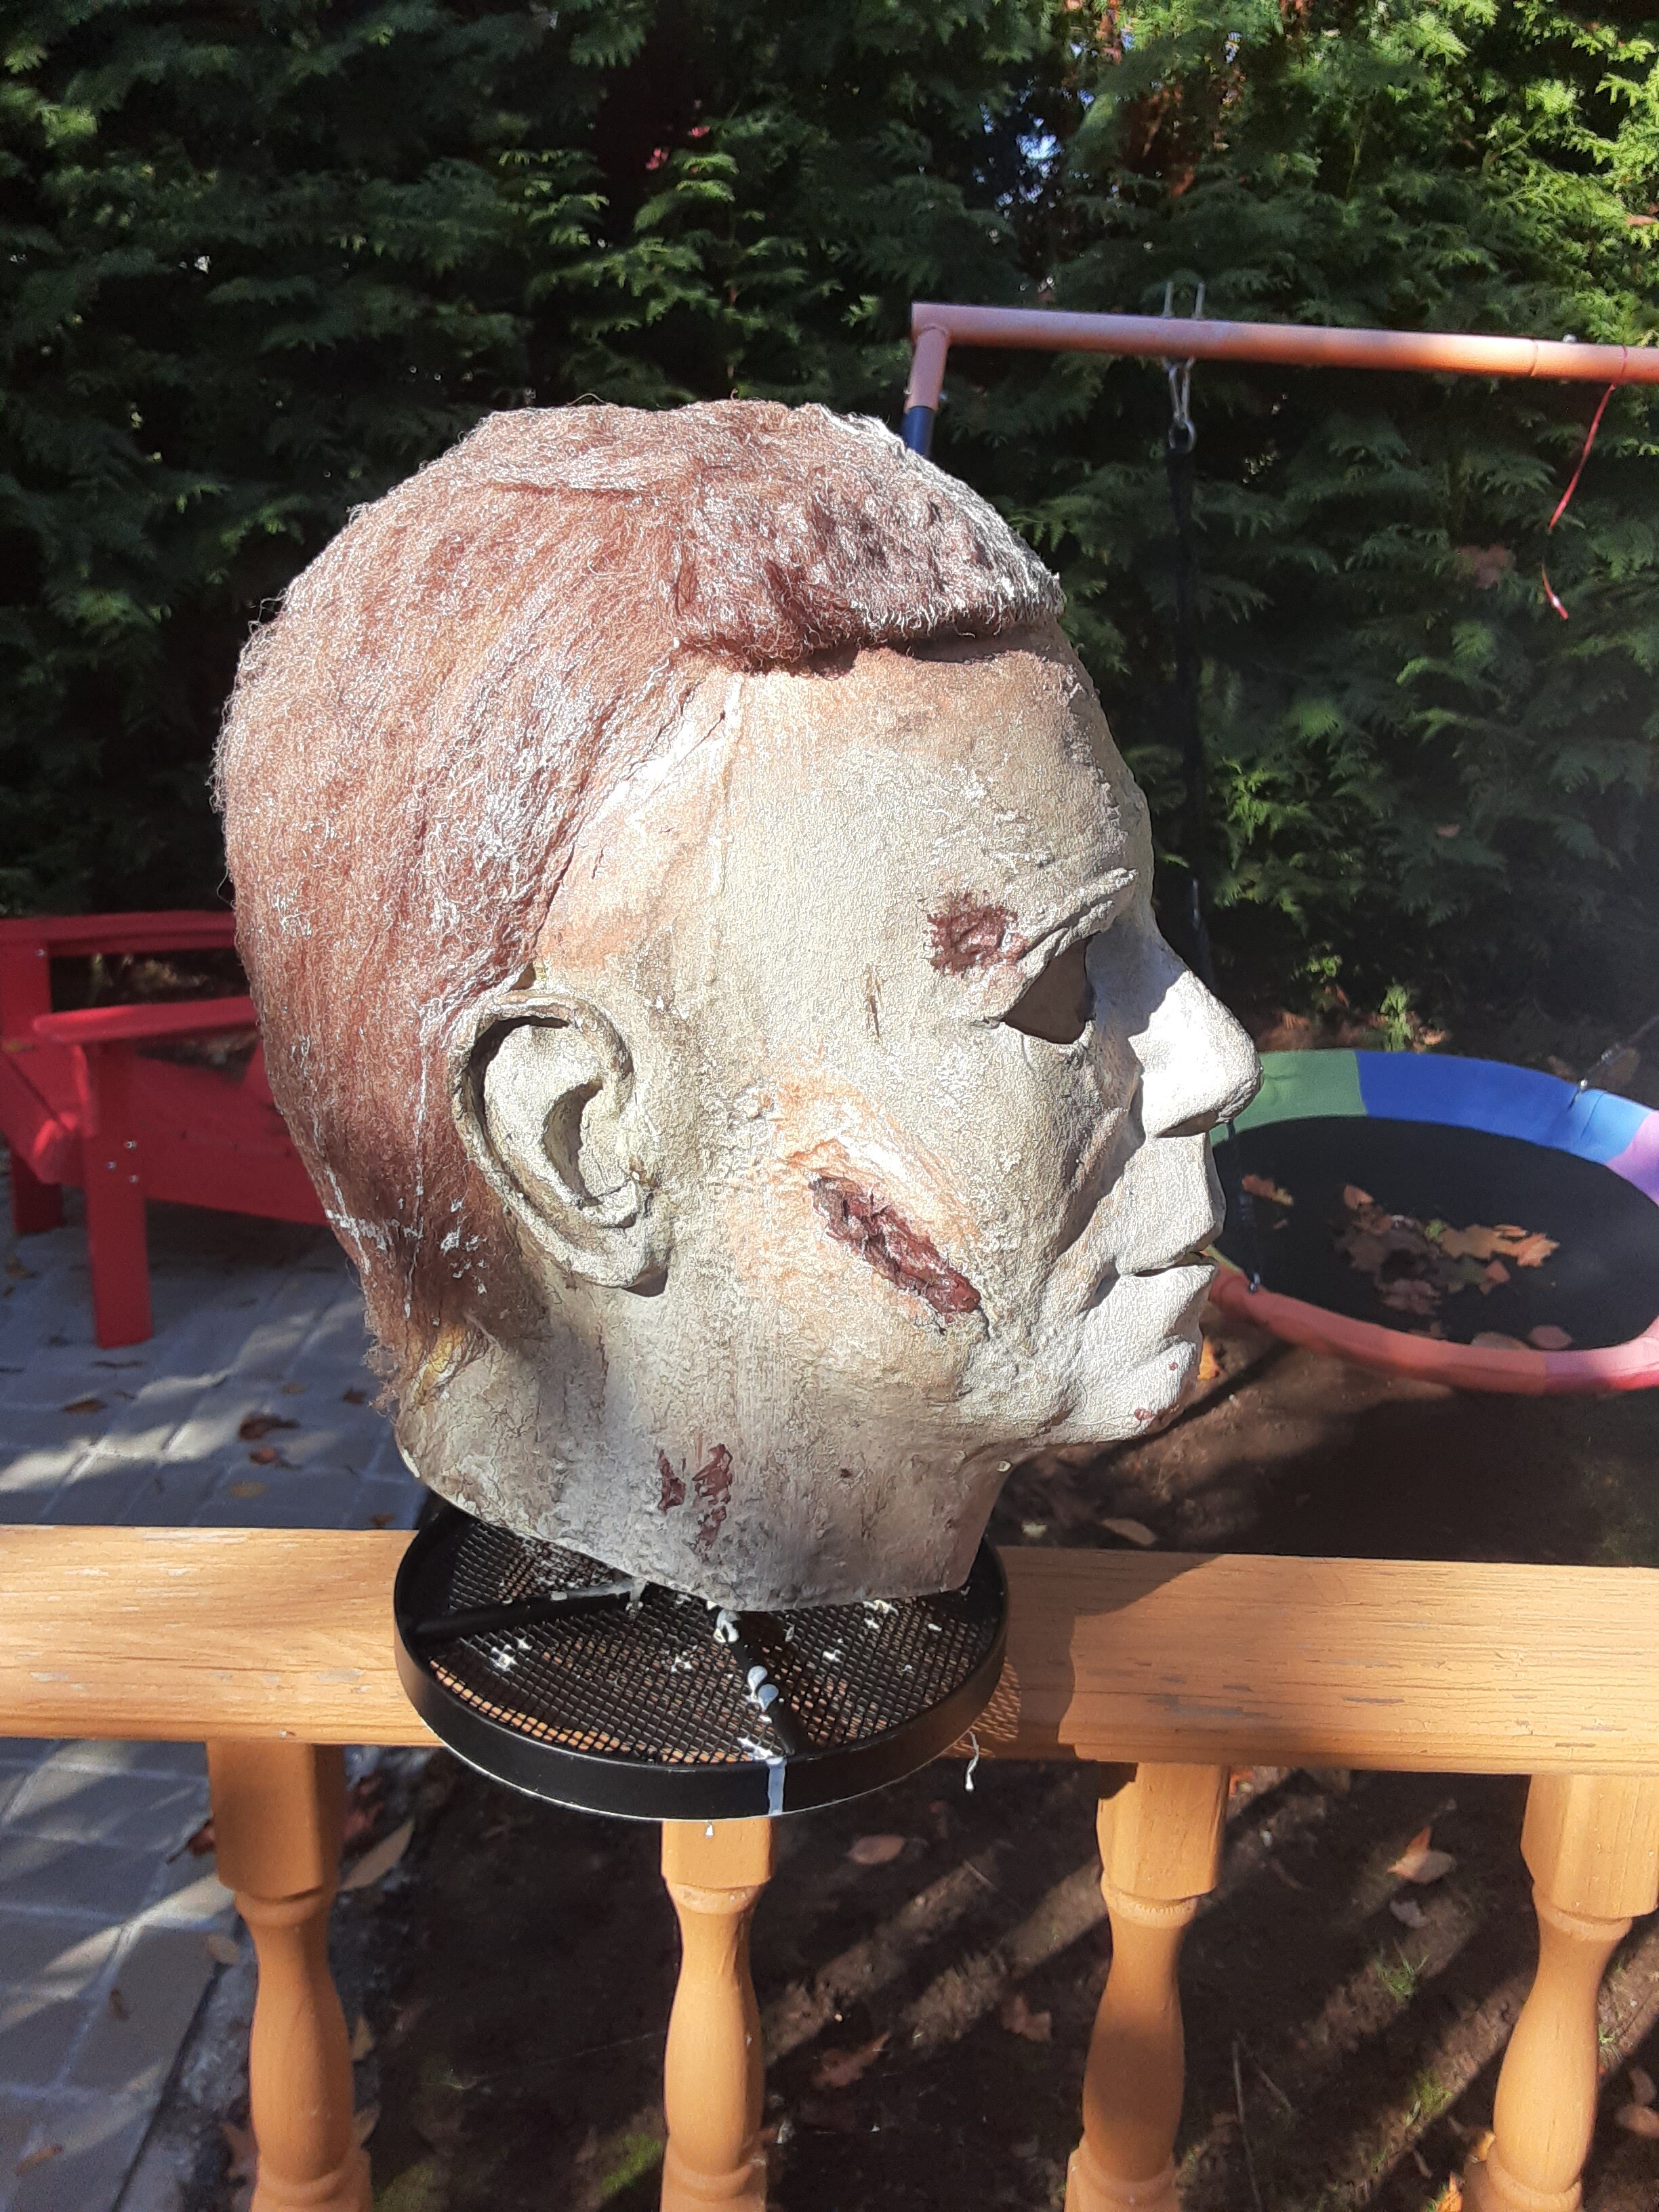
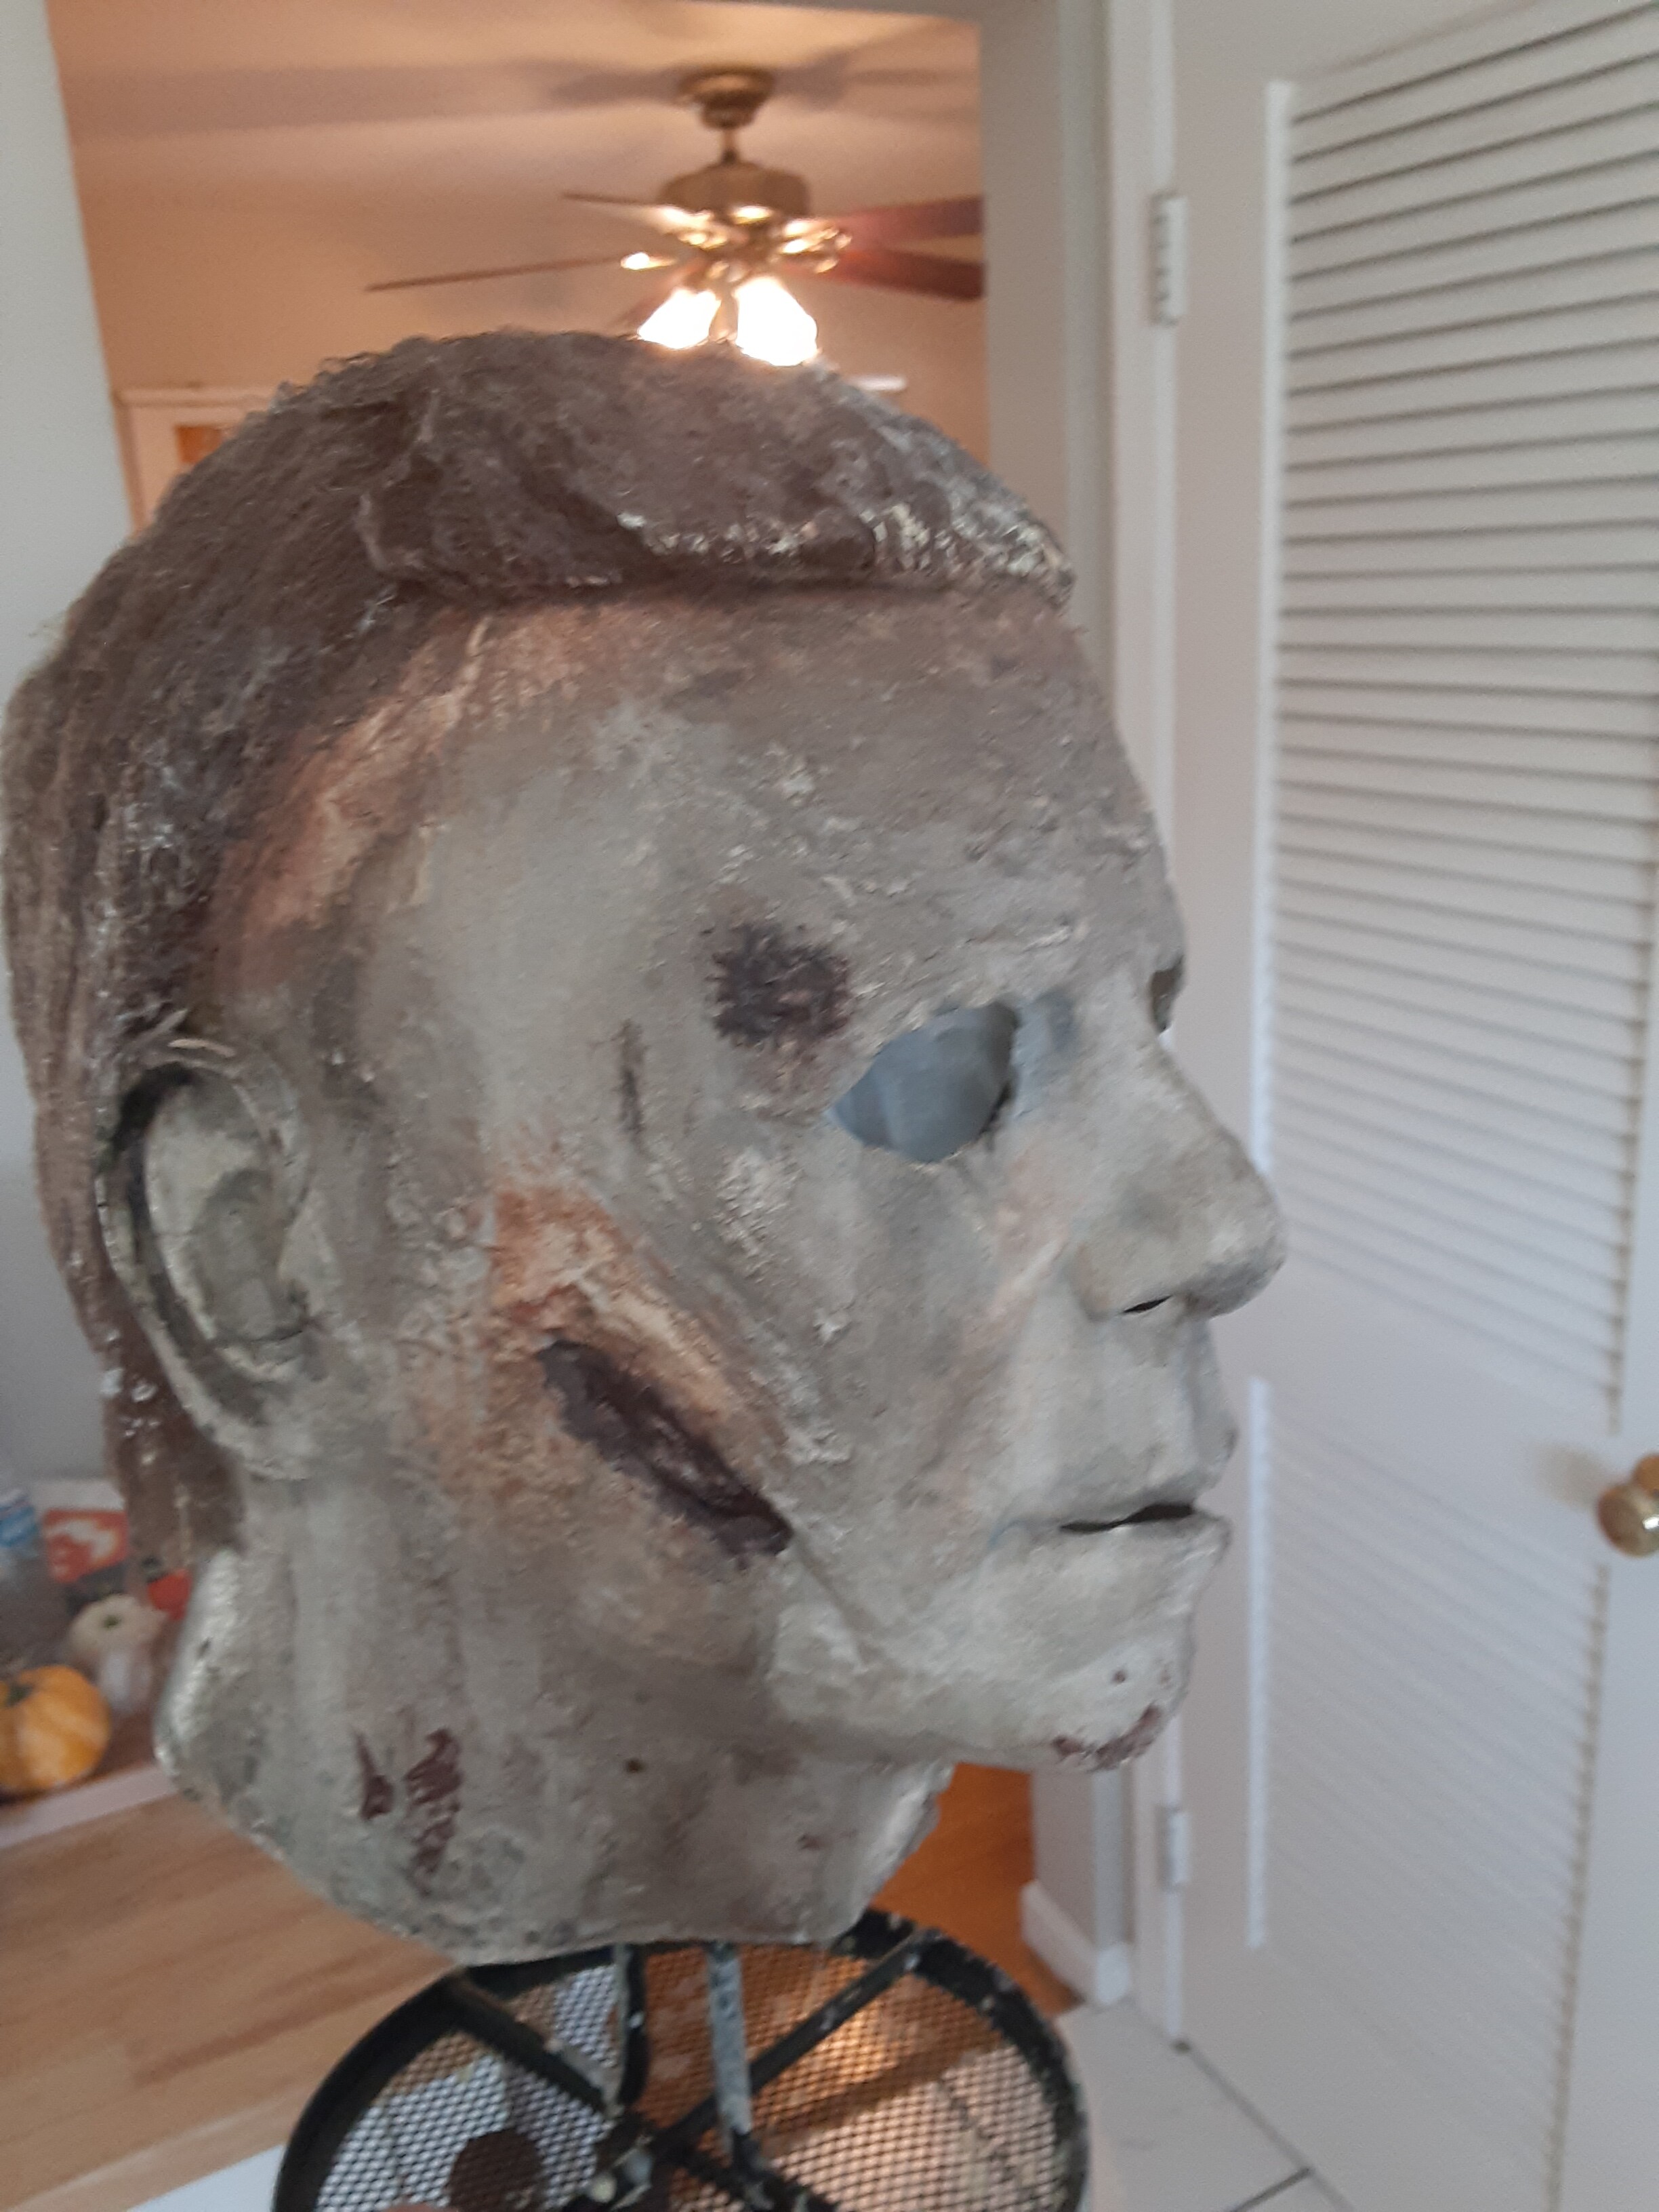
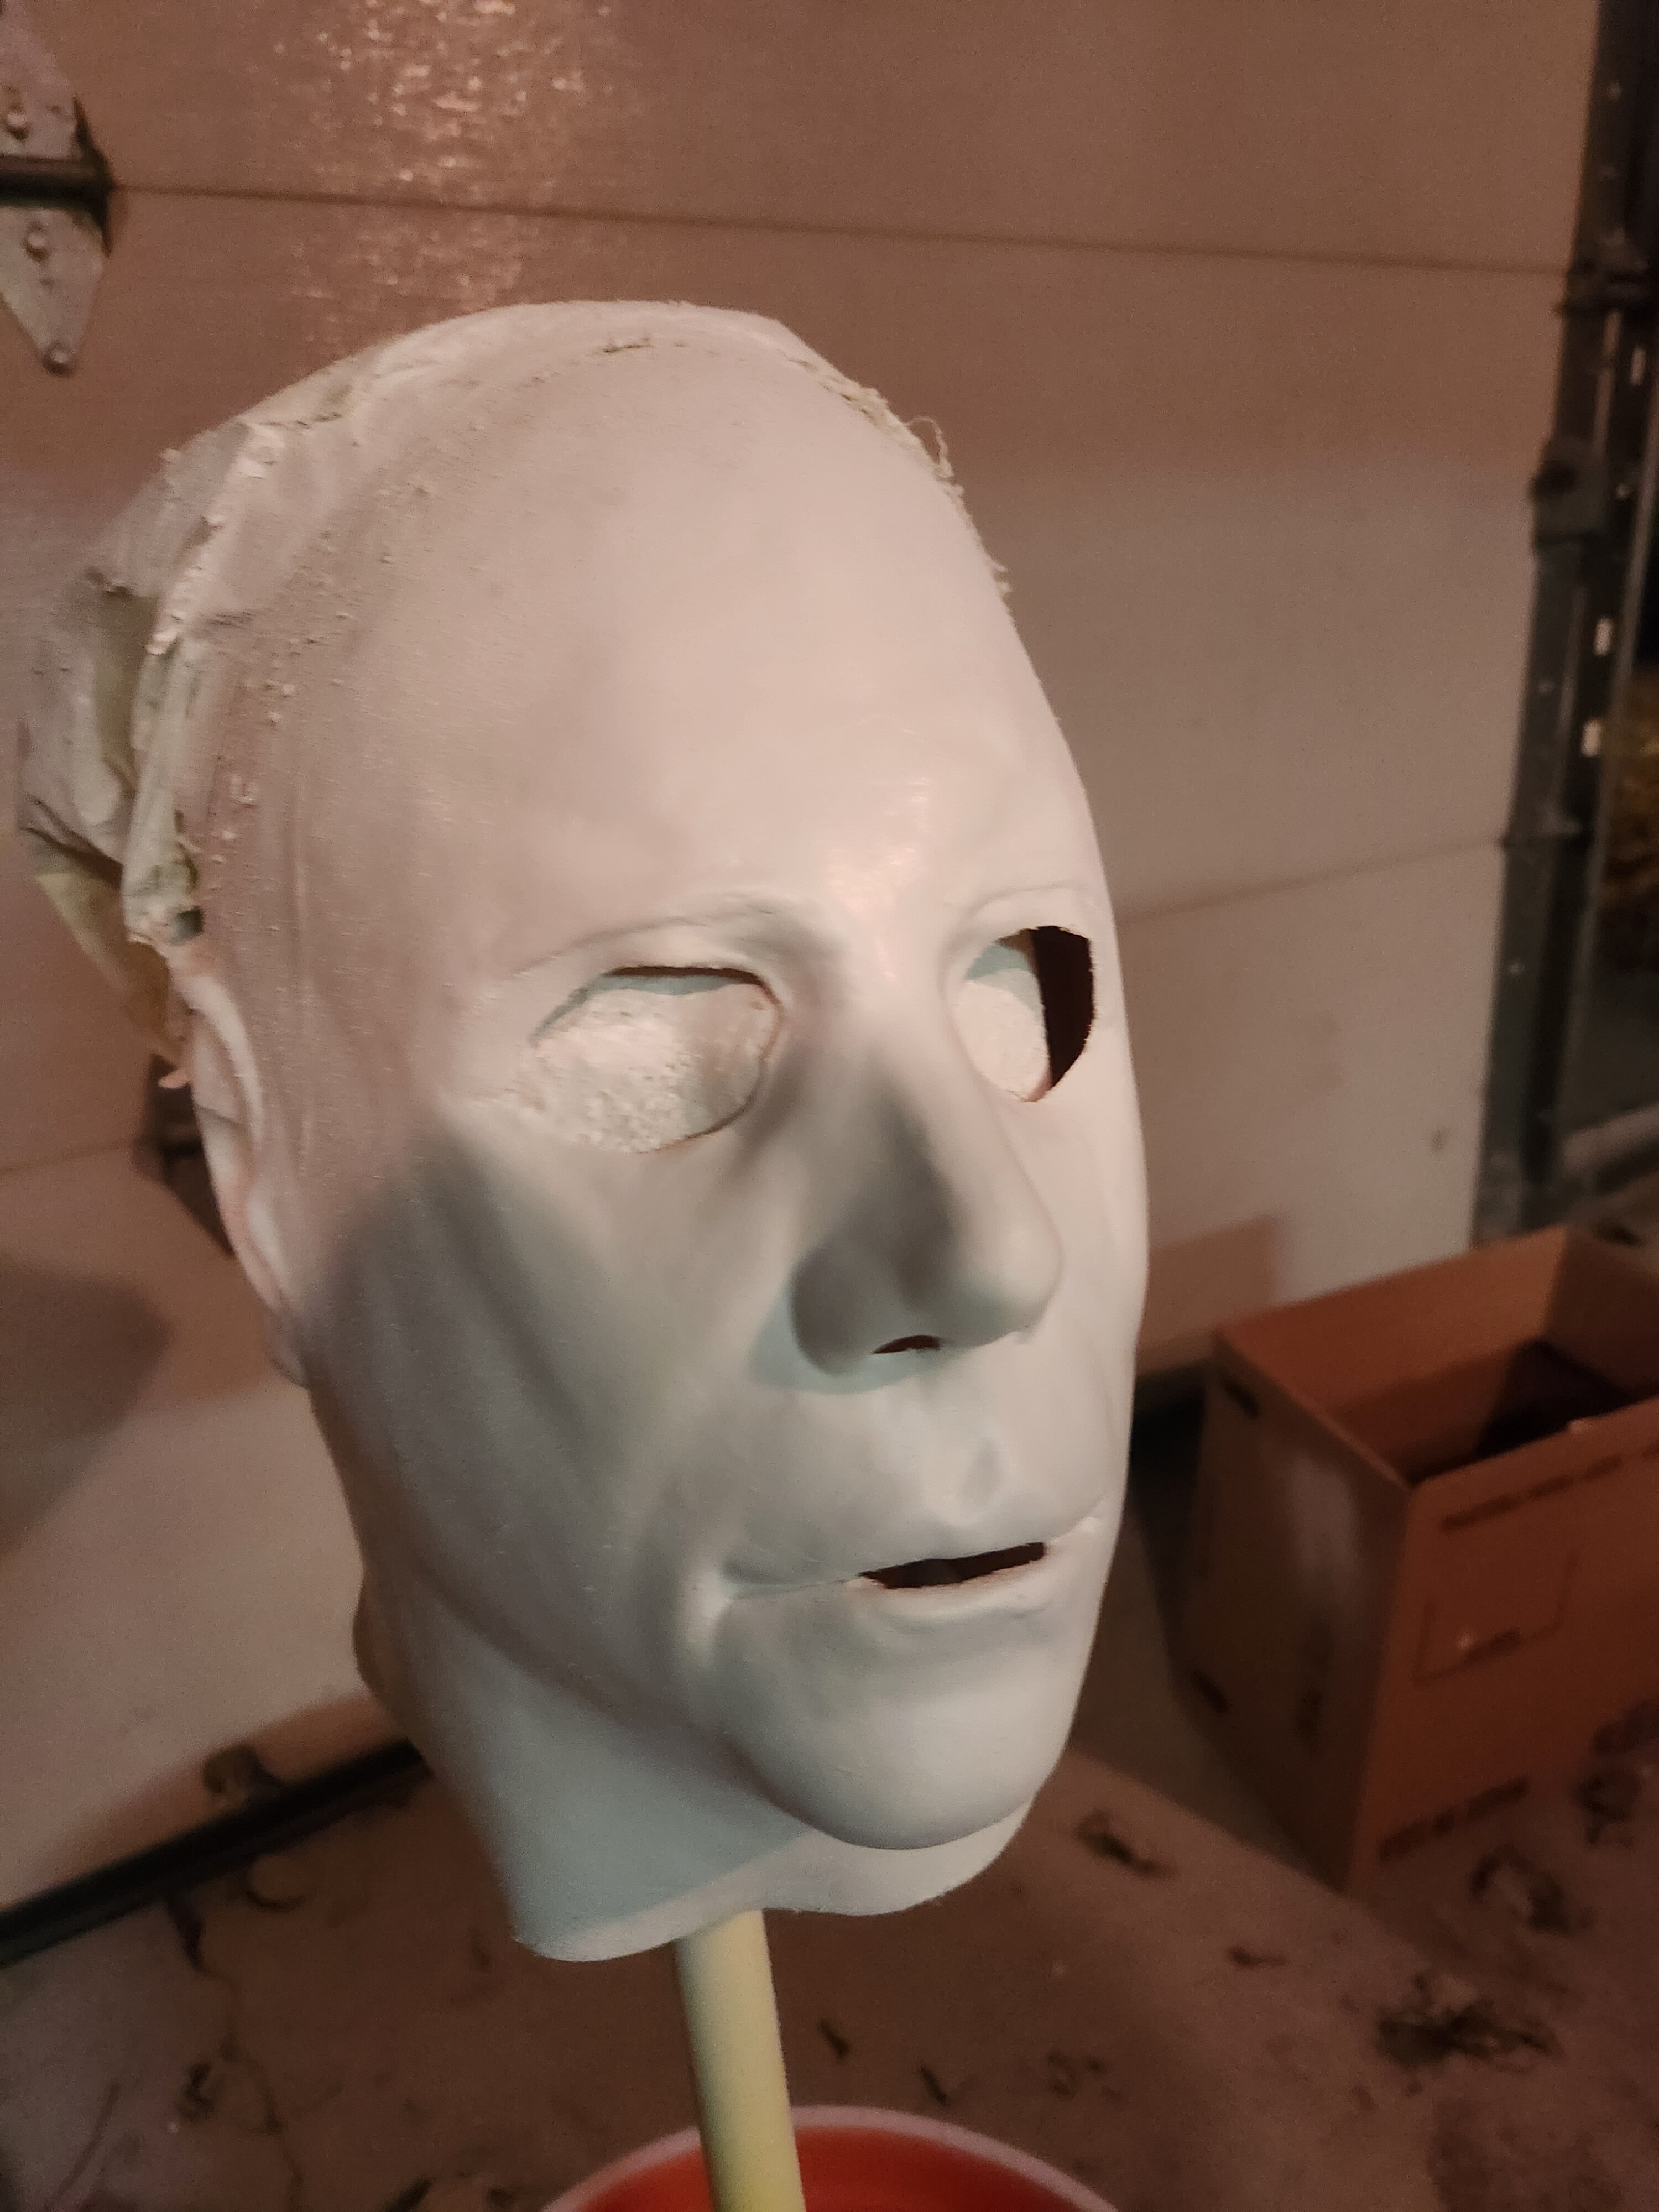
Here’s my first rehaul of a mask ever. Not sure on total time or money or effort but I wasn’t gonna stop until the mission was complete. Had to learn some lessons along the way. Here’s my journey, still playing with the hair.