E-600 or shoe-goo they are both real strong i use mine on latex/vinyl masks its goes on and dries clear
I was going to use it on the boogeyman TOTS mask. Should I approach that differently since I am not doing a paint job on it?
ah in that case you want to use liquid latex but I would mix a little white acrylic paint as the latex wont dry white without it.
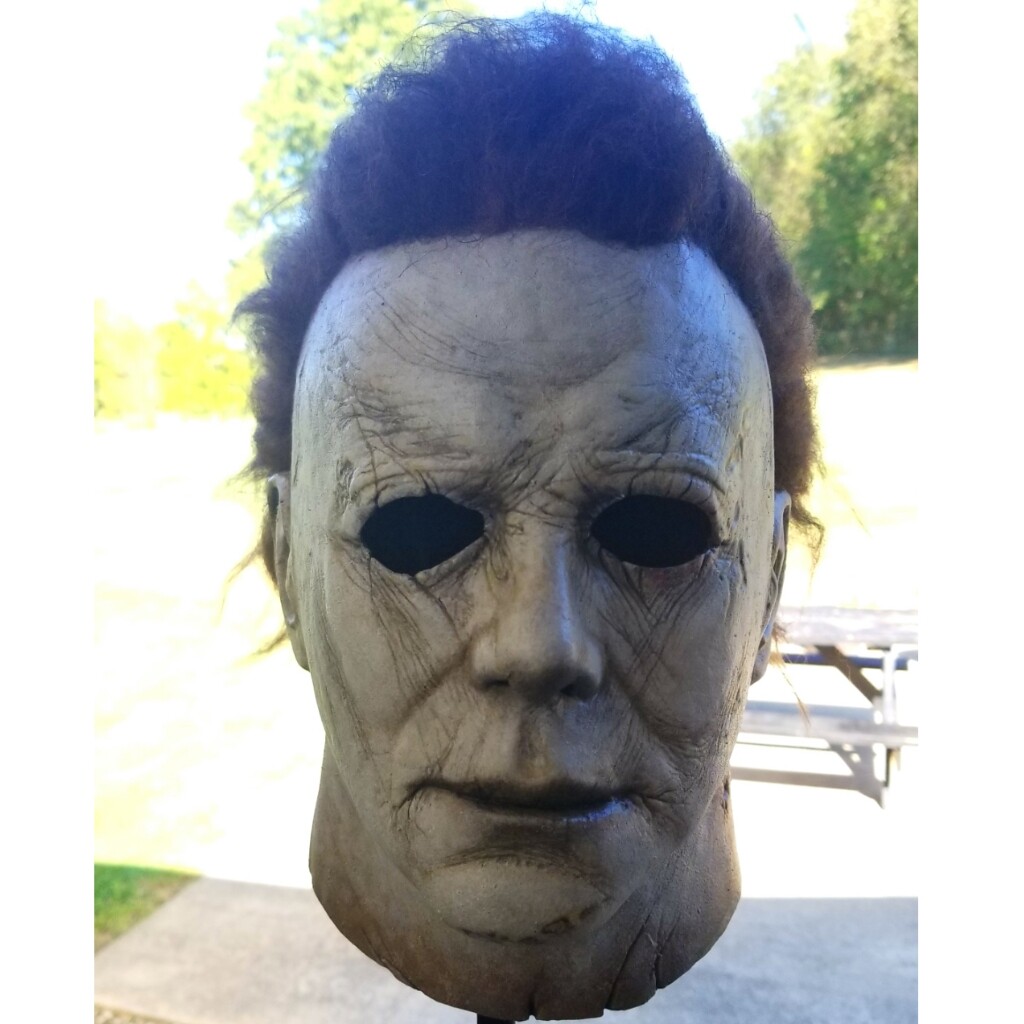
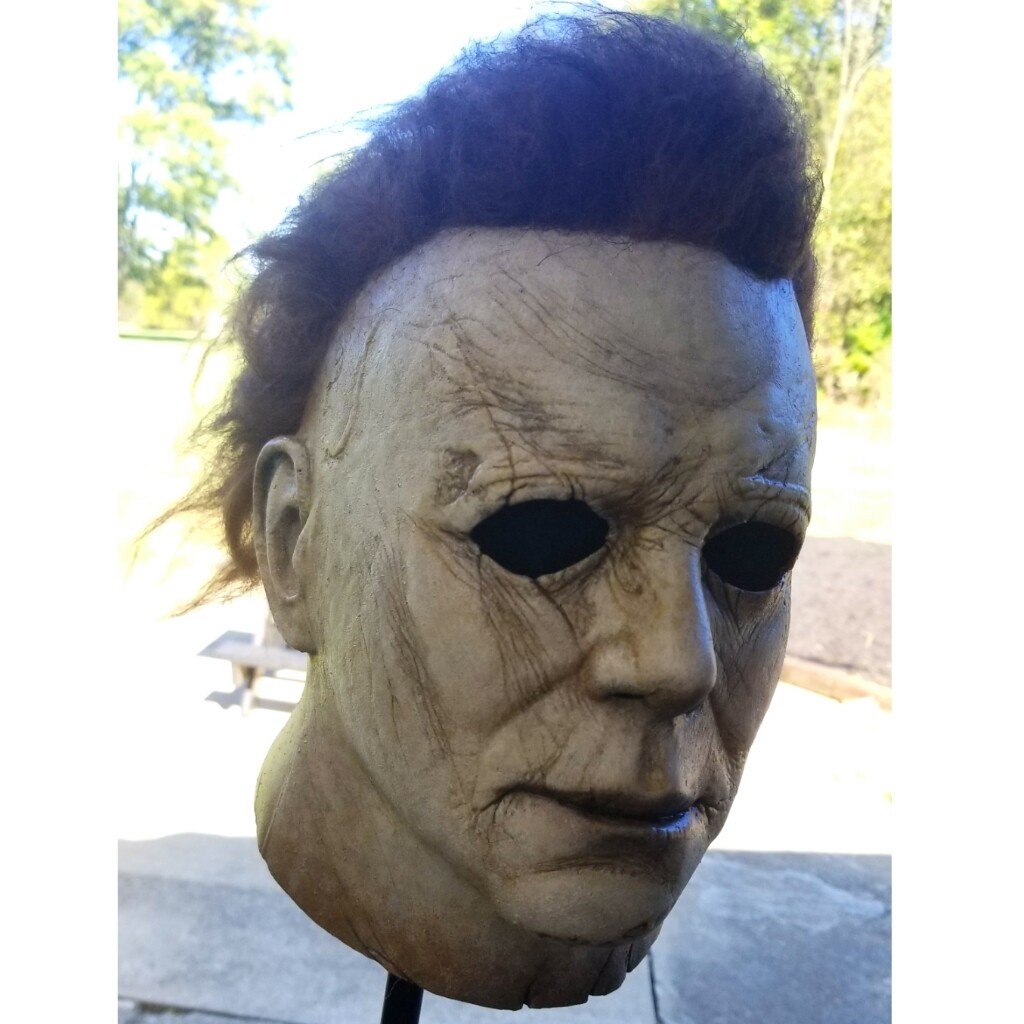
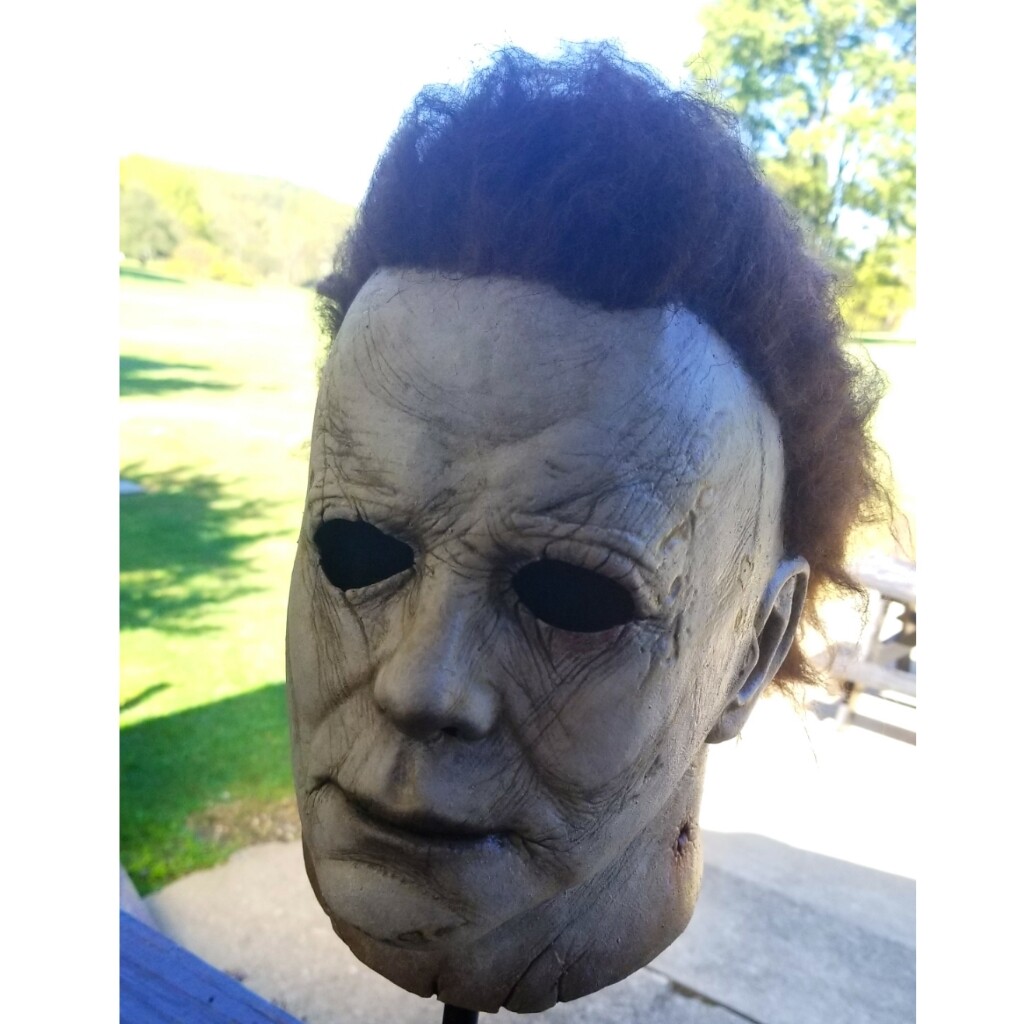
Here’s a 2018 I repainted. I know it’s not super amazing, but I was fairly pleased with the paint. Still figuring out the hair situation. I want to start blending my own, but I have no idea how to. Any help on that would be greatly appreciated. I also have a new appreciation for the artists that do this paint job with stunning accuracy. The amount of washes and layering to get the right effect is so tedious. The next one of these I’m doing will be more of a concept mask with a finish that resembles more of the h1 look, and another that will be an h2 concept mask possibly with blood tears. Because, why not? 
1 Like
Thanks.
One more question, how should I style the glue line? Just a line or apply it like it was glue?
Yes Ive done it before. the glue Speed-sew from walmart/fabric stores dries/sticks alot better but latex works too.
I take a kleenex and seperate it into a single ply, take that hold it up near the glueline and cut a strip that long.
Make the strip 1/2" wide give or take, lay it flat on a piece of wax paper dribble a small line of latex on the long edge
You take the kleenex strip and roll it up like a snake, the latex will soak through the layers as your twisting the strip
when thats twisted tightly take latex/speed sew and draw aline where the glueline would go then stick it down on there
Push it down and stick onto the mask by pressing t down with a popsicle stick, when its stuck/dry add 2 thin layers
of latexontop then painth them your desired color
it depends on the look your going for. Take the Psycho for example it has your glue line but it almost looks molded in and it looks great. And then we have say the conversion artists glue line which has pieces of hair stuck in painted over. If you throw down tacky glue or E600, latex, whatever your using just throw small pieces of hair horizontally or at an angle down into the medium your using before it dries. Then just cut off the excess with cuticle scissors.
Heres a tip  if you use clear tacky glue you can pre mix an amount with a couple drops of either latex/paint or just paint mix and that way you wont have to repaint at all. Just be sure not to add too much because then your line will be too flat. If you mixed too much it will run down the mask instead of staying put.
Basically pick a mask or pic of a mask that you like and follow those lines. Remember both sides are different.
That looks amazing! So you did a wash to get the cracks? I’ve found that even after completely removing the original paint from the mask it’s REALLY difficult to tell where all the cracks are, so hand painting each crack is nearly impossible. How do you do your washes without the paint just coming right out of the cracks after wiping?
Thank you! I actually didn’t strip the stock paint off this copy. I’ve stopped trying to remove the TOTS paint jobs since it’s a crapshoot if you’ll get it all off without damaging the pull itself. What I did was base the entire mask out with a brown that I mixed up to as close to that melted/rotted look that latex gets over time. I did that with my airbrush to save time, and have an even base starting point. I mixed up the whole palette for this one, 8 different colors I think. I also made them a little on the thinner side, but not watery. The colors I used were the rotted latex brown, a slightly yellowed flesh tone, a light flesh tone with more yellow than flesh, a muted mustardy tone, a creamy yellowish white, a lighter more white version of the last color, and an eggshell color near true white. I’m not including the black wash or reds with this because those are the colors I used last to accentuate the paint job at the end. Yes, I know it’s not a very accurate description for the colors, but it’s the best way I could describe them.
The rest of the paint after the base coat was applied entirely with various paint brushes. All super cheap soft craft brushes from Walmart I think. You have to make sure if you’re using new brushes to mash, and fan out the bristles as if it were some old, ragged, overly used brush. This is important because the painting technique I used was to mottle all the layers, and you want the mottling to look as natural as possible. It is also VERY important to load your brush up with liquid dish detergent, and clean off the excess before dipping into your latex paints. This keeps the latex from ruining your brushes, and makes the painting process easier. Onto the process!
The color I started with after the base was the darker flesh tone I mixed up. It was mottled on avoiding the cracked areas. I then went back with a second layer over everything and just hit the peaks of the cracks while avoiding the valleys. Then I used a combo of the lighter yellowish flesh, and the fairly watered down mustardy color for the next layer. Same process as the first layer with two passes and avoiding the valleys of the cracks. The next layer was the yellowish cream white, the first layer of this color was watered down too and I let this one get into the cracks here and there, but not cover them entirely. This is also where I adjusted the yellowish colors to appear more pronounced in the areas in the reference photos I used. I then went back to the yellowish cream white, this time not watered down and I avoided the valleys of the cracks. It was onto the next slightly more white color, again avoiding the cracks. If it wasn’t tedious enough already, I went back in with the watered down base color to deepen the more prominent ones, and adjust the others. I used a quadruple 0 size brush for that. You can get those types of brushes in the scale model sections of art supply stores like hobby lobby. The next and final layers after adjusting the cracks were the eggshell almost white tone. All the colors were just put in where I saw them in the reference to the best of my ability, so it was a lot of jumping around from area to area and varying the opacity and intensity as needed with the layers.
The finishing accents with acrylic flat black that I heavily thinned down to make a wash. I brushed this onto certain cracks here and there with the super fine quad 0 brush. Then it was onto the lips, underside of nose, and corners of the eyes by the nose. I did the same wash treatment for the neck and eye blood stains, then sealed it with a matte flexible sealer.
Super tedious, I know, but its really the only way I’ve found to get this kind of a nauturalish subtle result. Well worth the effort in the end, but it is time consuming. I spent probably nine hours total on the paint job over the course of a few days. Hope this helps!.
Holy cow, I appreciate this so much dude you’re awesome!
No problem! I should clarify that the paint is all latex based besides the black and red accents at the end.
Bought my supplies for making the glue lines. Liquid latex and acrylics.
Is there a video I can watch to see how to apply this on the mask?
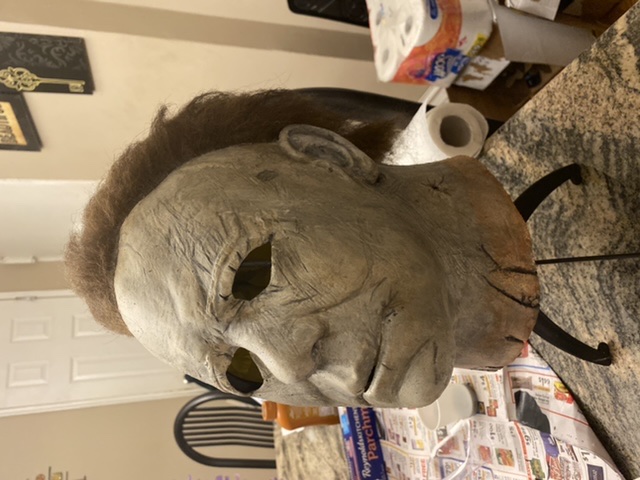
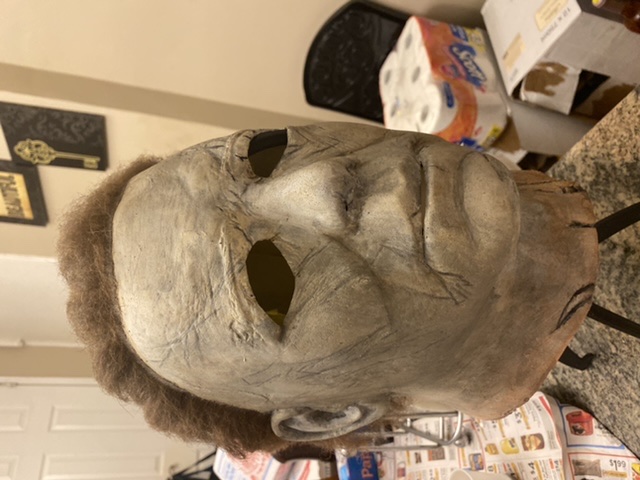
Just attempted my first ever rehaul. Not at all satisfied with what i did. Looks way to grey. Was having trouble with coloring the cracking and deterioration. It was looking too thick and drawn on. Anyway im sure i can do a way better job the second time around. Any tips to remove the work i did? I used acrylic paint and liquid latex.
Heres my attempted botch job 
https://www.michael-myers.net/phpBB/download/file.php?mode=view&id=106106
https://www.michael-myers.net/phpBB/download/file.php?mode=view&id=106105
1 Like
How did you fix the hairline on this TOTS H78? Do you have a technique or tips?
Use a paintbrush and put some liquid latex on a section of the glueline, then pull the hair right above down onto the section and do that for the rest of the glueline.
Thanks for the tip!
Where do you guys buy the liquid latex? Is there a place online?
What acrylic paint is good for these? Craft acrylic?
I got mine at party city. 5.99 looks to be enough to do at least a few masks. Im sure you can find something on amazon.
If you want to remove paint I would recommend using naphtha but do it slowly and without rush. Because my poor paint job and using naptha, the eyebrows on my mask have lost any details. Good luck
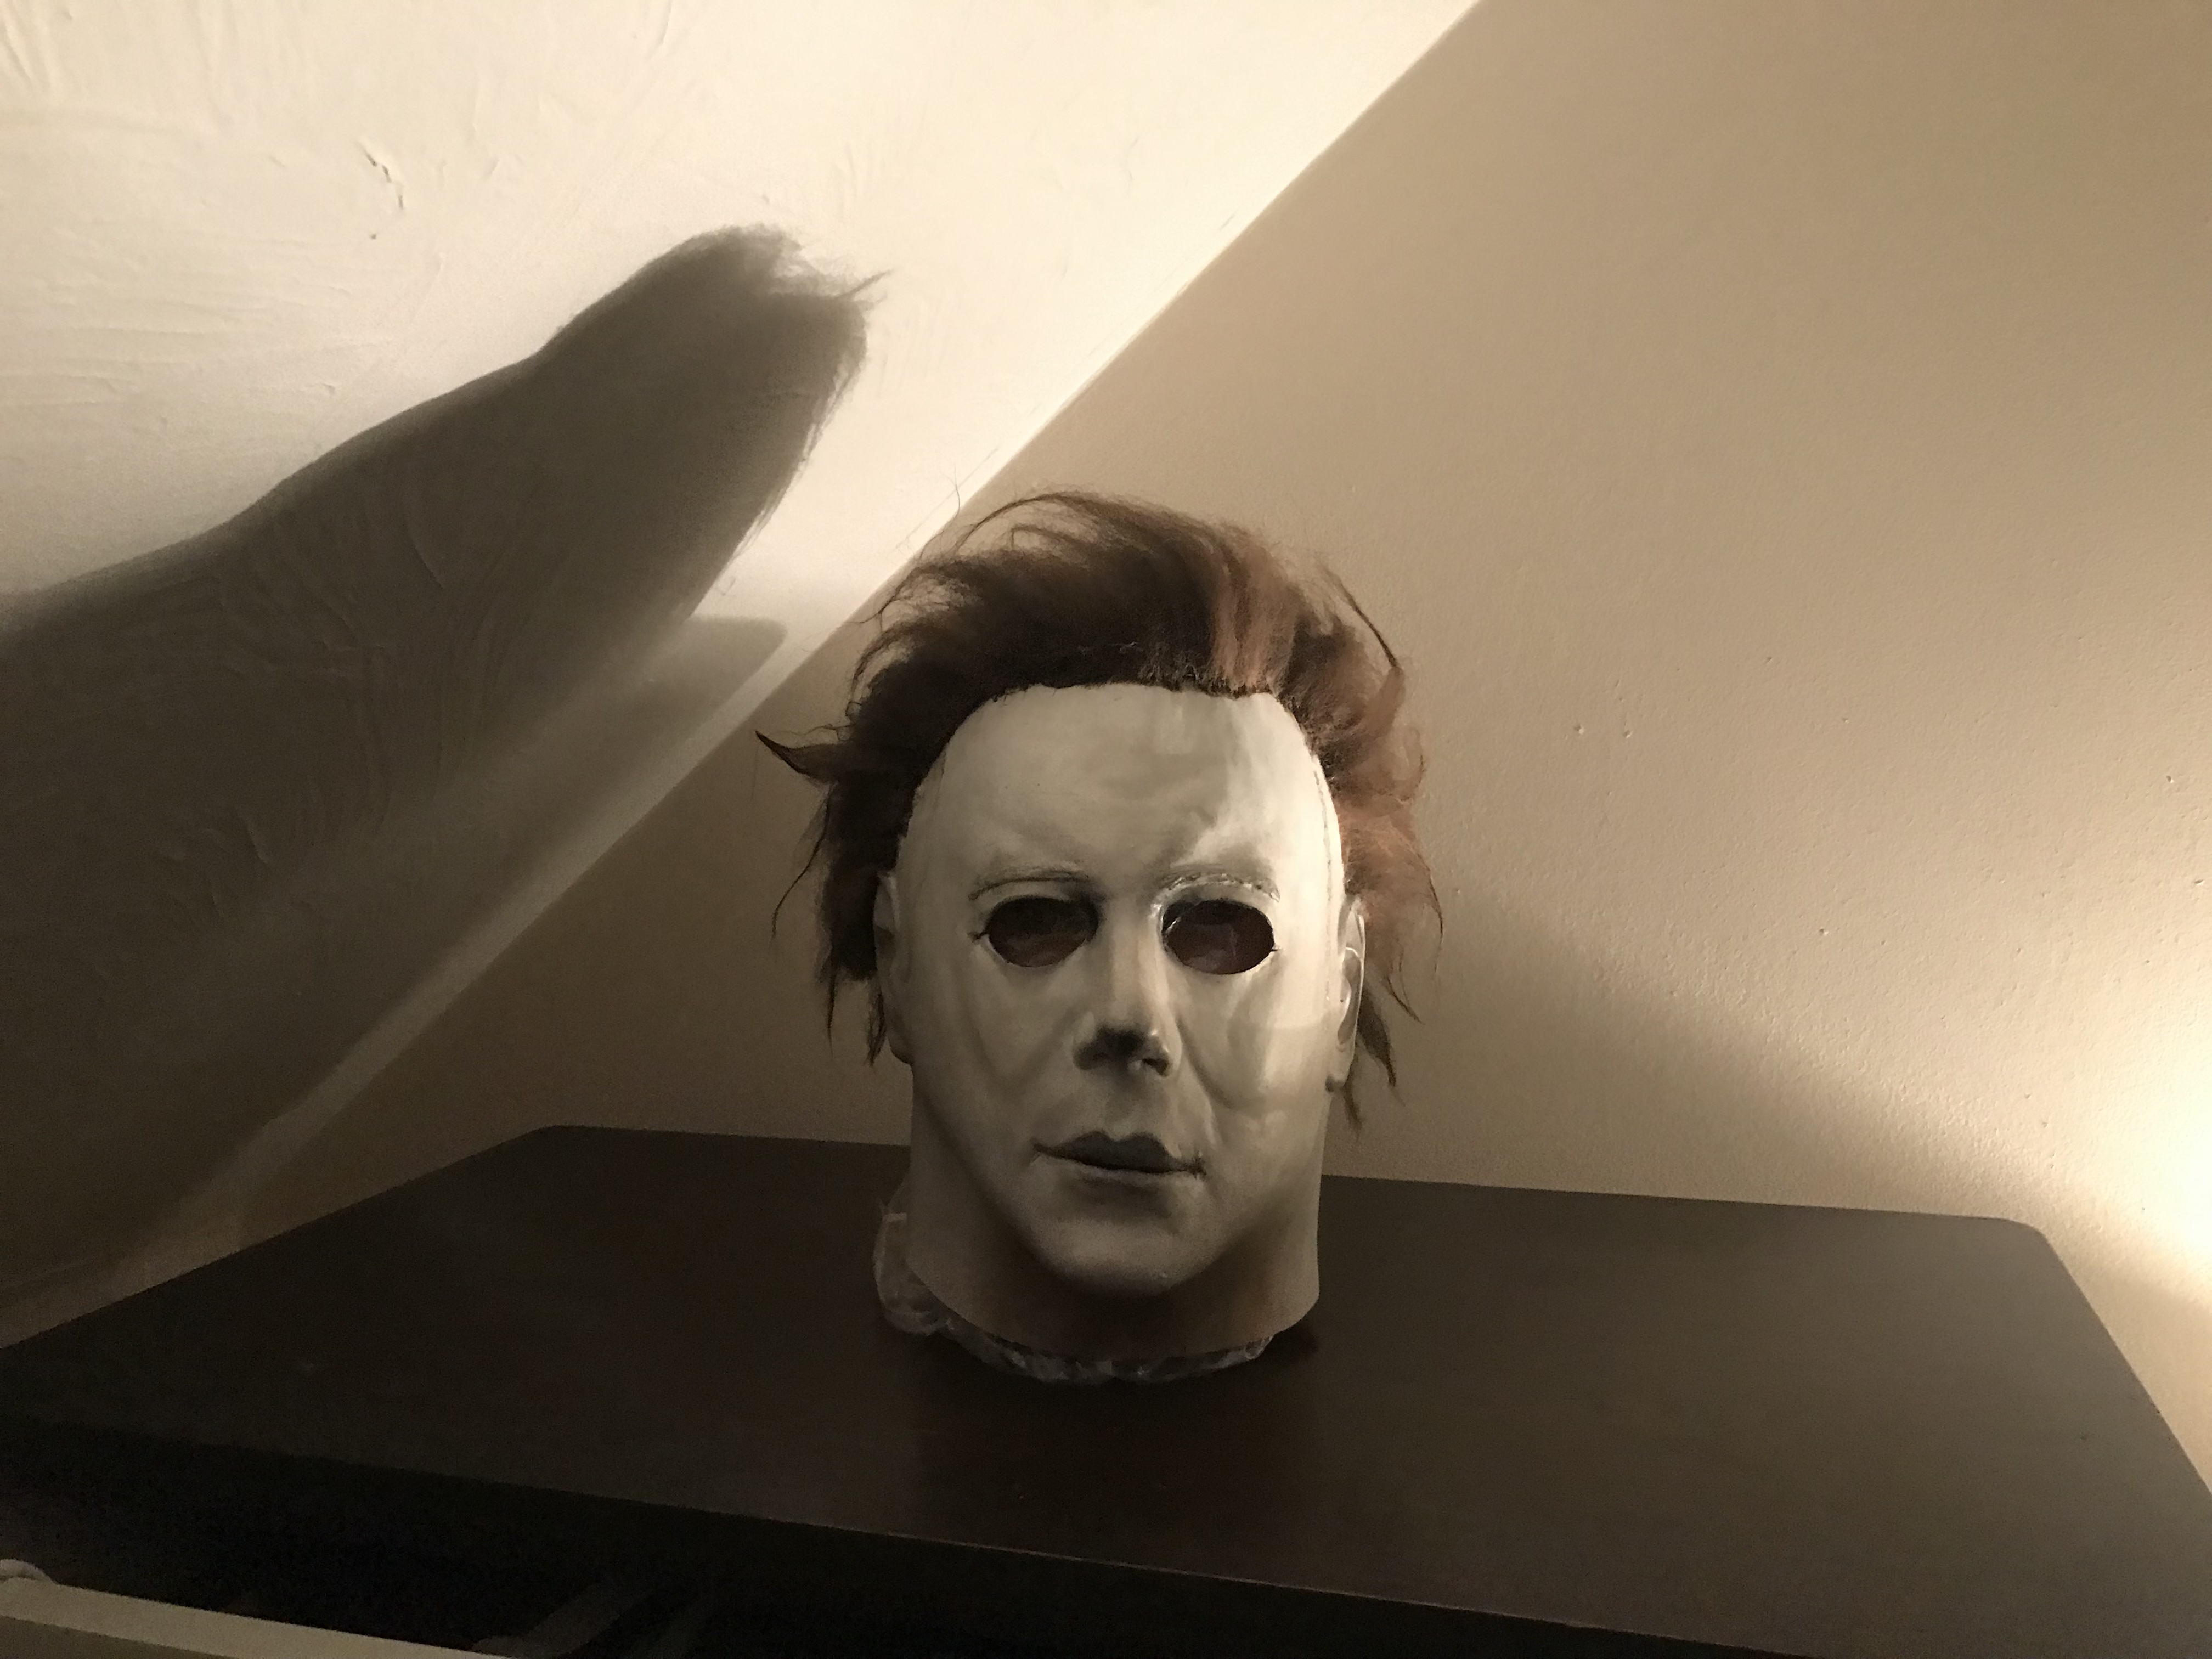
My tots 78 rehaul so far,a little more work to do on this but nearly finished

1 Like