That’s true, it does! Thanks!
I can never get enough of this rehaul! It’s beautiful.
What glue is best for attaching hair?
Thank you! I really appreciate it!
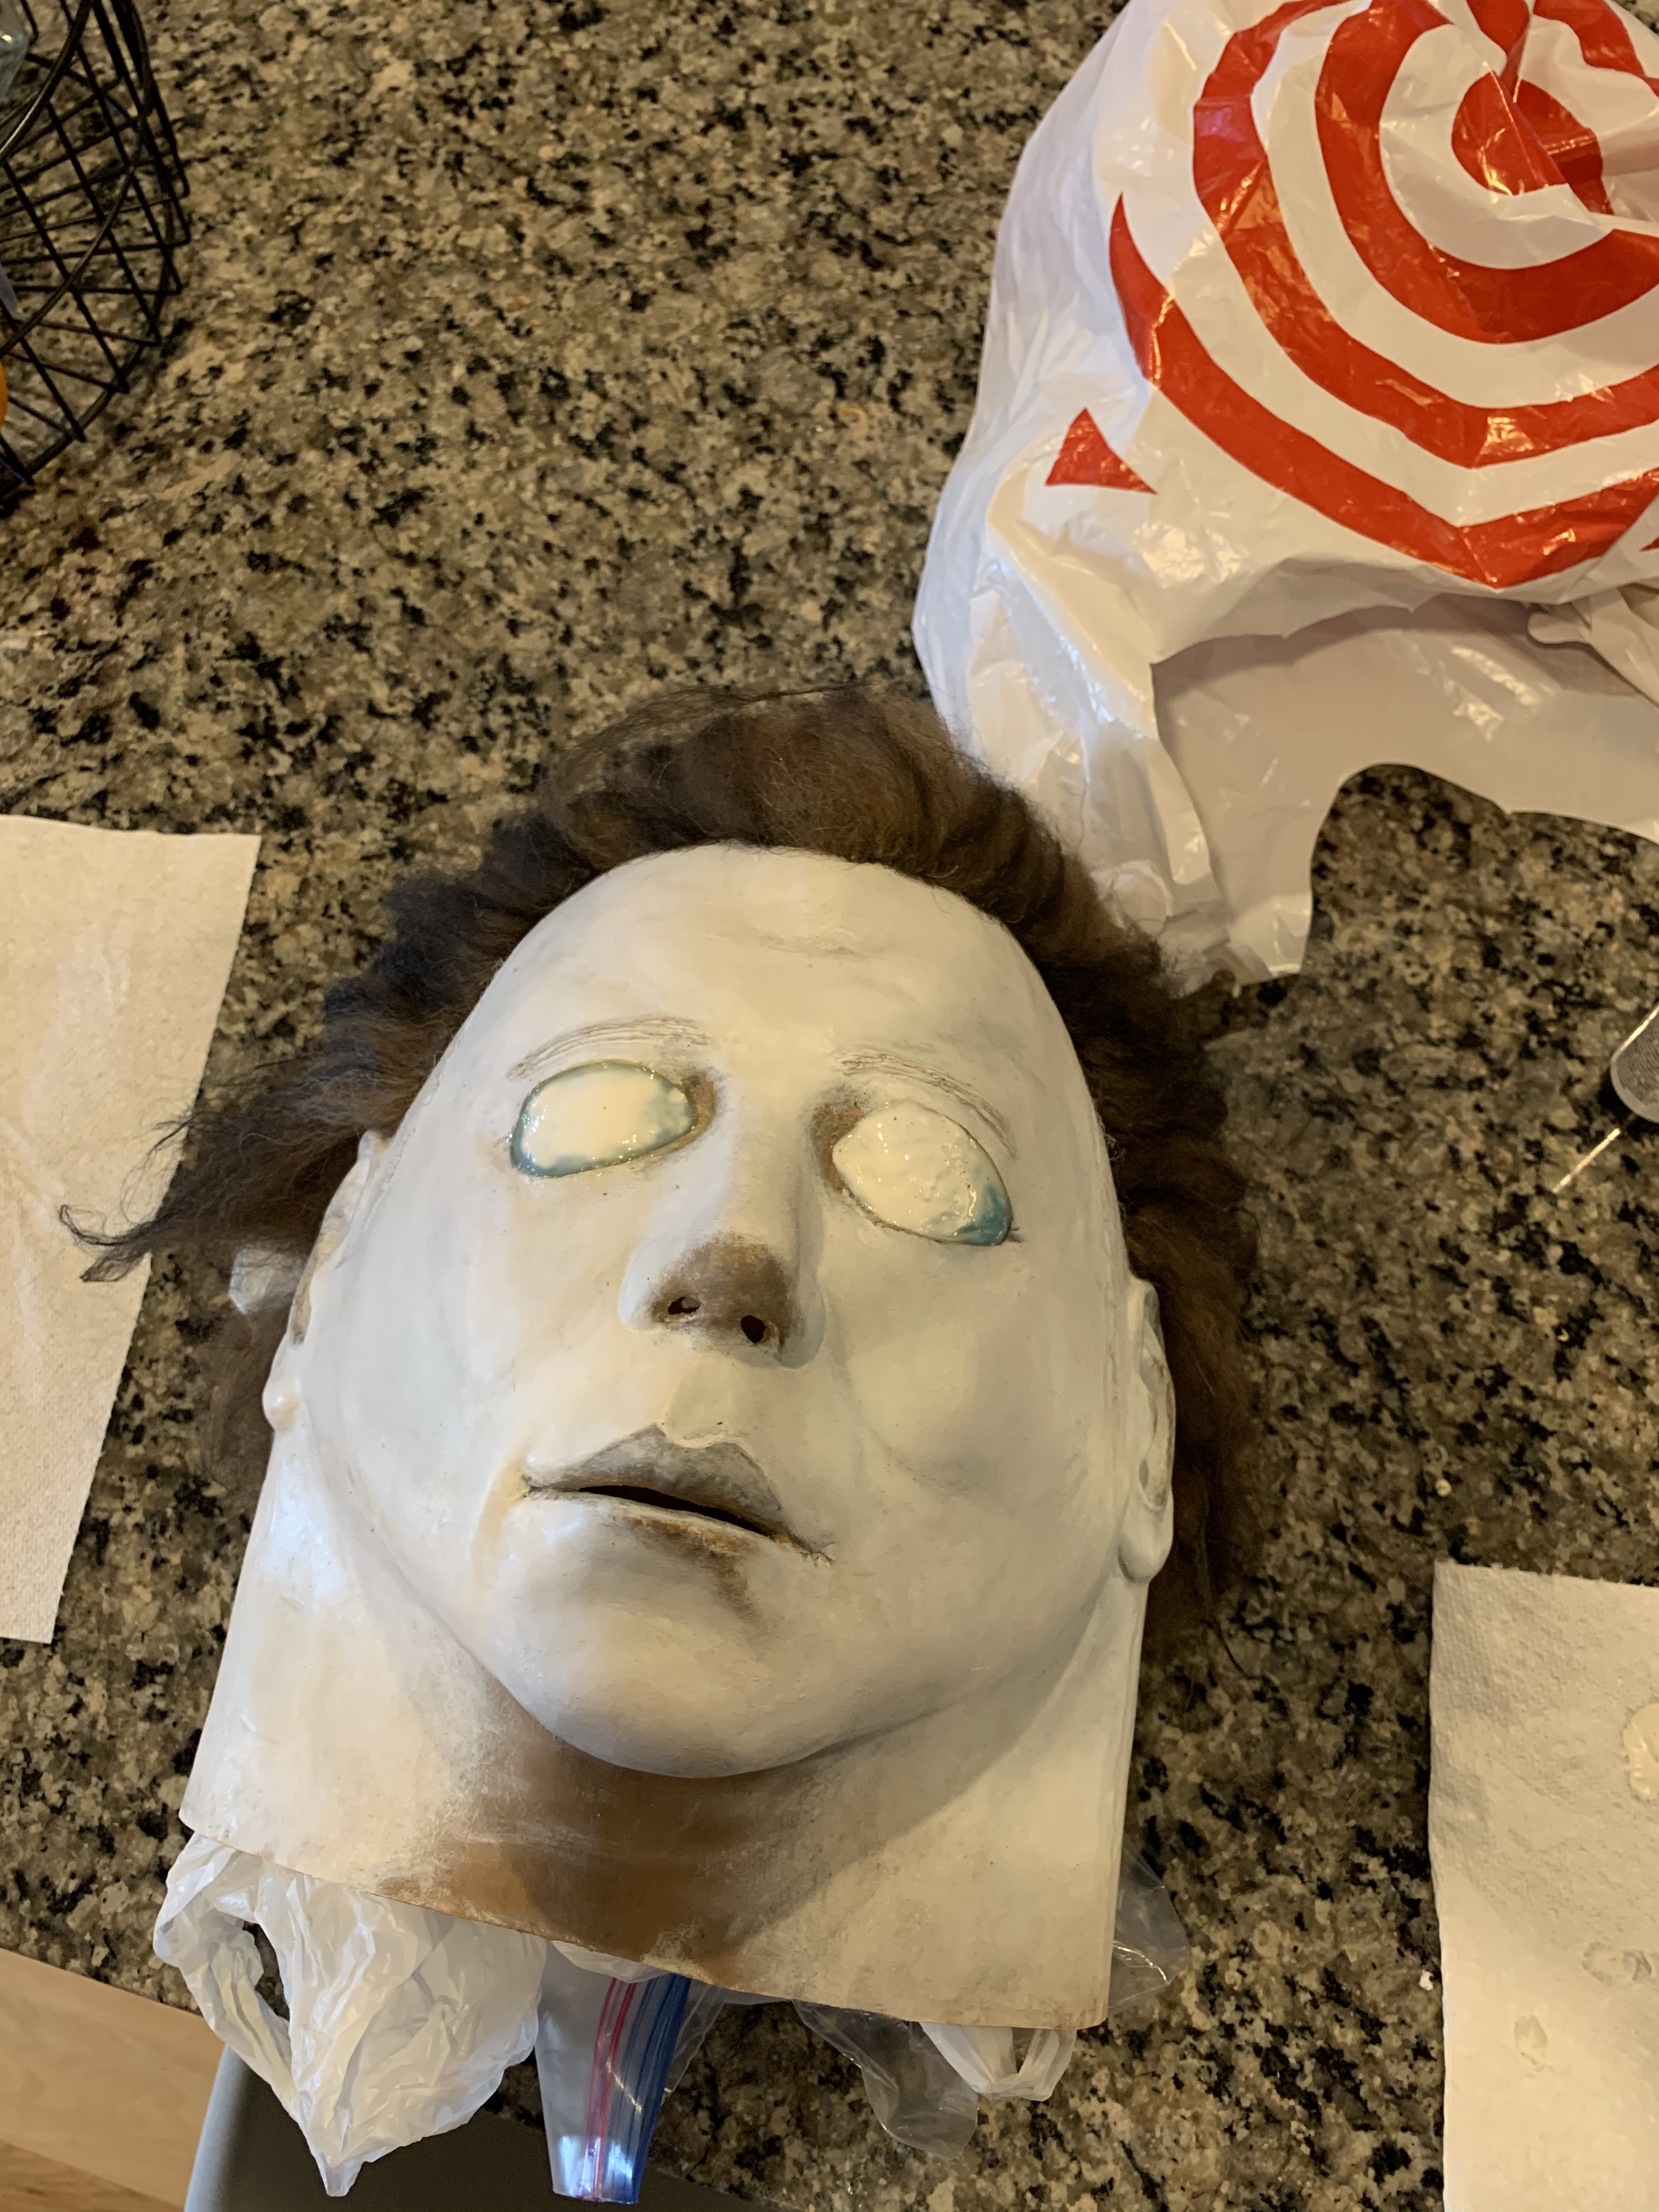
Fixed the eye cuts. Next is smoothing them and a 2nd re-paint.
1 Like
For airbrushing, should RD407 latex be mixed with acrylic paint or just spray the acrylic paint with no latex added?
New to this site. But I recently purchase a Tots Kirk to convert. I am inexperienced to doing this but am fairly confident in some aspects. Any tips for a relative beginner?
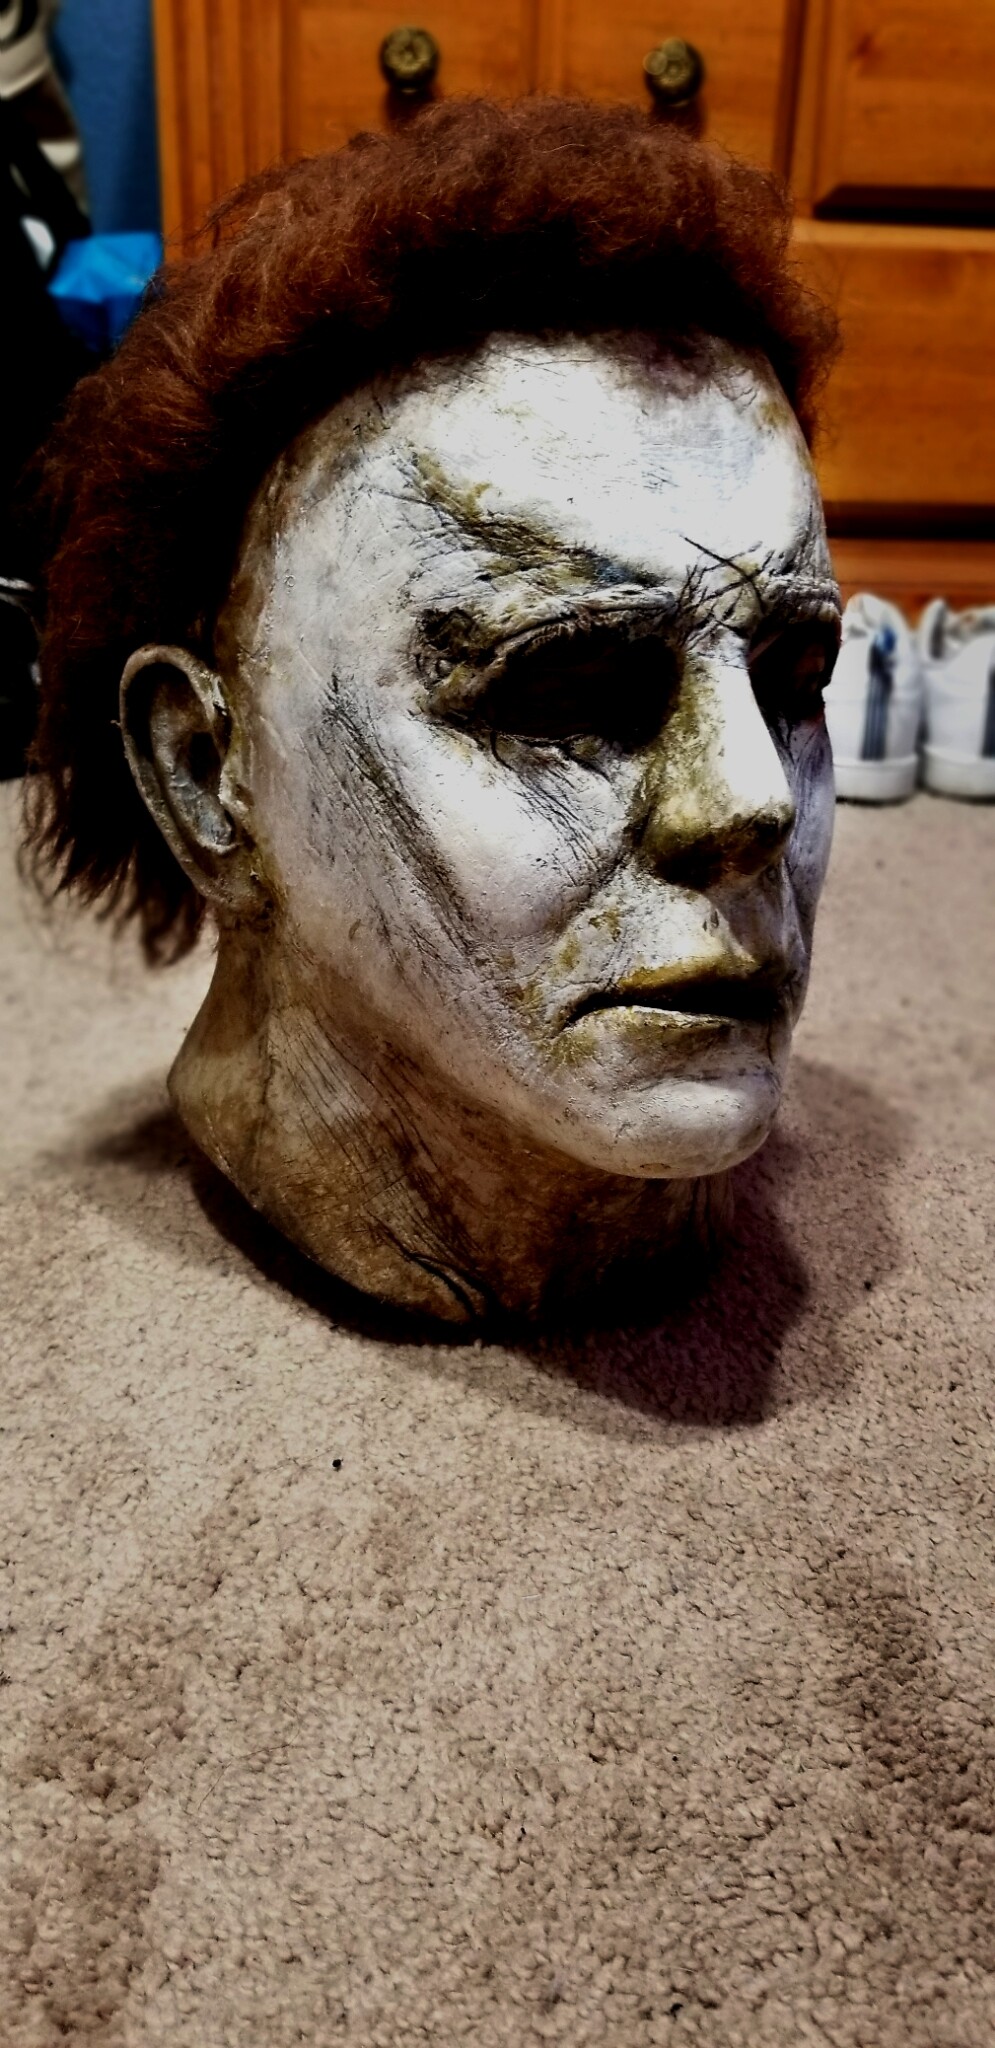
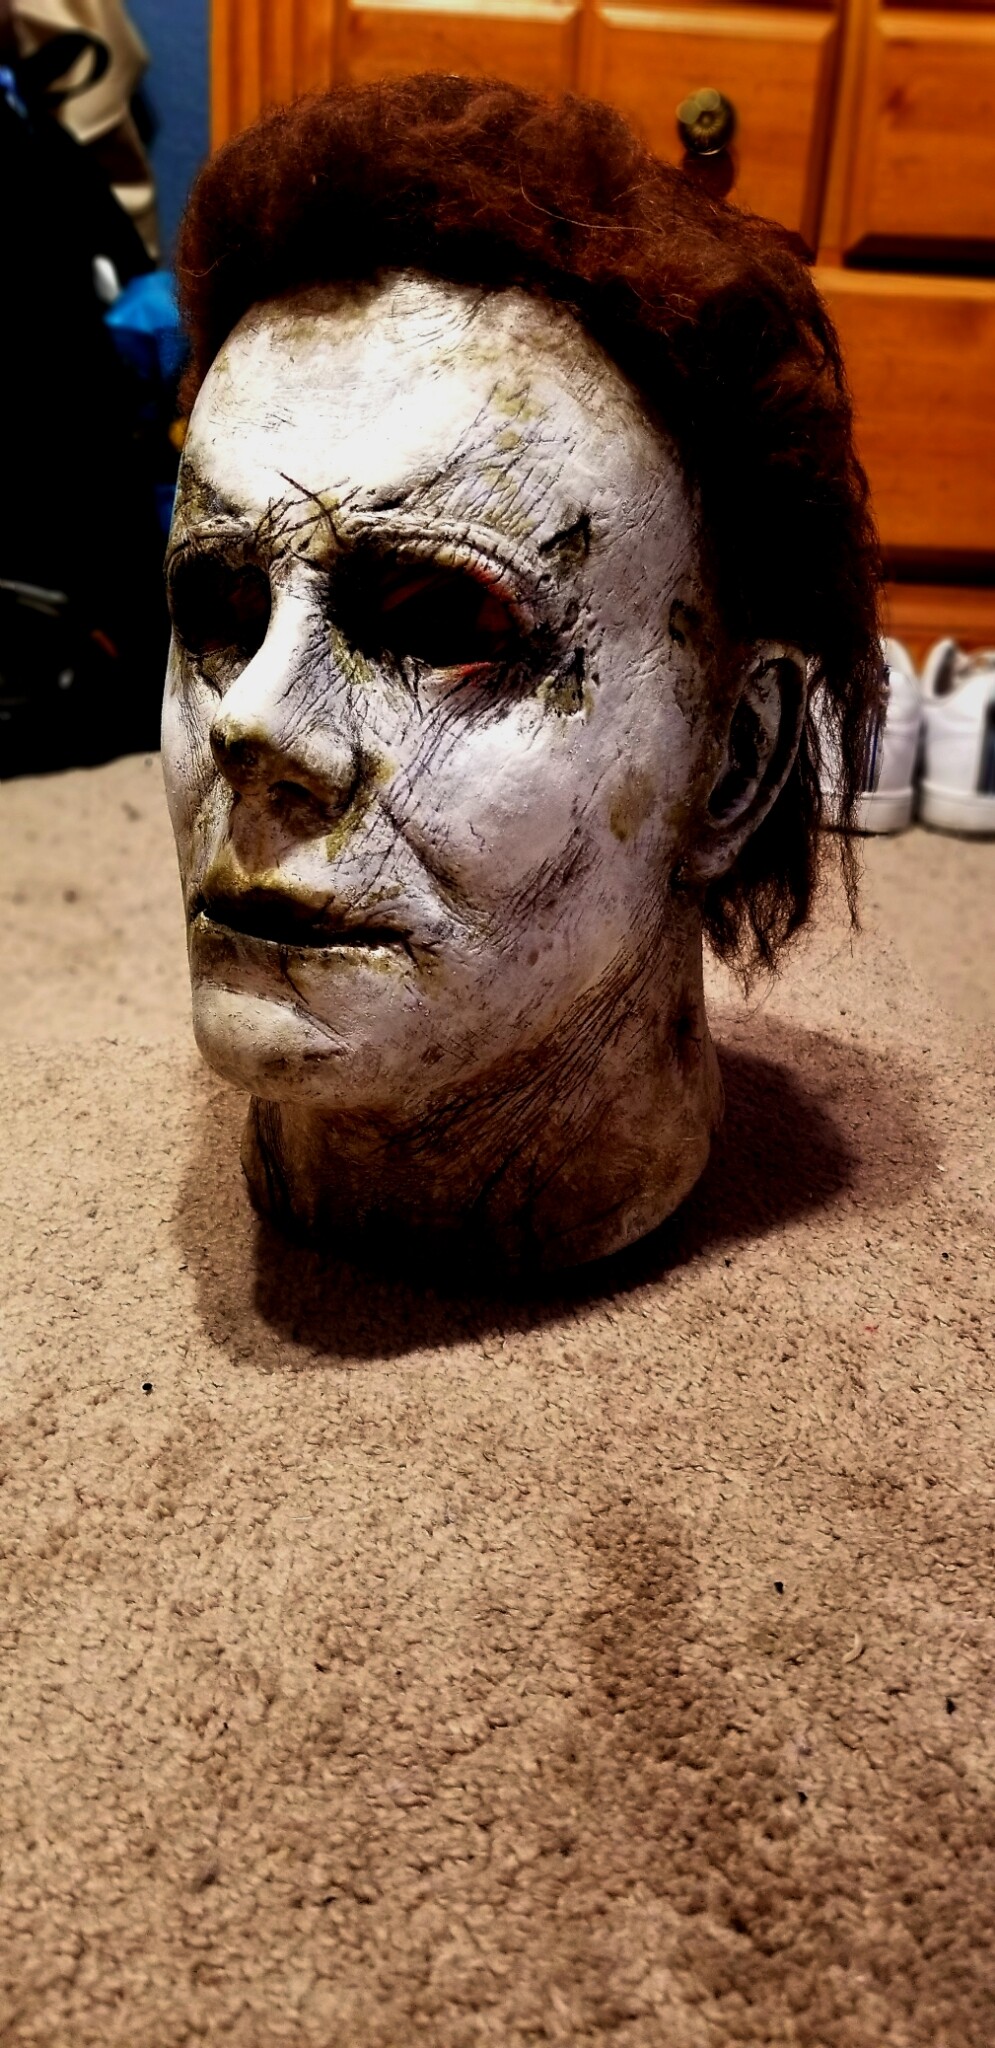
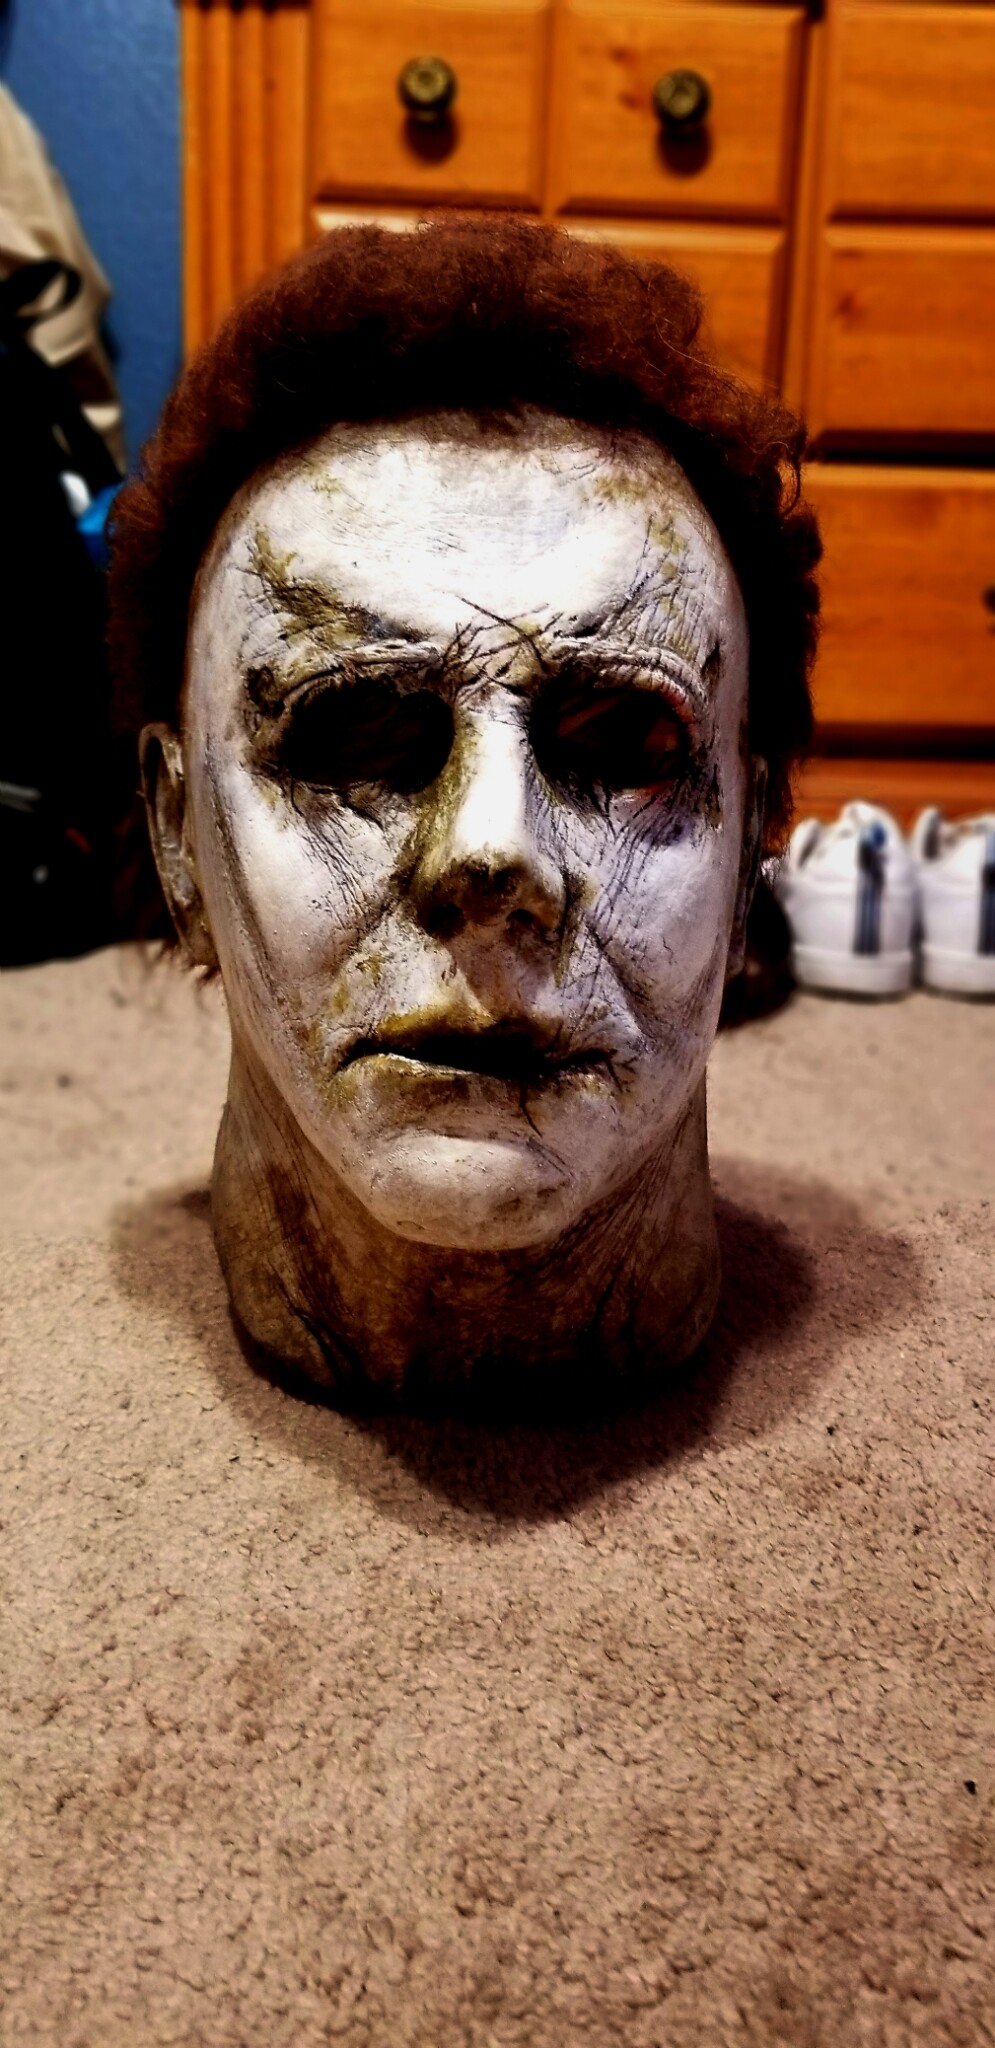
Hey there! So this is the process I went through… I stripped the paint off with a dremmel (yes it’s very tedious). After that, I mixed a dark brown with black and watered it down a little then went over the cracks with the mixture and wiped away only a little. The wash was very much on the mask still because you want it to really get in the cracks. After that, I mixed white and cream (more white than cream but only slightly) as well as water and I actually used a fan brush. You don’t want to load it with paint, you actually want to get some paint on the brush and wipe away most of it. Then I held the brush slightly sideways and dry brushed over the entire masks. When it comes to the cracks, you don’t want to paint in the same direction as they are going. You actually want to paint across them carefully. This way, you won’t get the white in the cracks and that base coat of brown and black will still be there. Once I went over the entire mask with the off white mixture, I mixed a lighter brown, and dark green, the smallest amount of yellow and a little water. I actually used a sponge tool and blotted around the cracks, nose, mouth, and various other little spots with that mixture. It is EXTREMELY IMPORTANT not to over load the sponge. You only want to get a little amount because you don’t want to have globs of paint on the mask and have it hide details. Then I mixed the same colors but with more brown and went around the hairline to give it a rotted look. I also went around the neck to give the neck a rotted look. You don’t really want to wipe away that much on the neck. Then of course, the red on the left eye. I just got a little red paint on my finger, rubbed it around and gently brushed it around the eye. The most important thing I can stress is throughout this whole project, you do not want to over load your brushes or sponge. Work it little by little and it will really pay off. Hope this helps!
1 Like
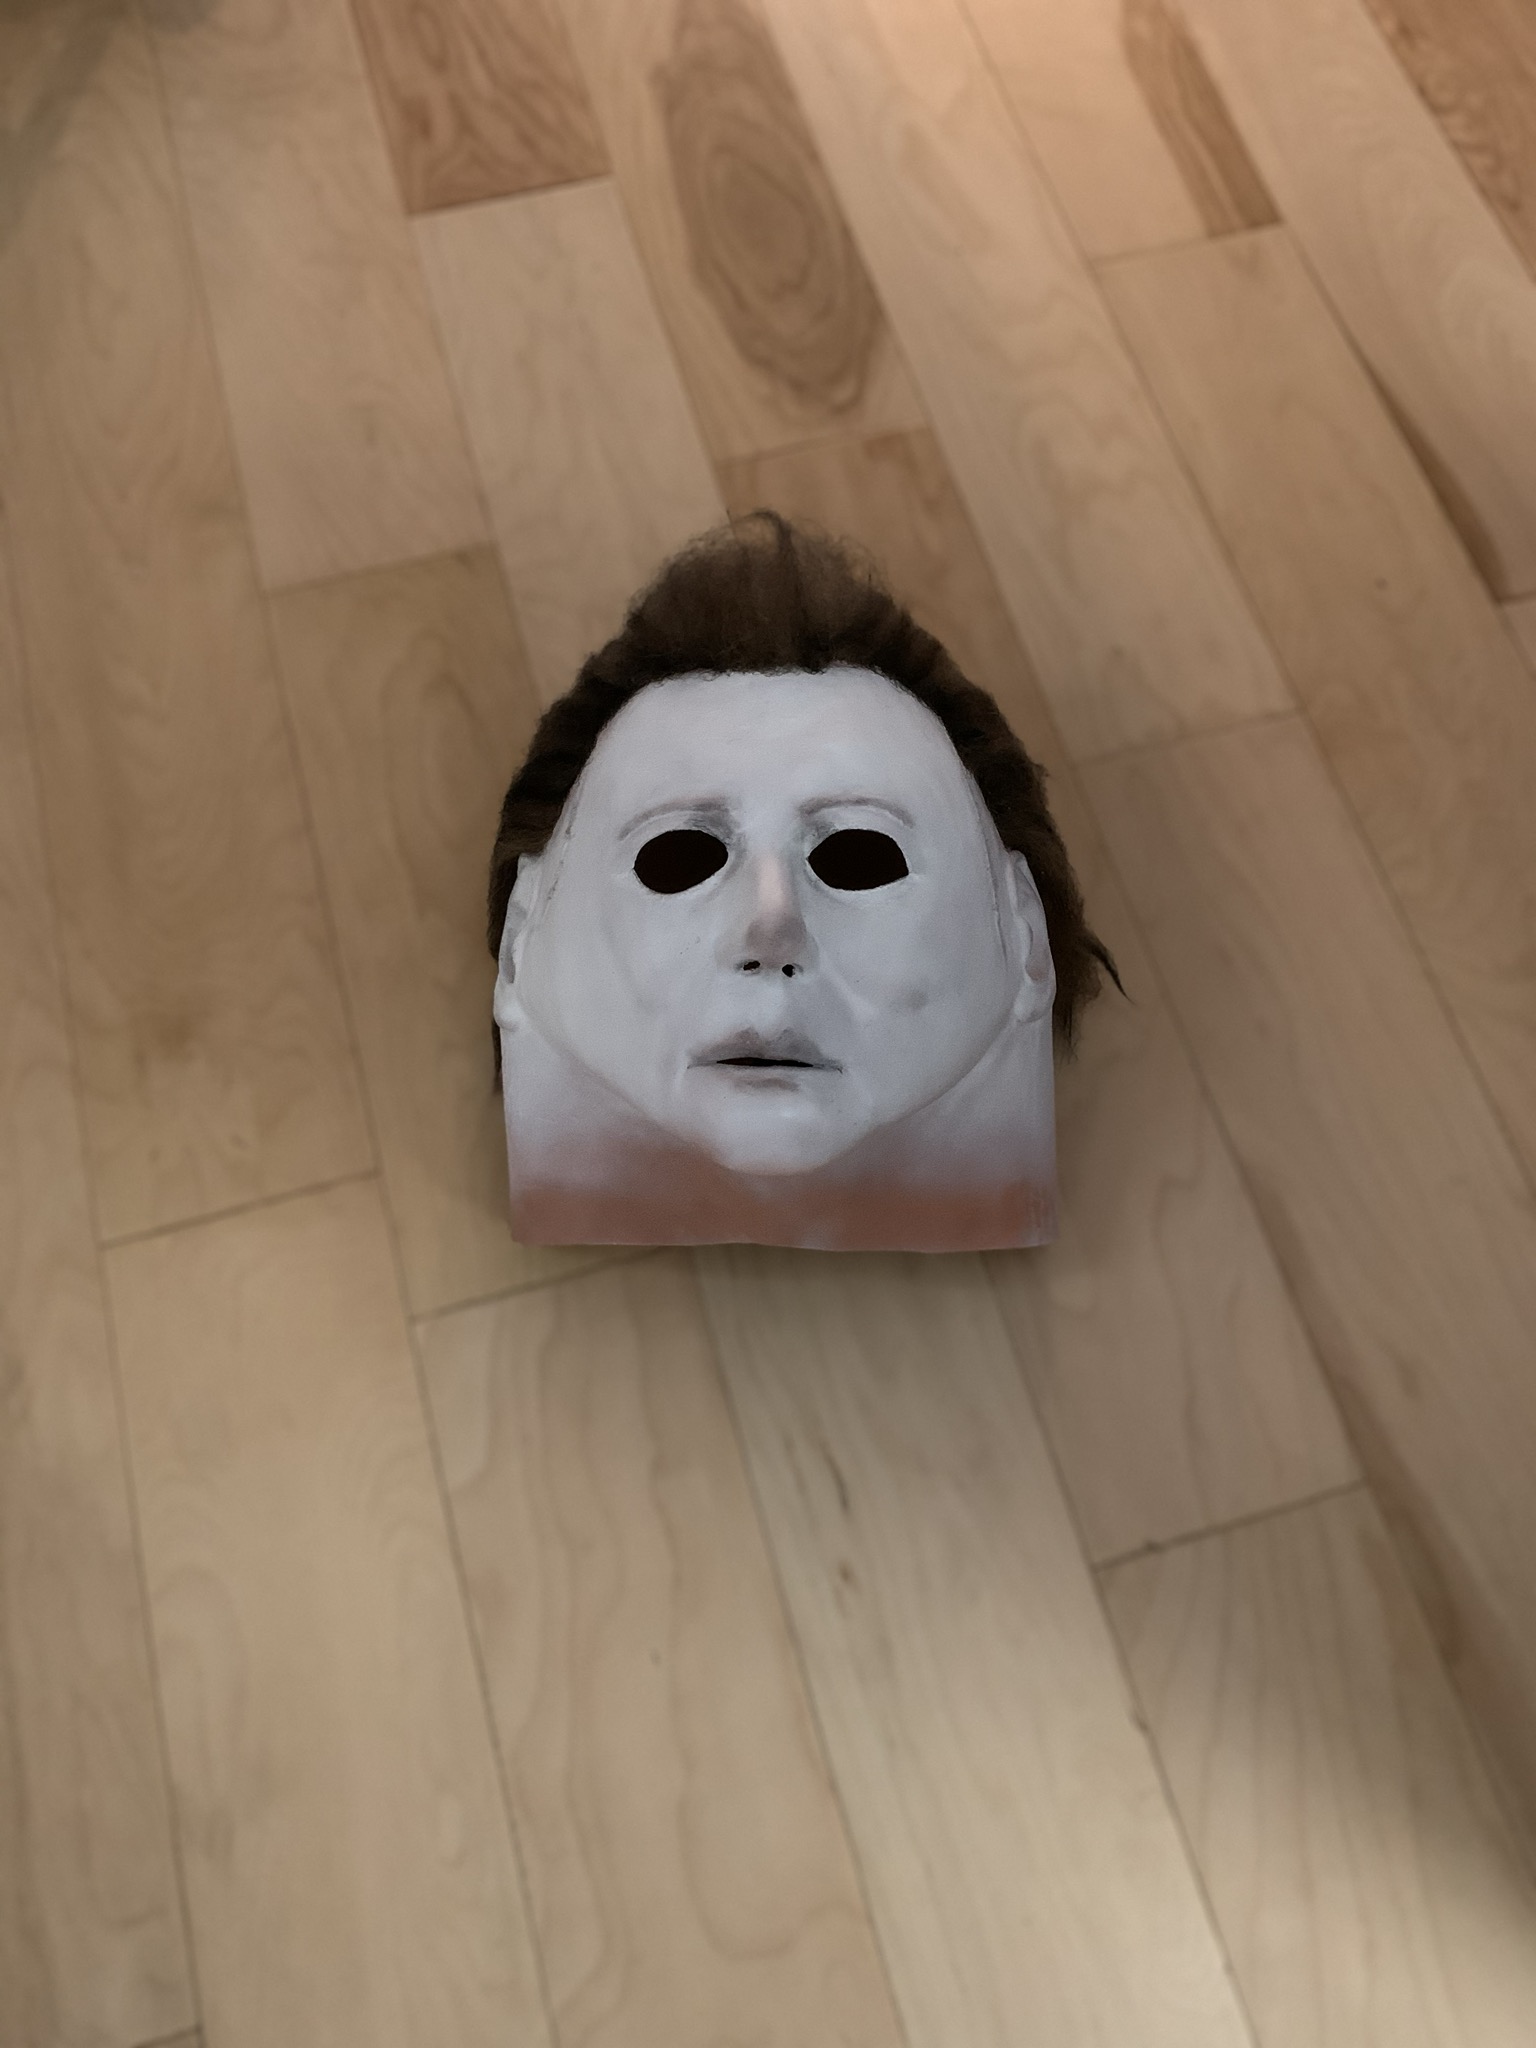
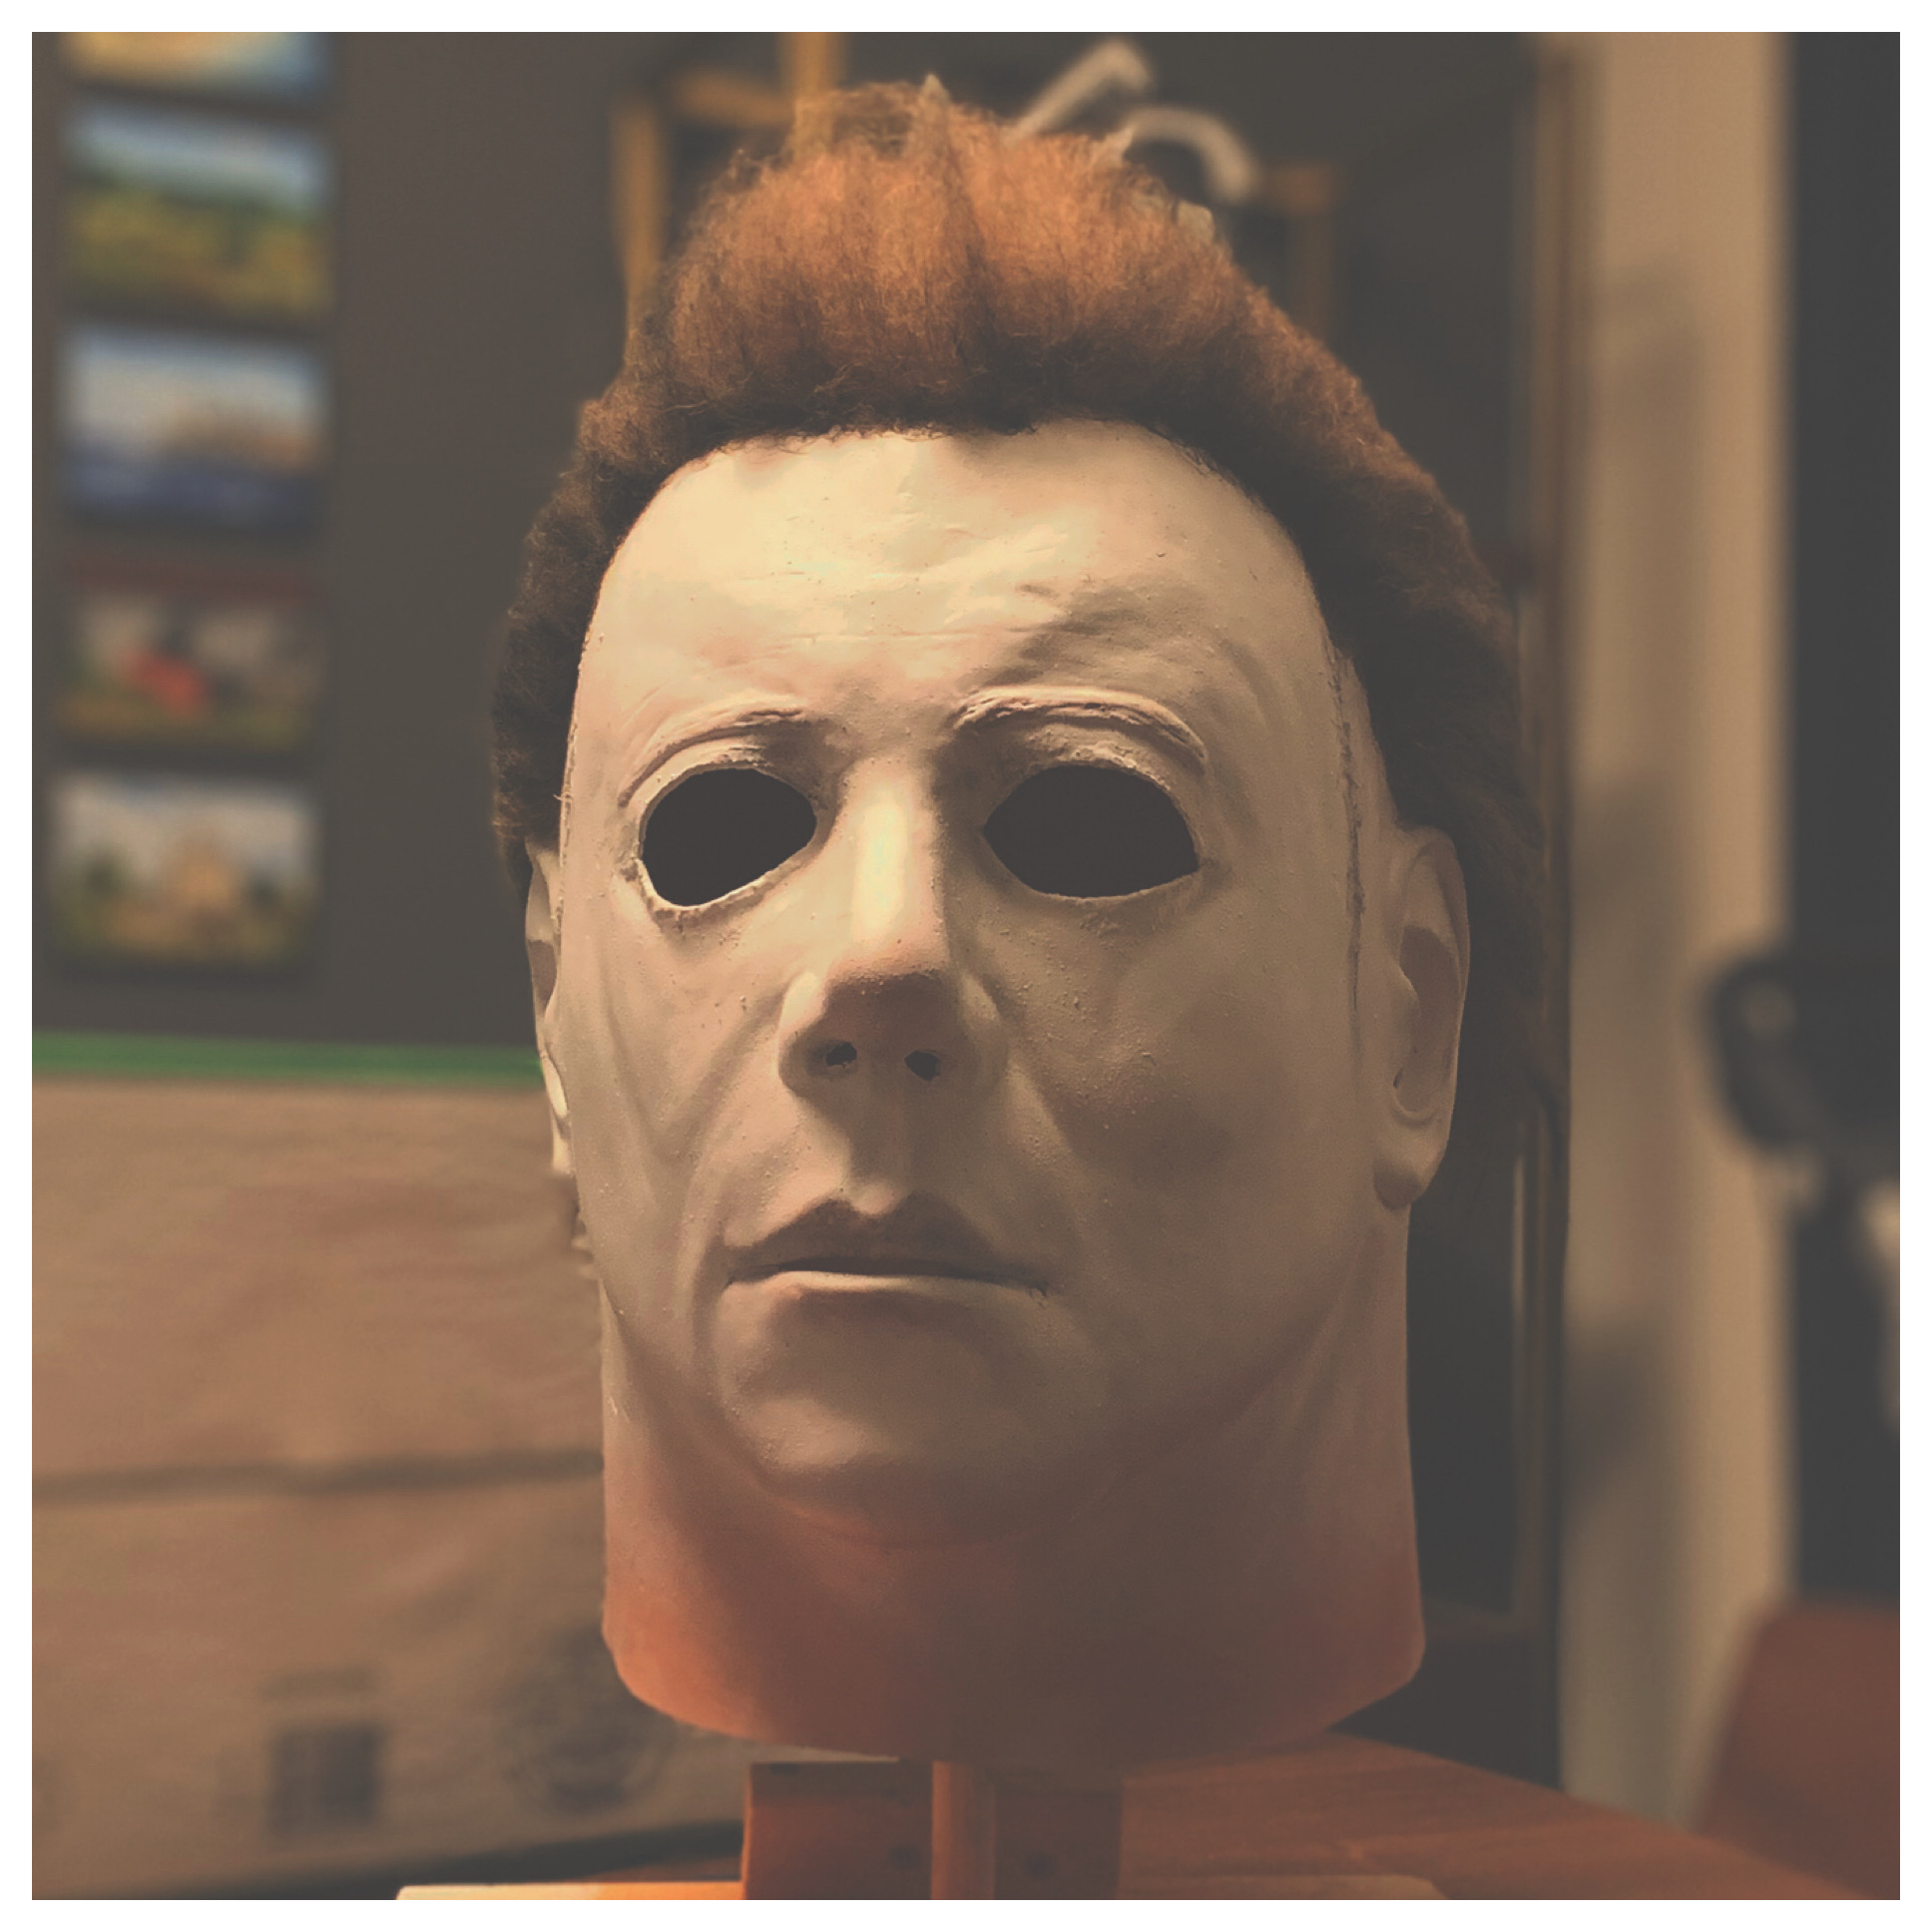
Finished my 78.
1 Like
Hey a cool tip is to turn the mask inside out when u do that, but make sure whatever tape ur using or material to hold the latex doesn’t have a texture and it’s flat, then when it’s dry turn the mask back inside out and it will look a lot smoother
That’s a great tip, thank you! I should have thought about doing it that way. Next time I suppose.
Hi, I got a TOTS H40 mask for rehaul project at home. I also bought the download for Nick Mulpagano’s tutorial for this project. I have two questions. What type and brand of paint should I get for a base coat? I’m looking for a Creamish white color. Also, any other methods to improve the eyecuts to look more movie accurate while I dont have a dremel at the moment?
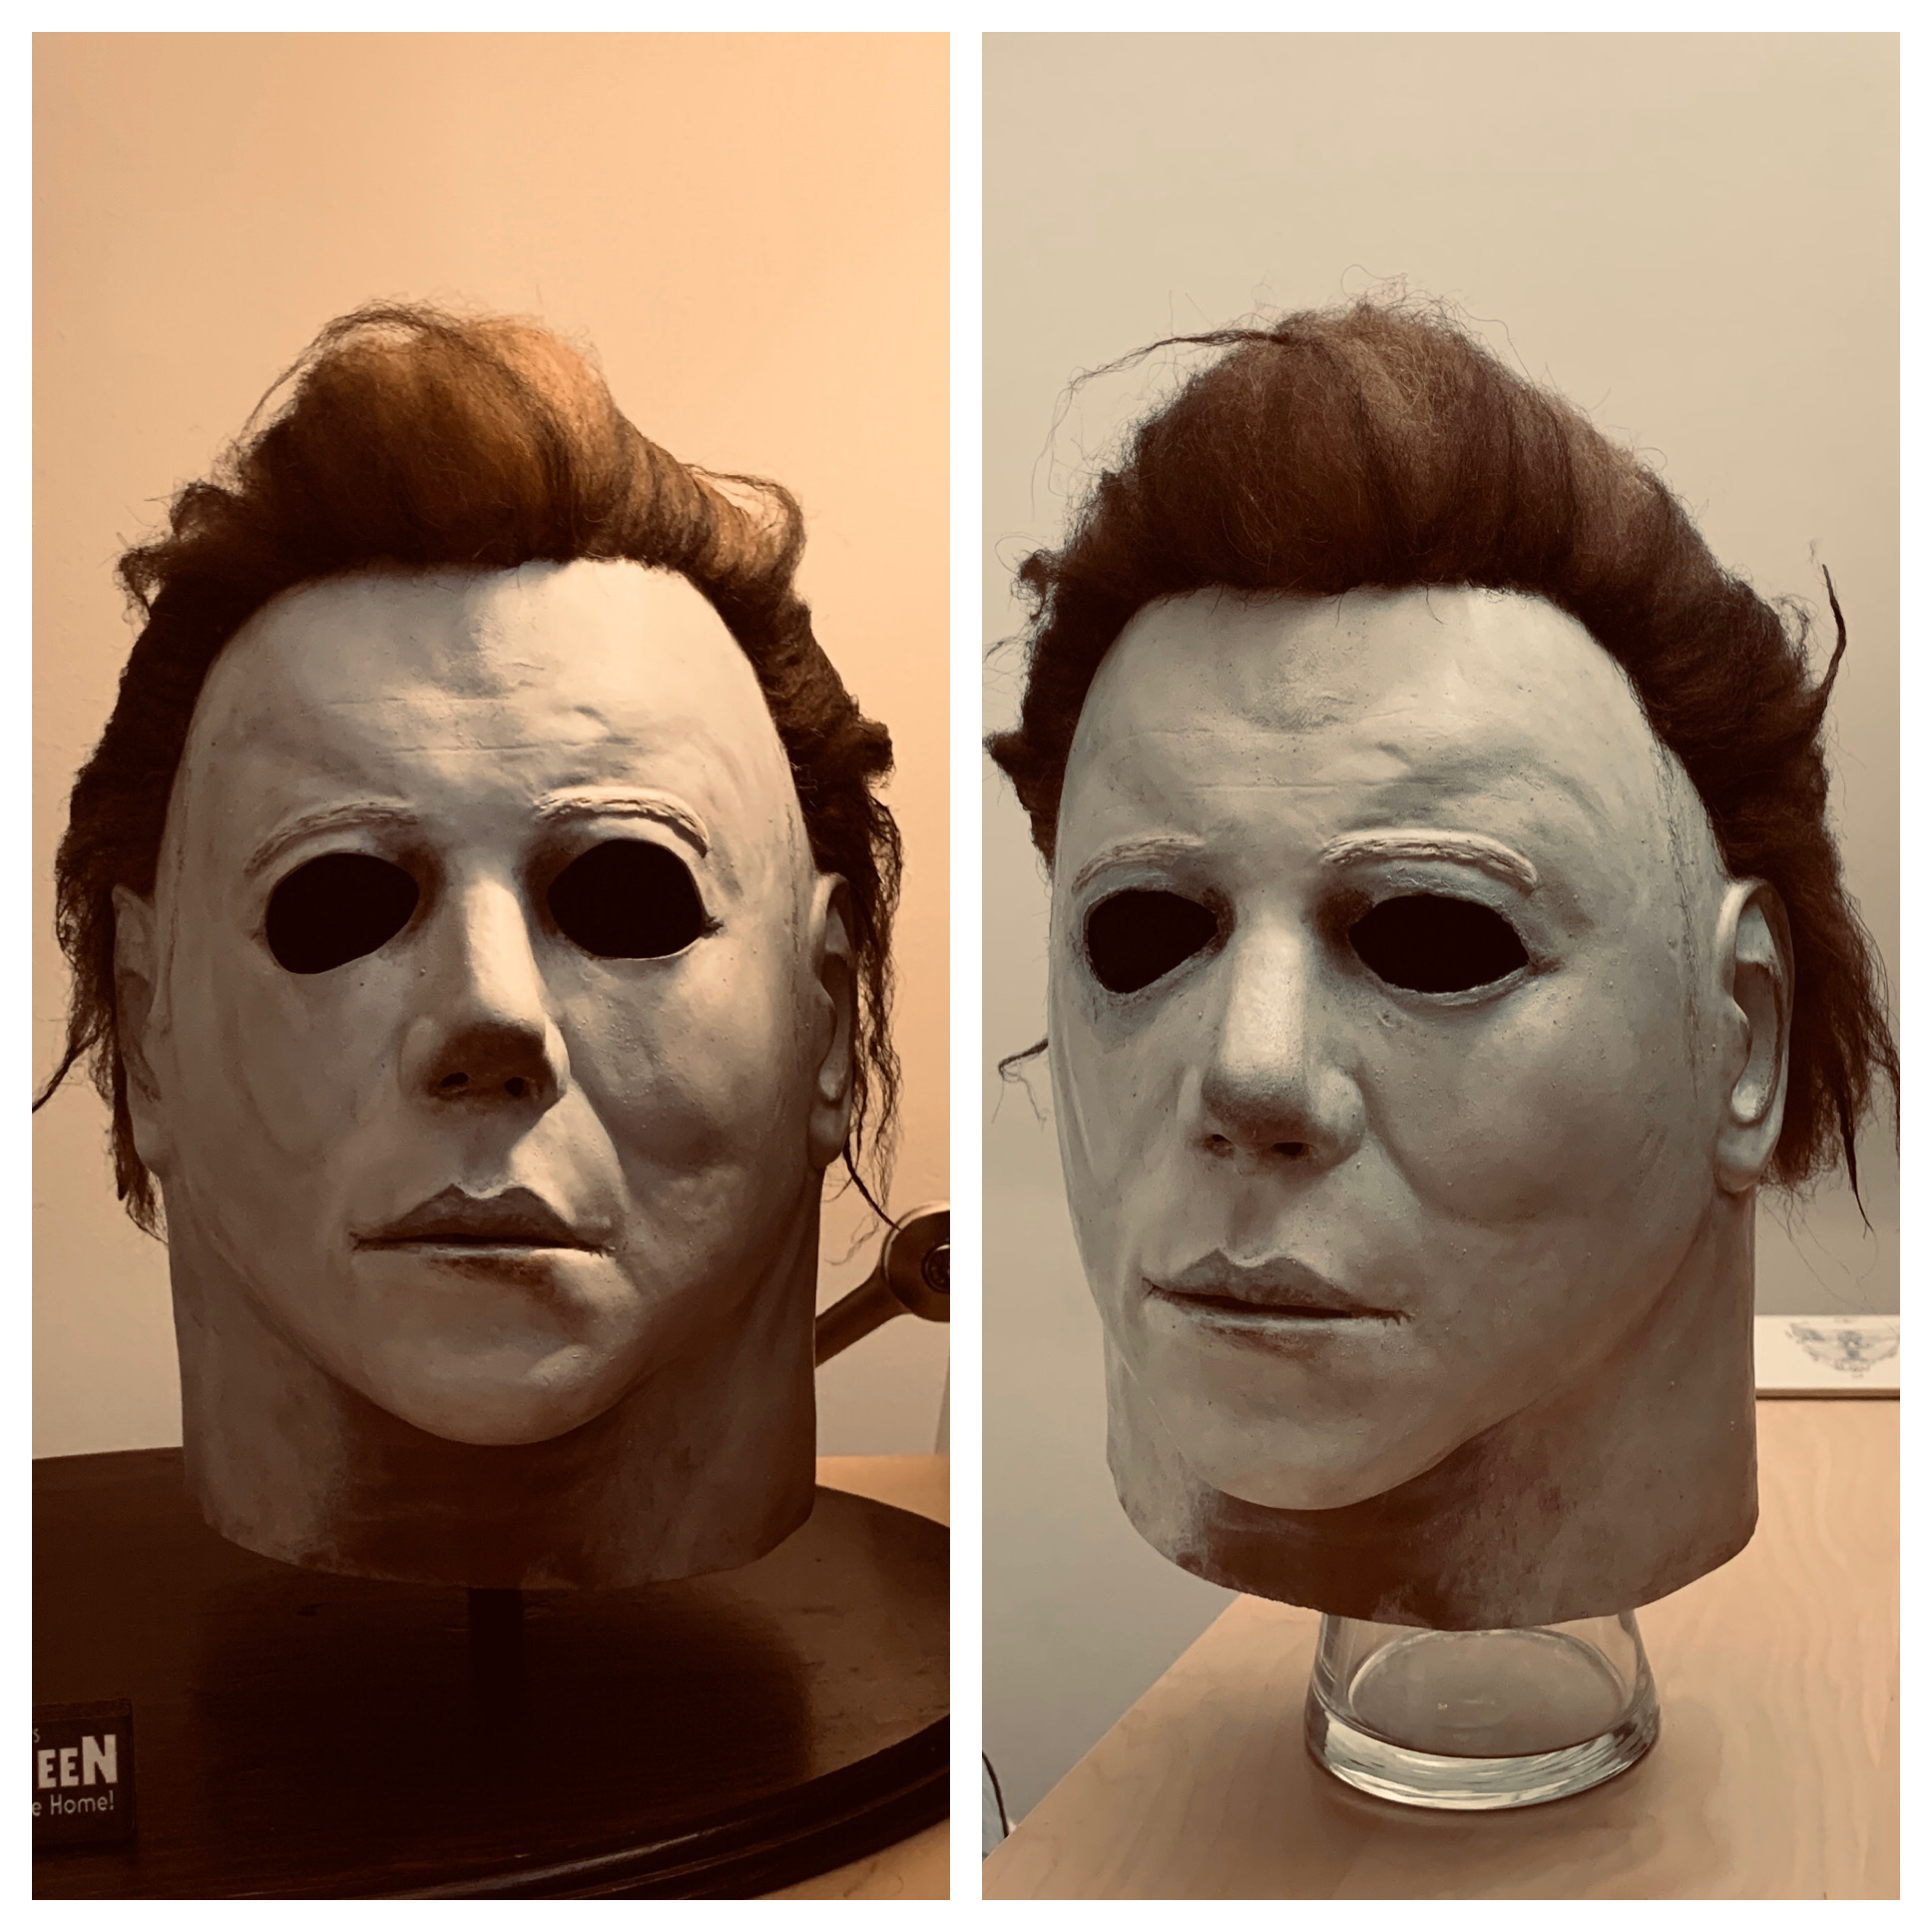
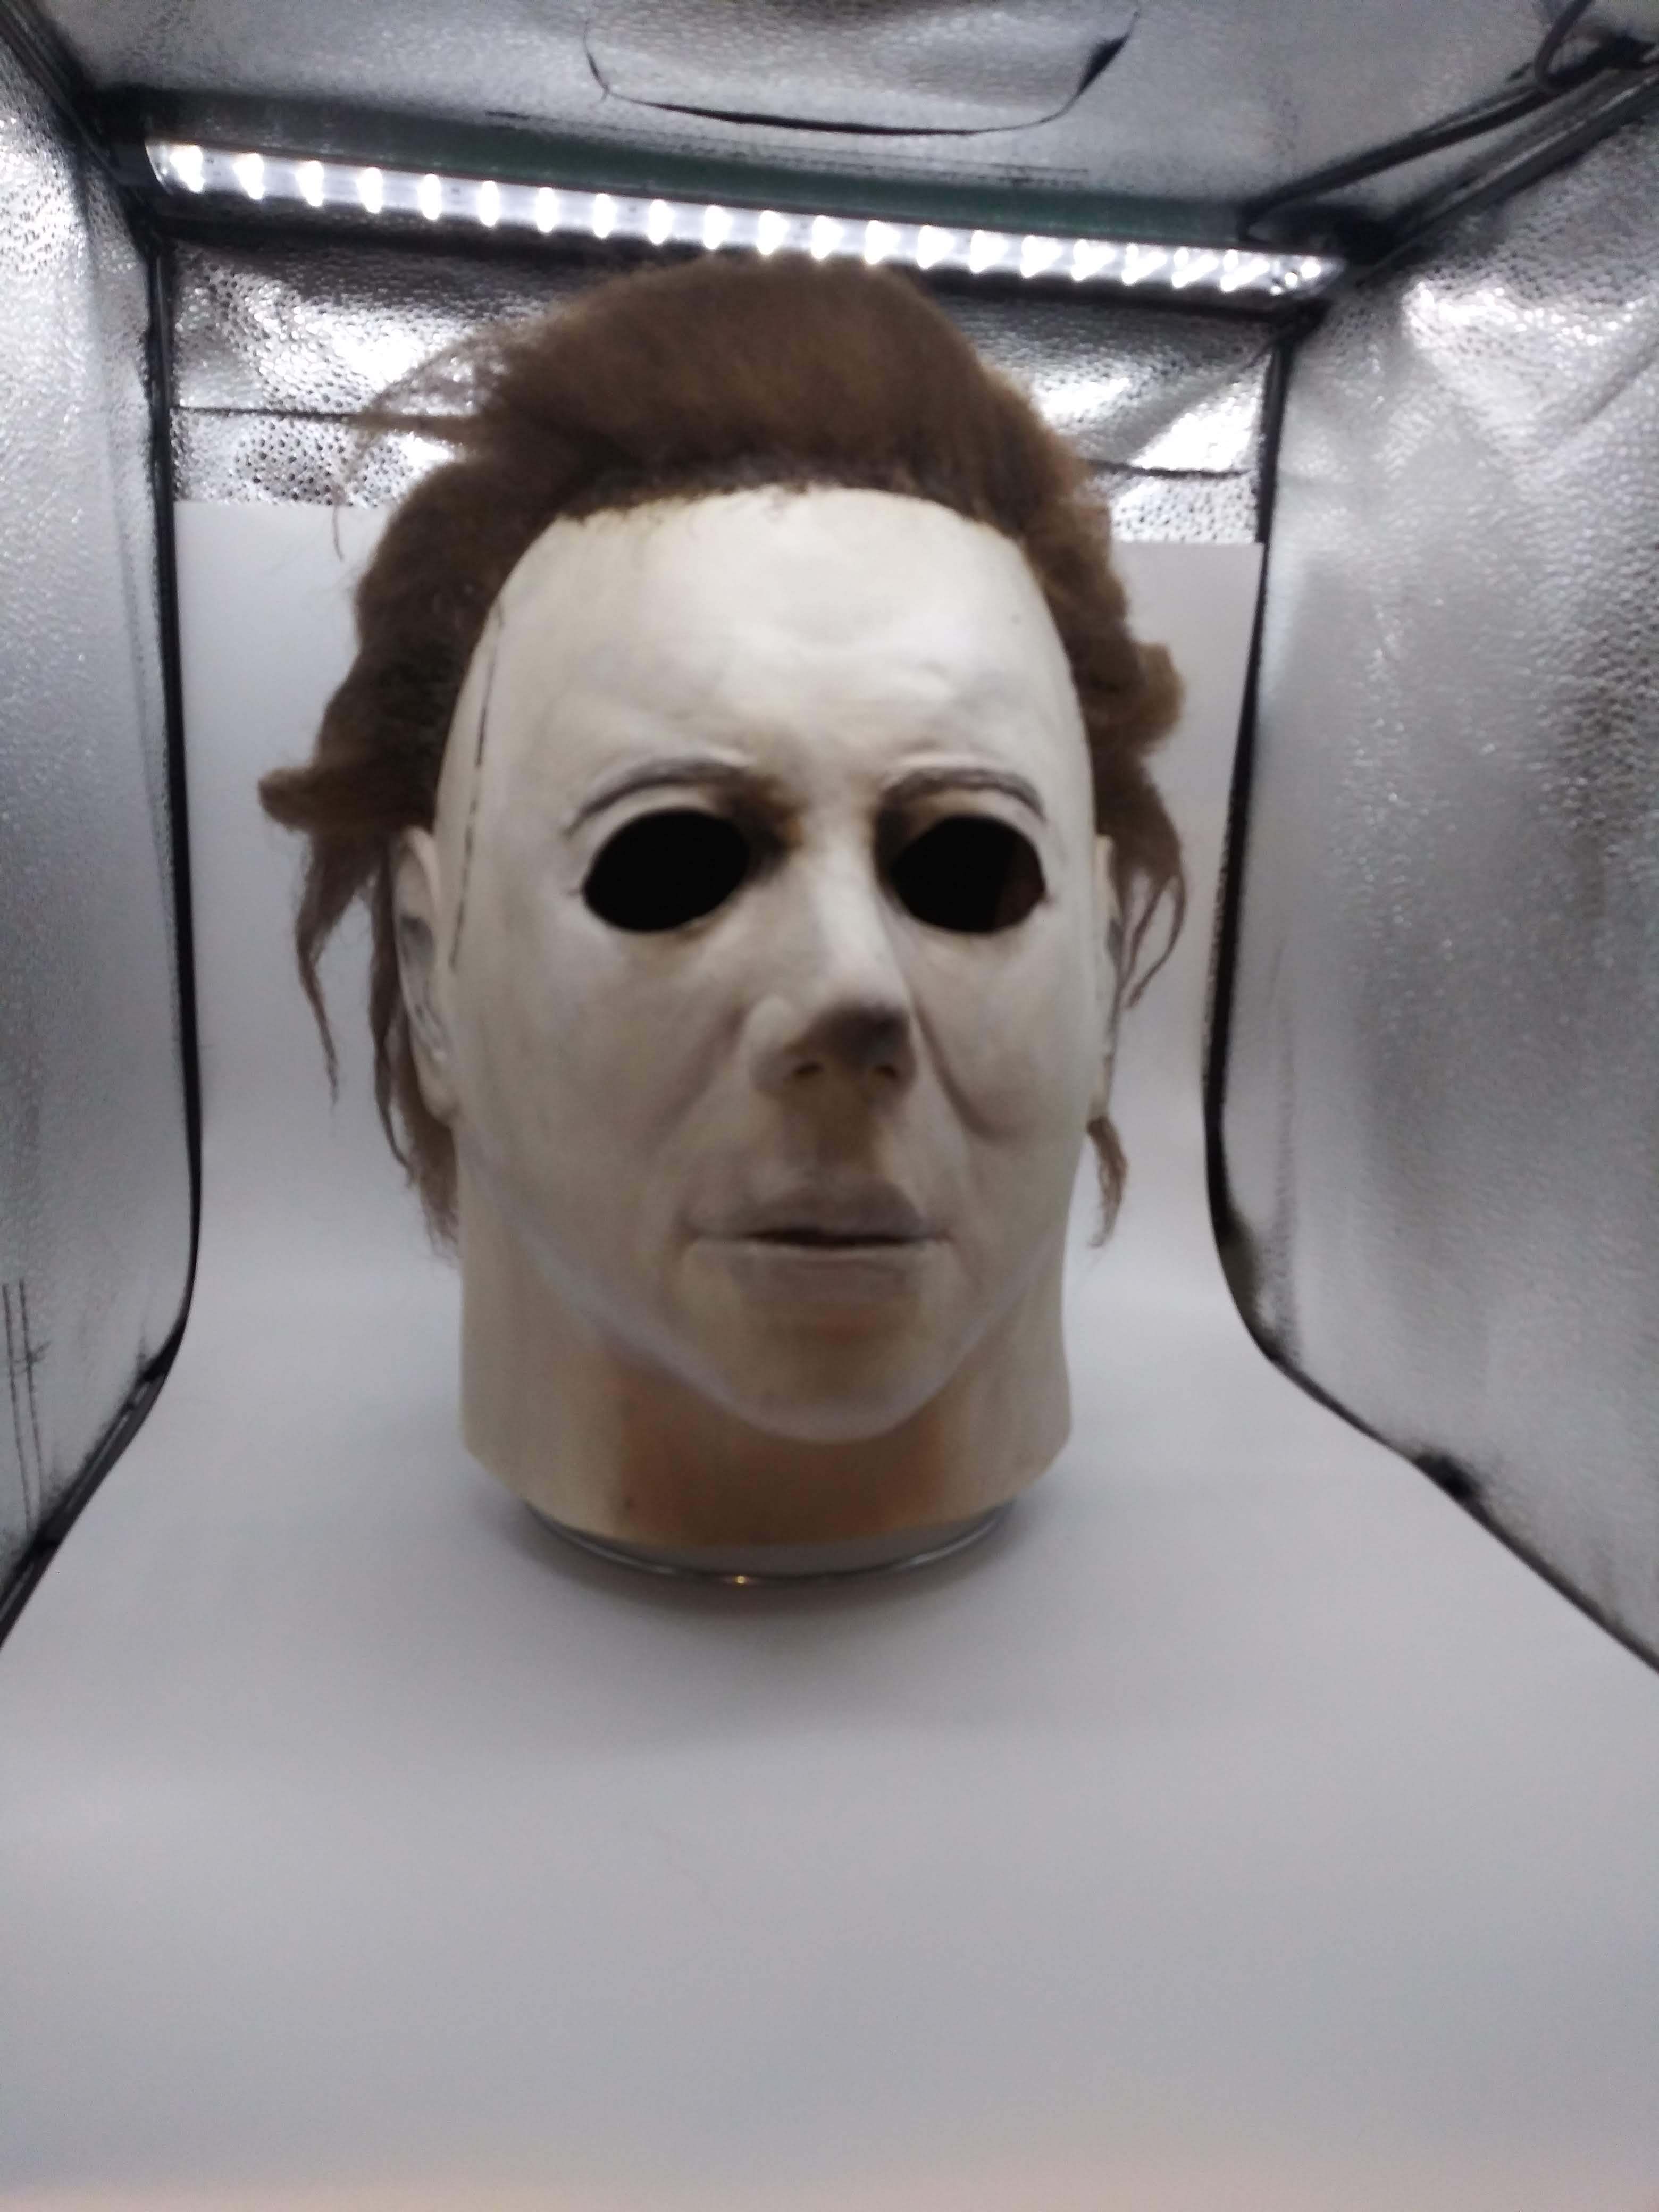
my attempt at a 78 re-haul
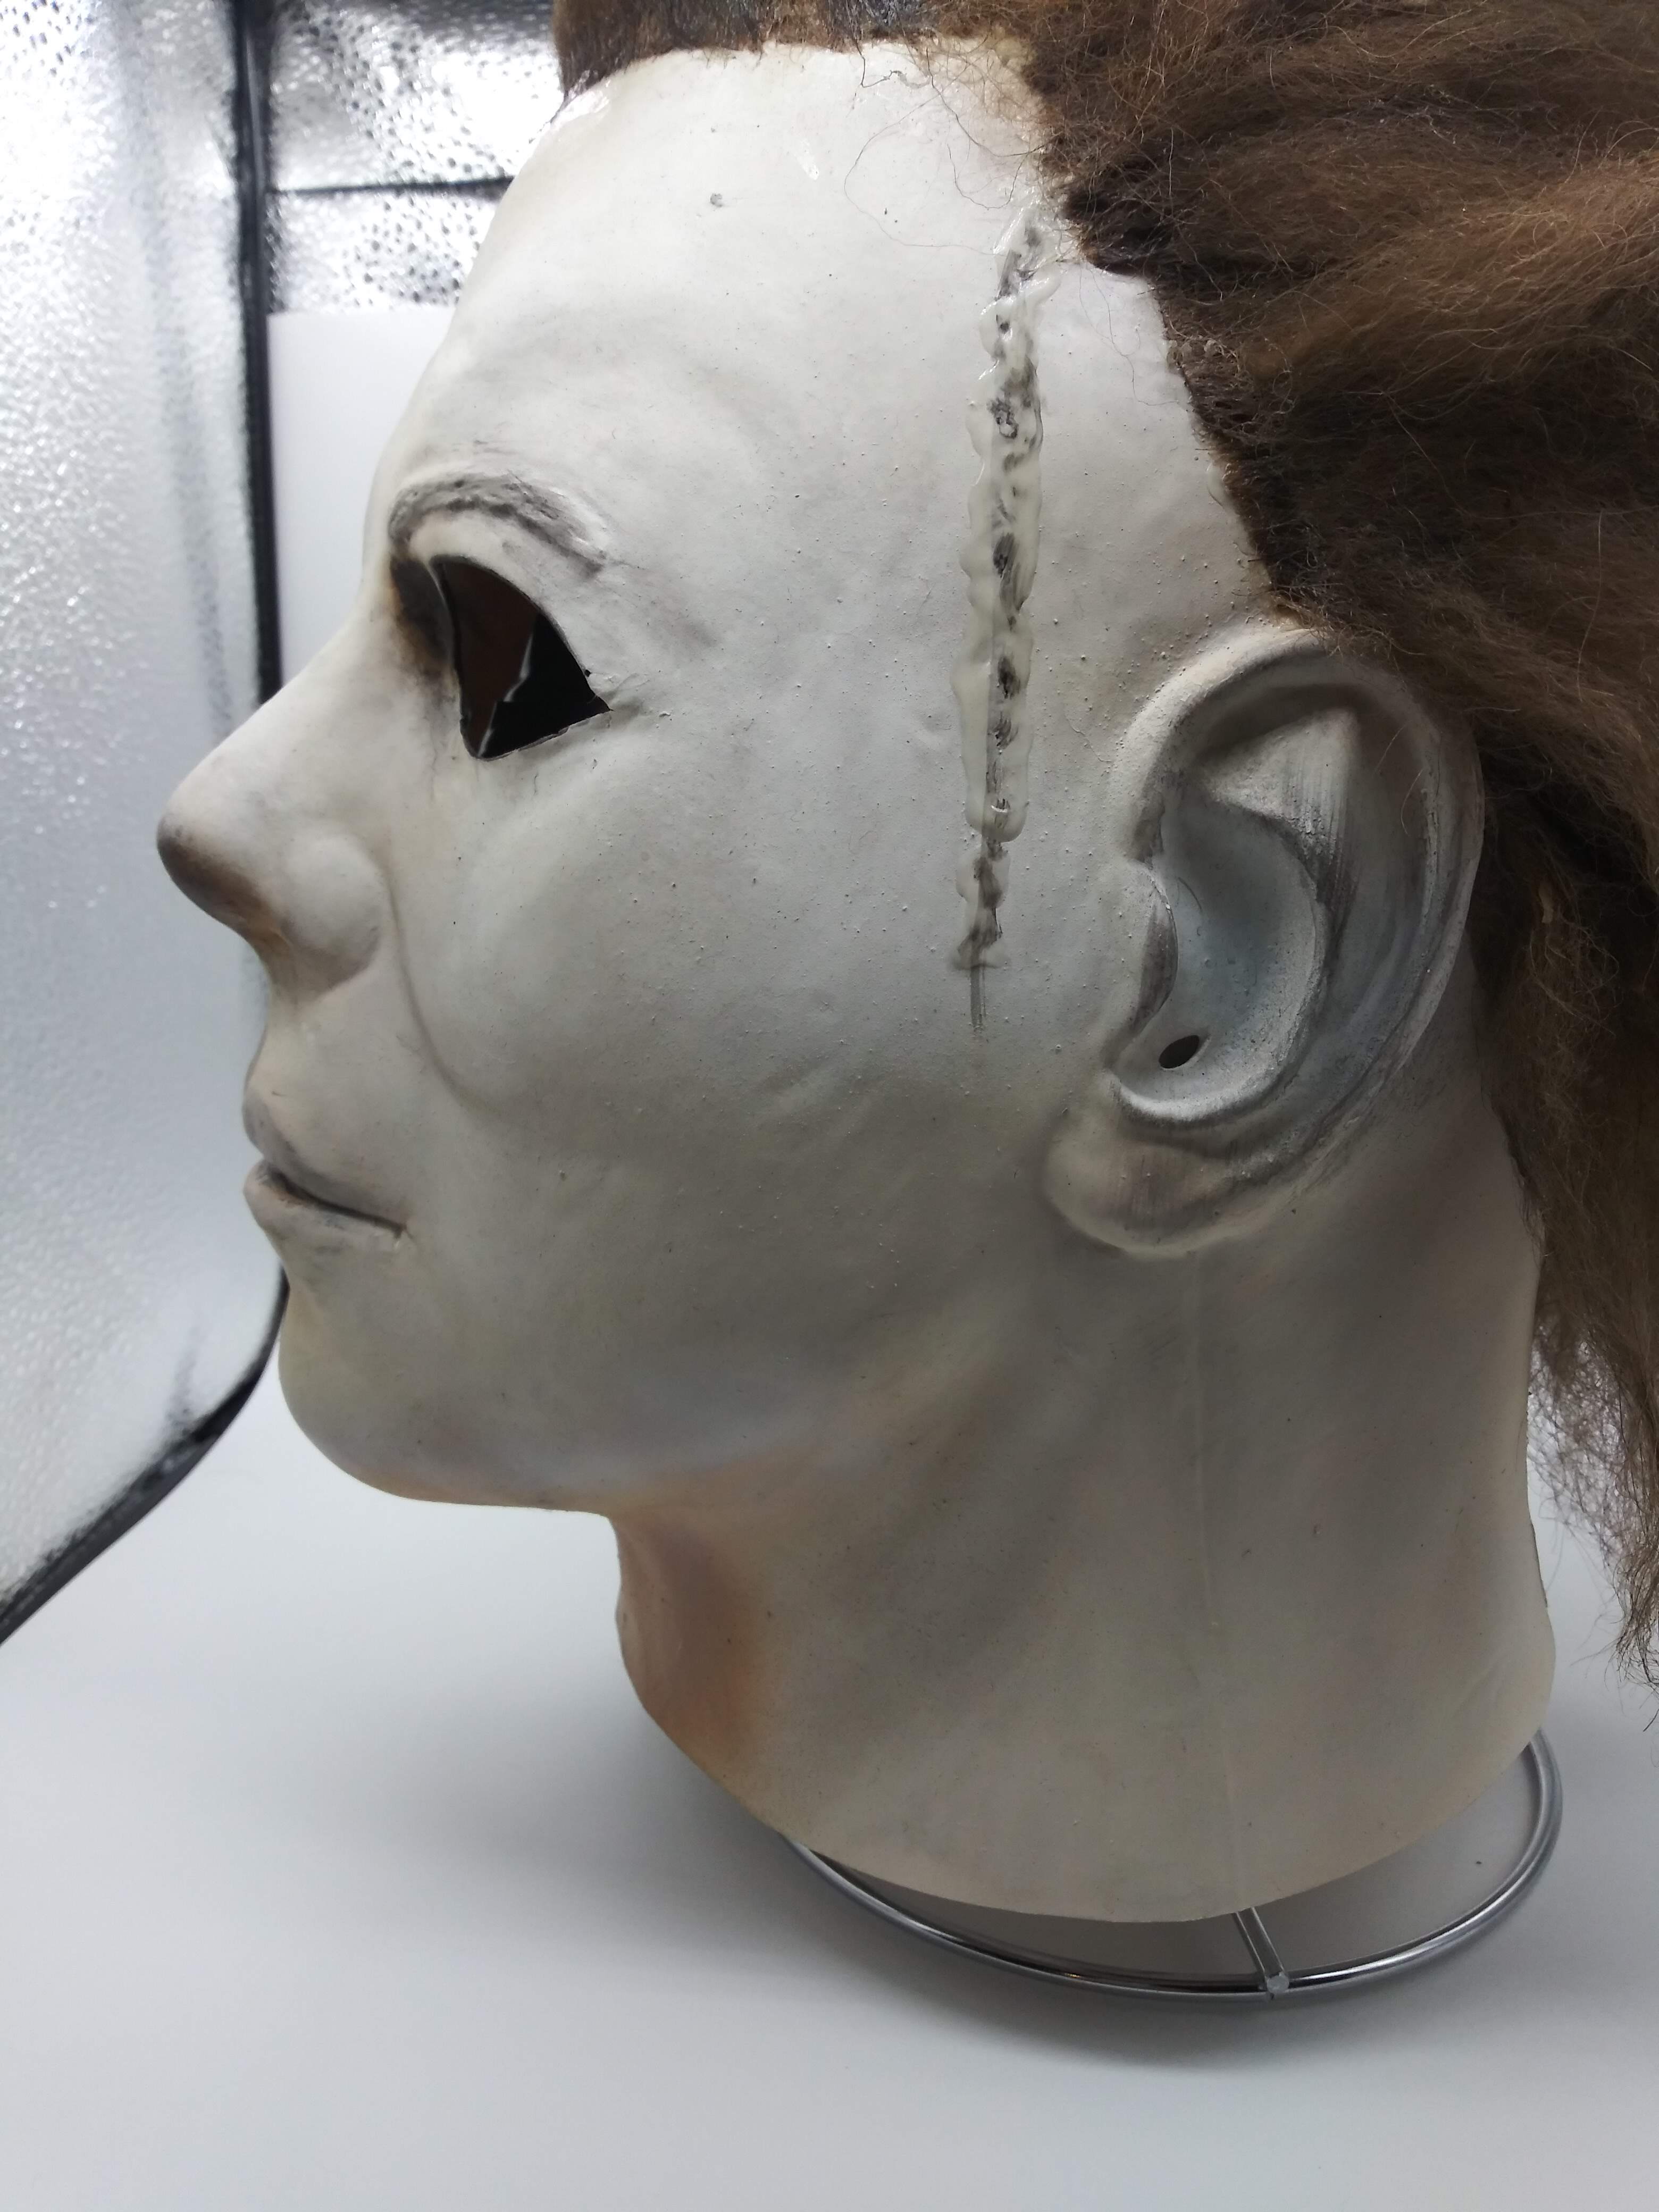
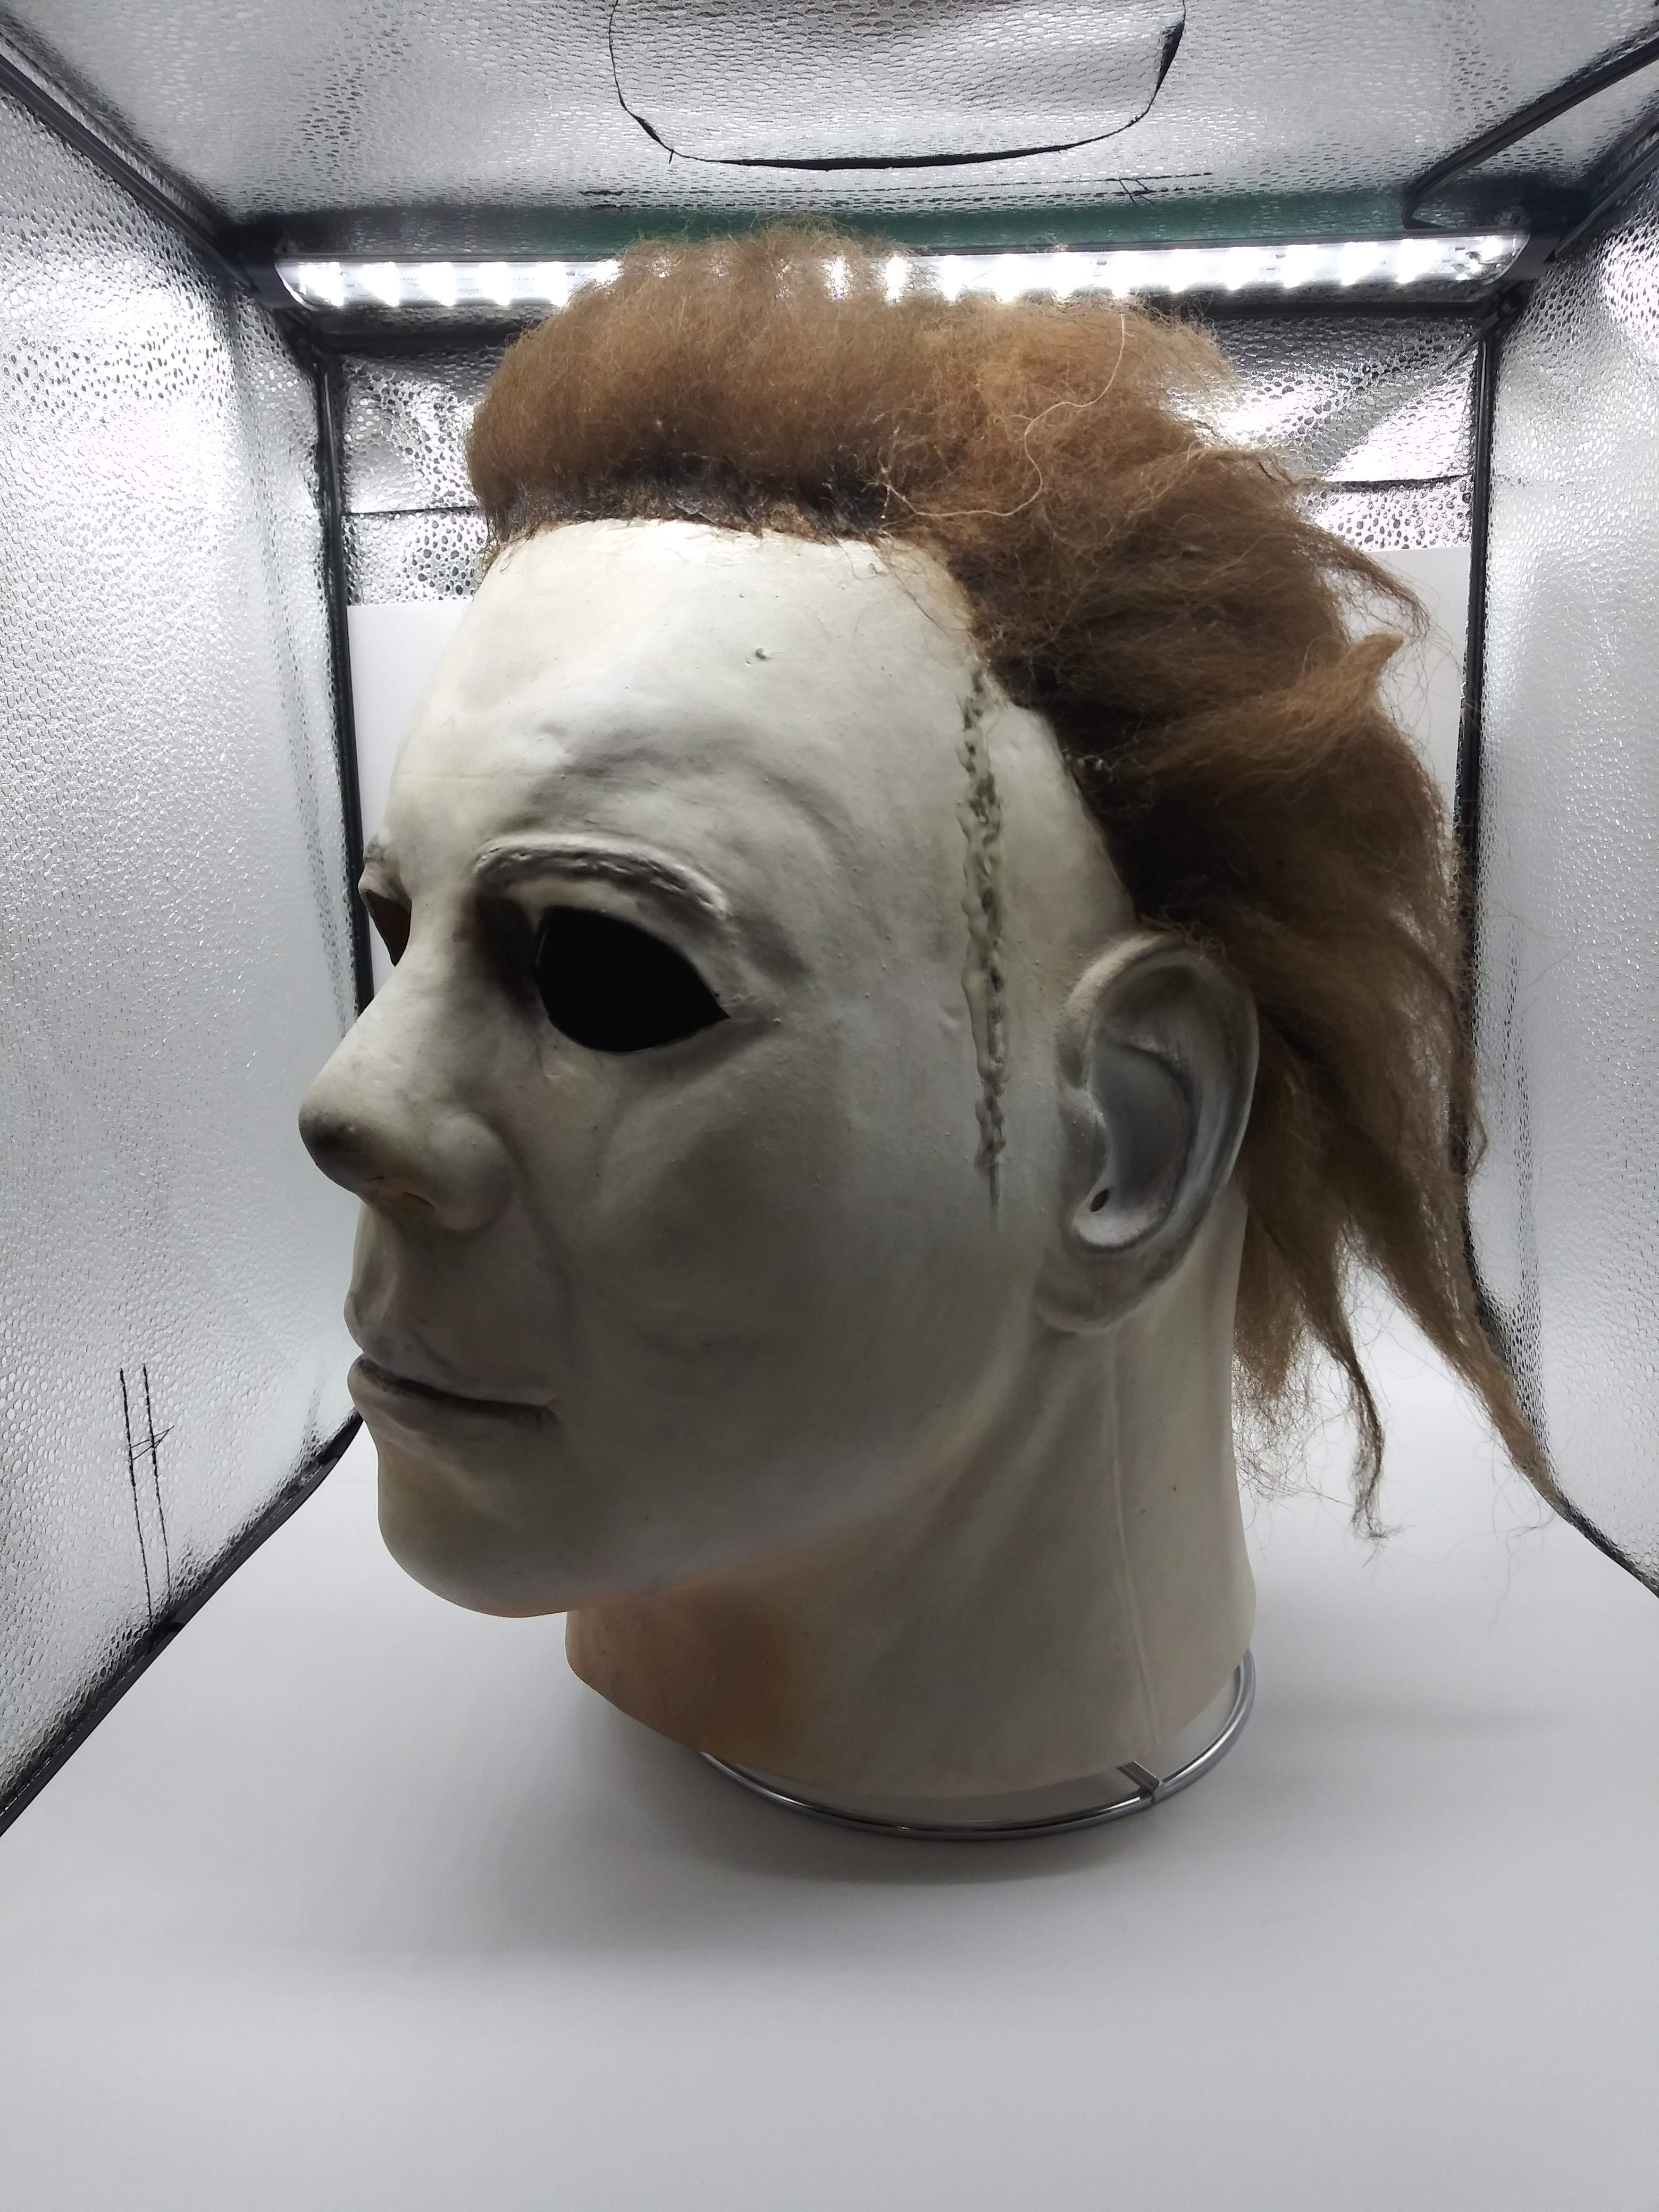
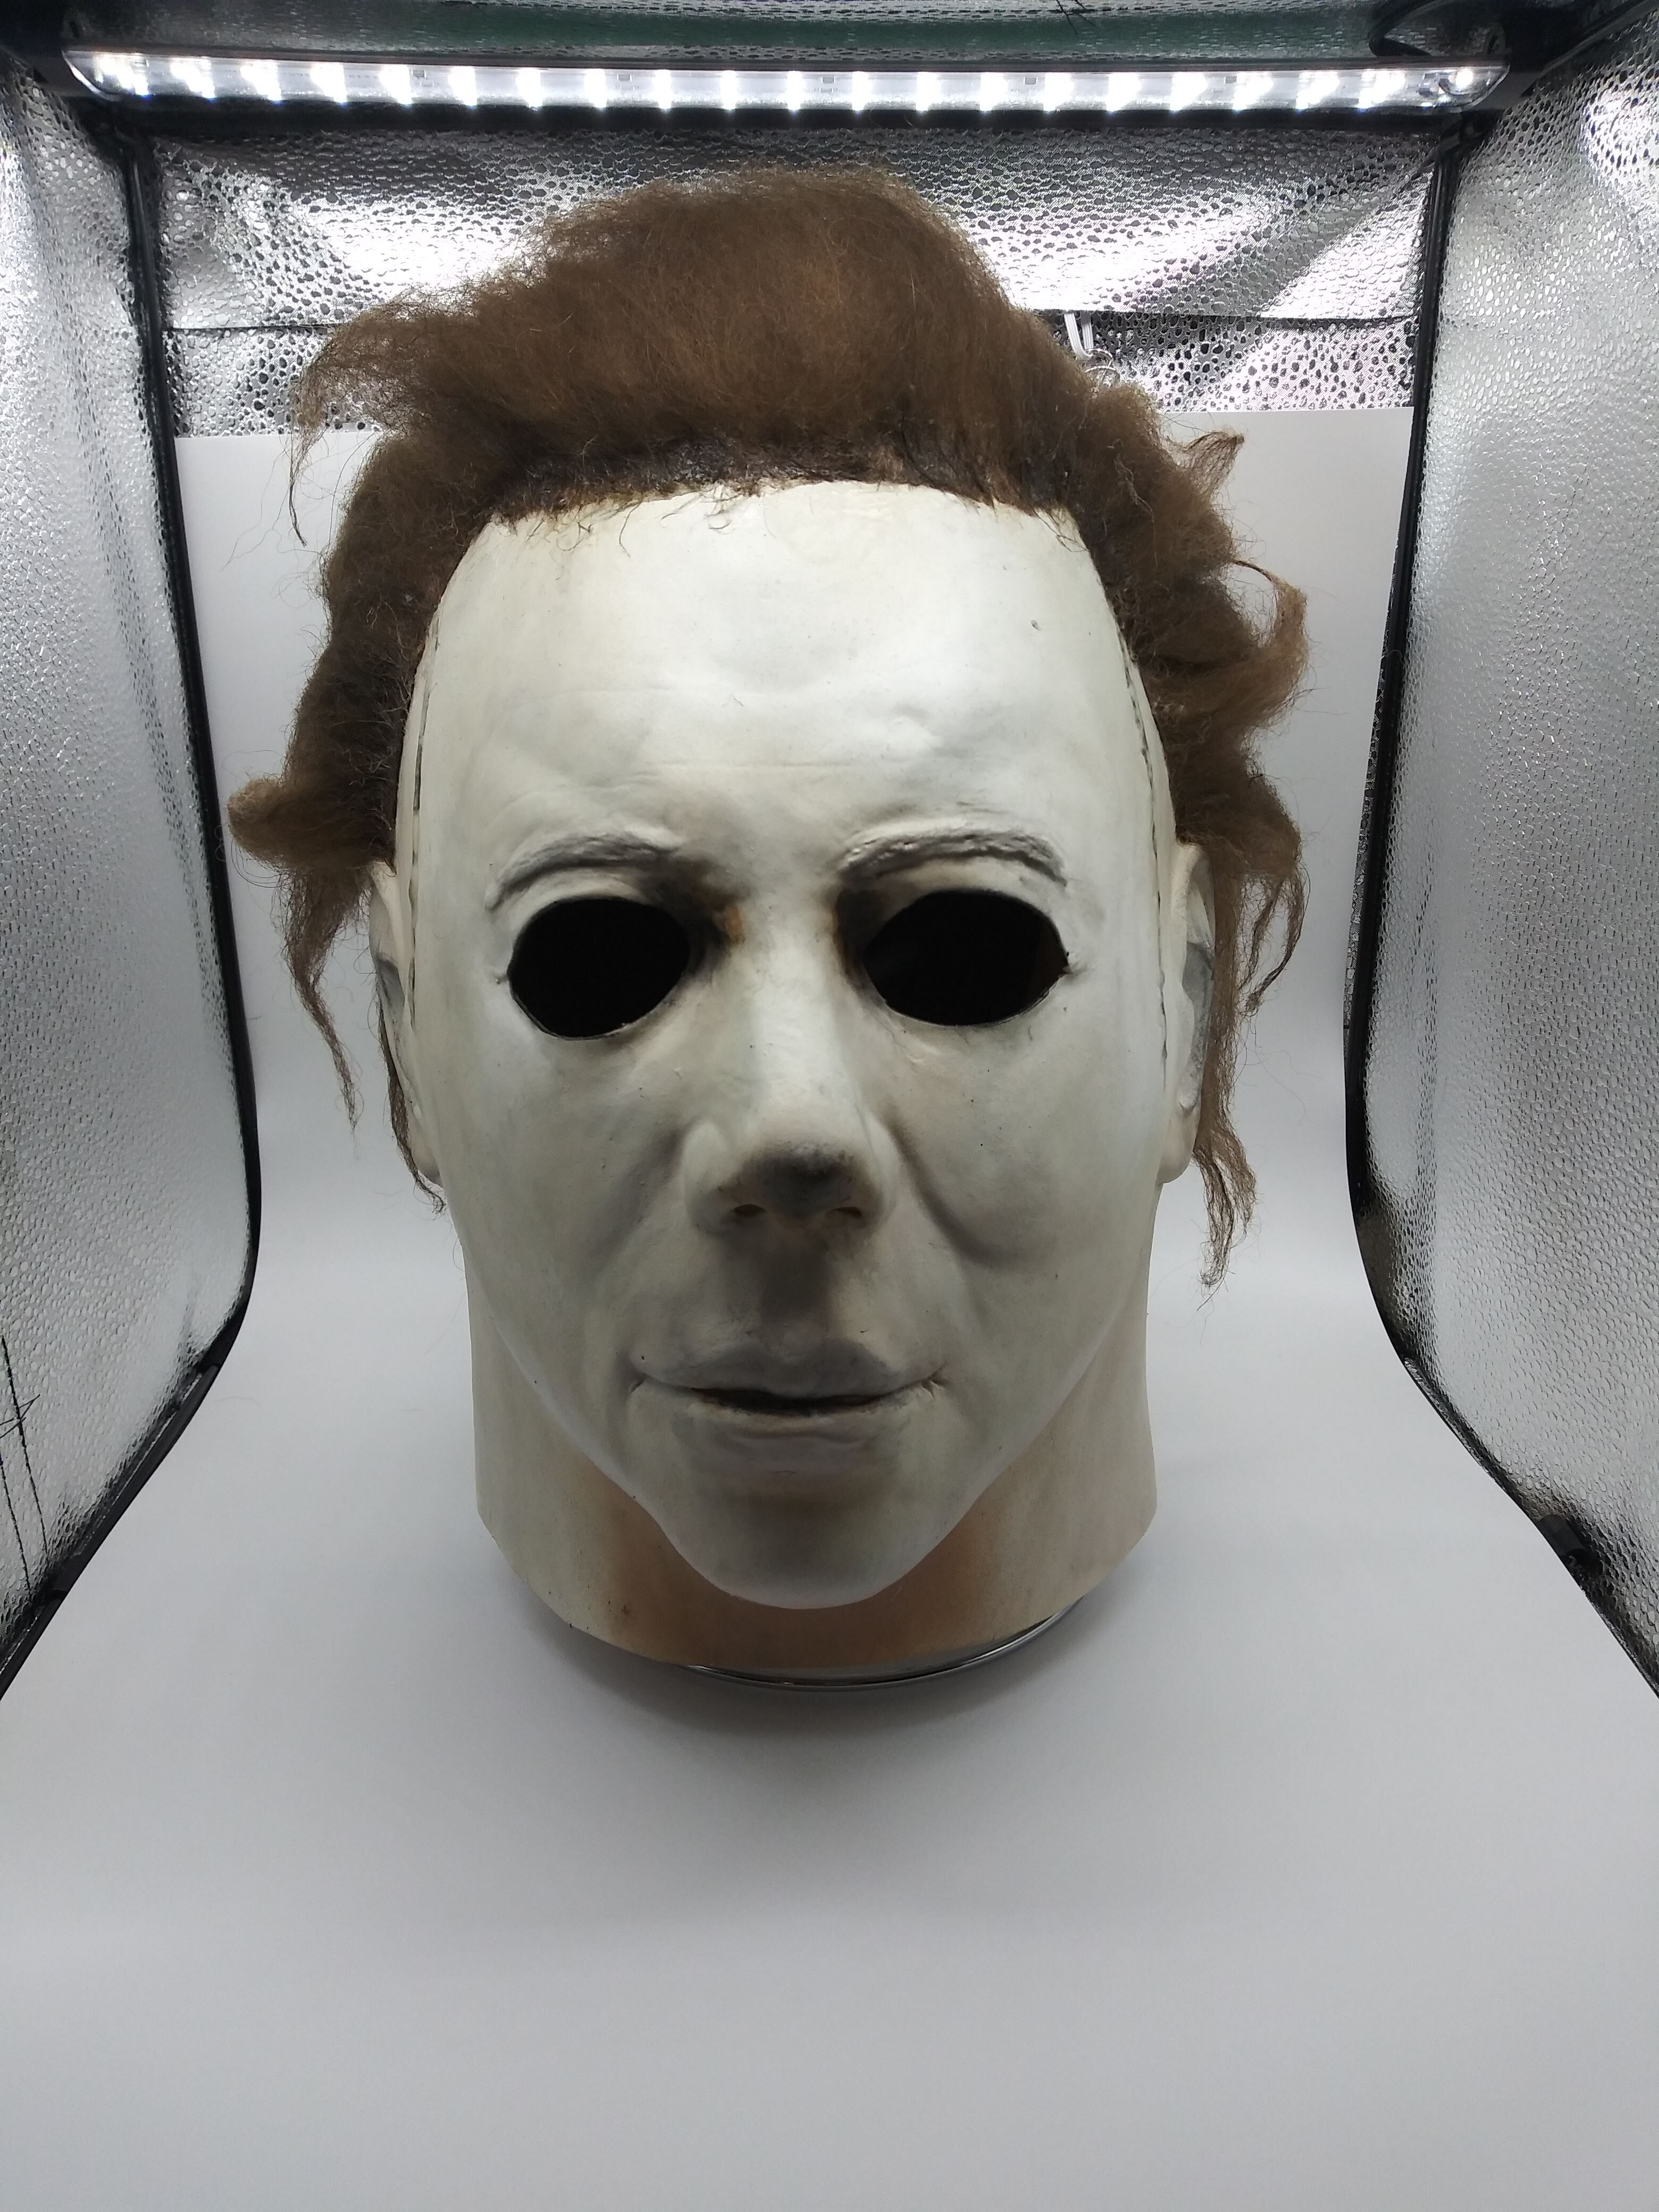
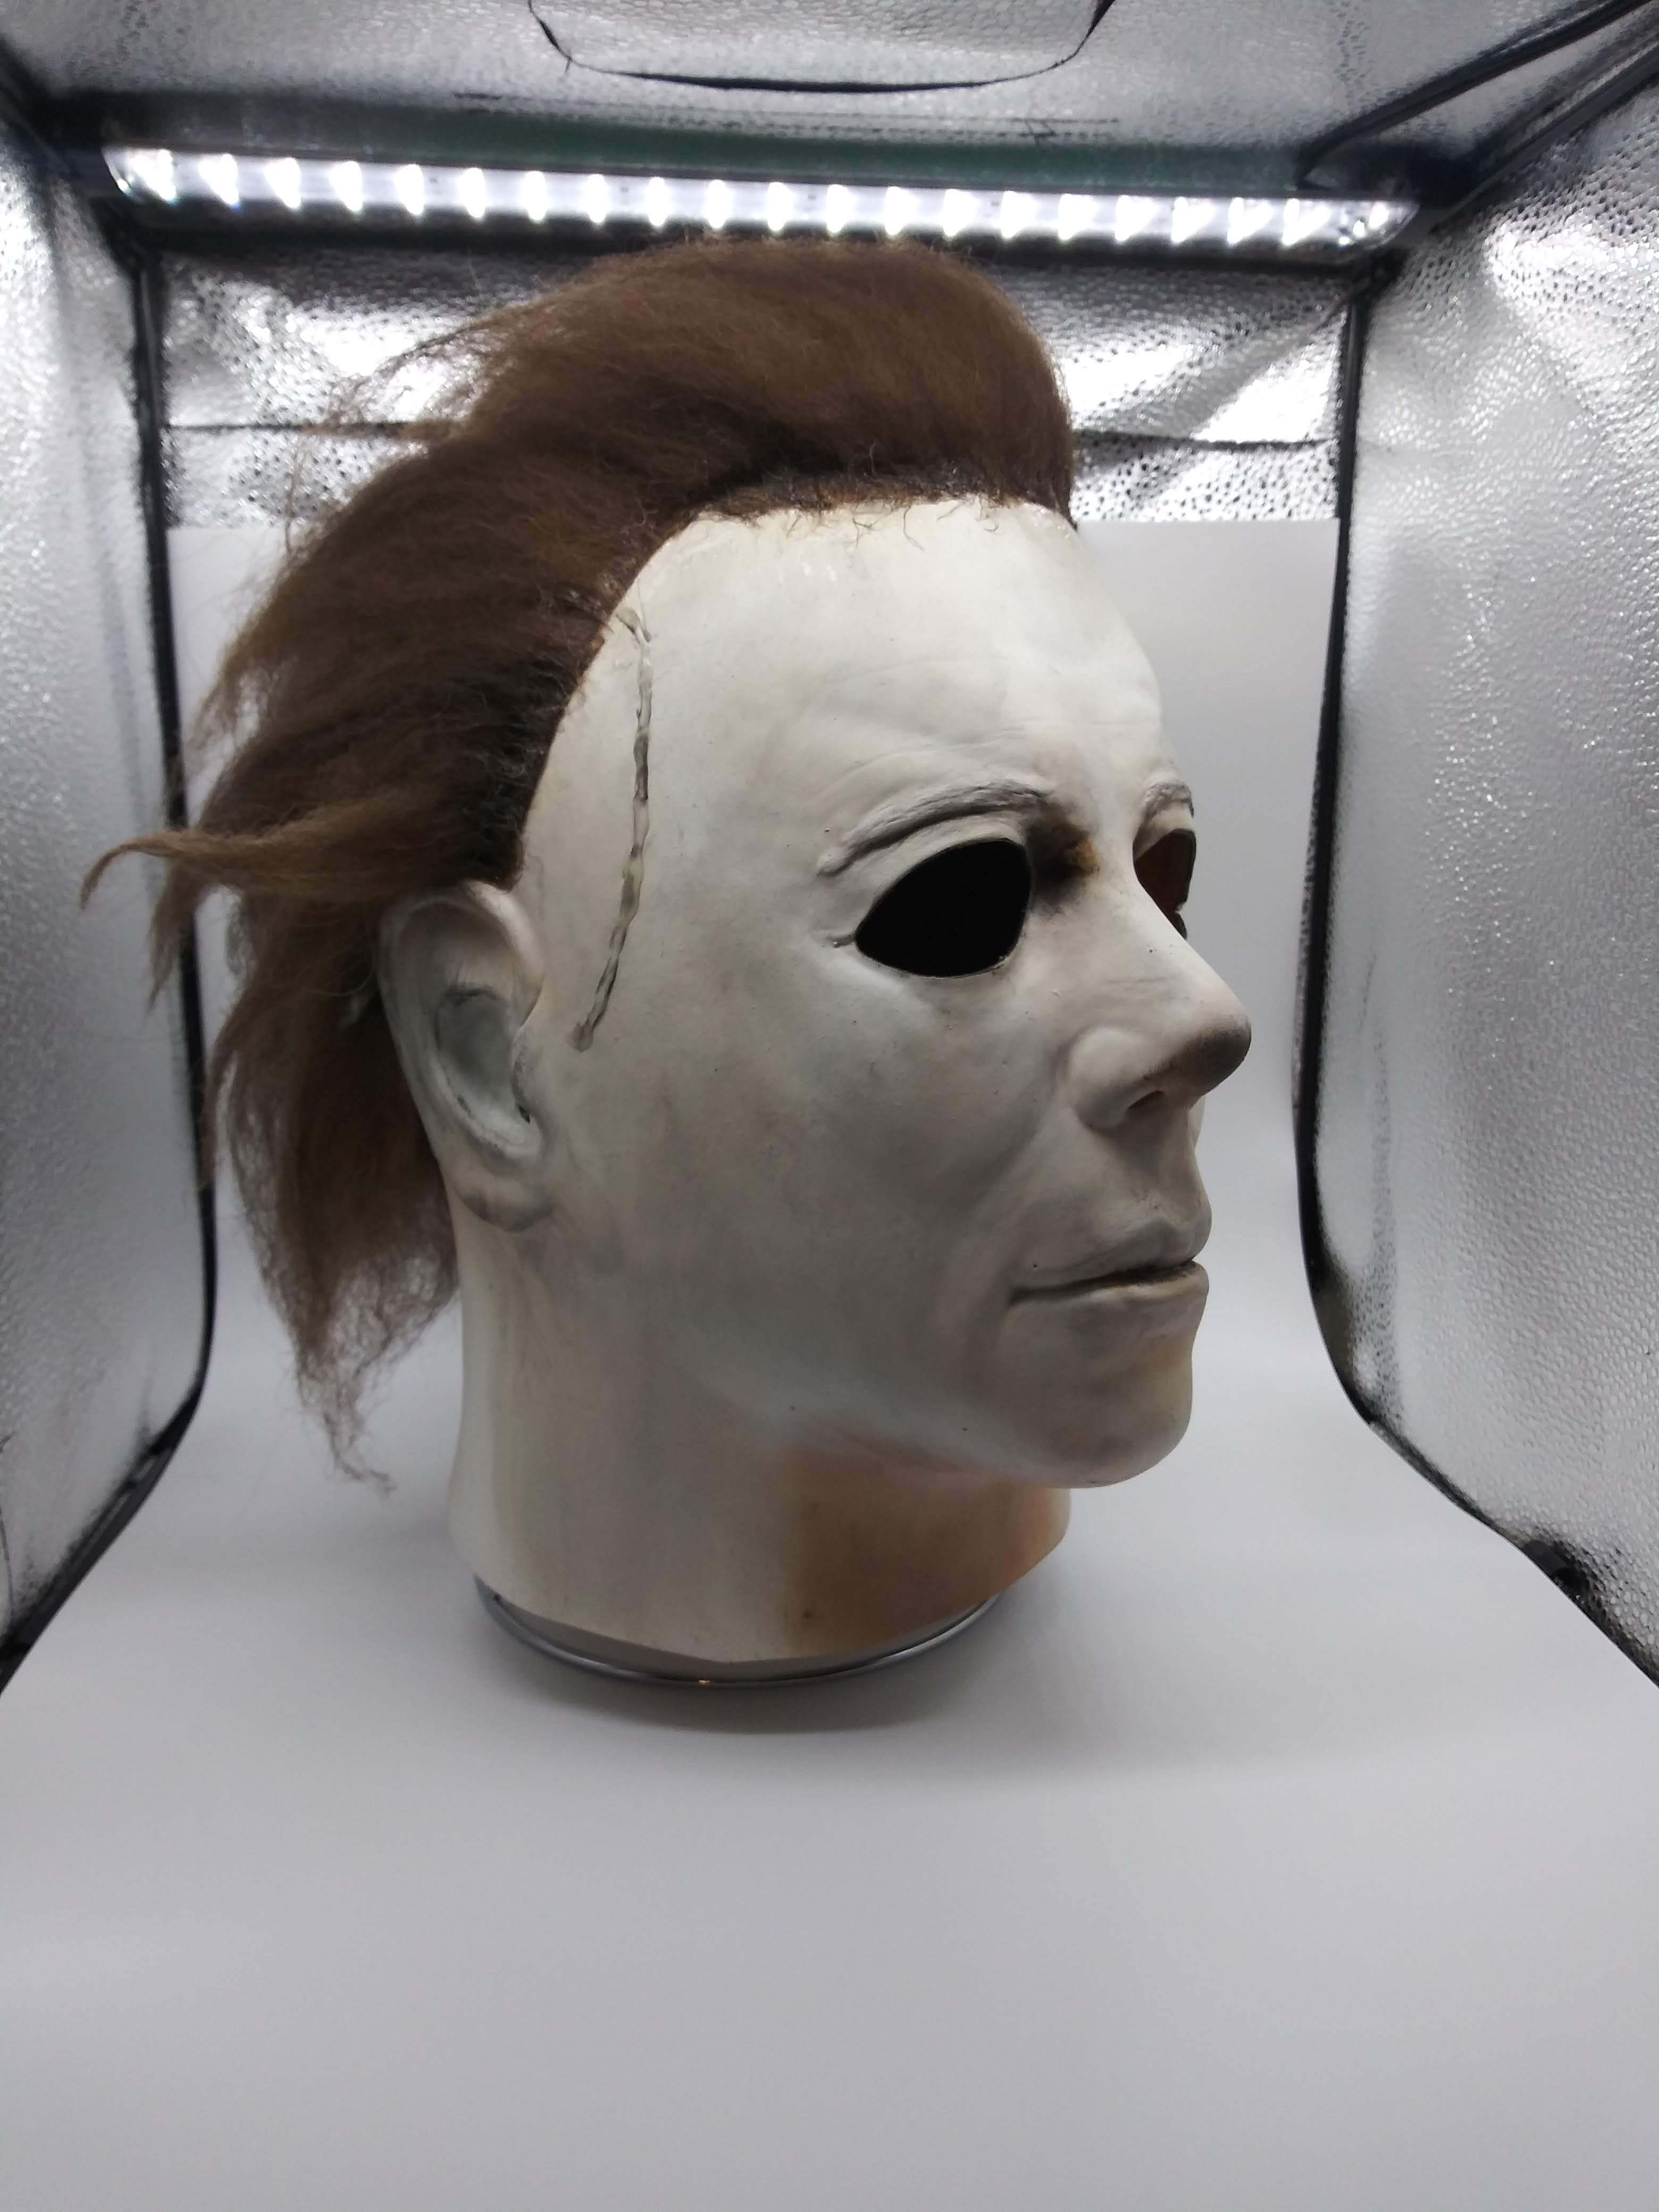
1 Like
my attempt at a 2018 re-haul
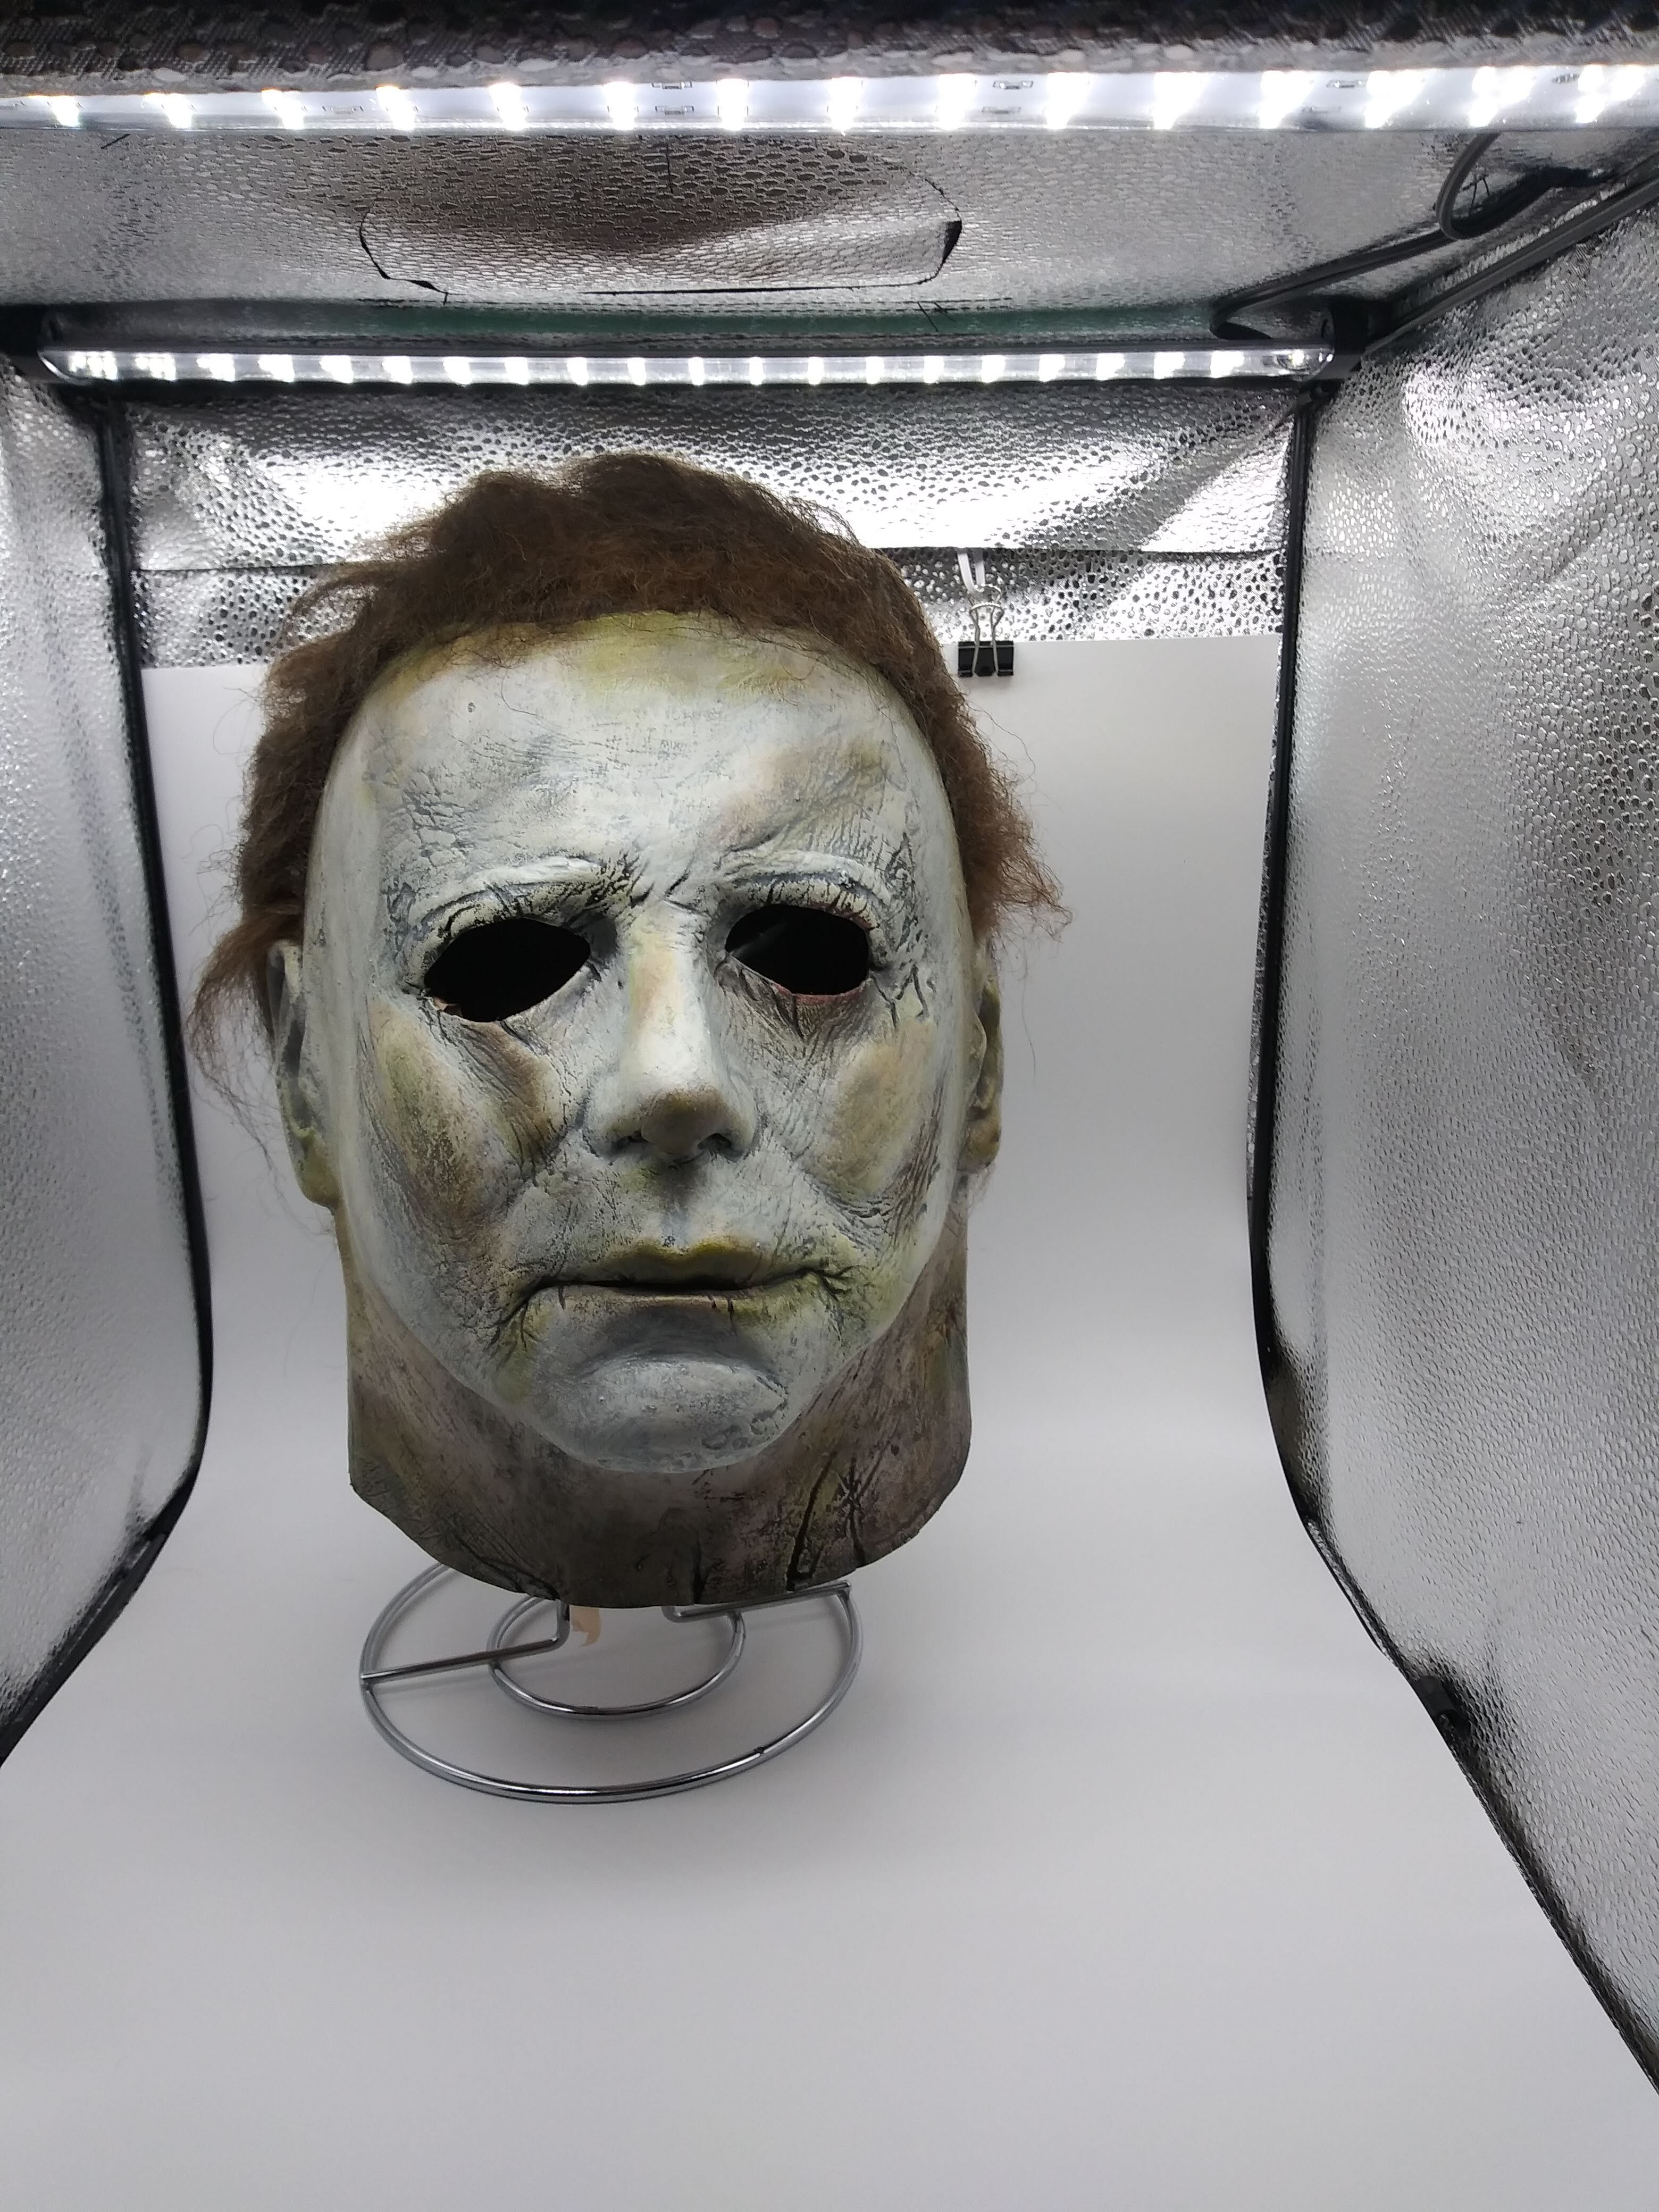
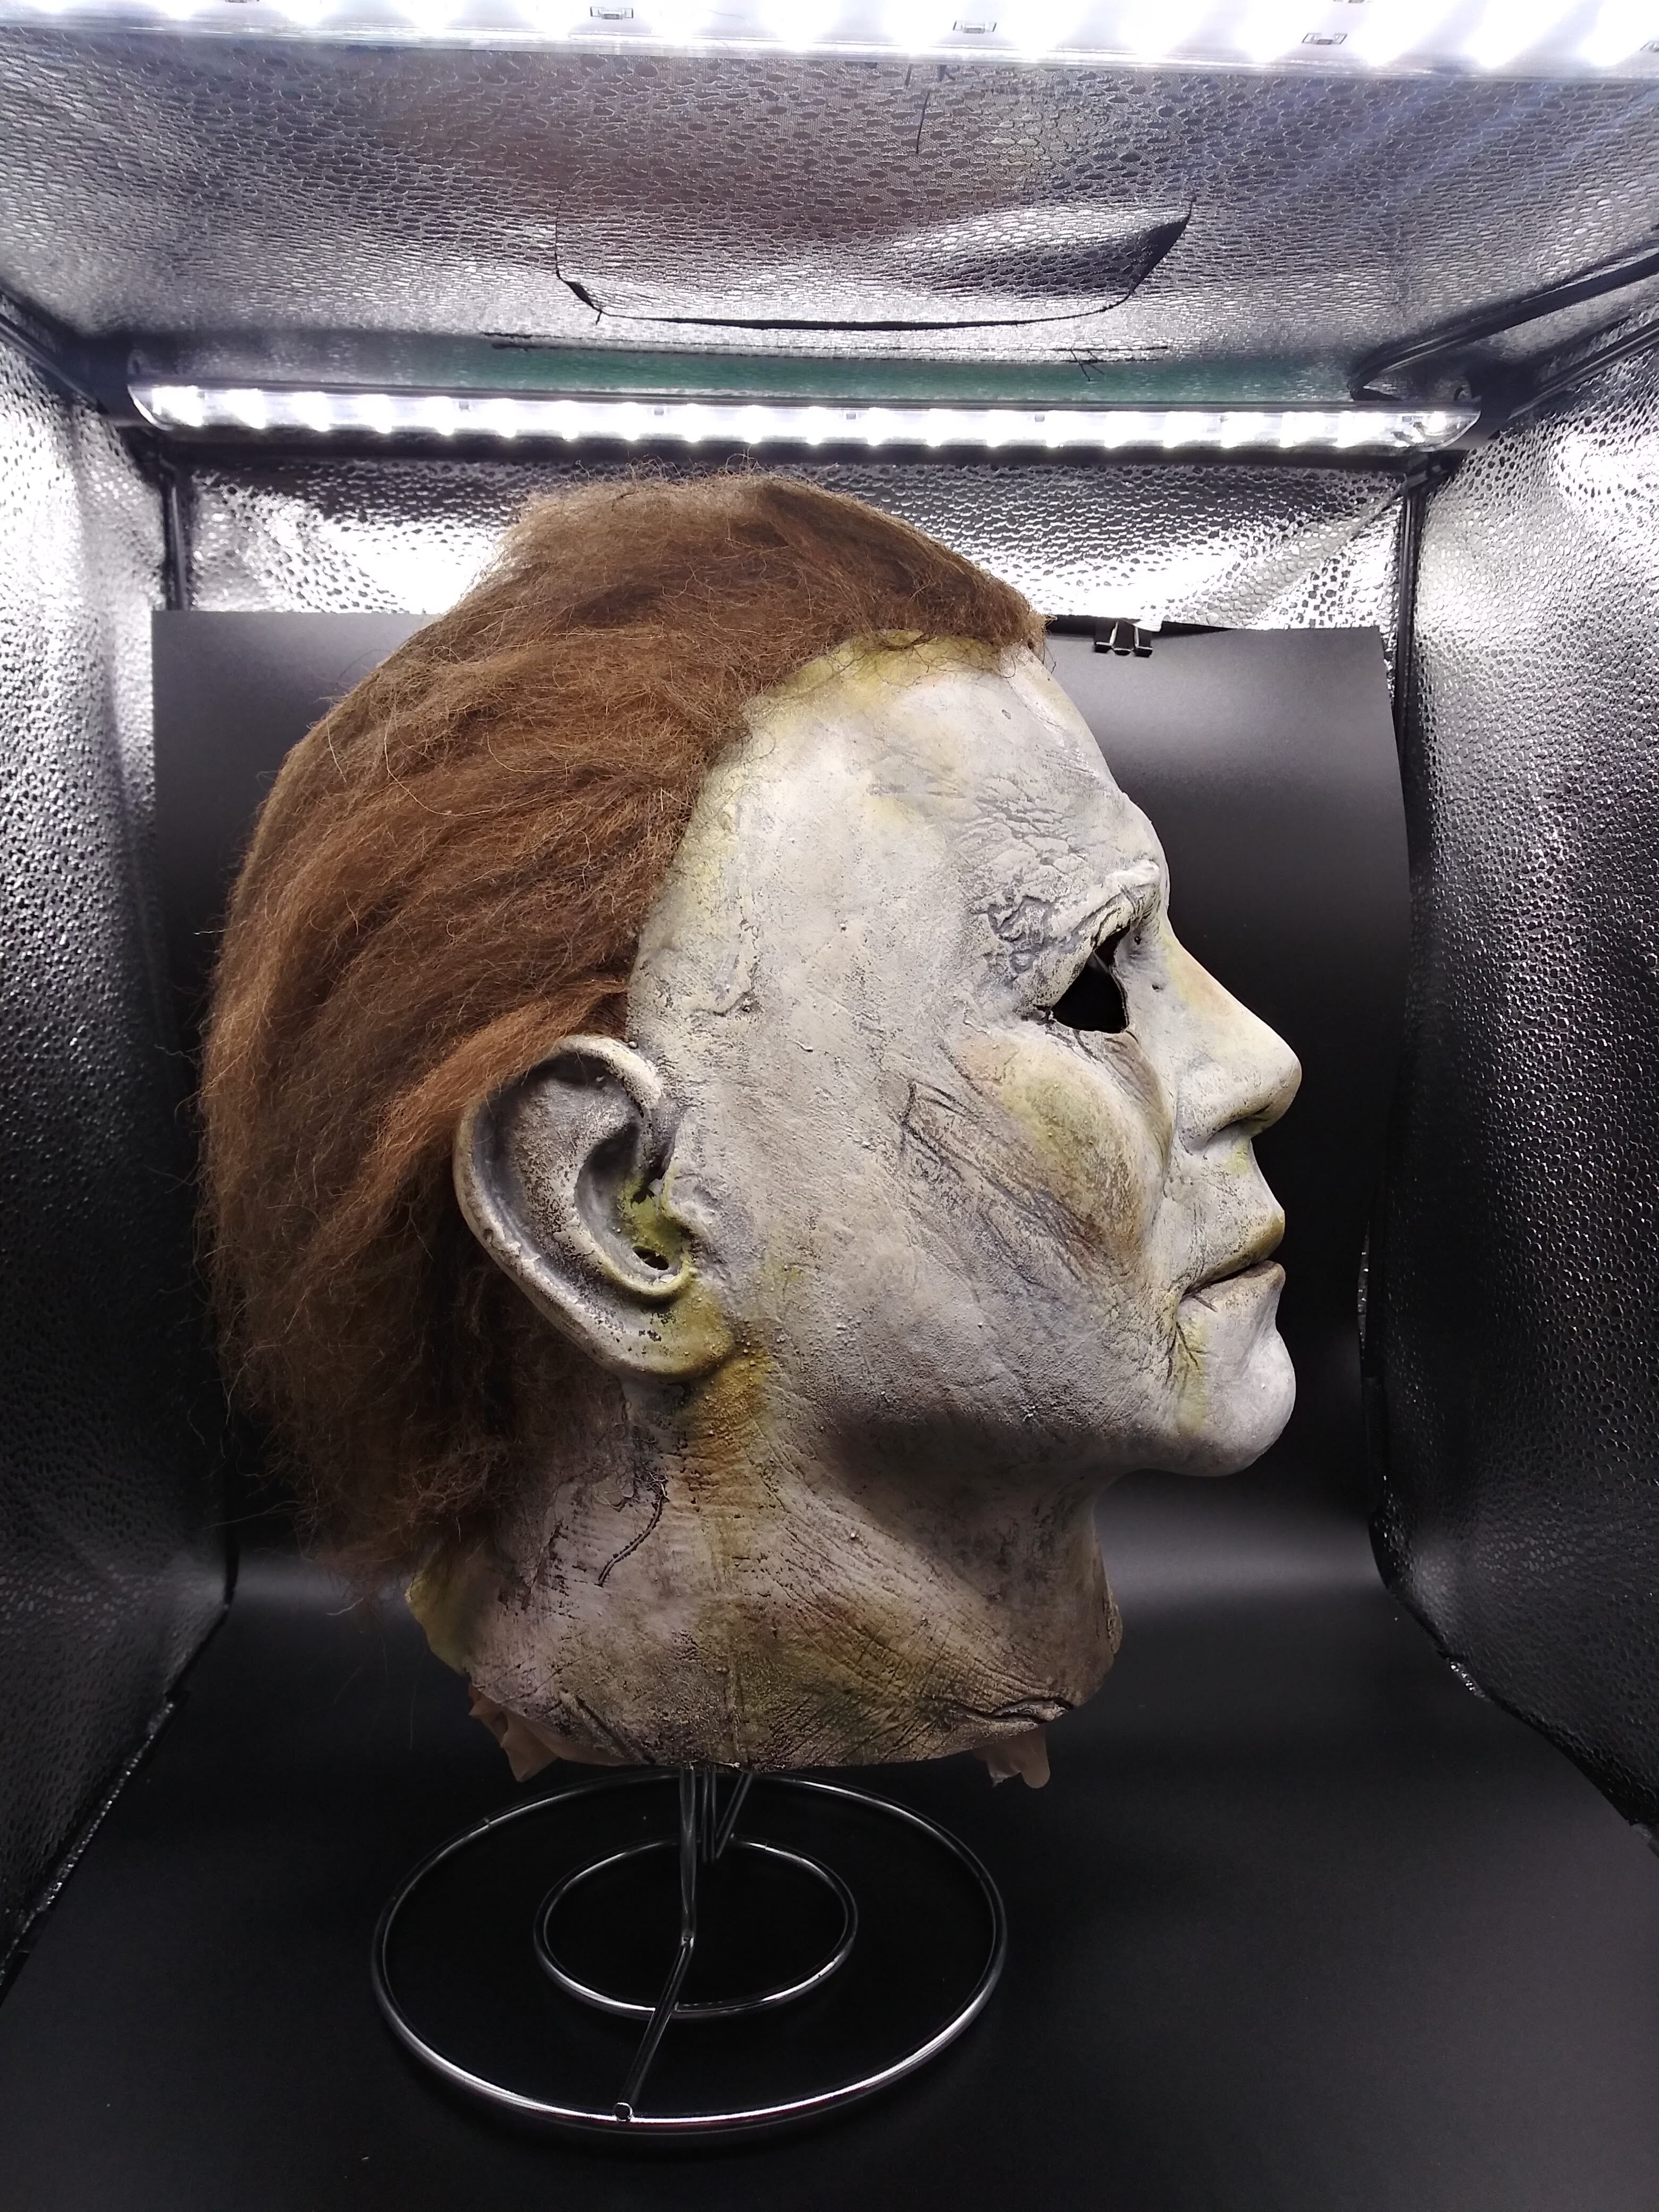
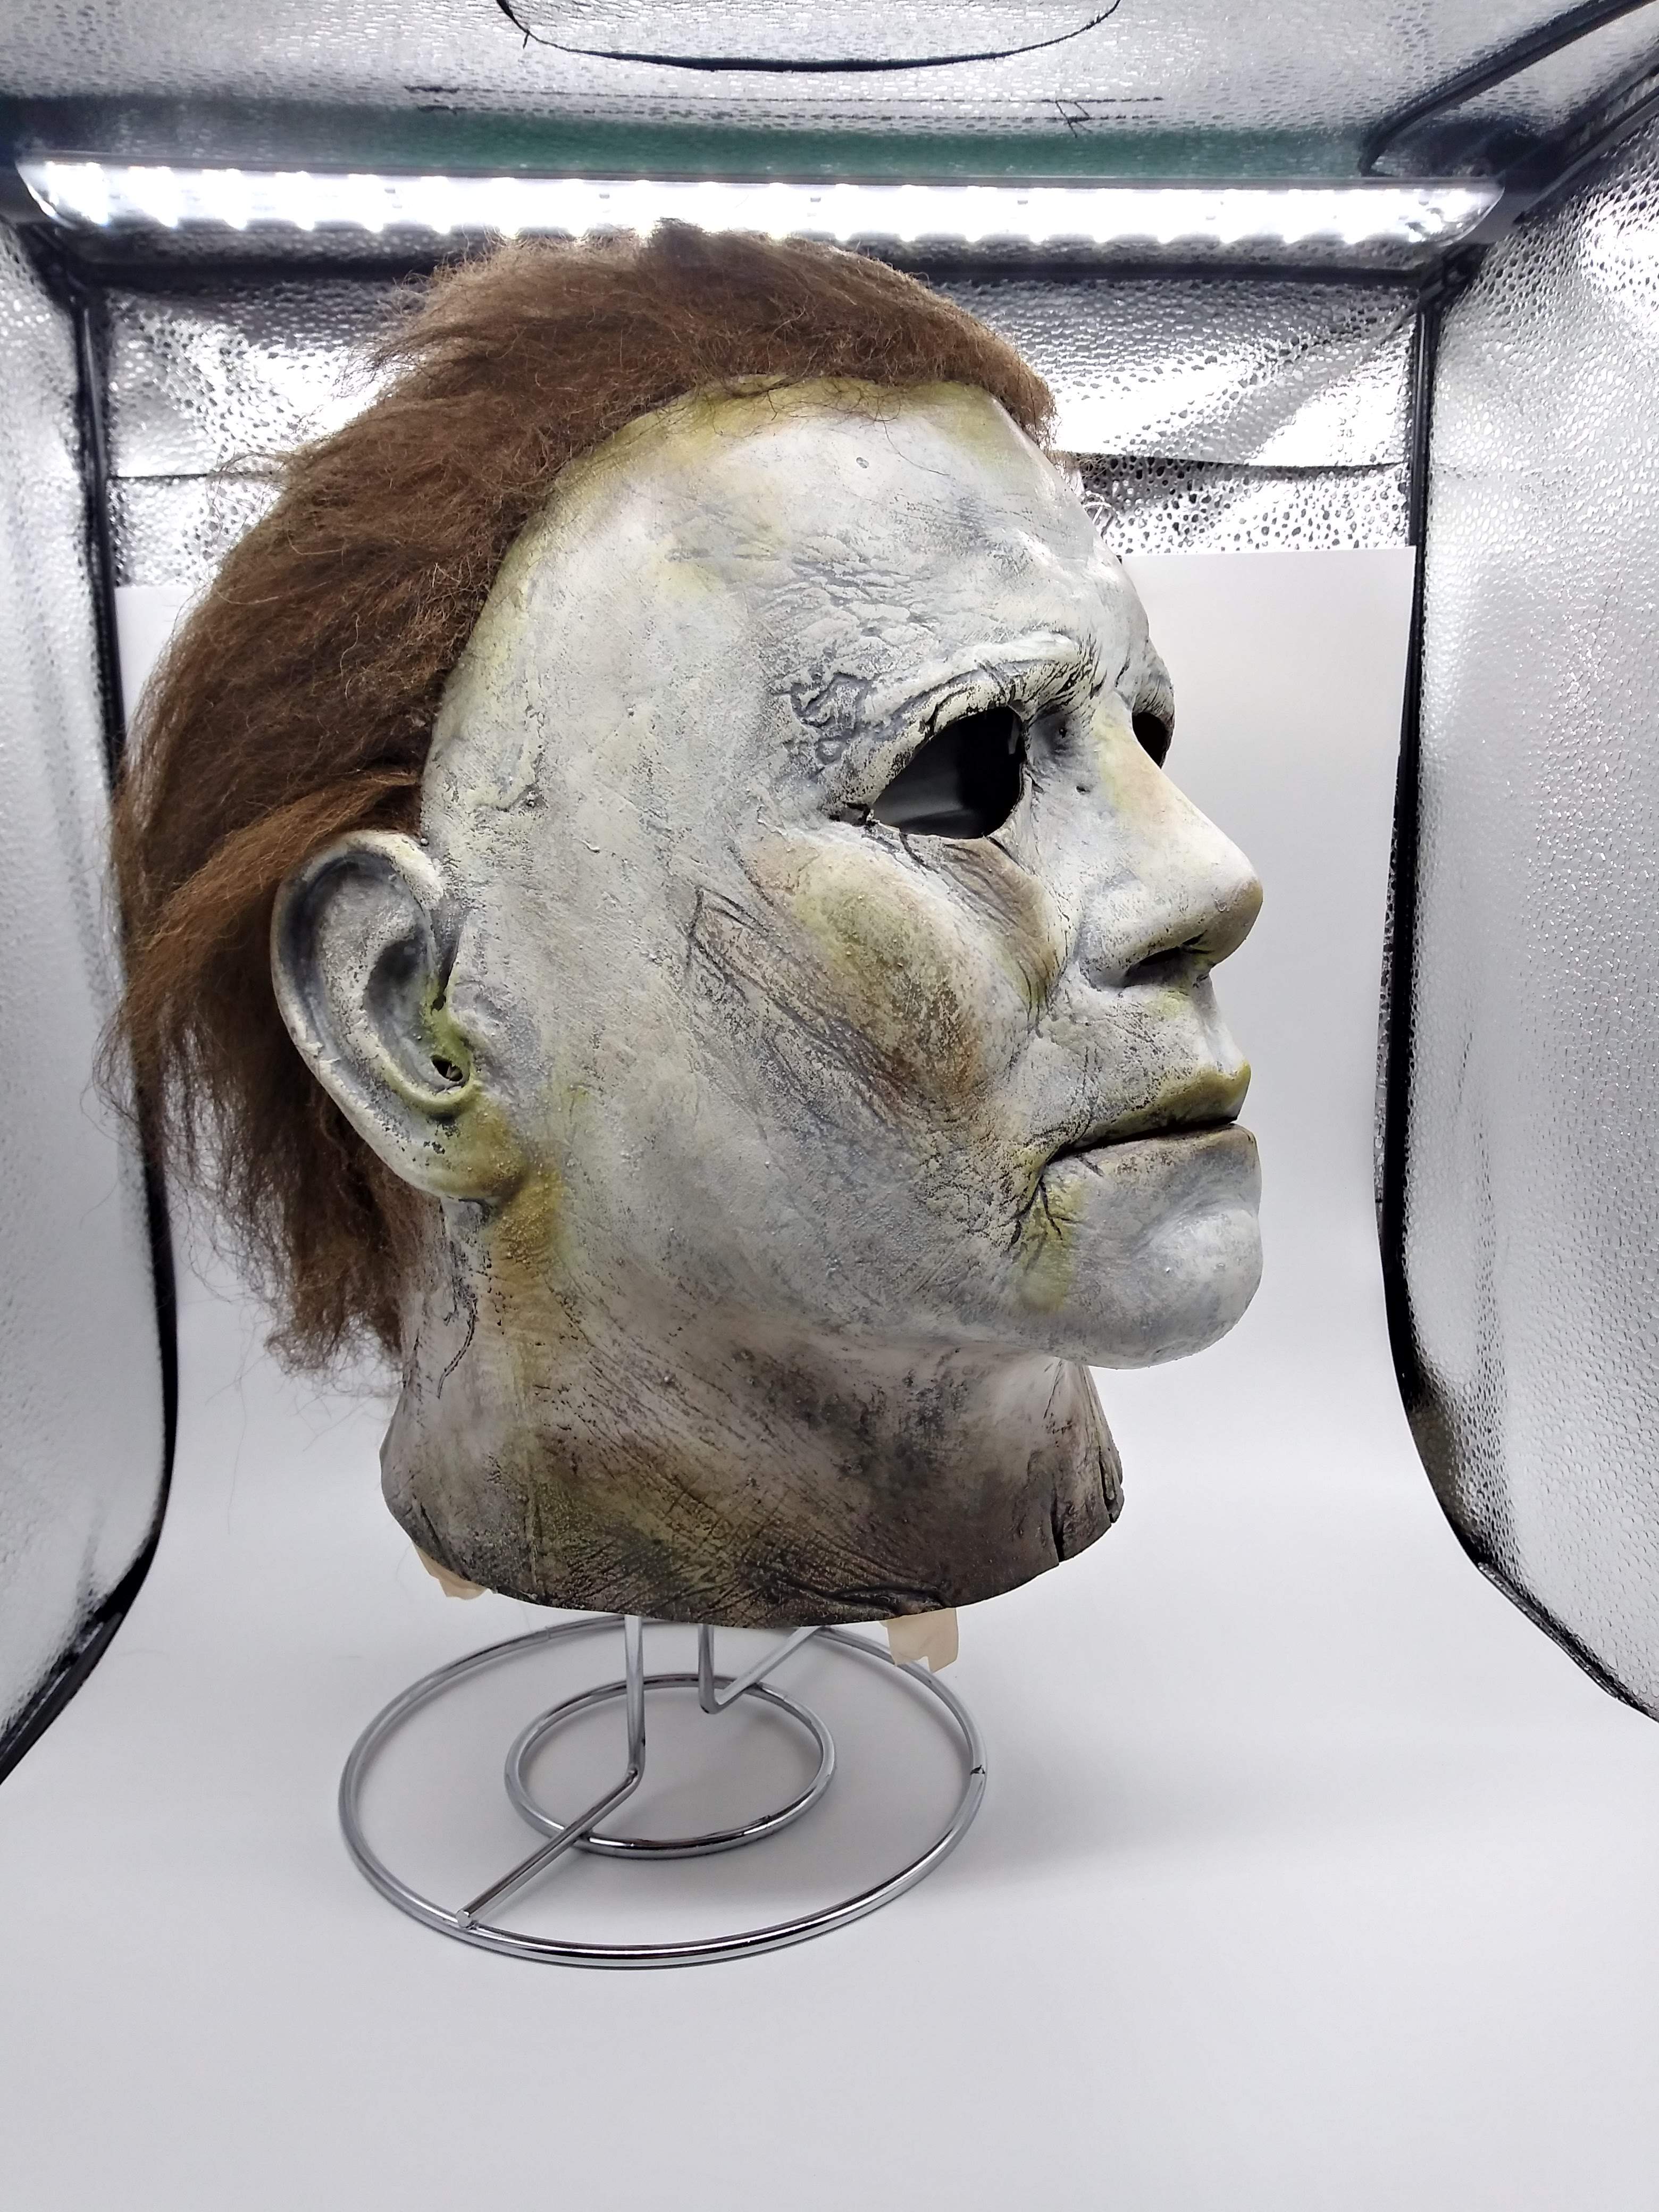
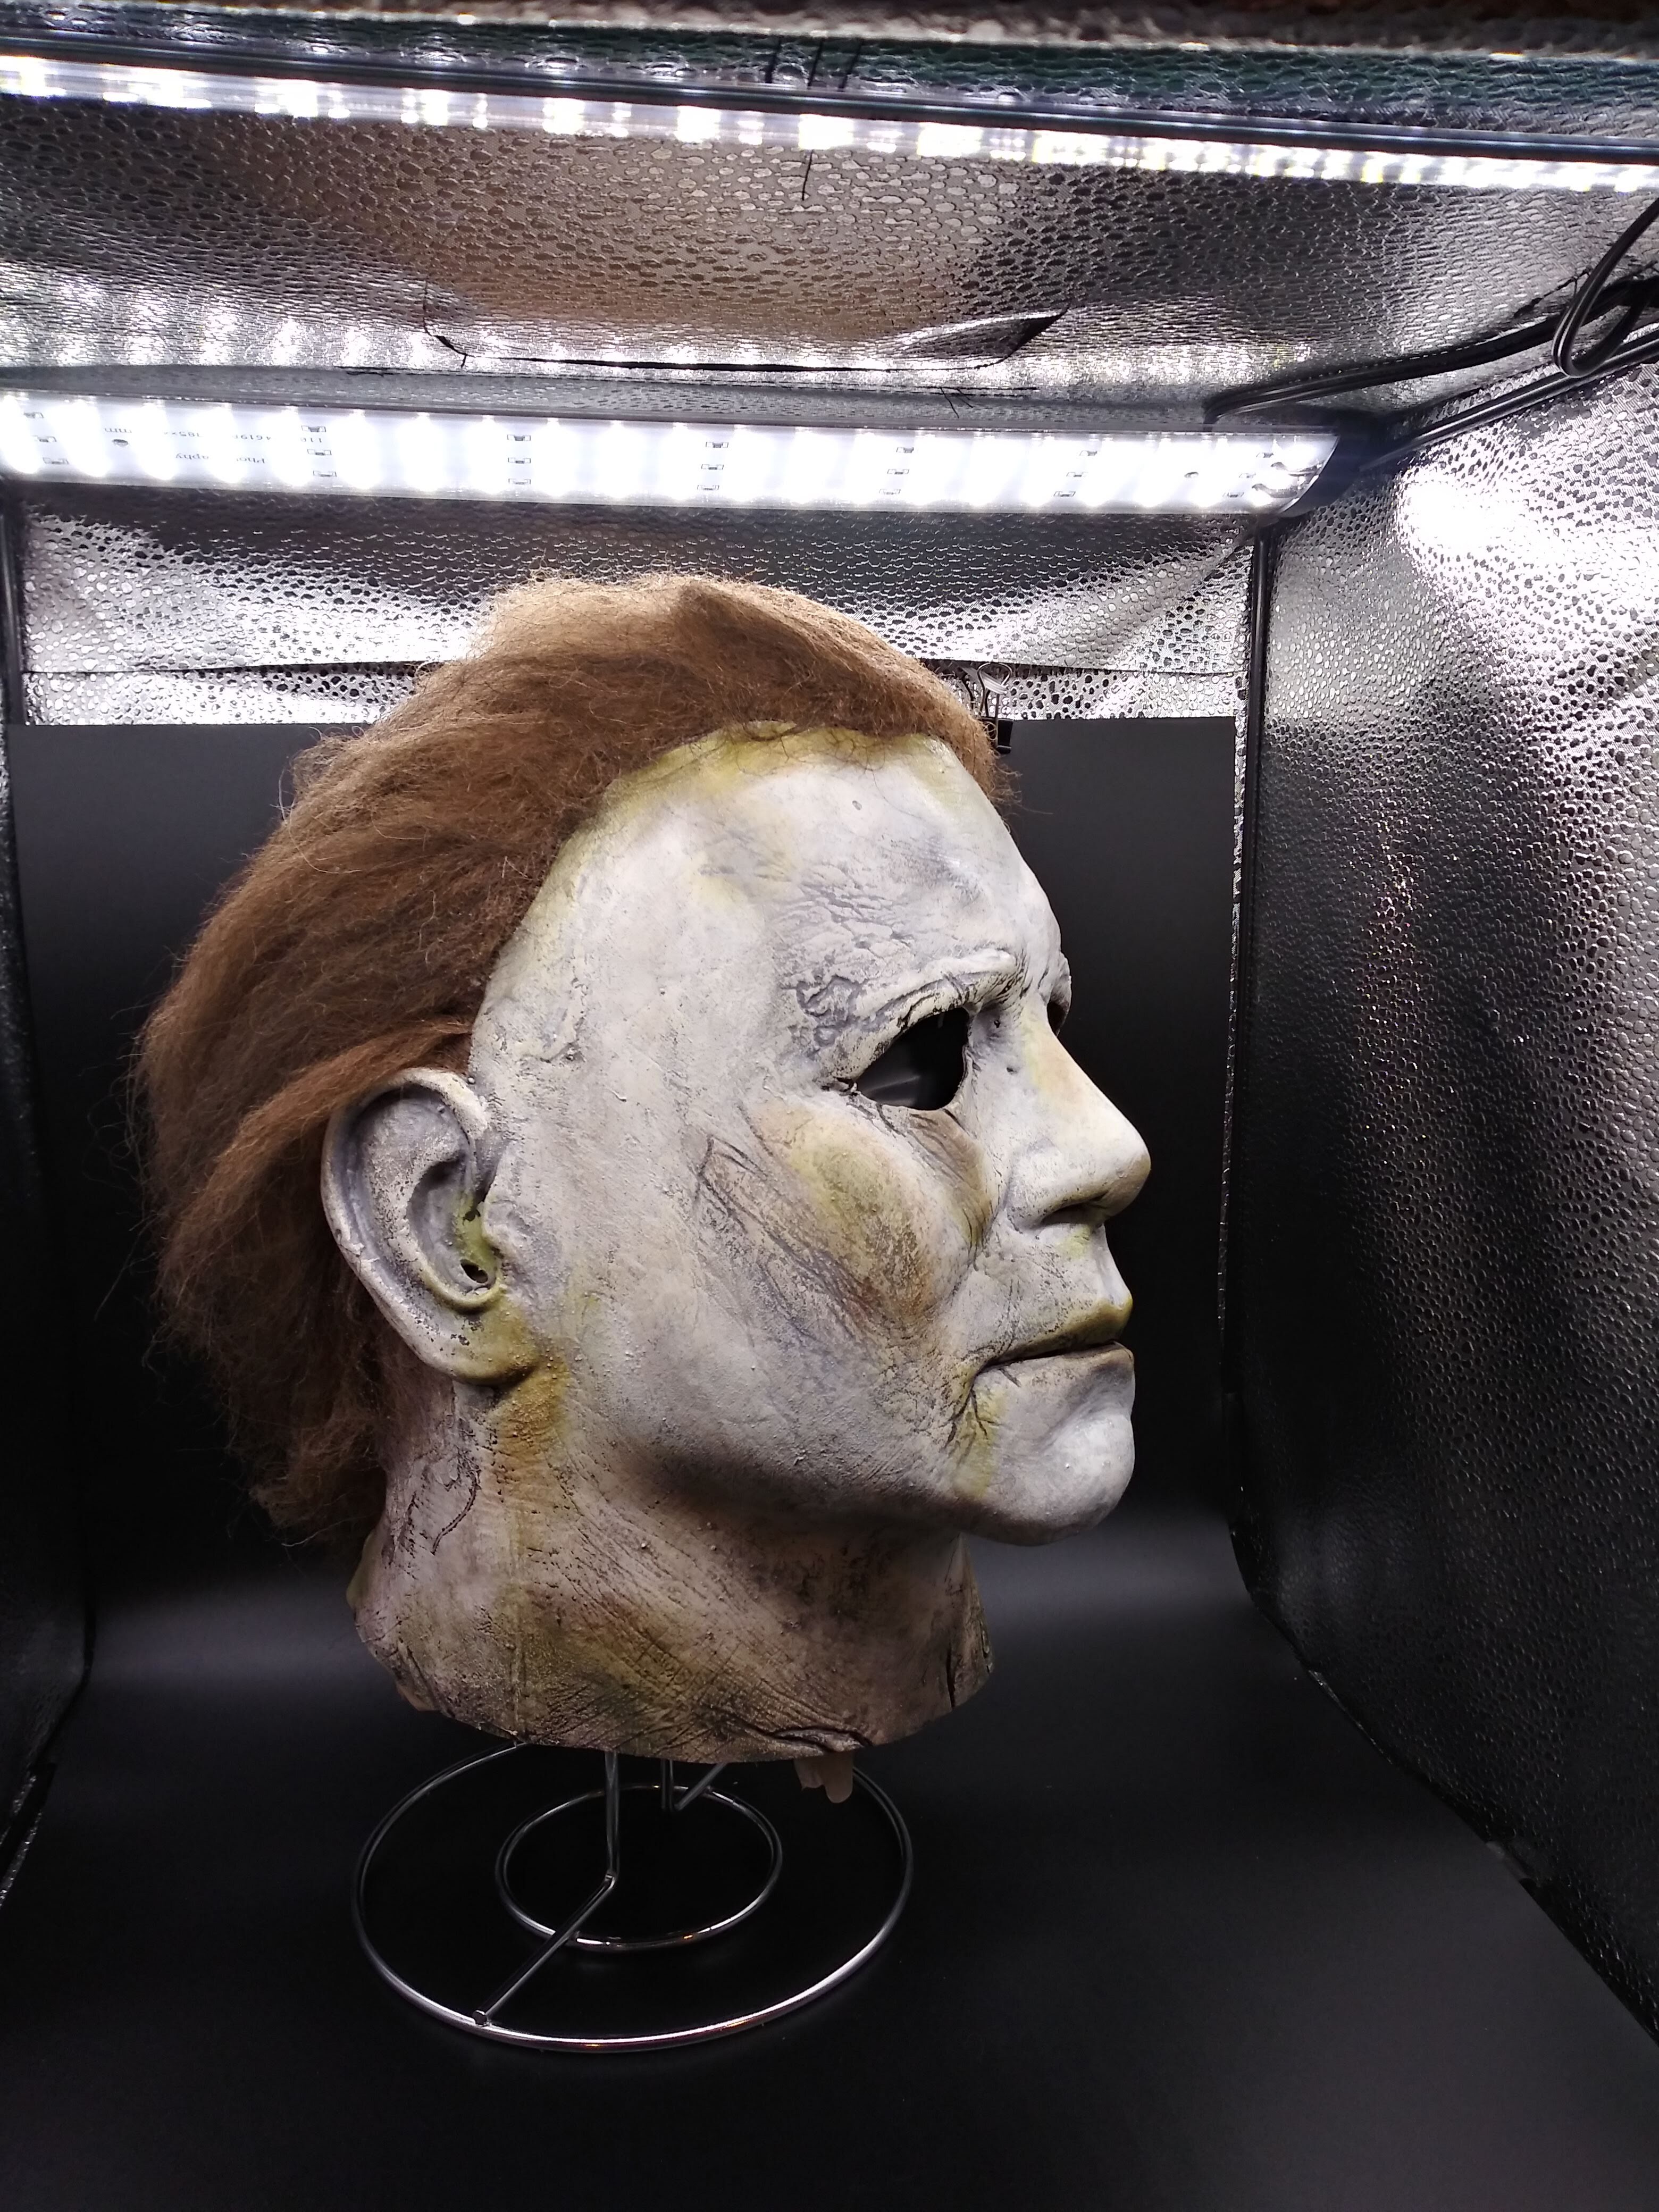
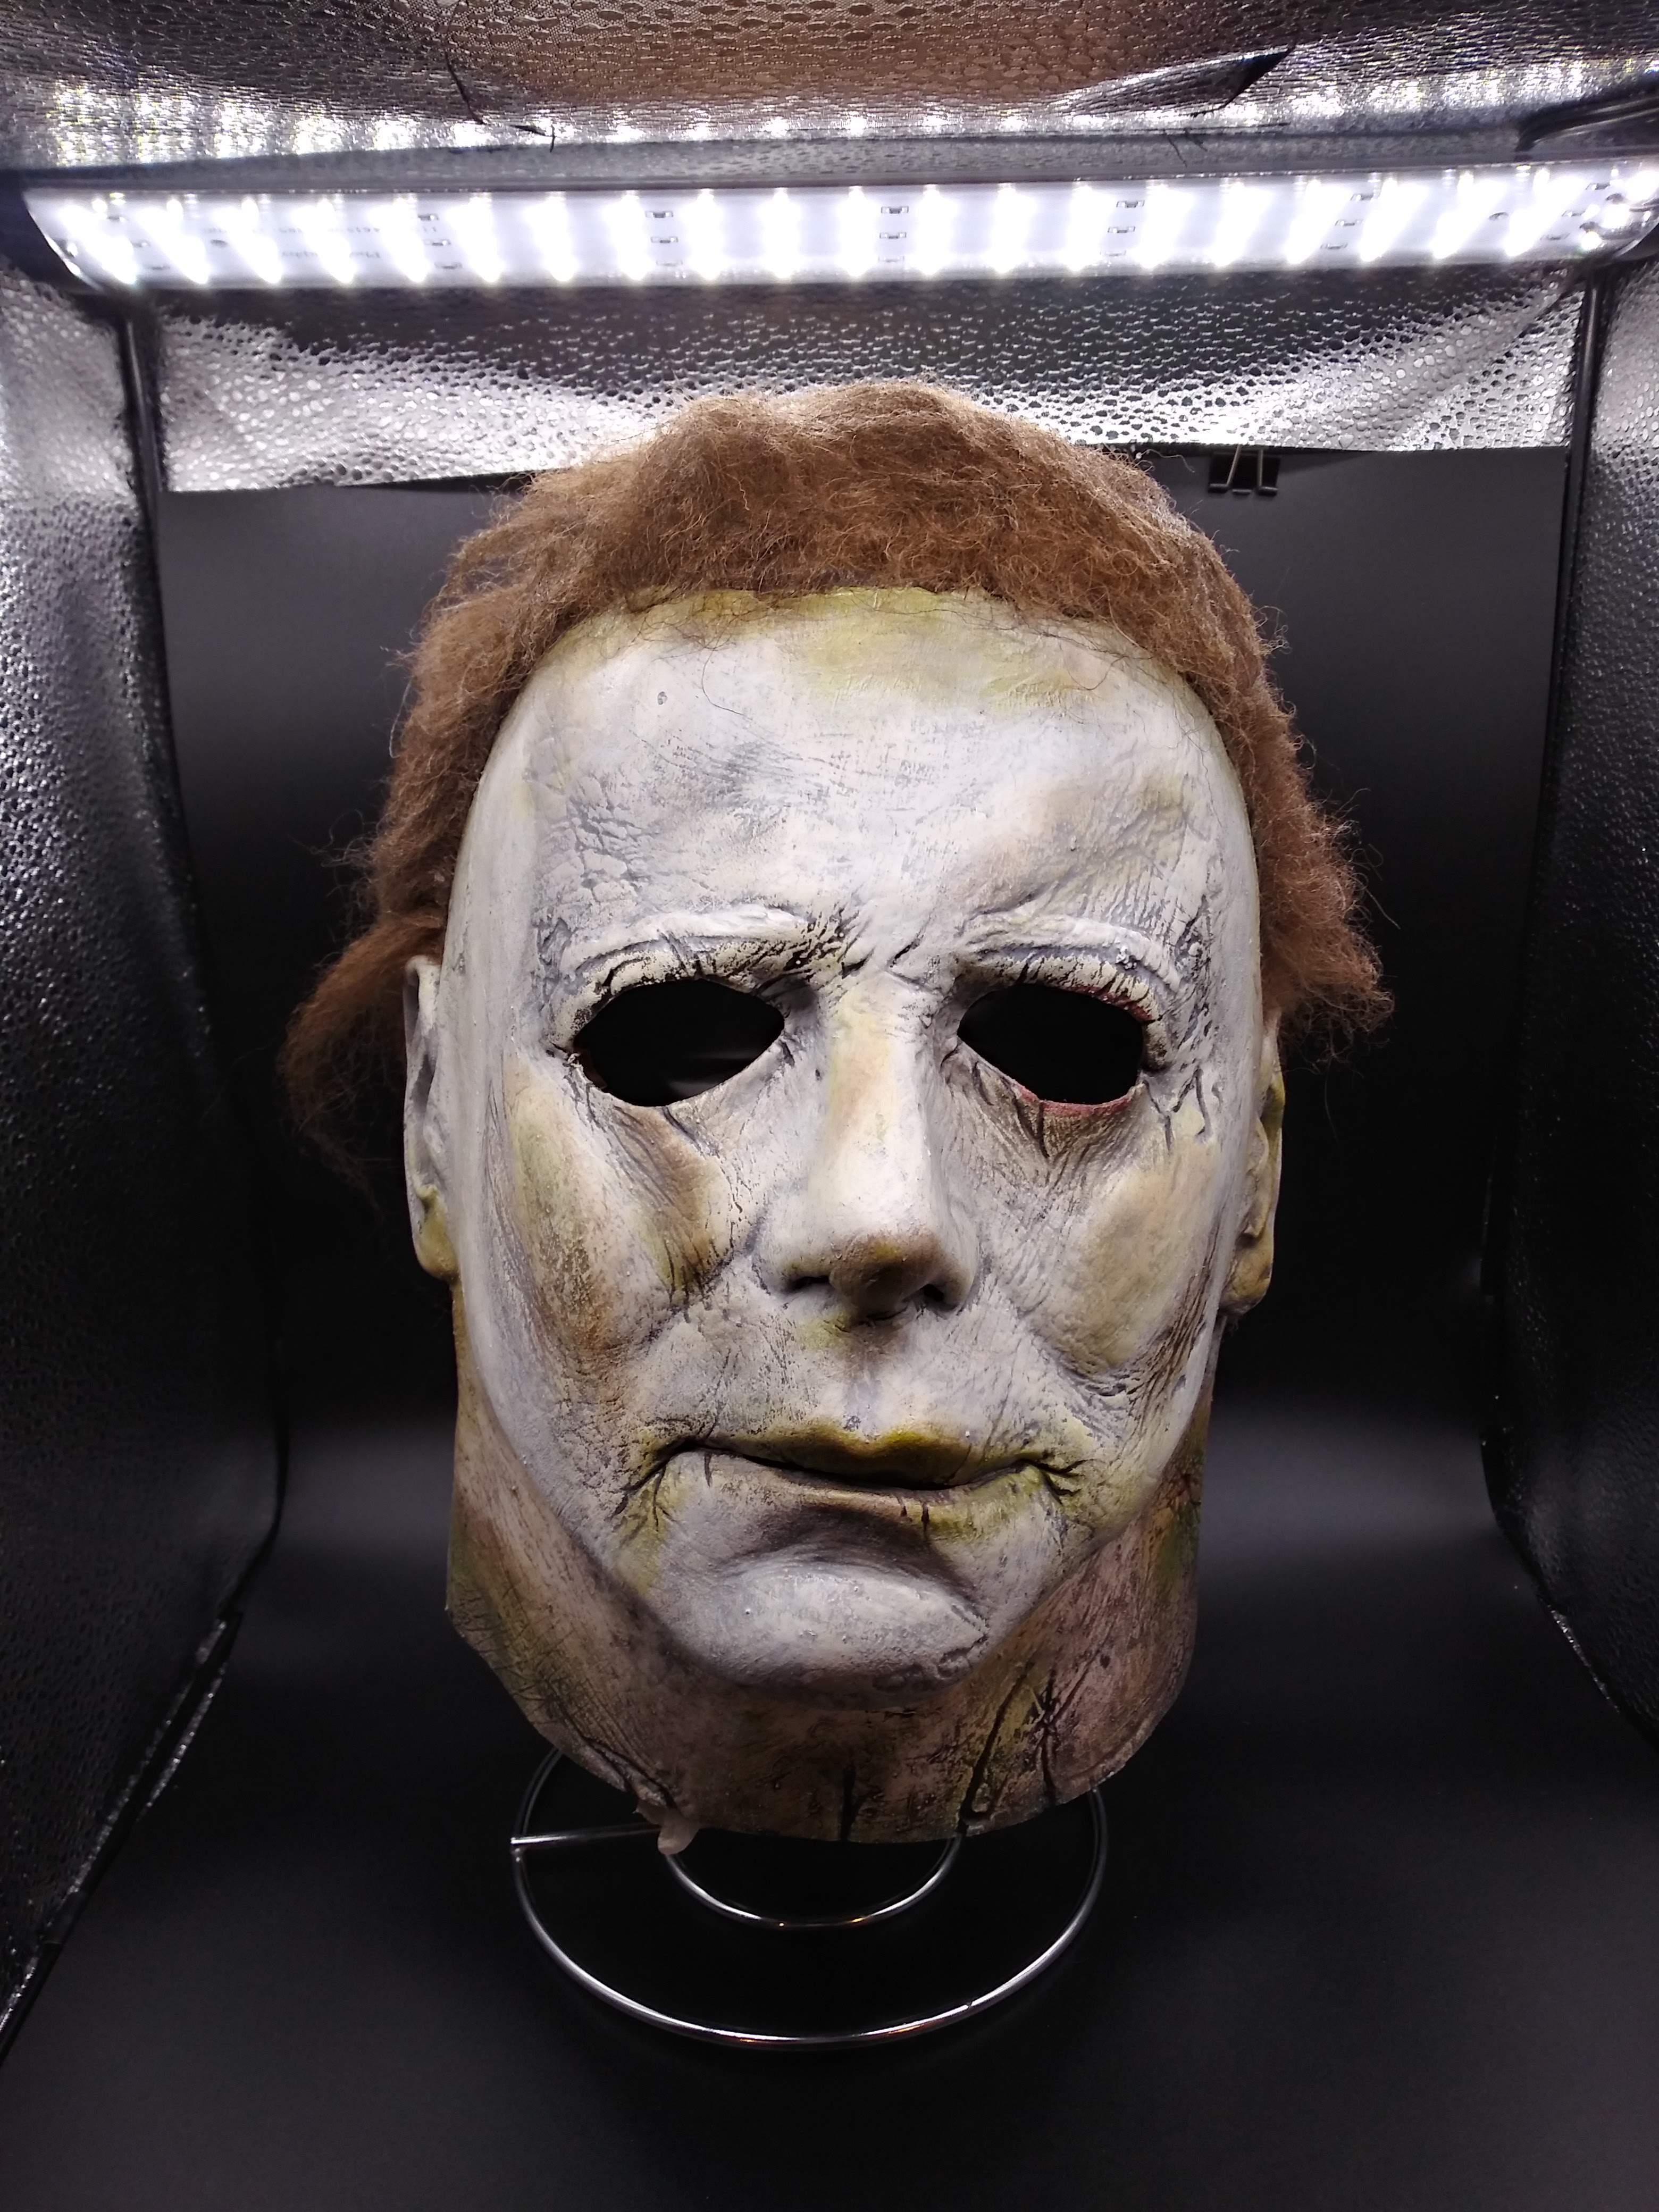
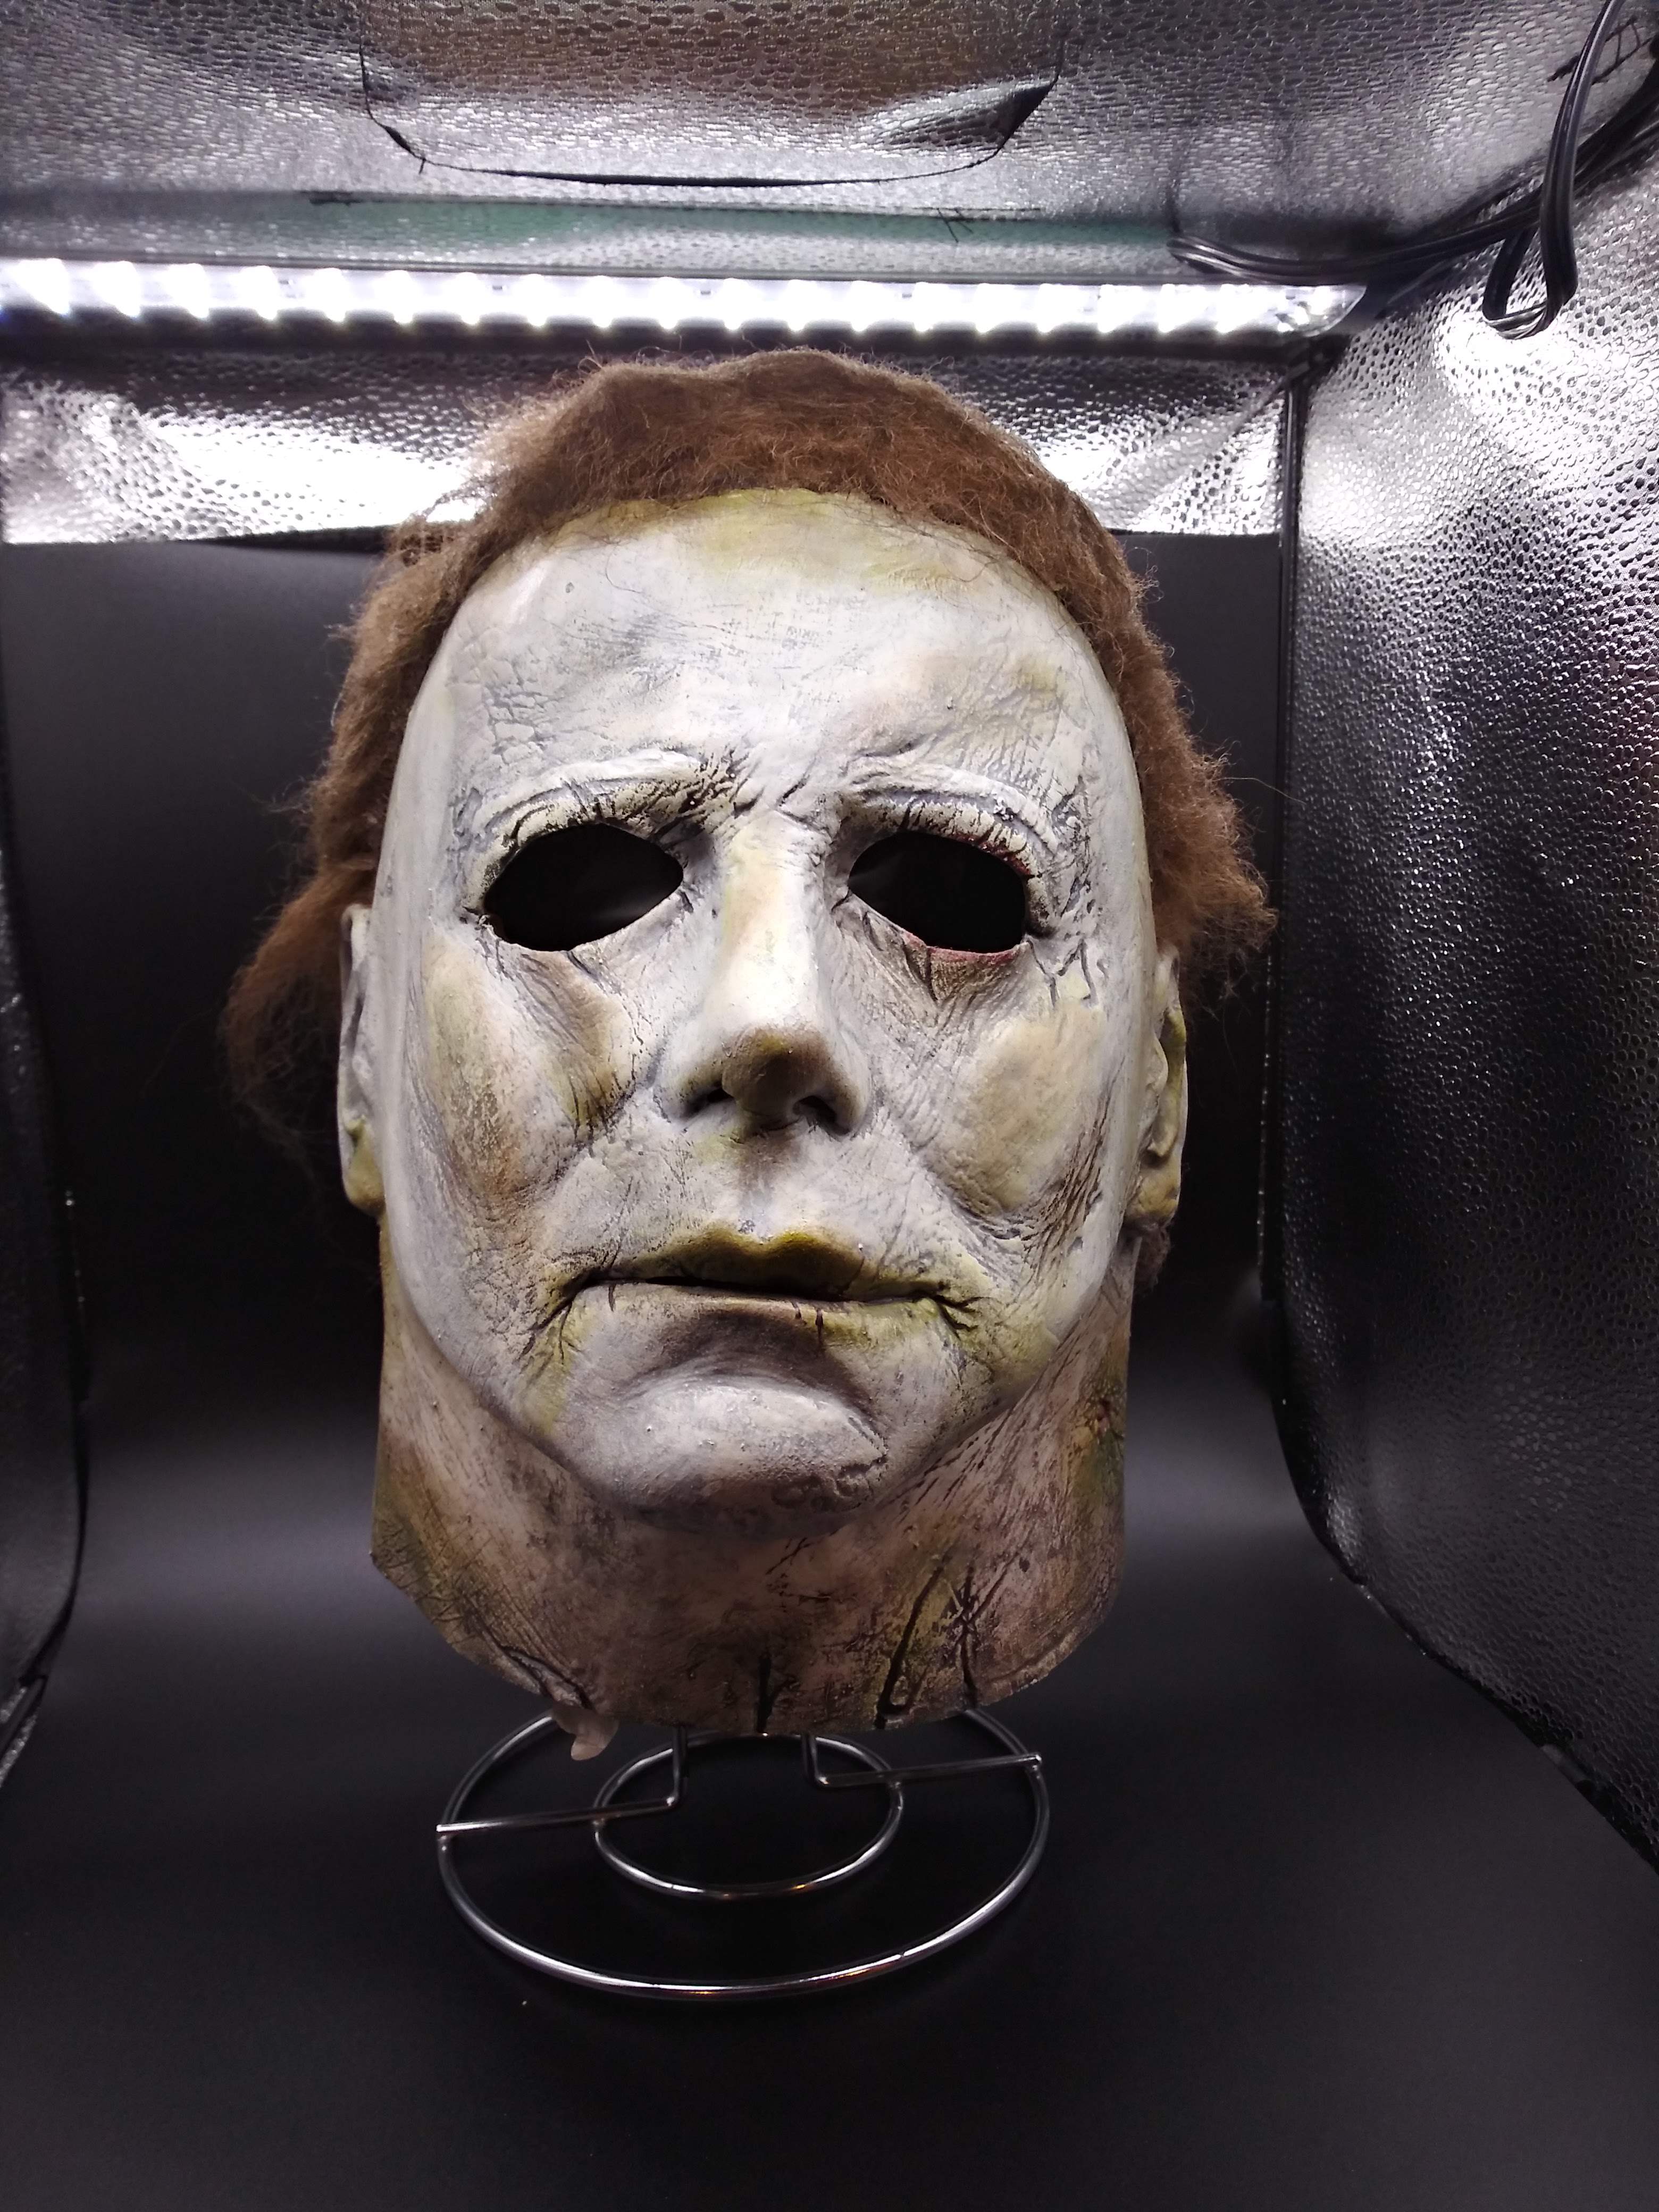
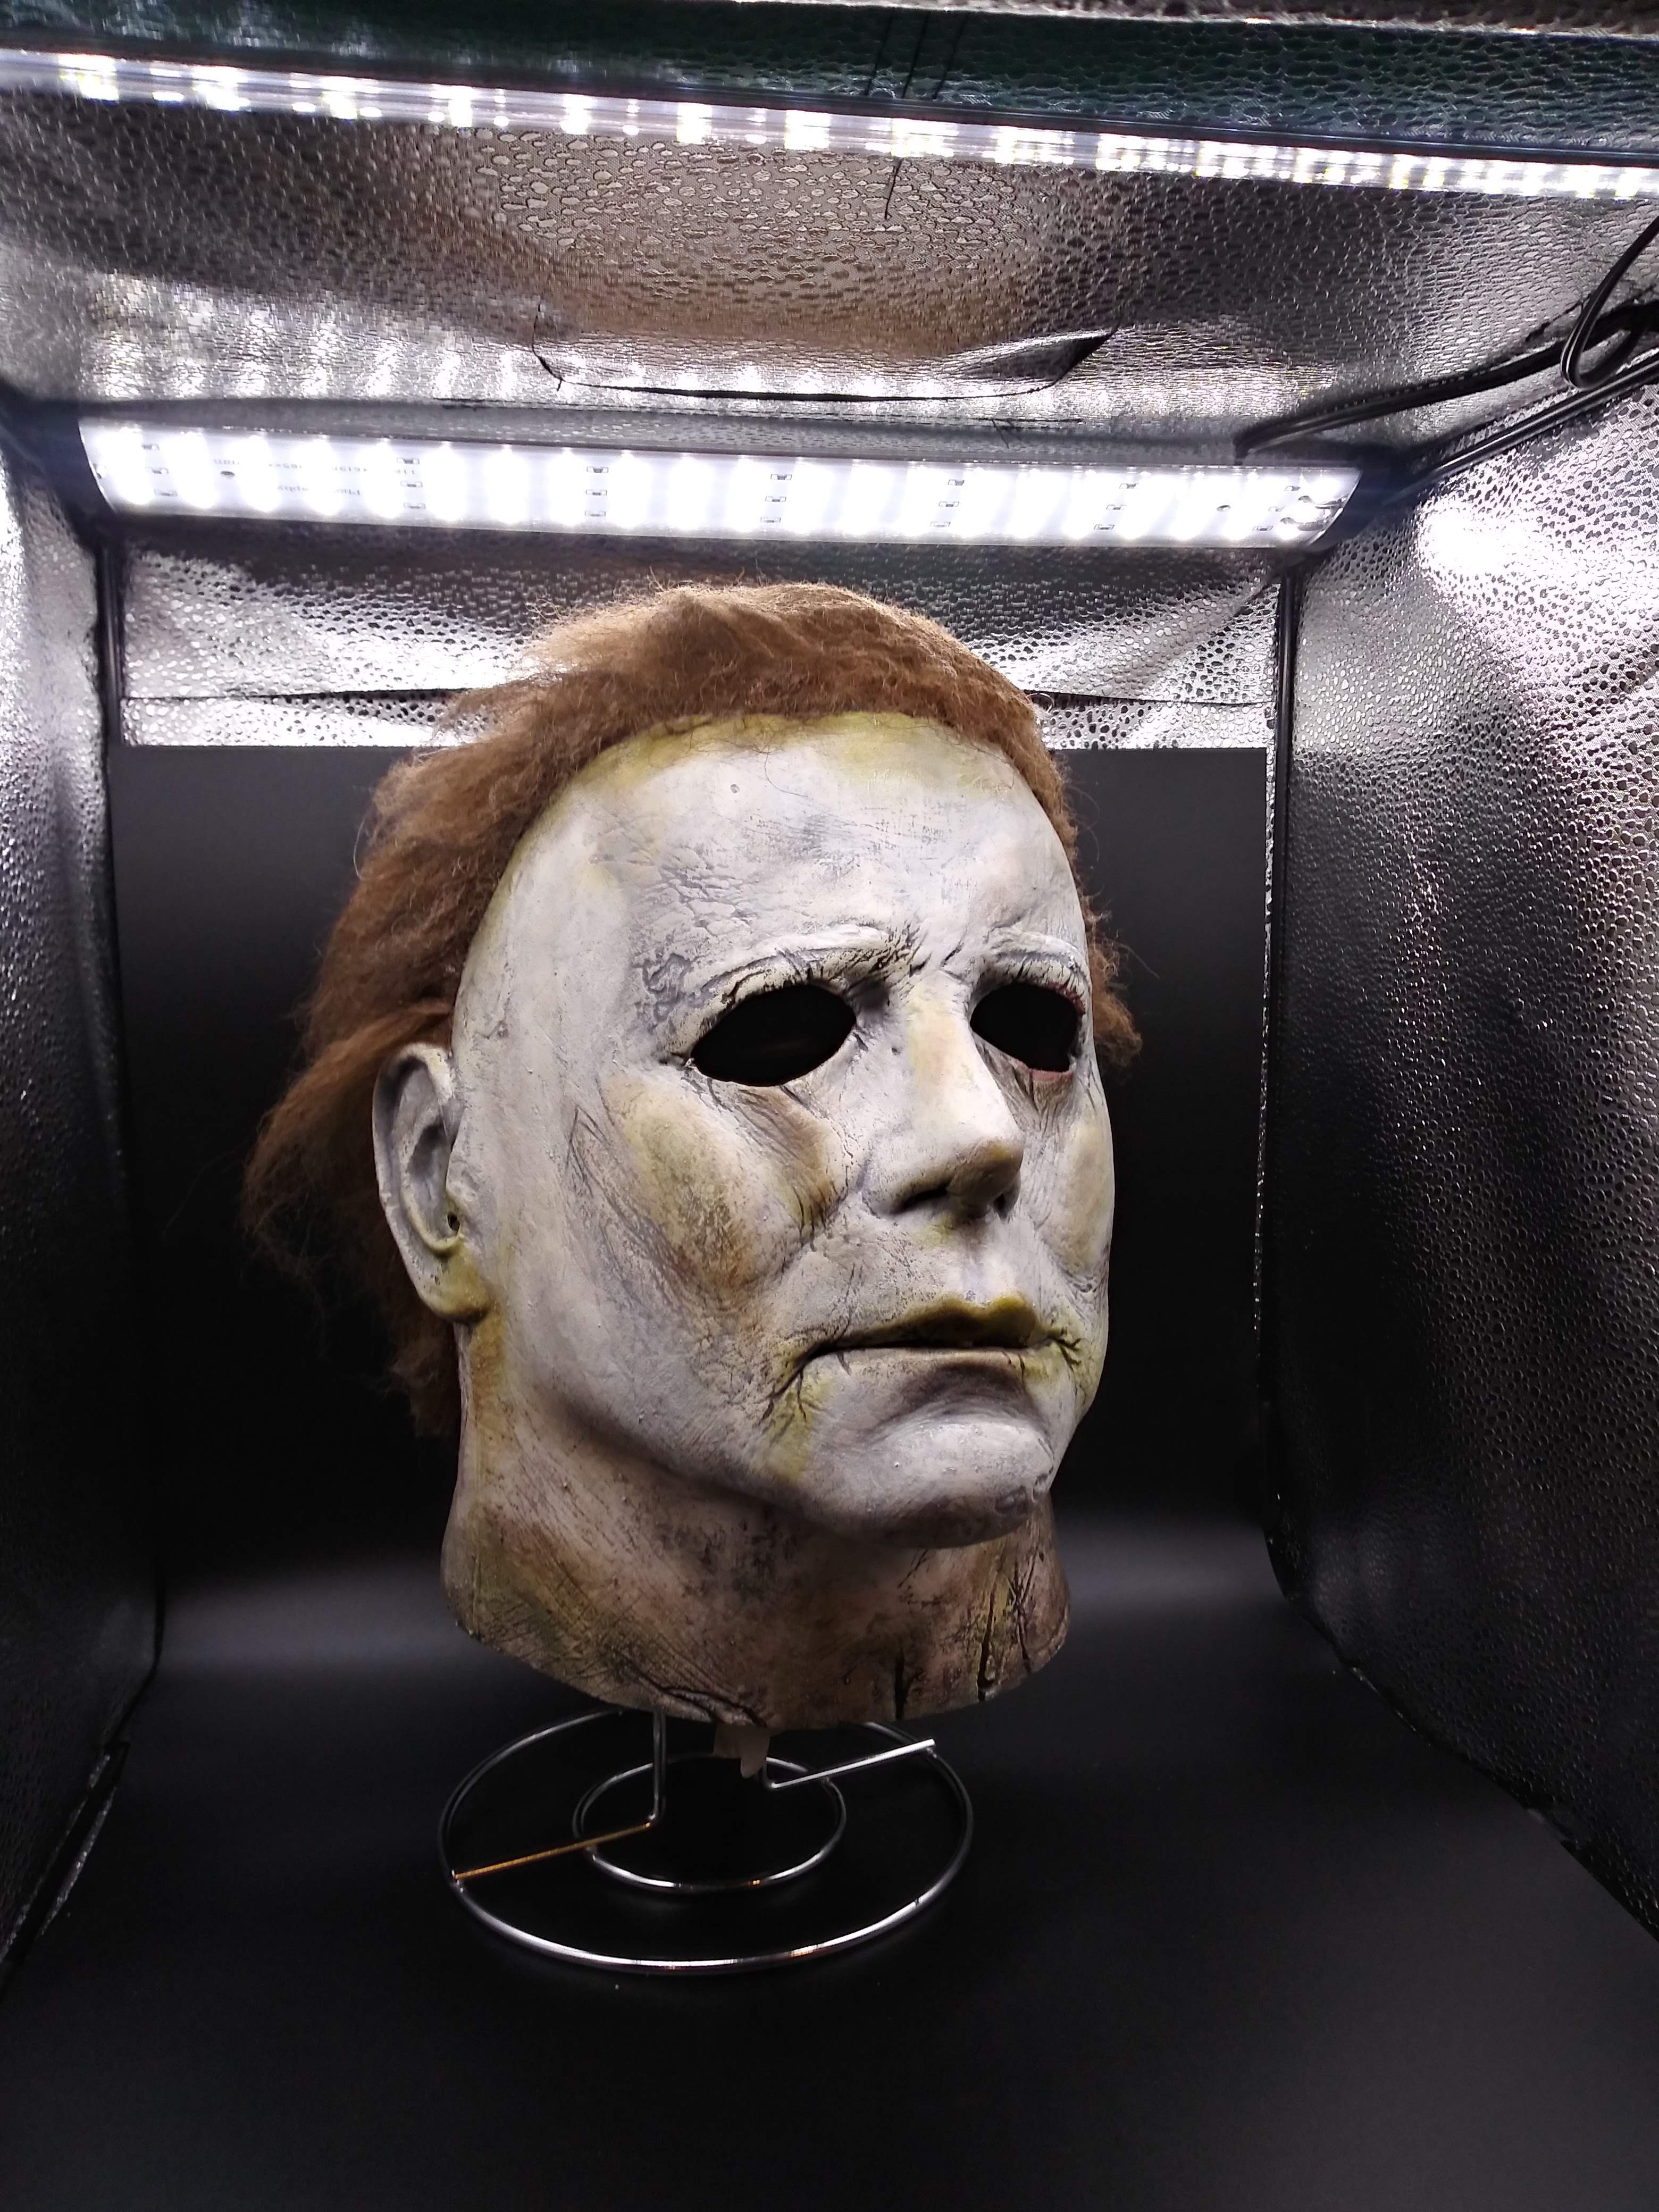
1 Like
2018 ain’t looking too bad man! For the 78 I’d just watch them sideburns looking a little to forced, and replicated, also they ripped the burns off before they painted it, so maybe try just sticking some hair to it then ripping it off, then painting over the left over hairs so it’s not as noticable and dark
thank you any advice is greatly appreciated
I just ordered TOTS 2018 mask, 2018 knife, dead eye appliance and pre-ordered the 78 Jack o lantern purse for my girlfriend. I think I’m going to take a shot at rehauling the mask. I’m excited about this! 

 I’m currently working on this H18. Lots more work to go. Im hell bent this is gonna turn out badass.
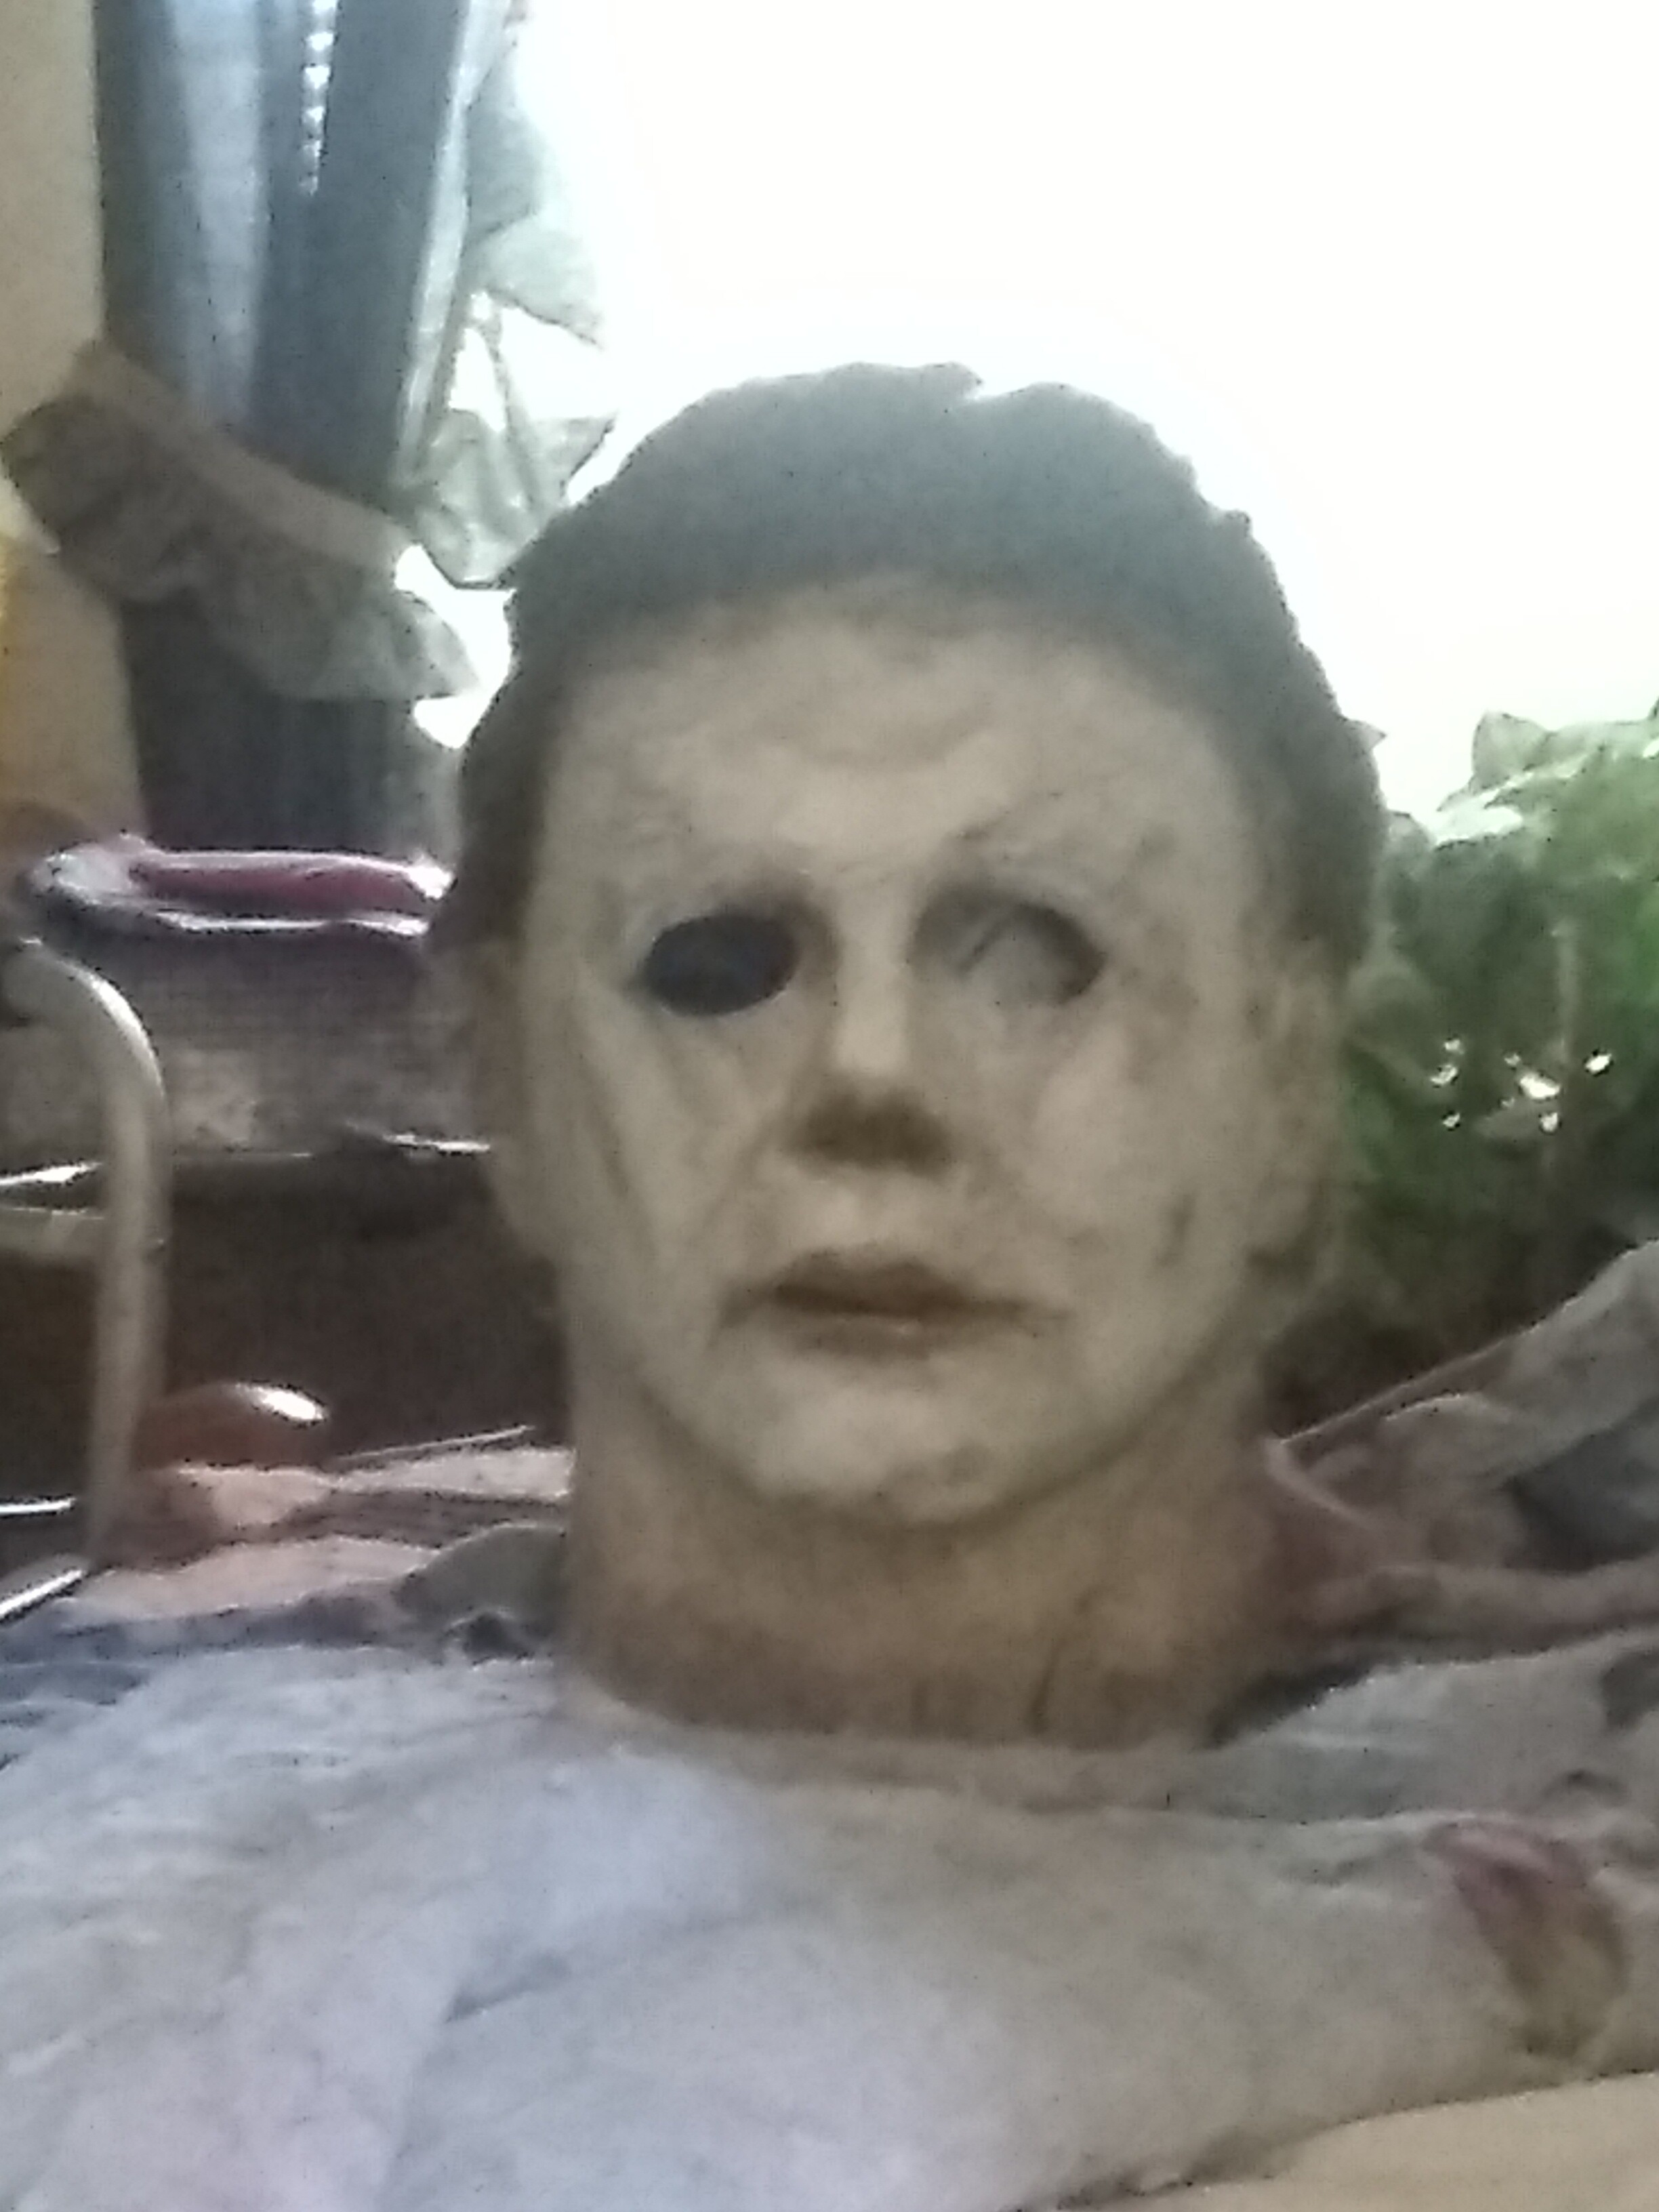
1 Like
Well here’s what I been working on. If your a member on TOTS Fan Club you probably seen my post. Lord knows I have slaved at this thing. My OCD tells me I need to do more work on him.  Idk all I know is I really want to be a Good Mask Converter like JC, AHG etc!
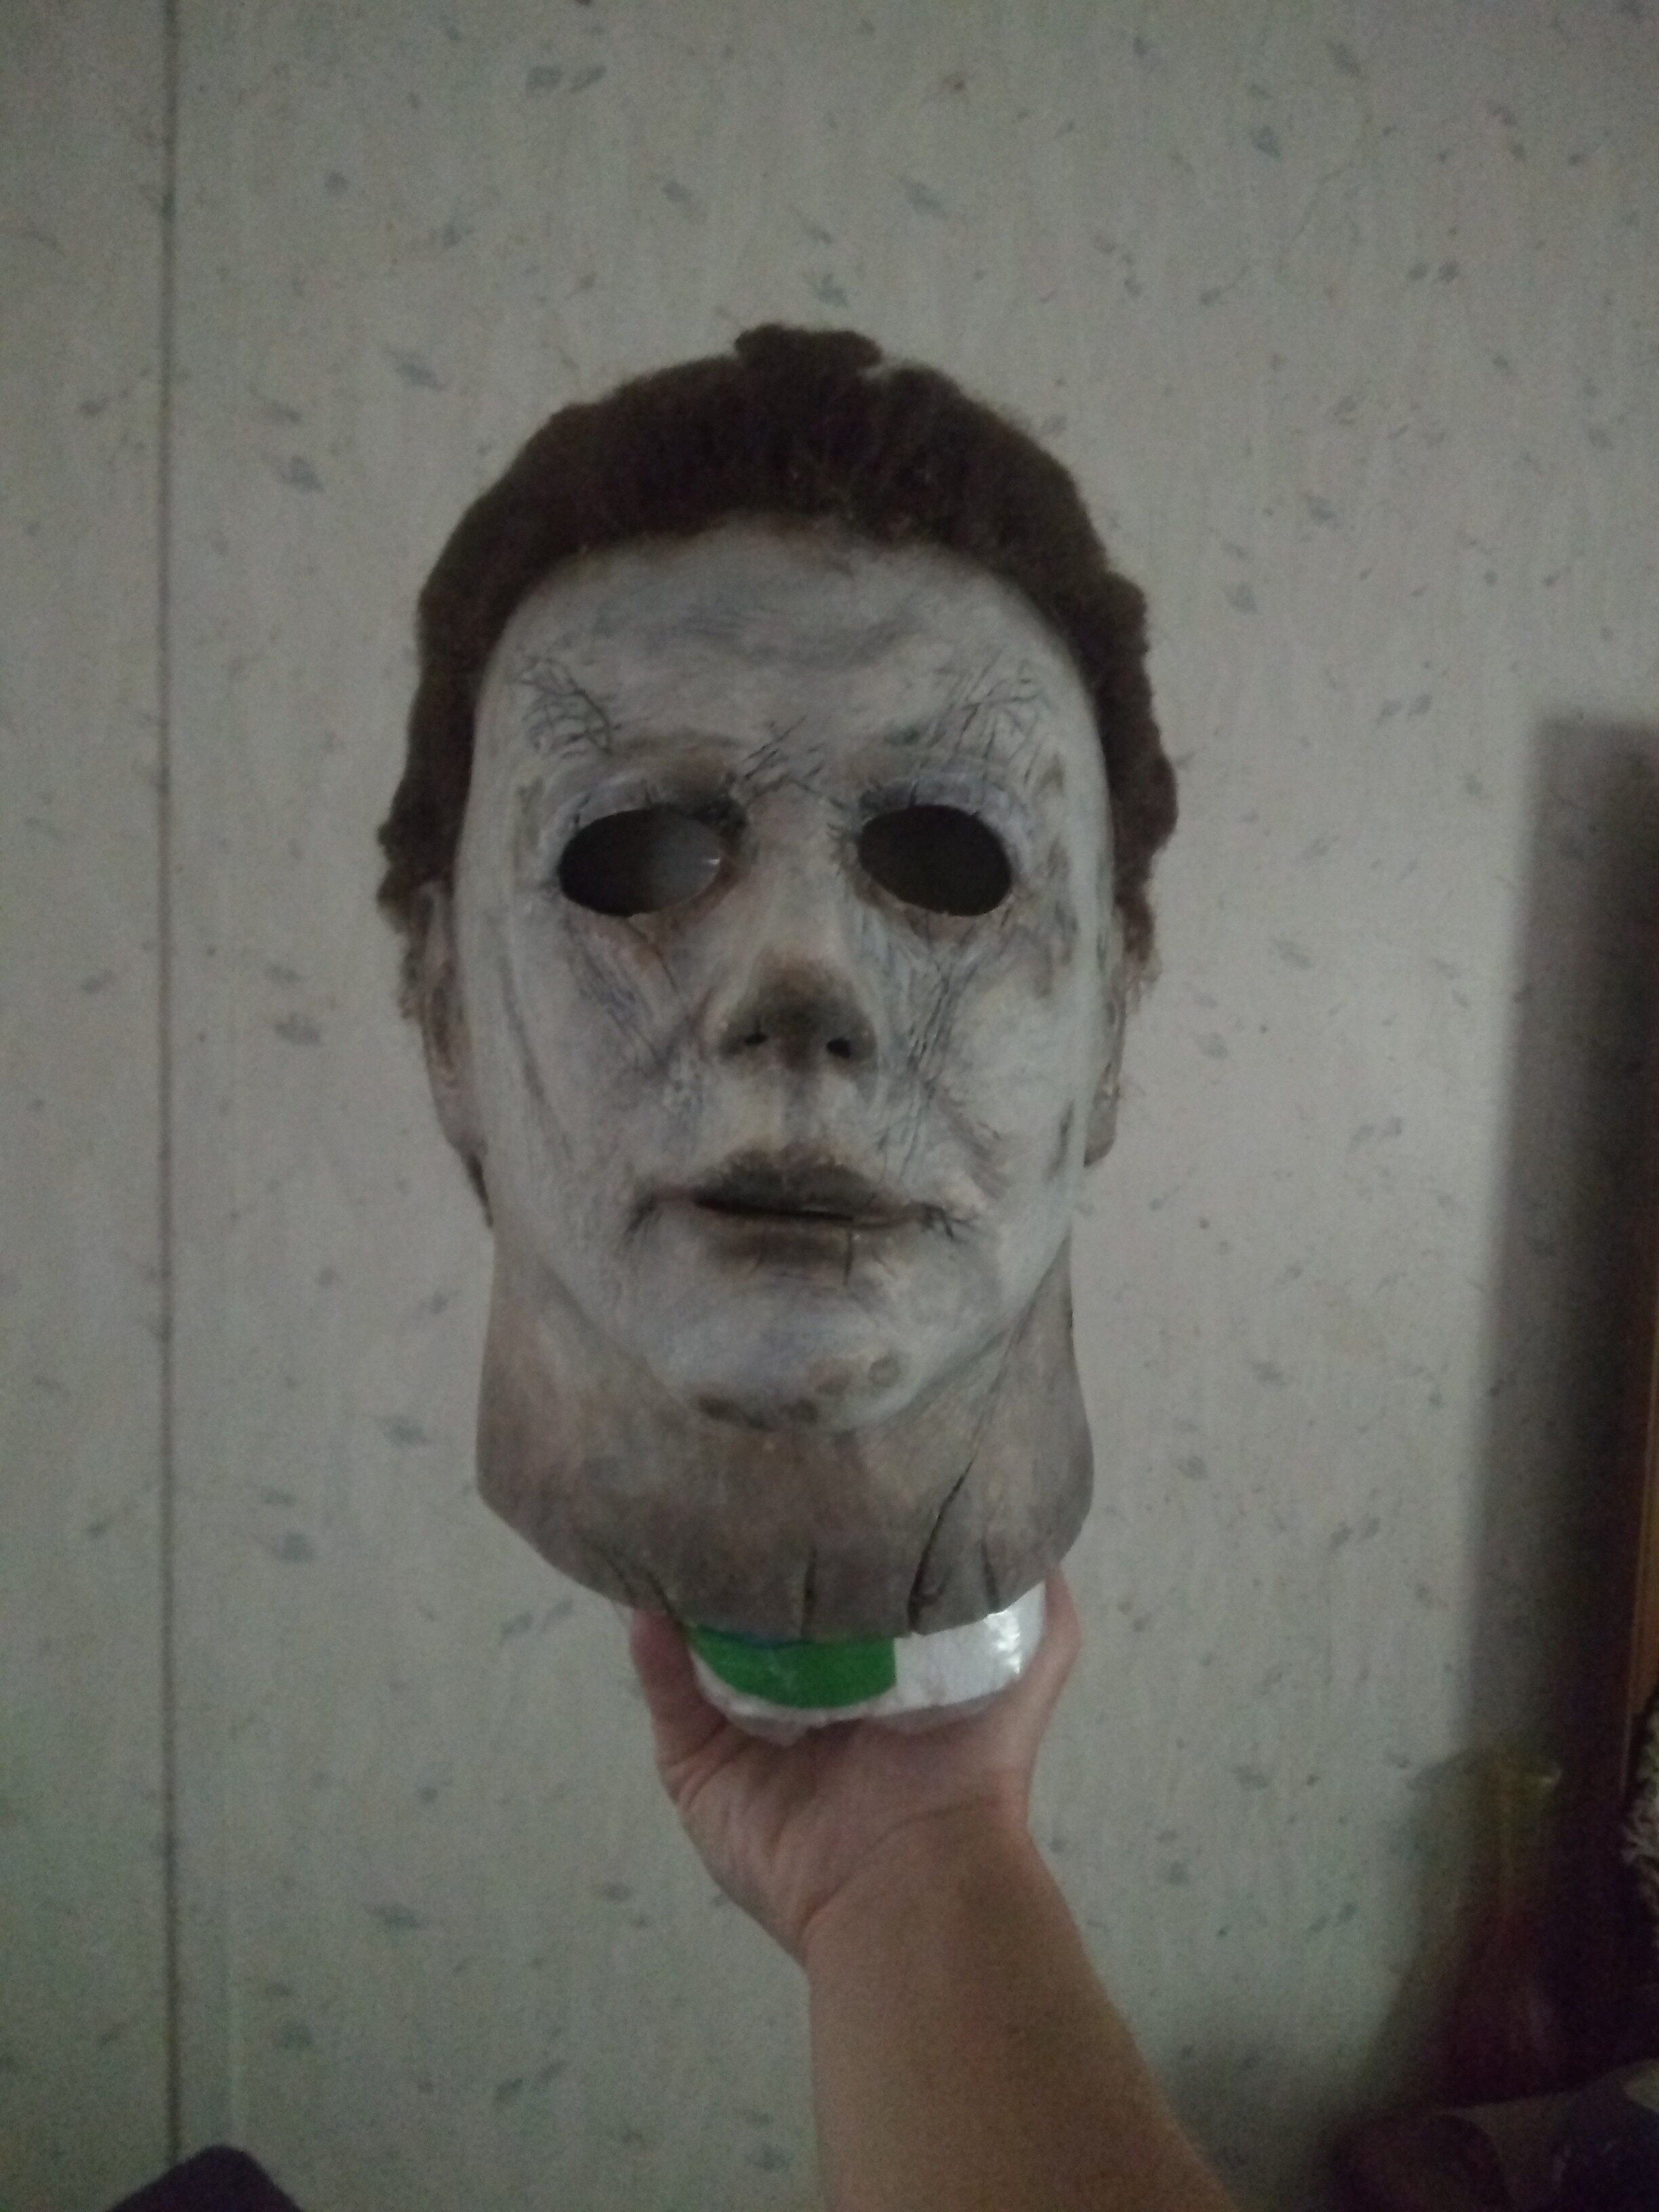
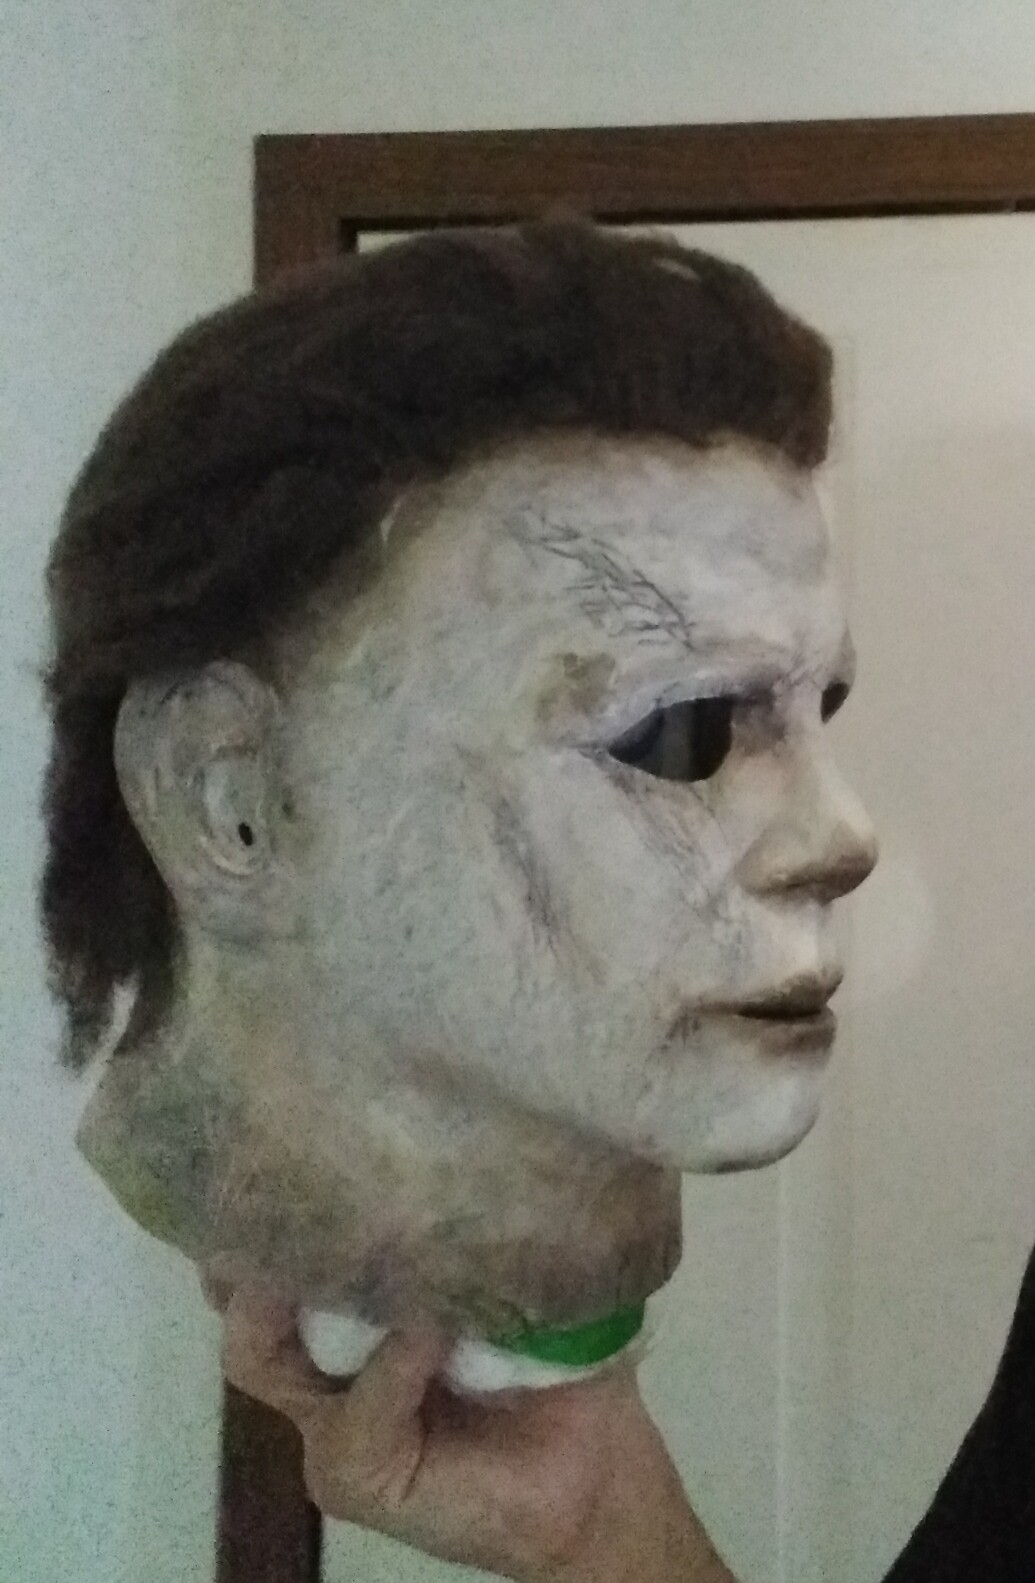
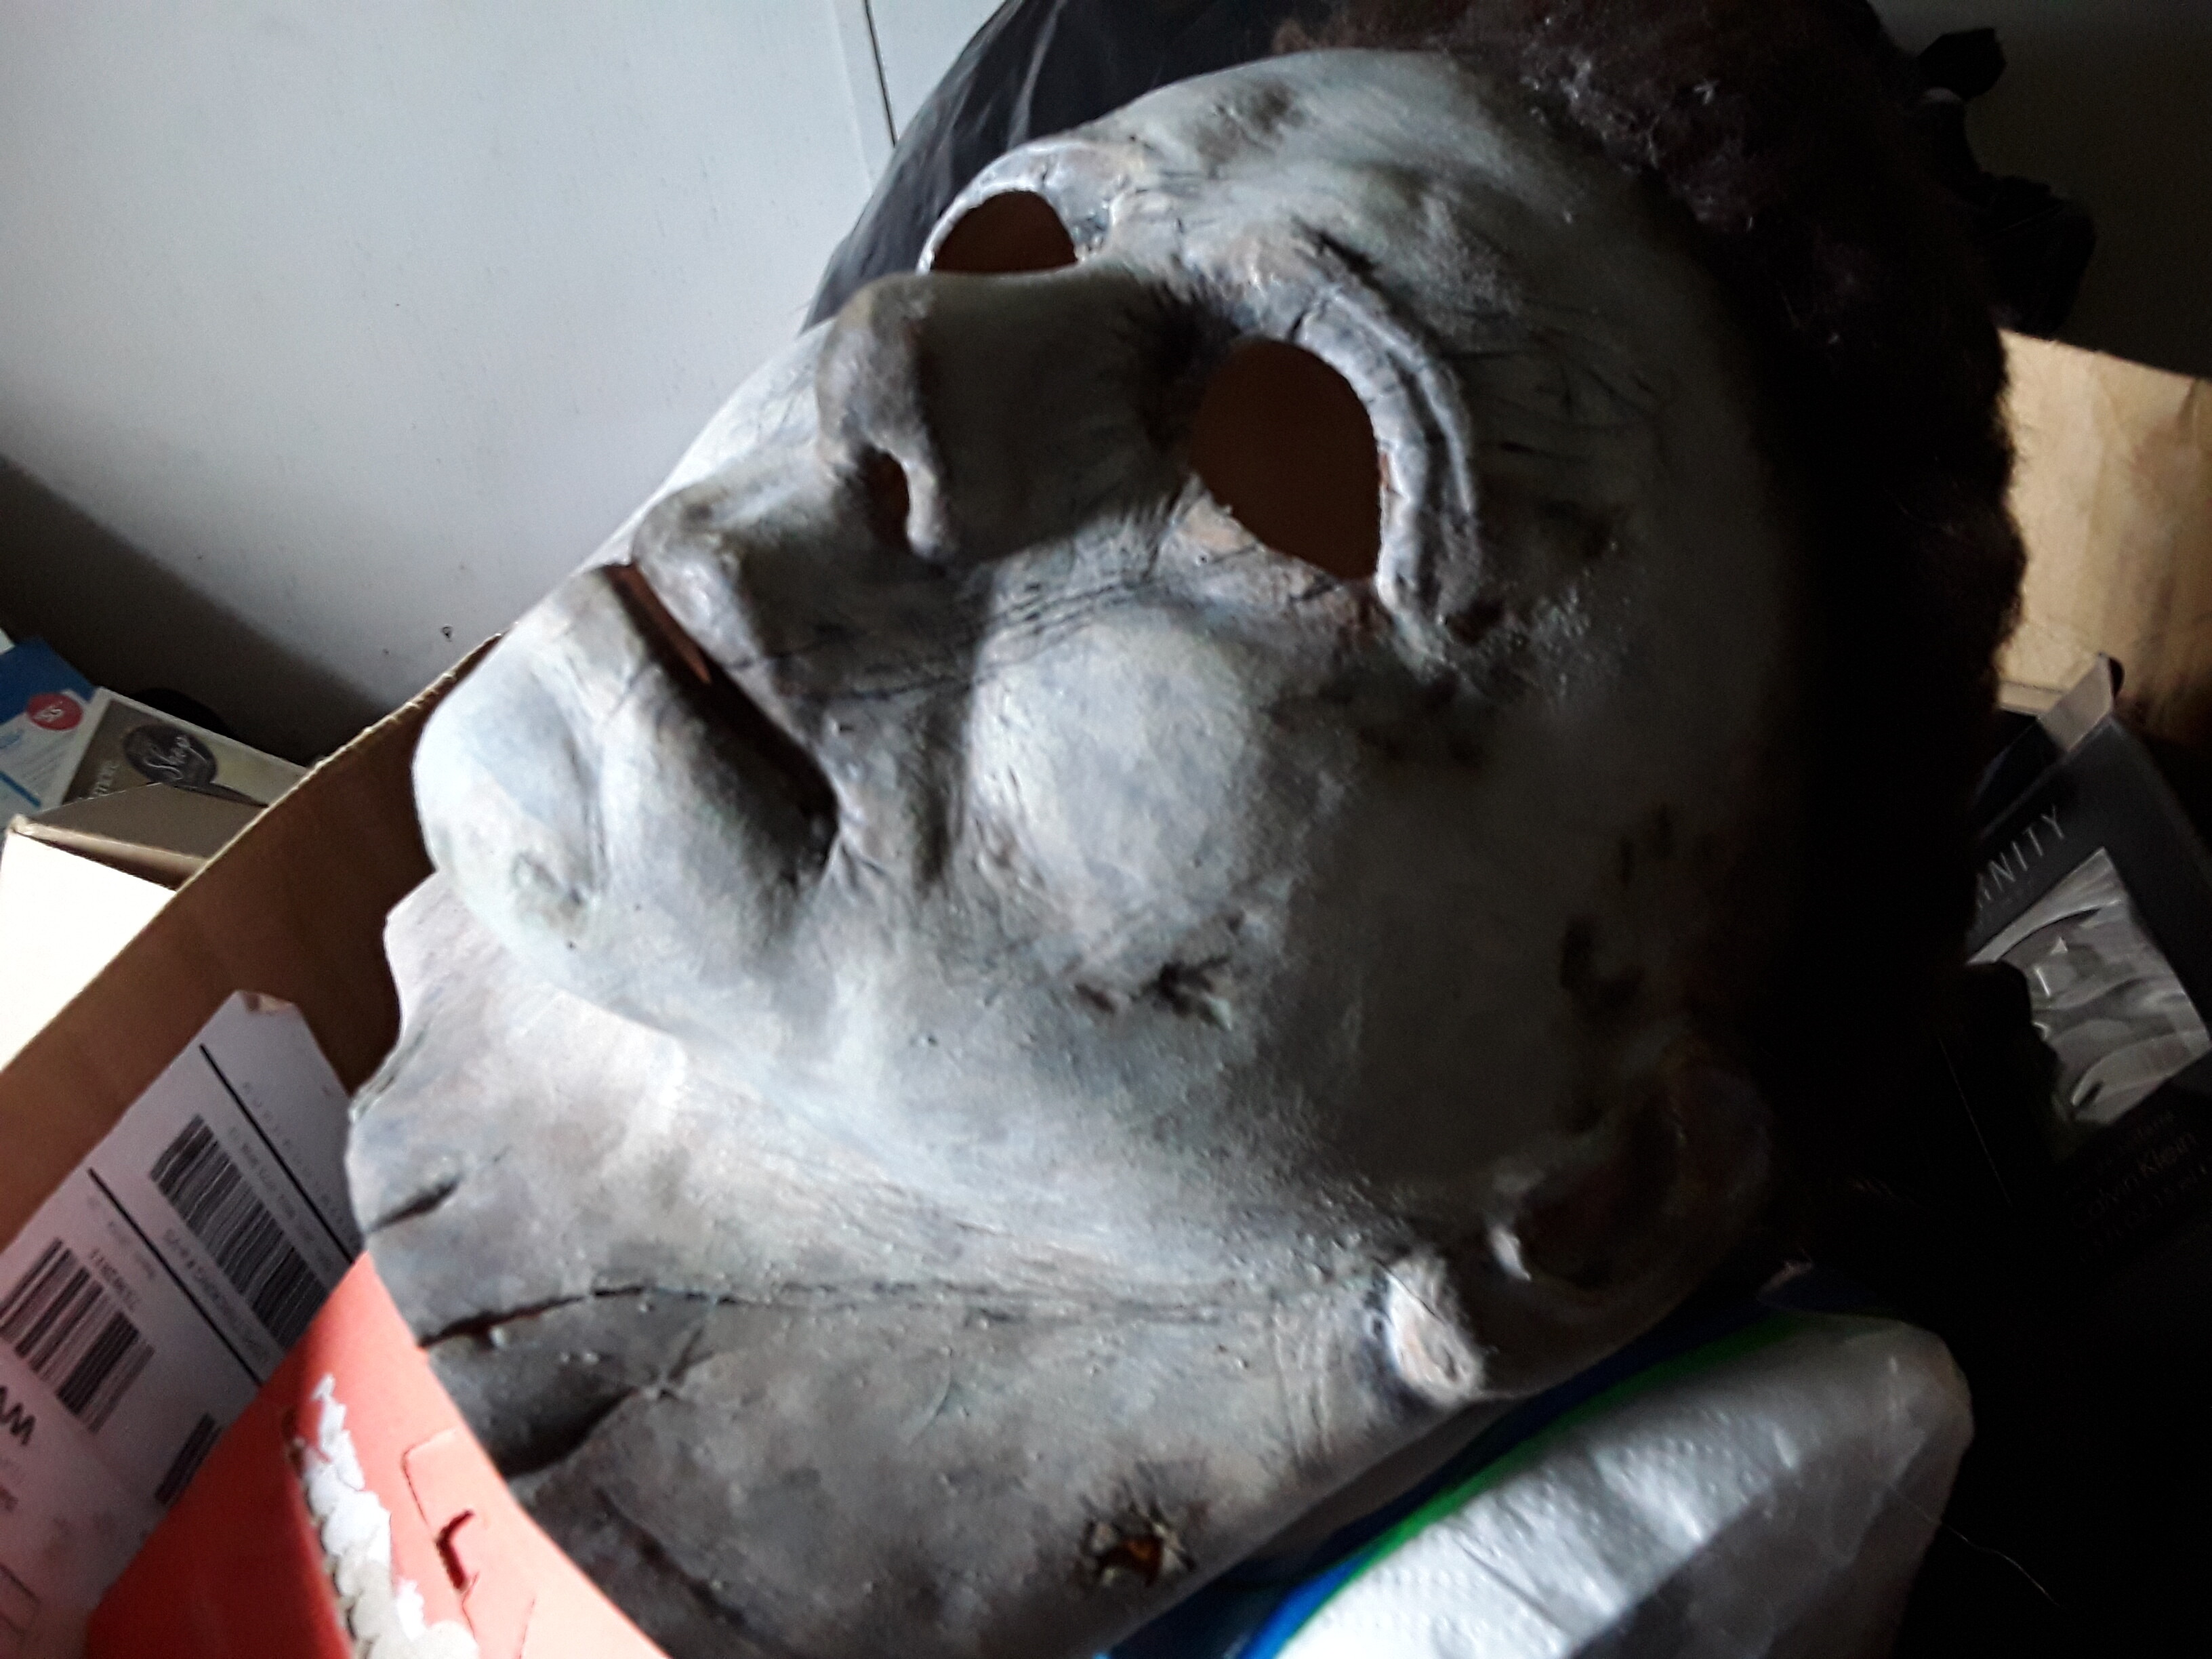
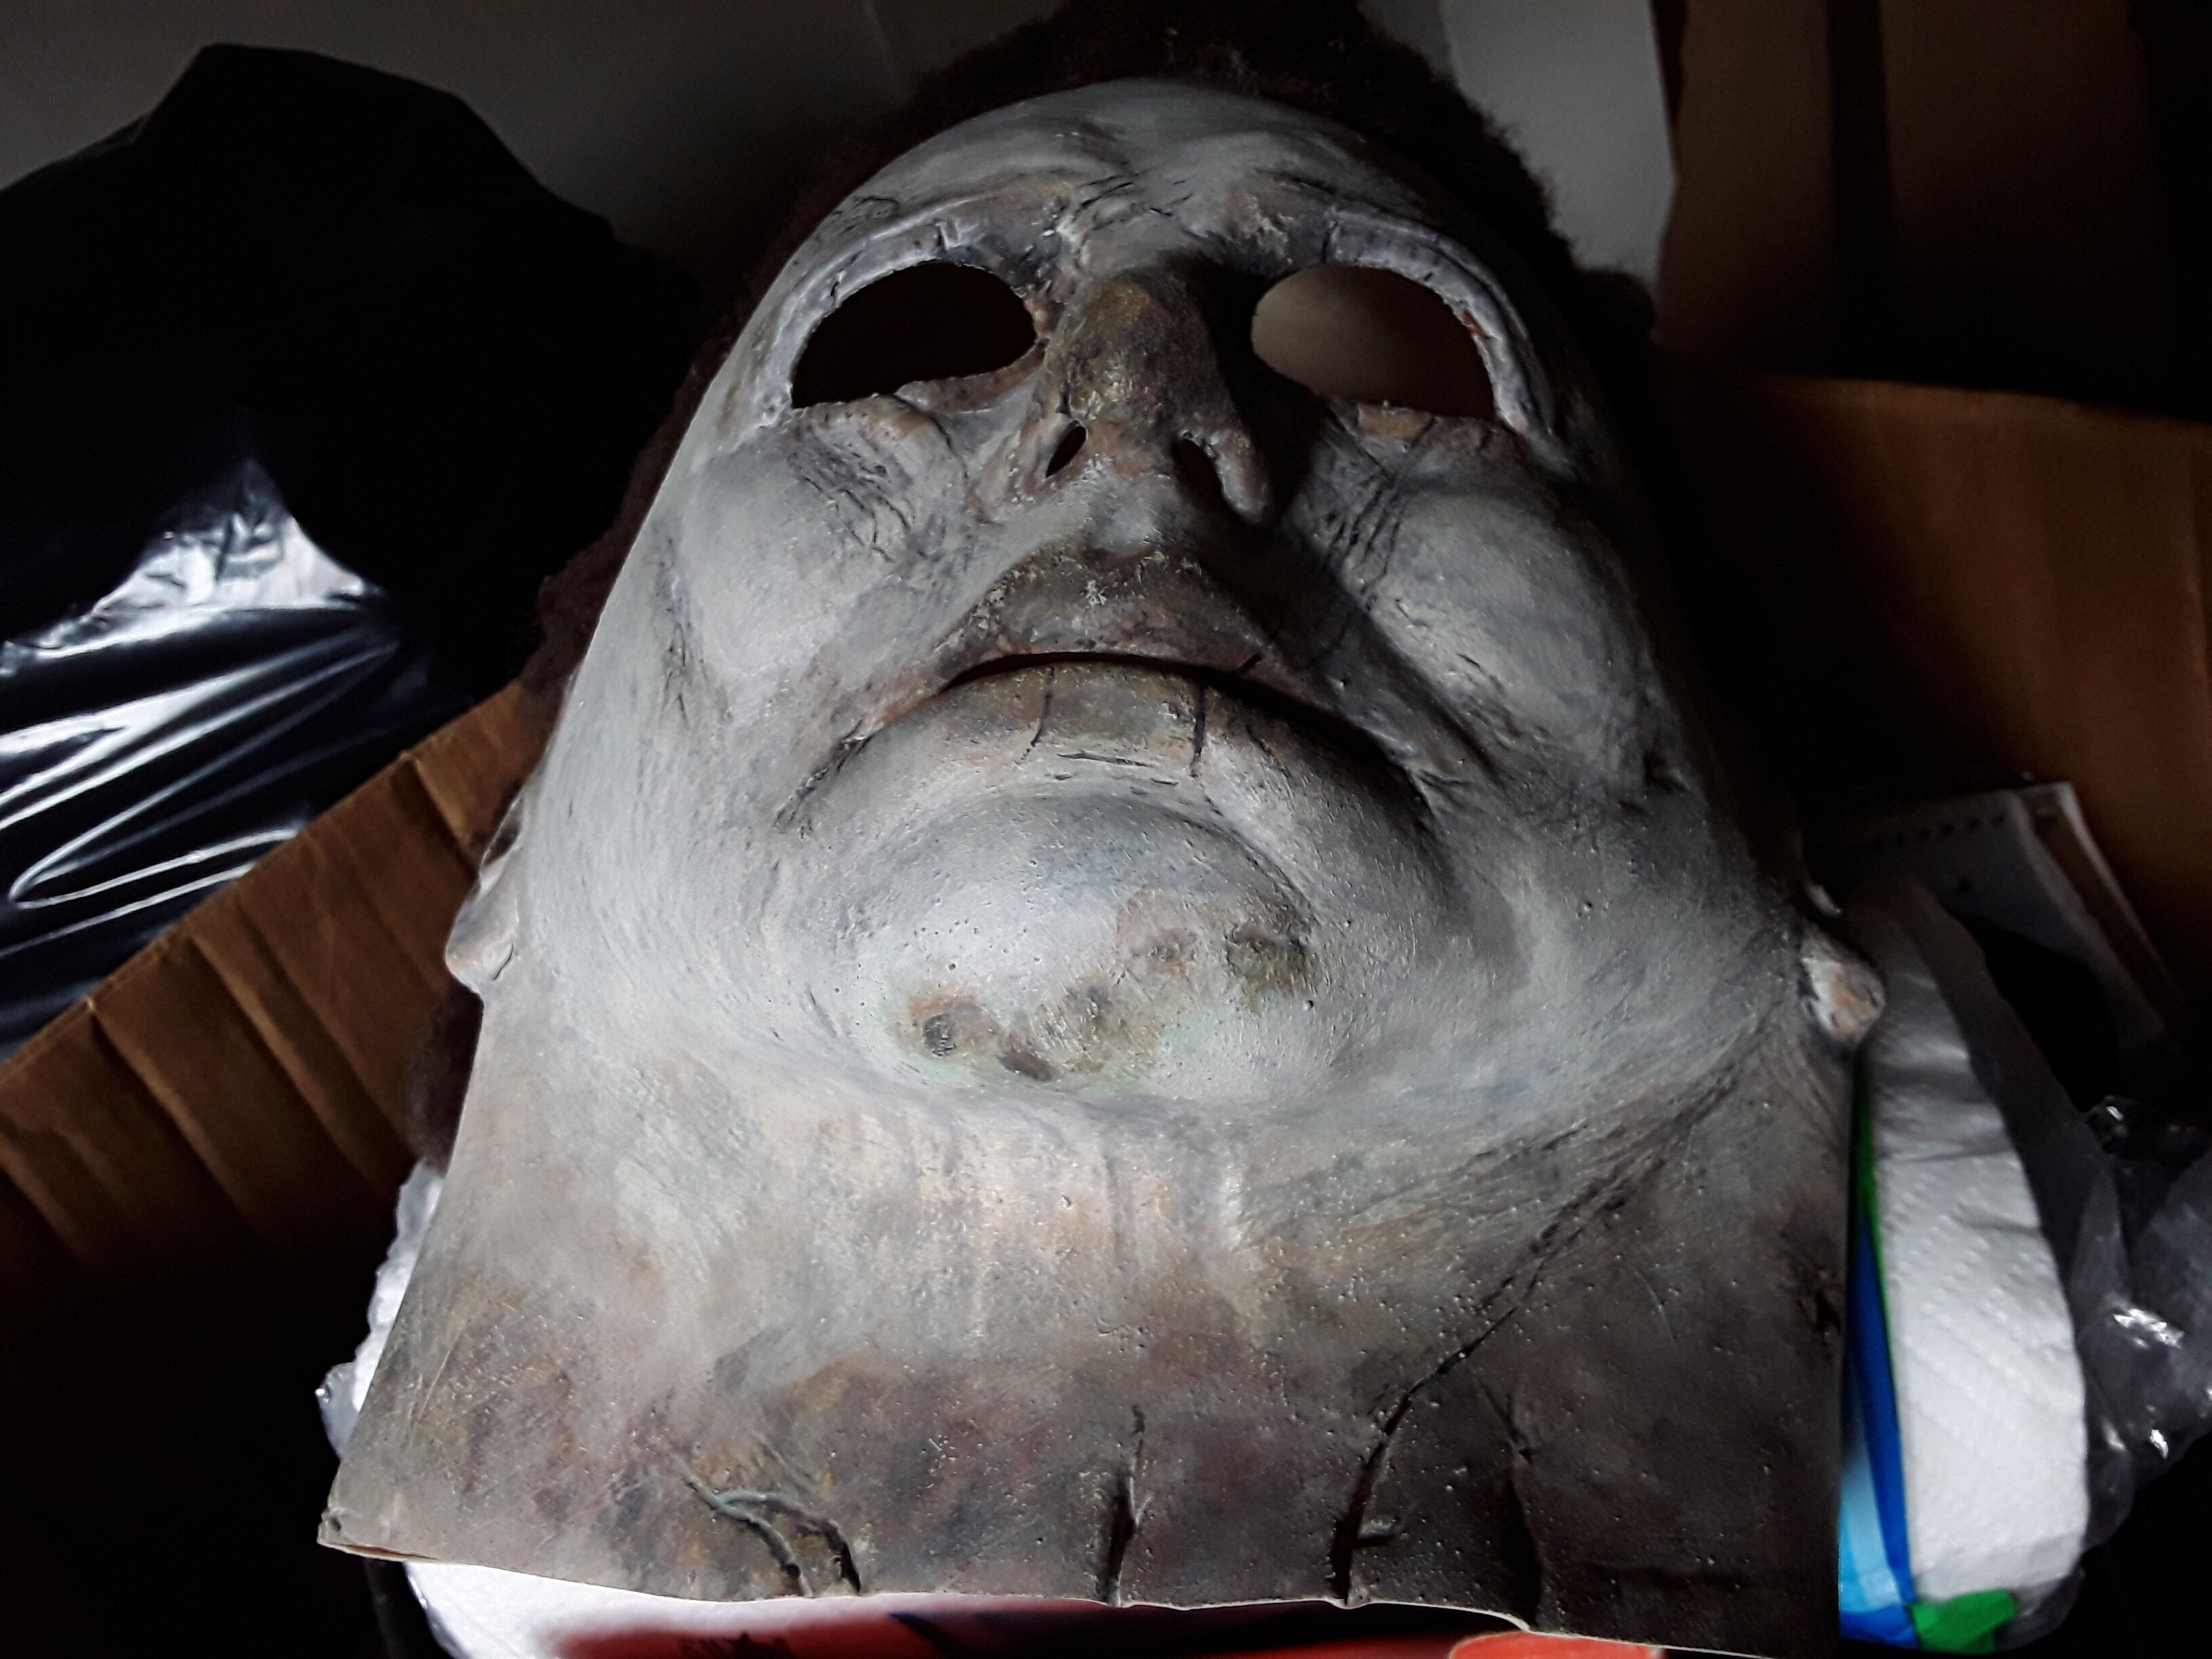
1 Like
Still a little more work to do on this guy. Don’t you love when your OCD is kicking your ass.
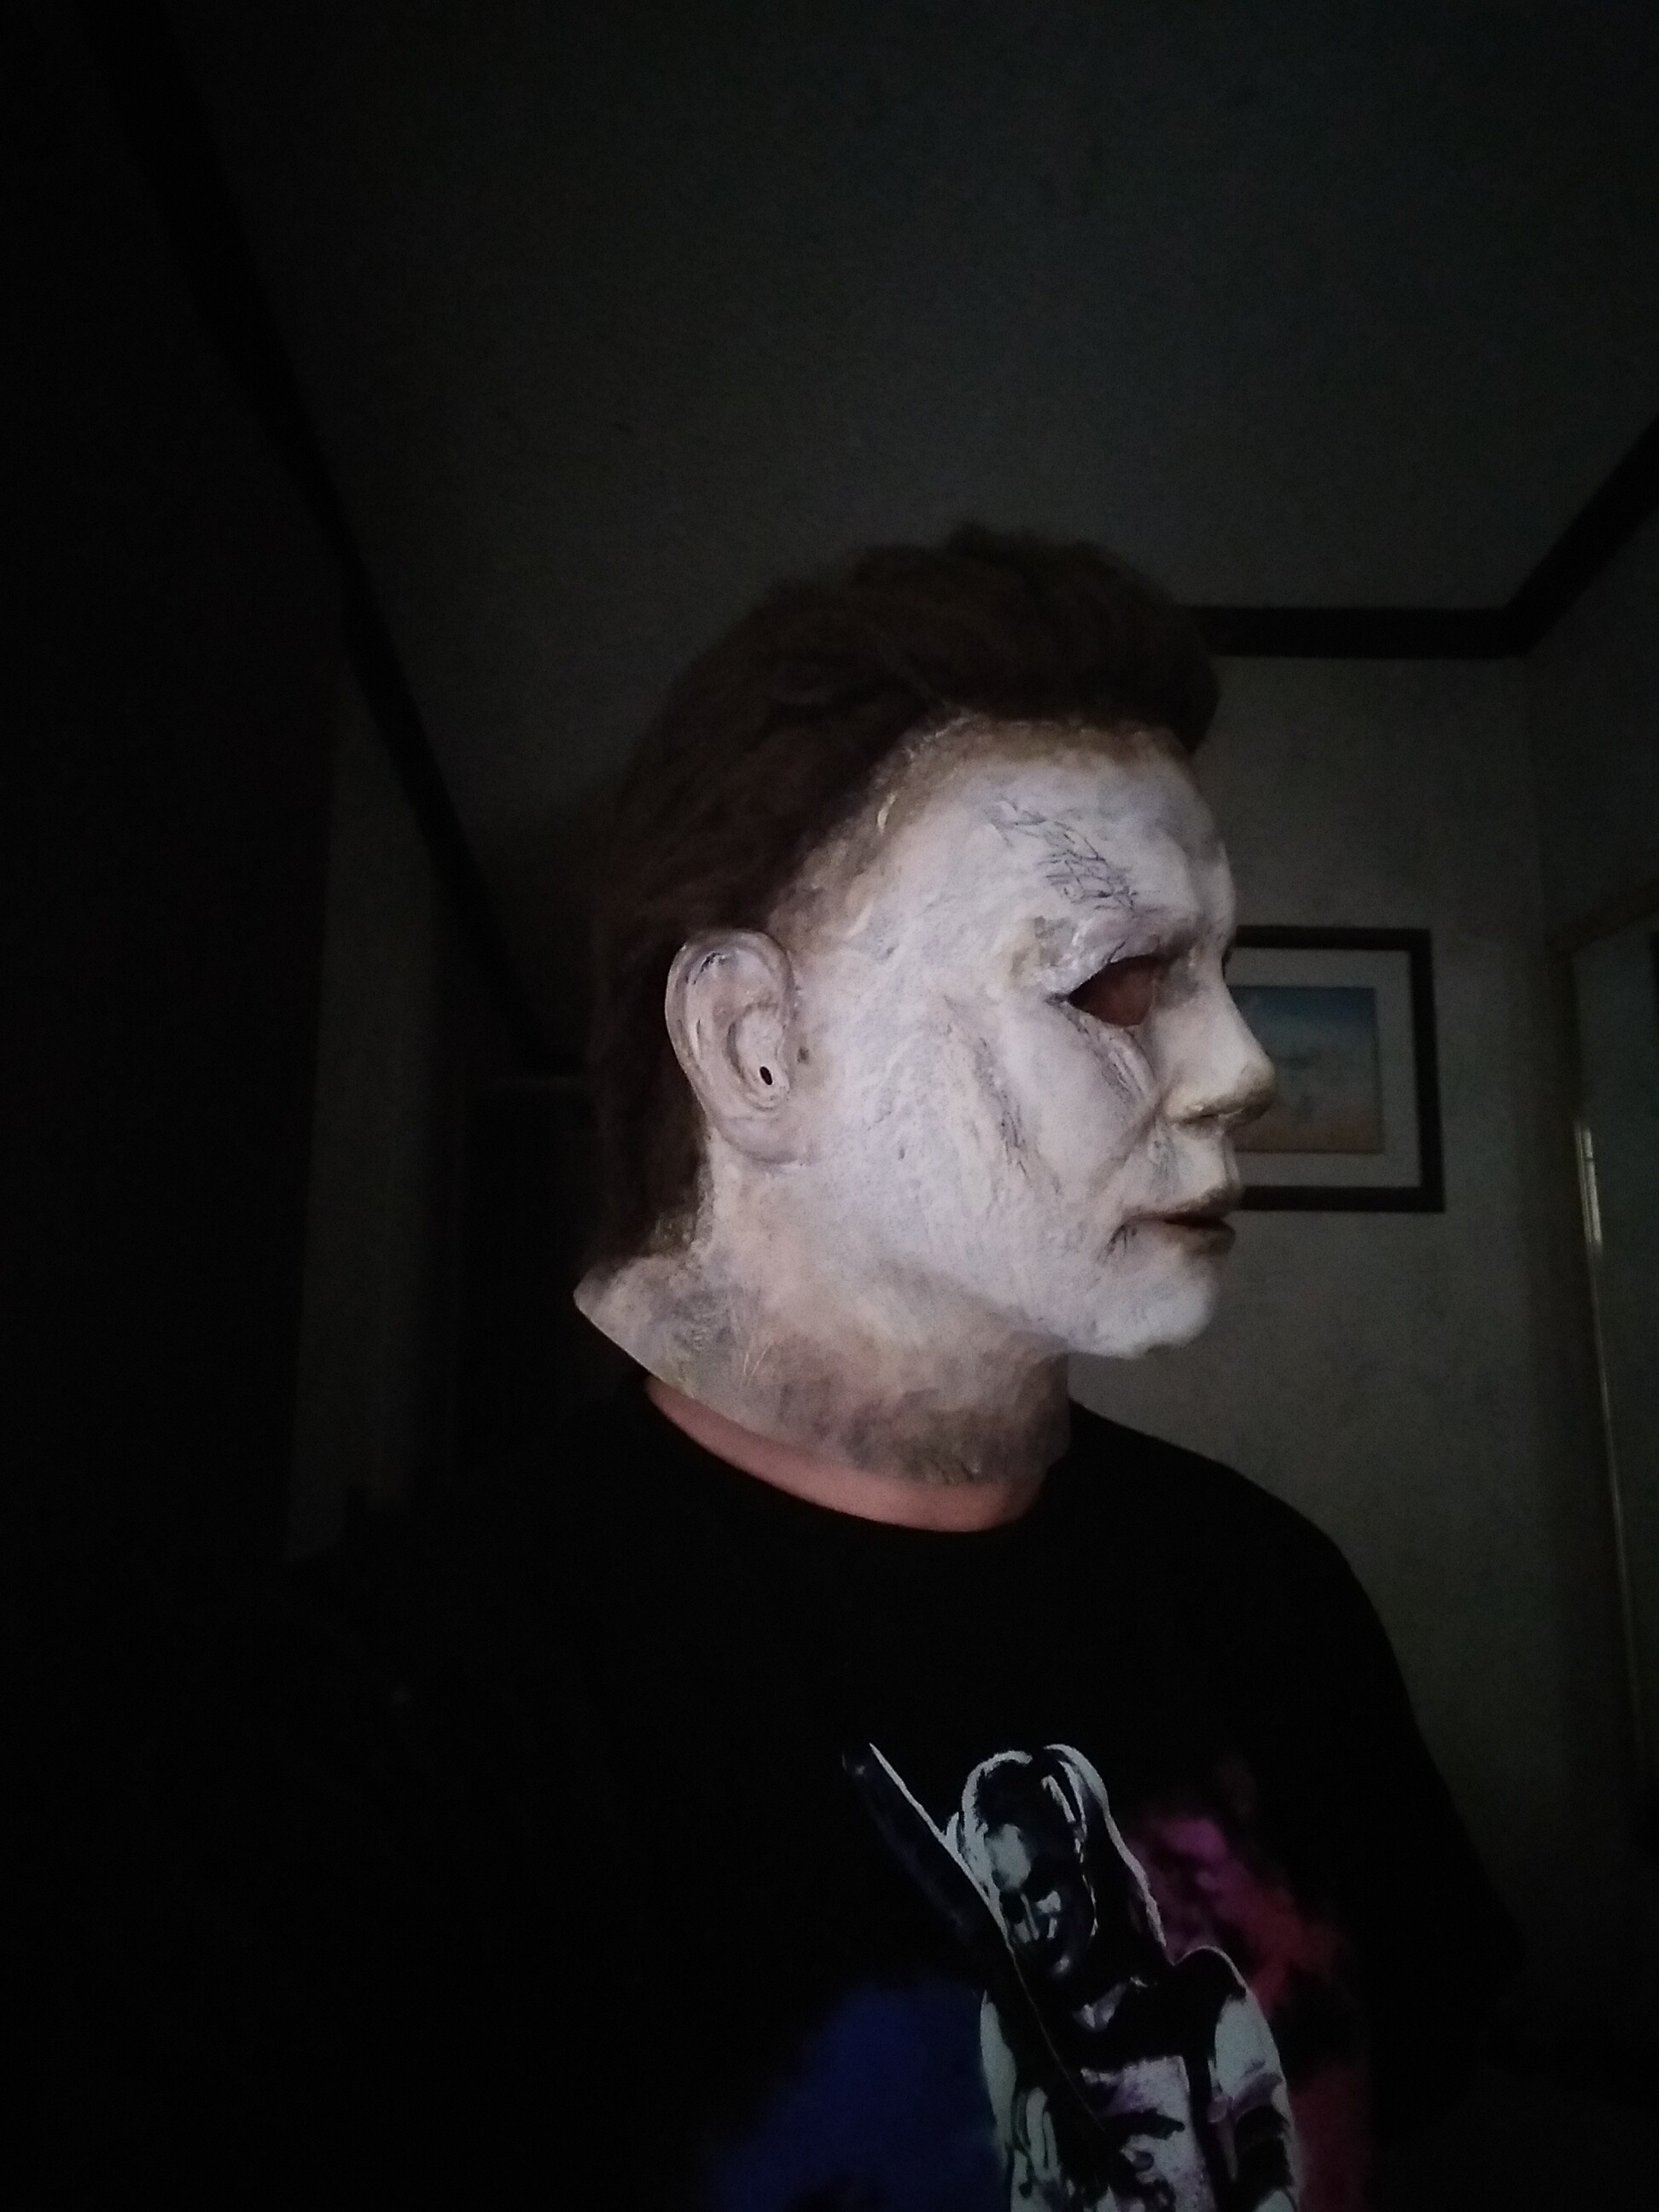
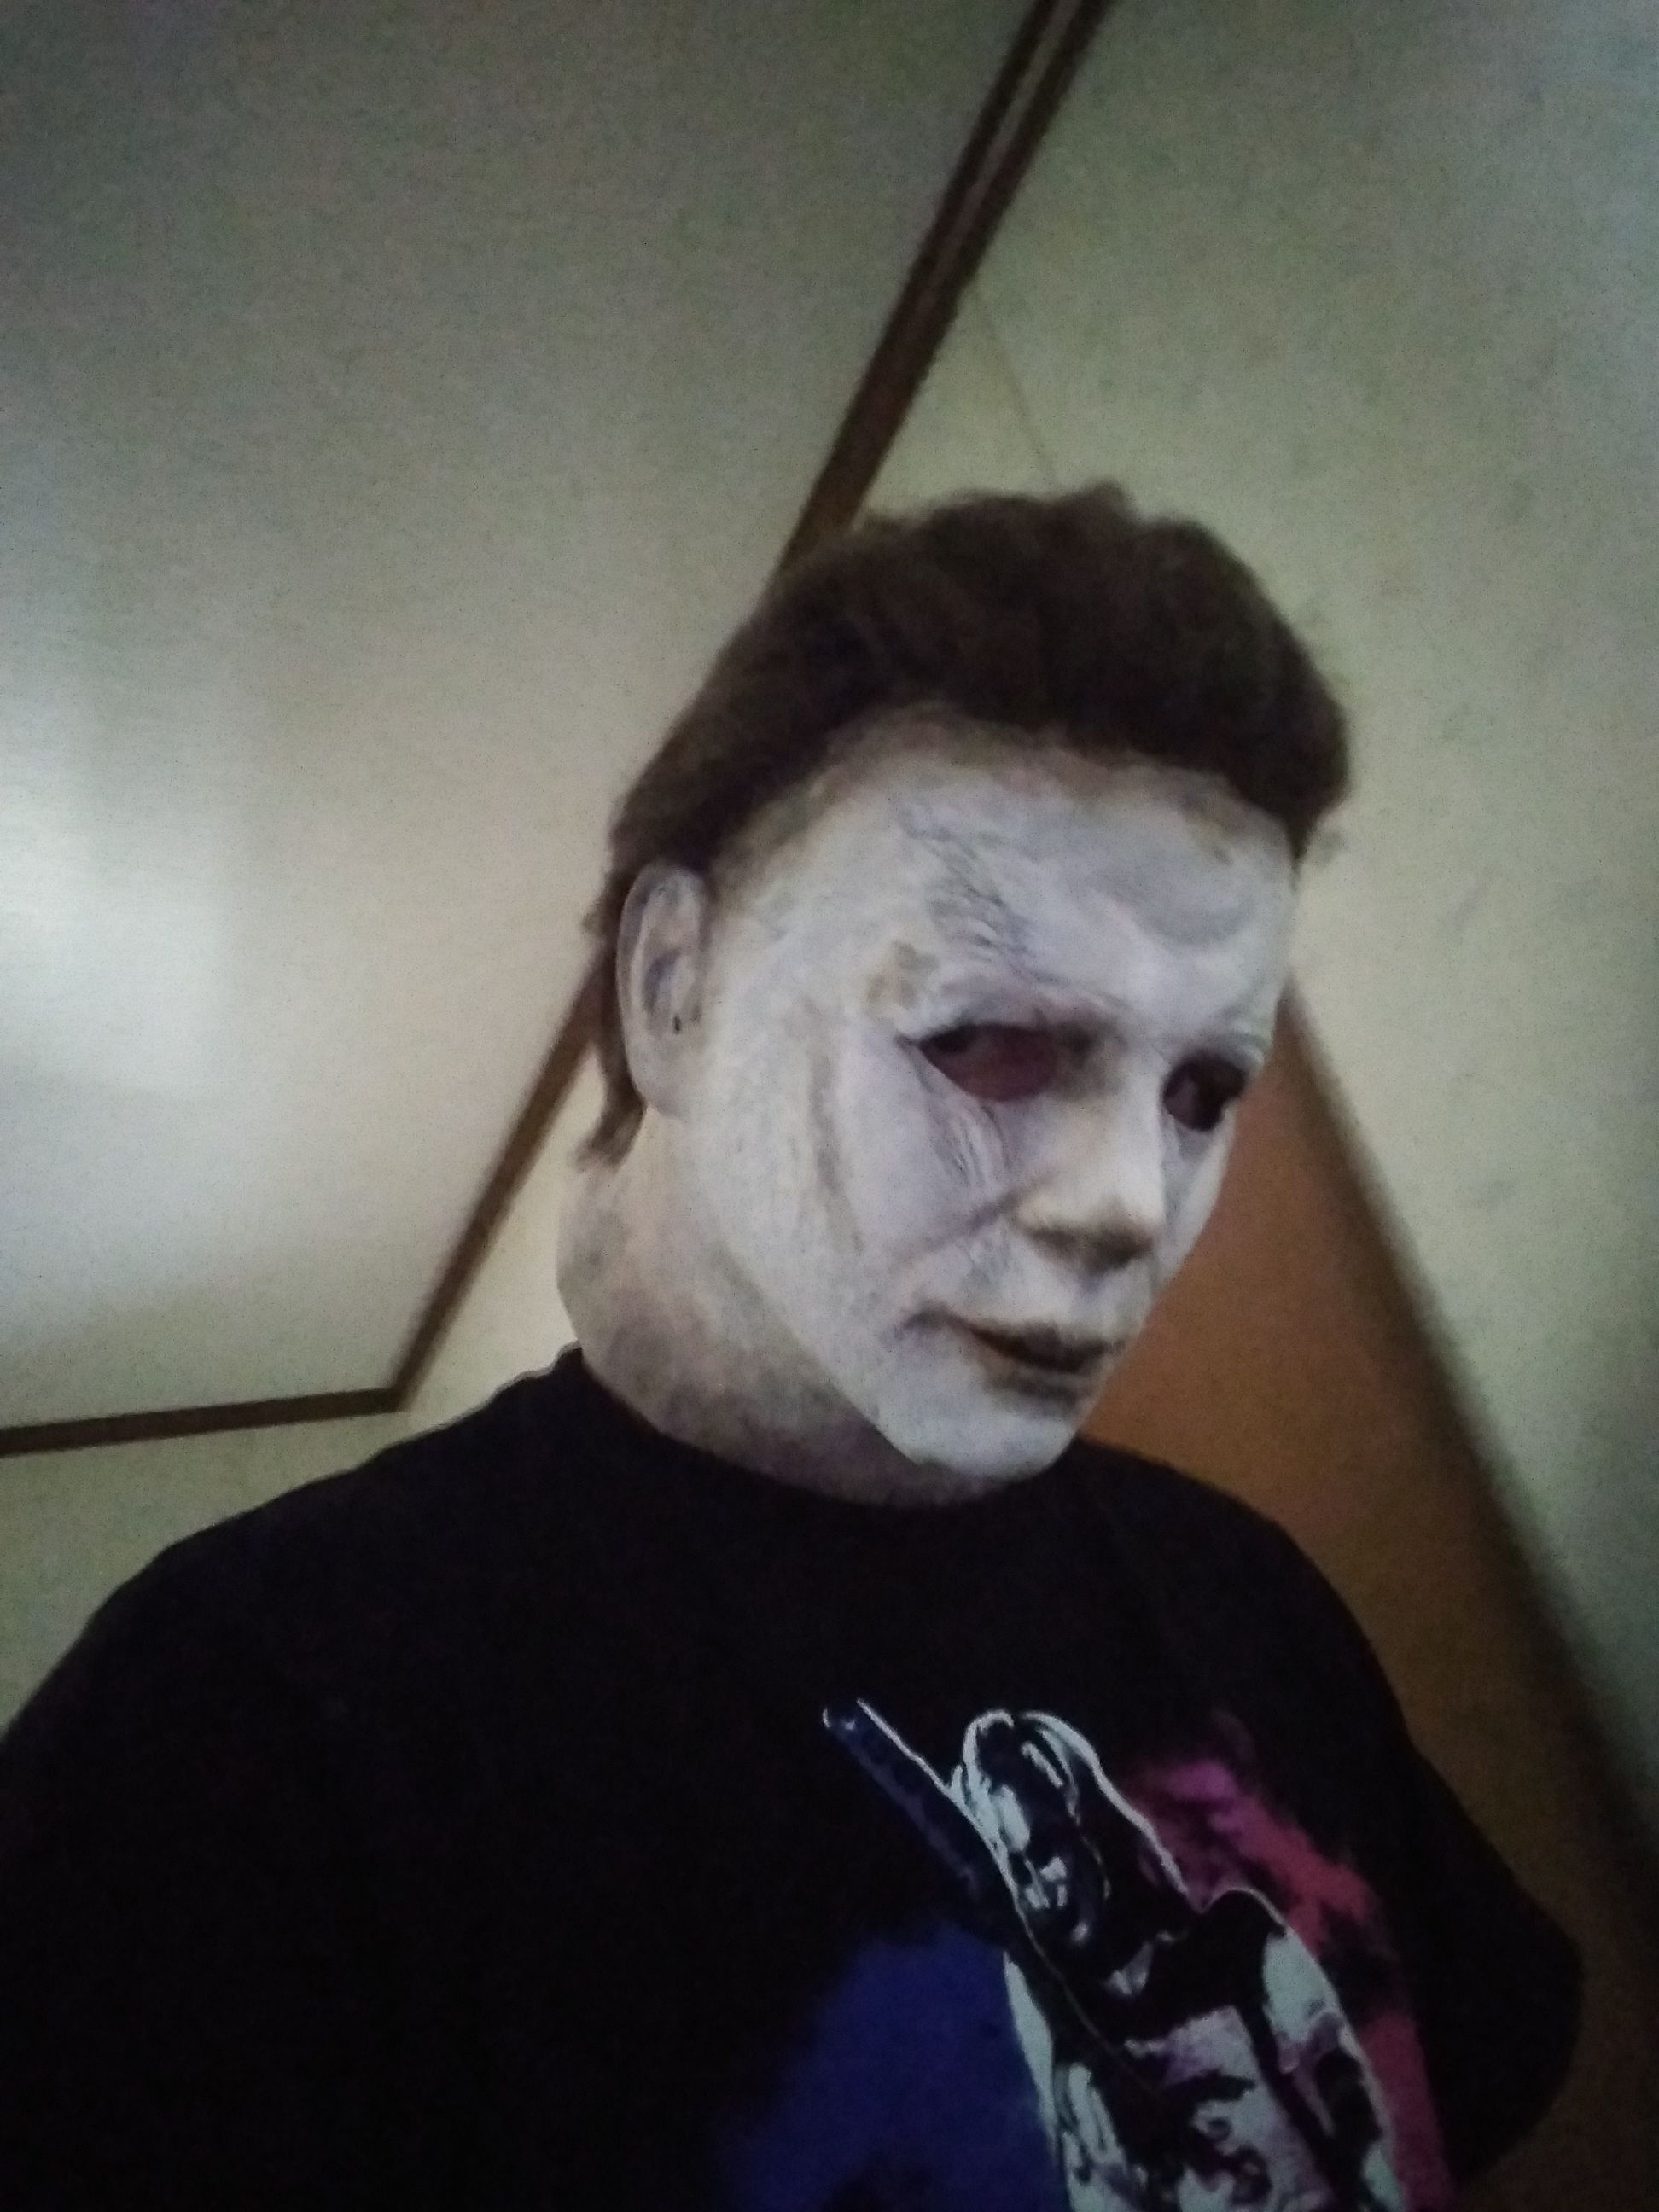
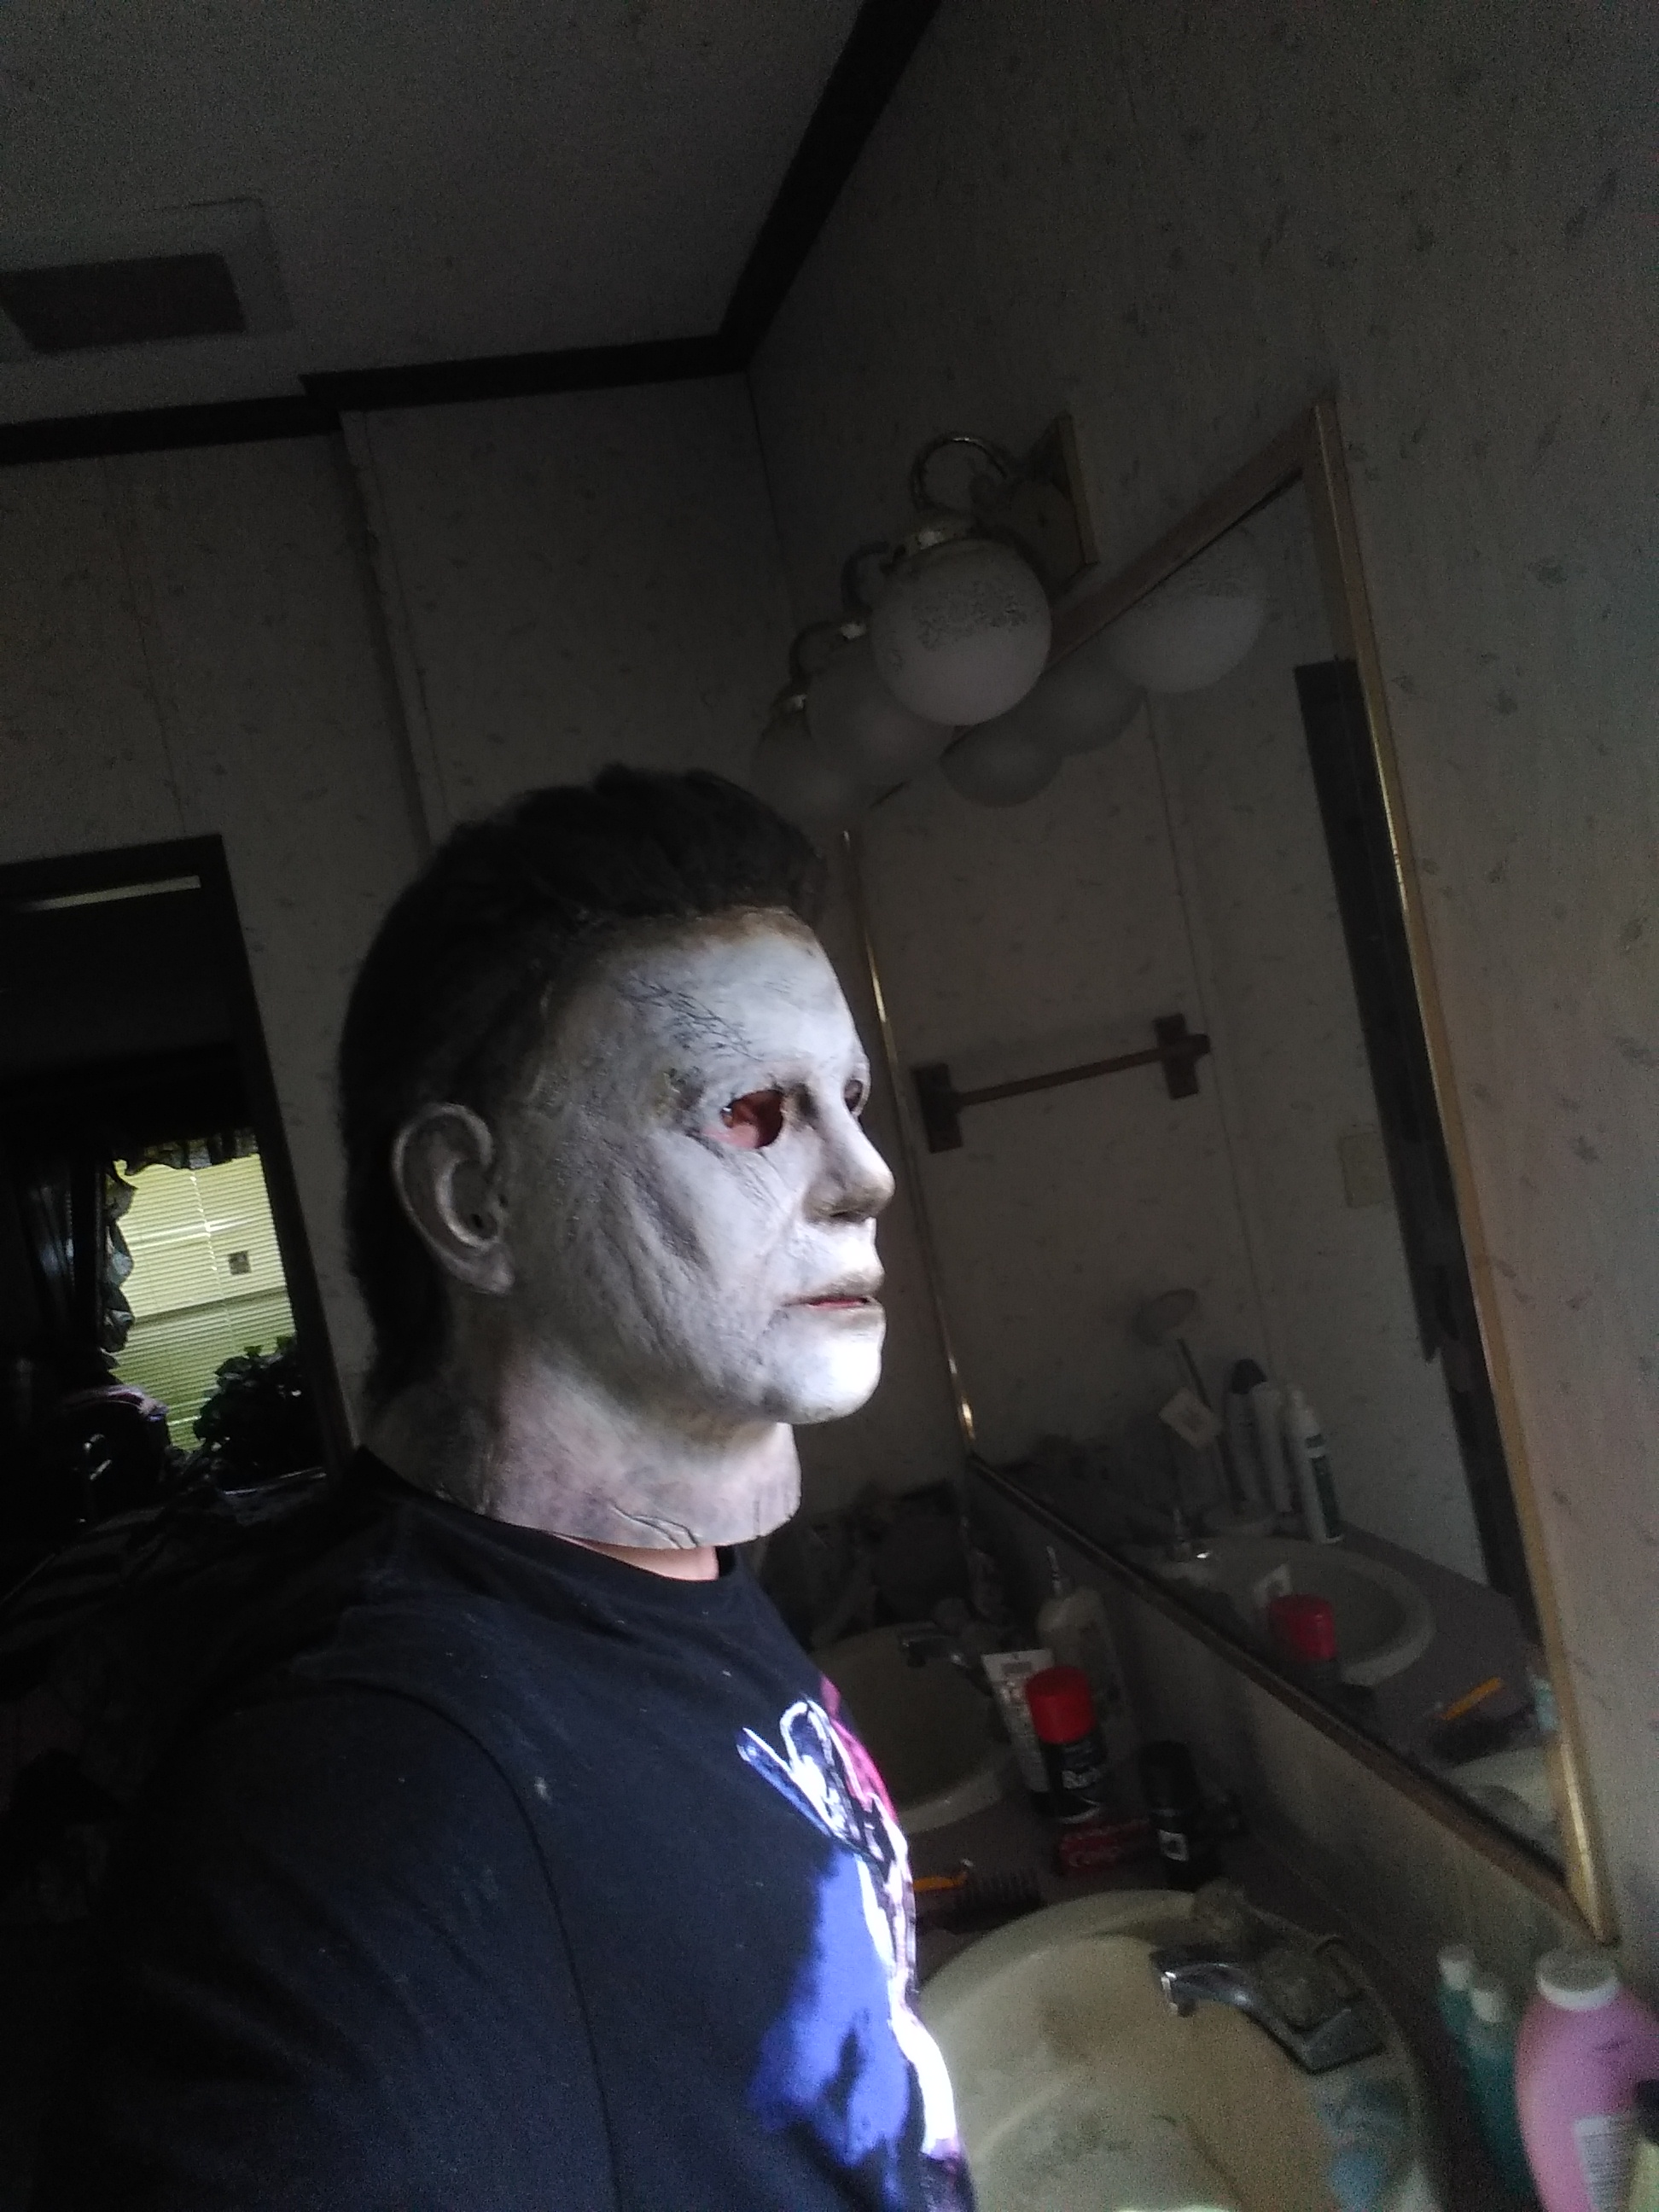
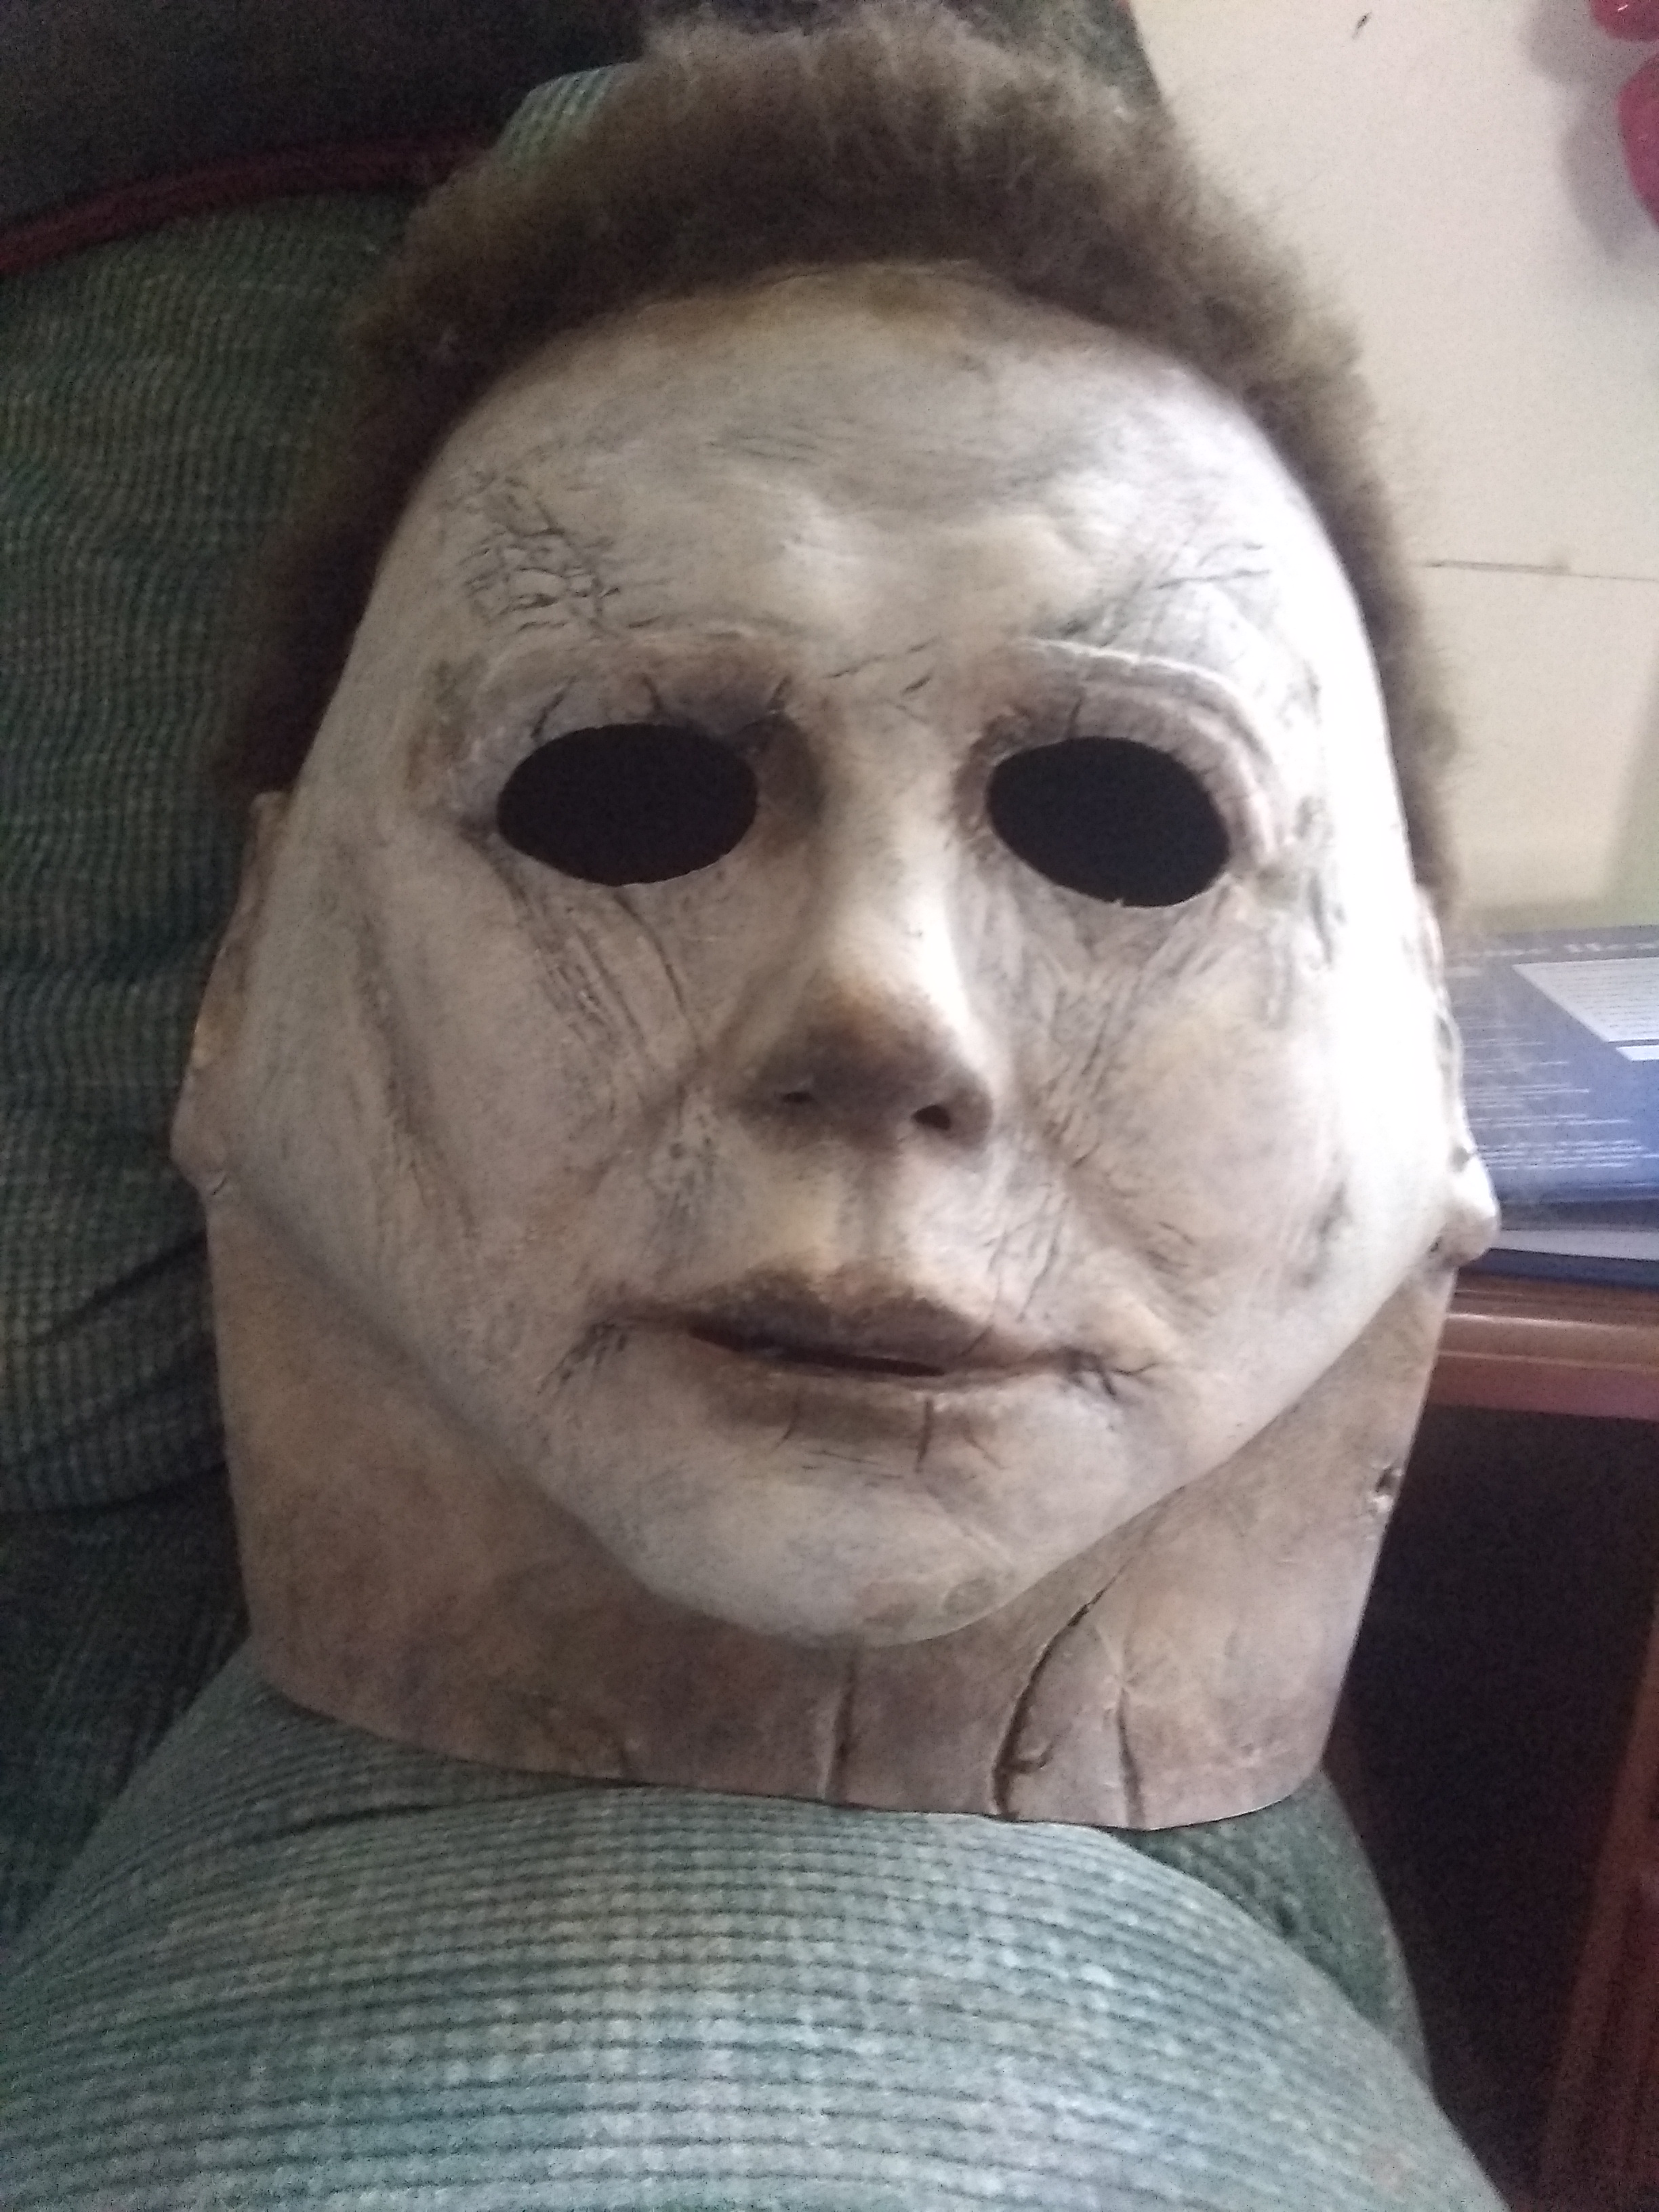
1 Like